Safety information
Edition BC520501
05.2005
Ecomat
Operating manual 10
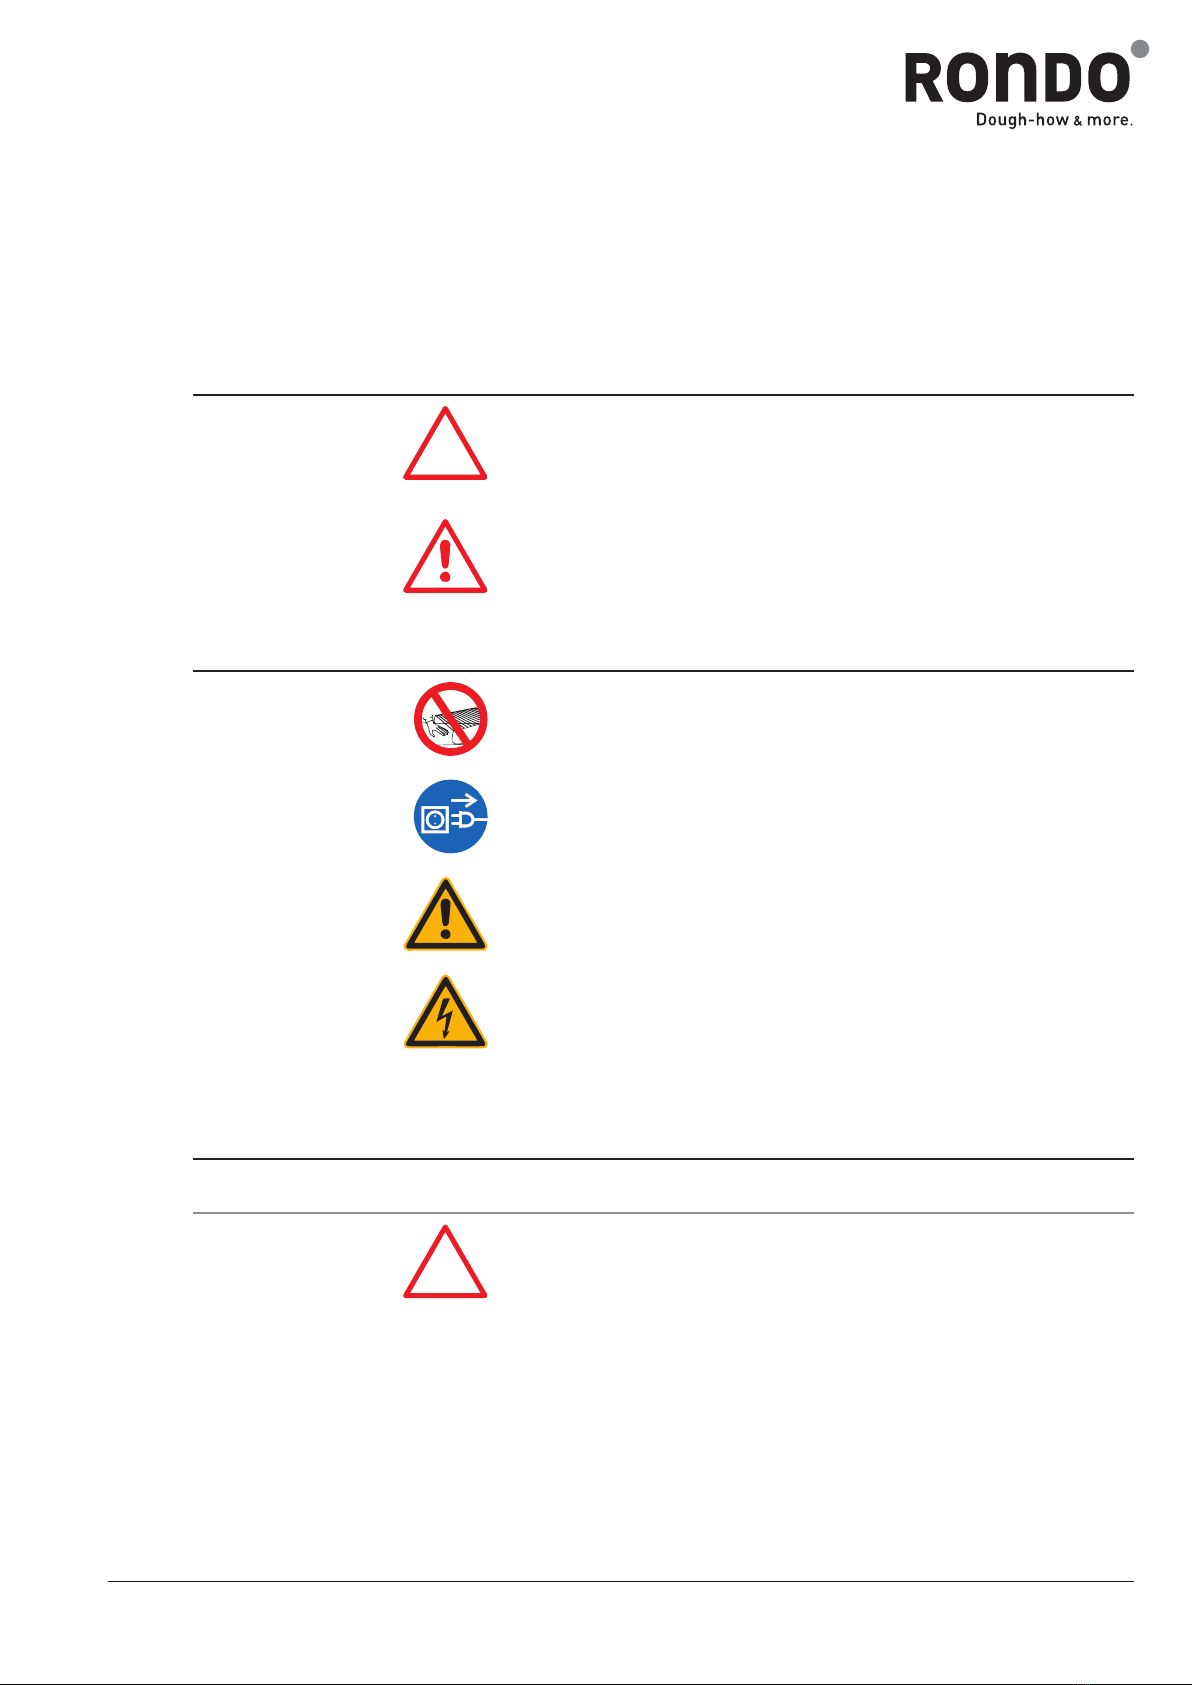
1.4 Safety instructions and information which must be followed
Read the operating manual before operating the machine.
The dough sheeters of RONDO are built for the food industry exclu-
sively for the sheeting, booking, final sheeting and cutting (using the
Cutomat) of dough pieces.
Any other use of these units is not in accordance with the purpose for
which they are built. Therefore, the manufacturer will not be liable for
any accidents or damage arising as a result of unauthorized use; the
risk in any such instance will be borne solely by the user.
Authorized use also means that the user must follow all instructions
prescribed by the manufacturer in respect of operation, maintenance
and service.
Any work on the electrical components of the machine, in particular the
correct professional mounting of the mains plug, may only be carried
out by qualified personnel who are familiar with the prescribed safety
instructions.
Defective cables and mains plugs must be immediately replaced by
qualified personnel.
Protective covers over the electrical controls and the mechanical mov-
ing parts may only be removed by professionally qualified personnel
and must be remounted before the machine is put back into operation.
Any unauthorized changes made to the machine, and in particular, to
the safety devices on the machine will automatically exclude any liabil-
ity on the part of the manufacturer for accidents or damage sustained
as a result of such changes.
The machine may only be connected to electricity using the mains
plug! No permanent electrical installation may be carried out using, for
example, terminal screws.
The machine may only be connected to the mains using the plug once
the machine has been fully assembled.
Before beginning any repairs, service or cleaning work on the machine,
the electricity supply to the machine must be interrupted (pull out mains
plug).
2
3
4
5
6
7
8
9