Ronin Perfect Burn User manual

Page 1of 26
Ronin
Perfect Burn Tip/Kit
Instruction Manual
“Original Instructions”

Page 2of 26
WARNING:
To avoid electrical shock, do not open or modify any soldering irons. Refer servicing to
original equipment manufacturer of soldering iron only.
Caution:
Modification of controls or adjustment or performance other than specified by procedures
herein may results in injury or fire.
You are cautioned that any changes or modifications not expressly approved by the party
responsible for compliance could void the user’s authority to operate the equipment or
void any warranty.
If you have questions about this product, visit
www.changeyourelevation.com/contact/ or contact Ronin
Customer Service at 657-444-2557. You can also write to,
Ronin
Customer Service/Technical Support
600 S. Jefferson St Suite D
Placentia CA 92870 USA

Page 3of 26
About lithium ion battery:
Portable soldering irons such as Milwaukee cordless soldering iron Cat-No. 2488-20 have
lithium ion battery used to power the product and contains Perchlorate. The following
statement is required by the state of California, USA:
Perchlorate Material –special handling may apply. See
http://www.dtsc.ca.gov/hazardouswaste/percholate

Page 4of 26
Contents
Warning …………………………………….…….....2
About Lithium Ion Battery …………………..…......3
Precautions ……………………………………....…5
Safety…………… ……………………….………….5
Use and Handling…………………………….….....5
AC Power Cord Use …………….……...….………6
Moisture Condensation…………………………….6
Product Overview ………………………………….7
Soldering Iron Compatibility…………………........8
Charging the Battery …................................……9
Perfect Burn Tip Installation…………… ………..10
Kernmantle Rope Prep..……………………..…...13
Technora Rope Prep………………………...……18
Inspection and Maintenance.…..…………...……25
Warranty …………………………………...….......25
Returns …………………………………….…...….26

Page 5of 26
Precautions:
Before using this product, carefully read this manual and retain it for future reference.
Parents and guardians of children should read this manual and make sure that the child
follows all safety precautions.
Safety:
This product has been designed with the highest concern for safety. However, any
electrical device, if used improperly, has the potential for causing fire, electrical shock or
personal injury. To help ensure accident-free operation, follow these guidelines:
•Observe all warnings, precautions and instructions
•Regularly inspect AC power cord for damage
•Do not leave any charging battery unattended
•Unplug charging battery immediately upon charge is complete
•Stop use, unplug AC power cord from electrical outlet immediately if the device
functions in an abnormal manner, produces unusual sounds or smells, become too
hot to touch, or battery becomes swollen/bloated
•Do not handle damaged or leaking lithium-ion batteries
•Do not allow the battery to come into contact with fire or subject to extreme
temperatures such as direct sunlight, in a vehicle exposed to sun or near a heat
source
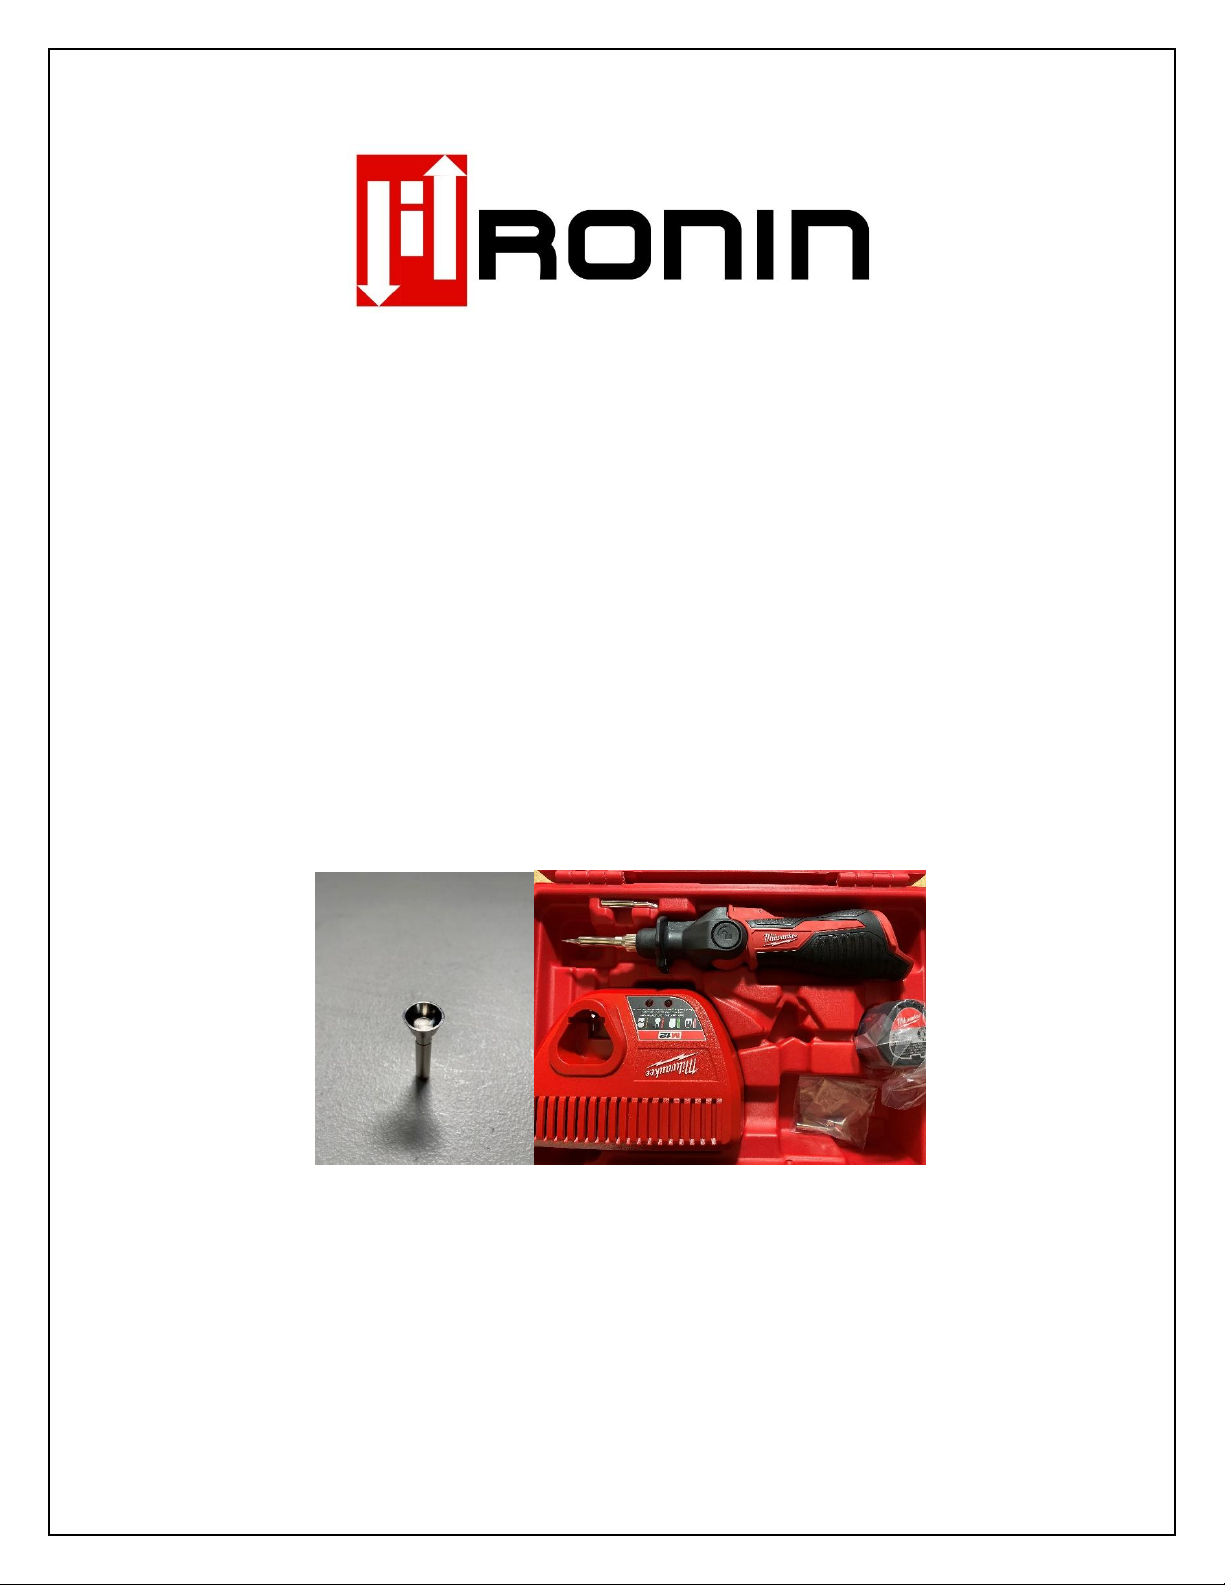
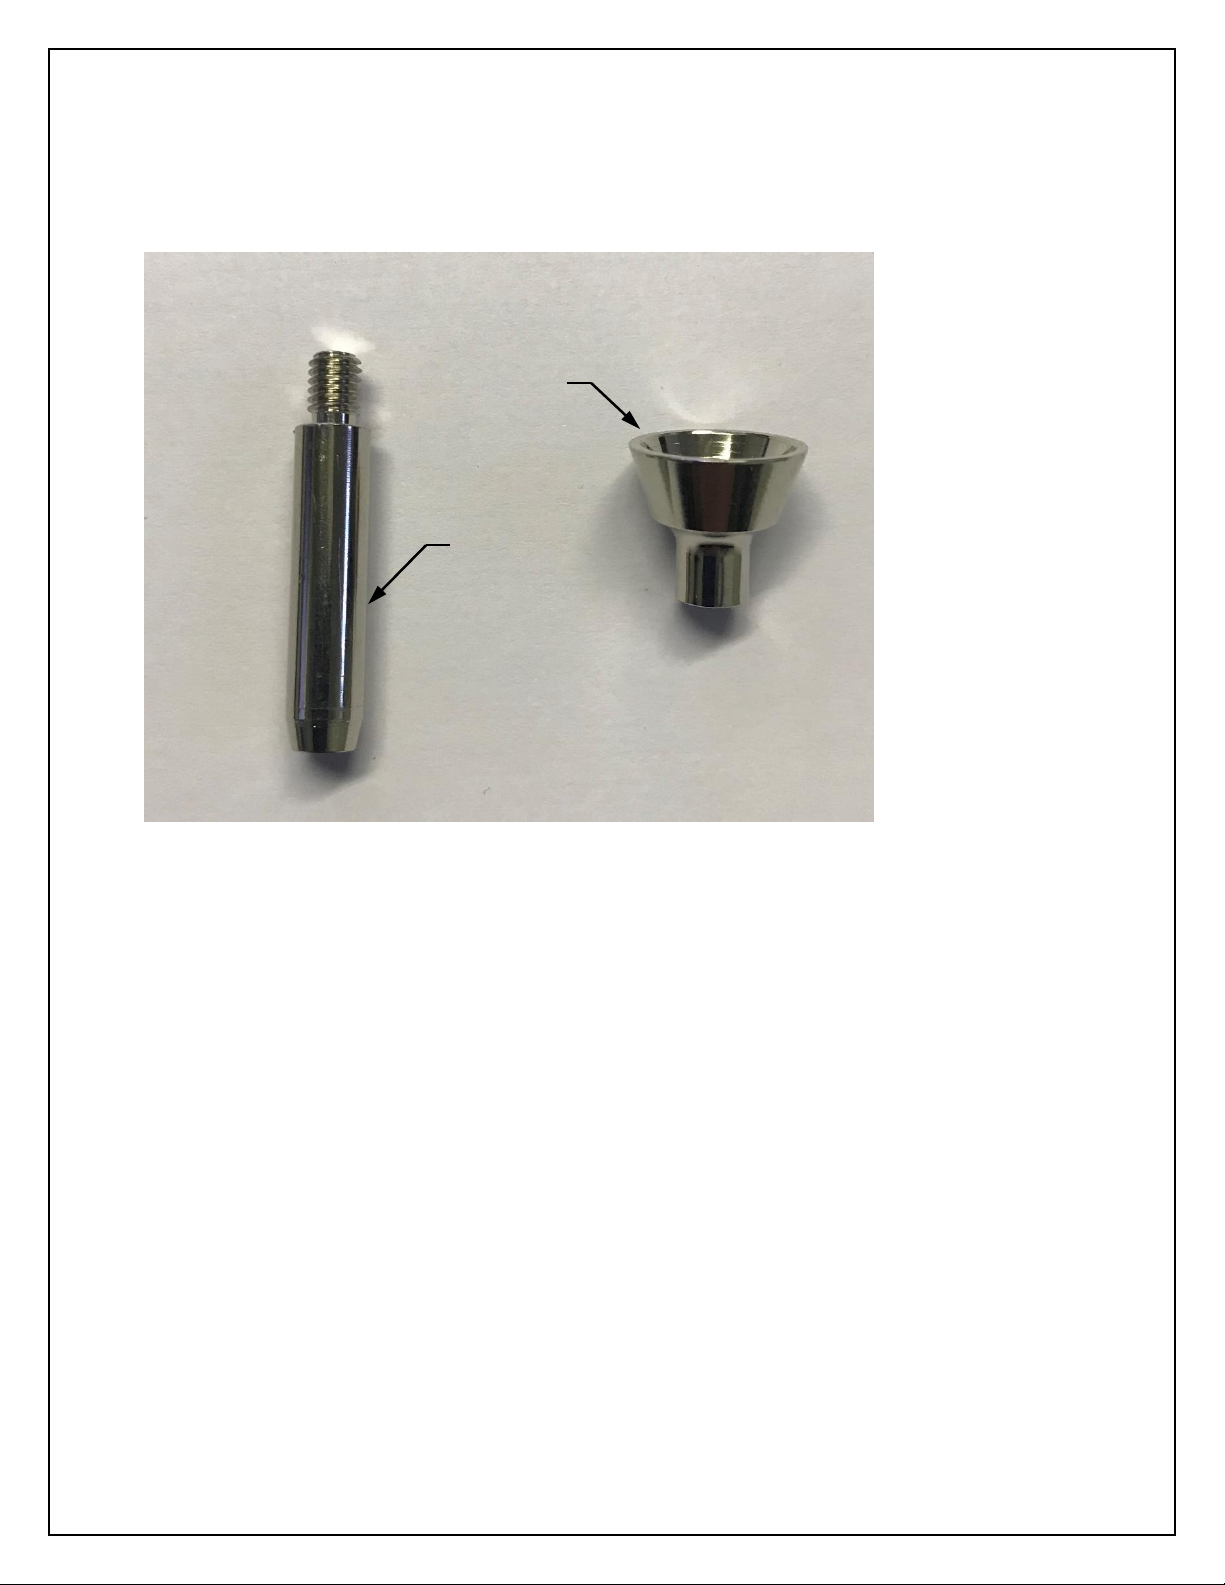
Prior to using Perfect burn Tip please ensure you properly inspect all equipment for
product integrity.
Use and Handling:
•Do not use Perfect Burn Kit without the proper safety equipment. Not doing so may
cause serious severe burns
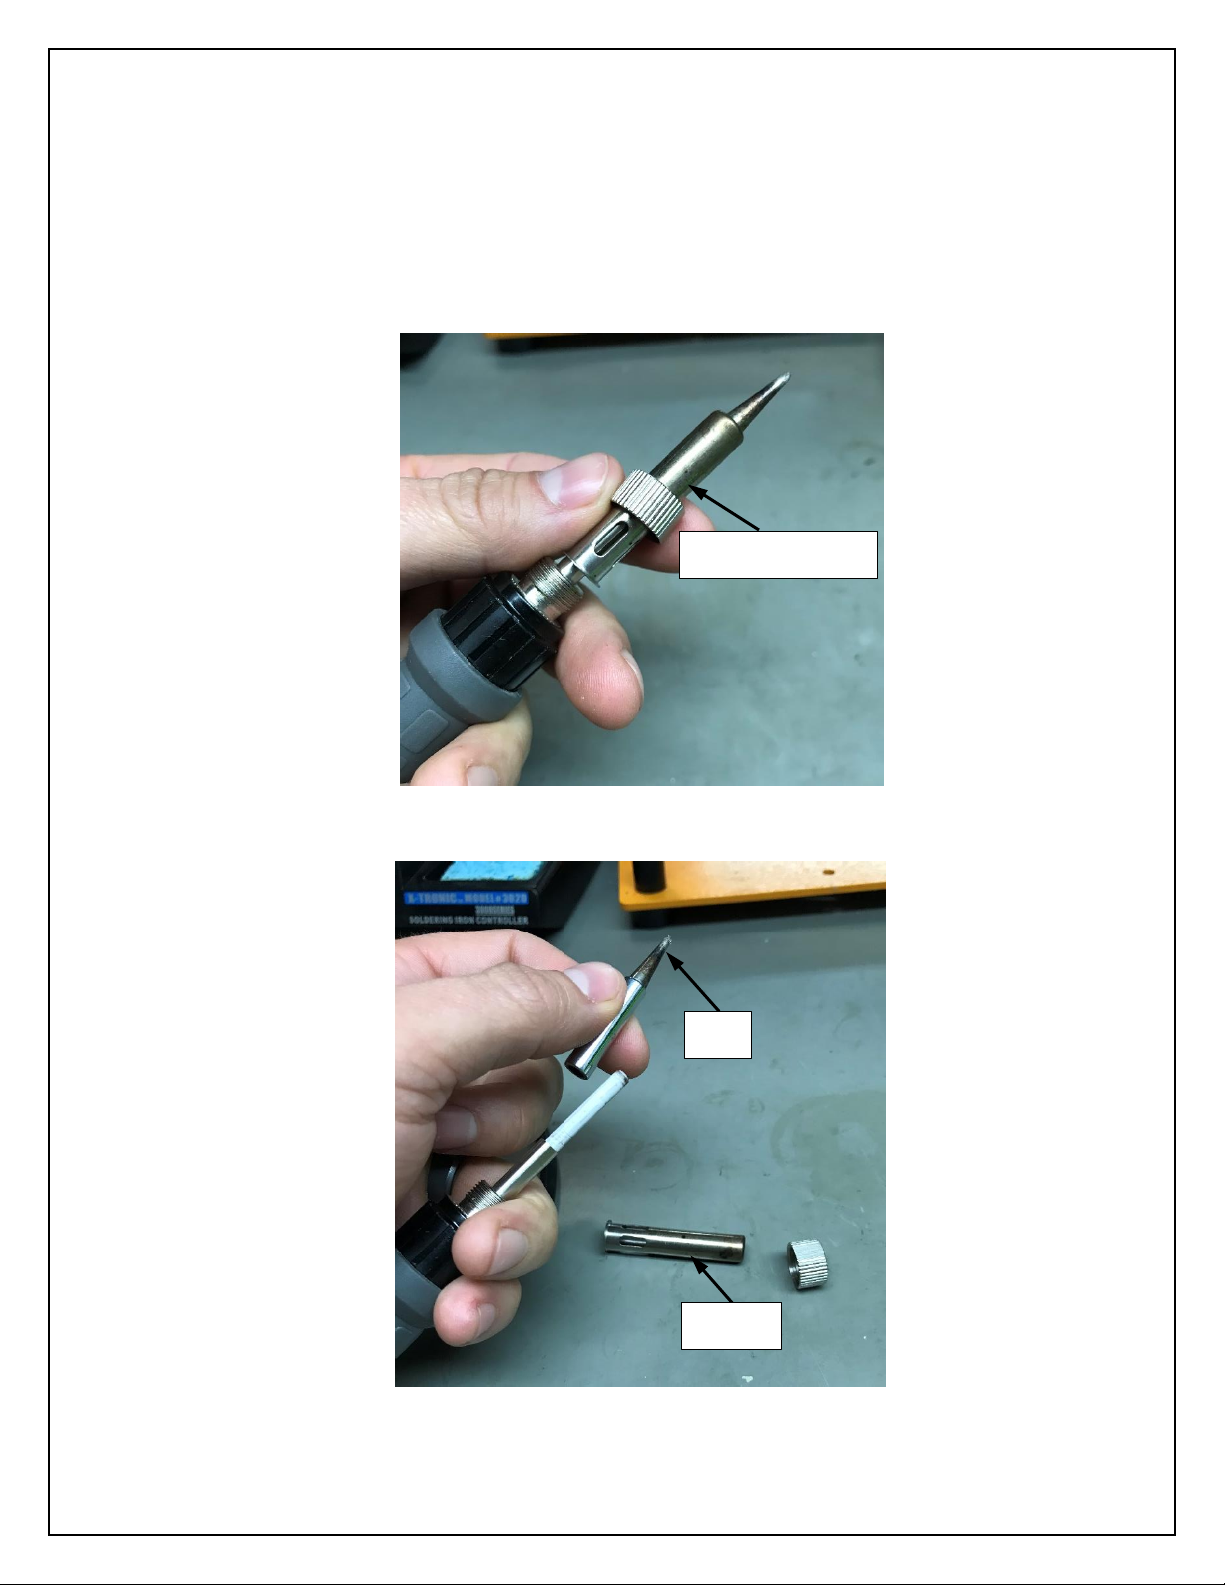
•Inspect all equipment prior to each use, soldering iron, proper tip installation, etc.
•Do not wet or submerge any soldering iron. Soldering Irons are not waterproof.
•Be careful when caring soldering iron with perfect burn kit installed, if you do not
have a good grip, the device may drop causing potential damage or burns
•Keep the device, accessories, and any small components out of reach of small
children
•Stop using the device immediately if you begin to feel tired or if you experience
discomfort or pain in your hands, arms or legs while operating the device

Page 6of 26
•If you experience any of the following health problems, discontinue use of the
device immediately. If symptoms persist, consult your doctor.
⎯Dizziness, nausea, fatigue or symptoms similar to motion sickness
⎯Discomfort or pain in a part of the body, such as hands, arms or legs
•Do not place device on the floor or in a place where it may come into contact
causing burns or starting a fire
•Do not expose the device to high temperatures or high humidity
•Do not use device in an electrical storm
•Do not touch connectors on device
•Do not rest device on surface that are unstable, tilted or subject to vibration
AC Power Cord Use:
•Do not plug in AC power cord without verifying electrical outlet compatibility. Check
AC power supply connected to AC power cord for power outlet compatibilities
•To help ensure safe operation, regularly inspect the AC power cord. If damaged,
stop use immediately and contact customer support.
•Do not modify the cord
•Do not use a power cord other than the supplied AC power cord
•Do not touch the AC power cord with wet hands
•Protect the AC power cord from being walked on or pinched particularly at plugs,
expansion receptacles and the point where the cords exits the power supply
•Do not place heavy items on the AC power cord
•Do not place the AC power cord near heating equipment and do not expose the
cord to heat
•Unplug the AC power cord from the electrical outlet when you do not intend to use
the charger. When disconnecting, grasp the AC power cord by the plug and pull
straight out of the electrical outlet. Never pull by the cord and do not pull out at an
angle.
•Do not connect AC power cord to a voltage transformer or inverter.
Moisture Condensation:
If the device is brought directly from a cold location to a warm one, moisture may
condense on the electronics. Should this occur, the device may not operate properly. In
this case, remove the battery until moisture evaporates from the device (this may take
several hours). If the device still does not operate properly contact customer service.

Page 7of 26
Product Overview:
Perfect Burn Kit
1 –Perfect Burn Adapter
2 –Rope Buner Tip
2
1

Page 8of 26
Soldering Iron Compatibility:
There are various soldering irons that are compatible with the Perfect Burn Kit, P/N 2000-1. It is
important
to use the correct soldering iron because if you don’t a few issues can be present:
1) The Perfect Burn Tip may not fit on the soldering iron
2) The temperature of the soldering may not properly heat the tip to required melt
temp.
There are many soldering irons out in the market place that are adaptable to the Perfect Burn Kit.
The general outline for which you are looking for is a soldering iron with the following:
1) The tips are replaceable
2) The replacement tips work off the heating filament style soldering iron (See figure
3.1-1)
3) The soldering iron is capable of reaching temperatures up 650° F
Figure 1 Soldering Iron Heating Filament
Heating Filament

Page 9of 26
Charging the Battery:
(If using Milwaukee Cordless Soldering Iron)
The battery takes approx. 1.5 hrs. to charge.
The charger LED codes are the following:
Standby (Solid Red when battery is charging from full discharge)
Charging (Blinking Green when battery is almost fully charged)
Fully Charged (Solid Green with battery plugged in)
Battery Warnings
•To charge the battery, you must only use the included charger.
•Only use included AC power cord.
•Do not over-discharge the Lithium-Ion battery.
•Do not store the Battery connected on the device. Remove the battery from the
device when storing the unit.
•Disconnect a depleted battery, do not leave a dead battery on the device
•If at any time the Lithium-Ion battery begins to balloon or swell, discontinue
charging or discharging immediately.
•Always terminate all processes if the battery/charger malfunctions.
•Do not over charge the battery.
•Store the Lithium-Ion battery at room temperature in a dry area for best results.
•Allow the Lithium-Ion Battery to cool to ambient/room temperature before recharging.
•Never charge the Lithium-Ion battery unattended at any time.

Page 10 of 26
Operating Instructions:
Perfect Burn Tip Installation:
Step 1) Remove the threaded collar on the soldering iron tip.
Step 2) Remove the soldering iron sleeve and tip.
Threaded Collar
Tip
Sleeve

Page 11 of 26
Step 3) Install Perfect Burn Soldering Iron Adapter, P/N 200002, over
the soldering iron heating filament.
Step 4) Install soldering iron sleeve over Perfect Burn Soldering Iron
Adapter, P/N 200002.
Soldering Iron Adapter
Heating Filament
sleeve

Page 12 of 26
Step 5) Install threaded collar over sleeve and secure in place.
Step 6) Install Perfect Burn Rope Burner End, P/N 200001, onto Perfect
Burn Soldering Iron Adapter, P/N 200002, by screwing it
completely on.
Threaded Collar
Rope Burner End
Rope Burner End

Page 13 of 26
Perfect Burn Rope Preparation Instructions
(Kernmantle Rope):
Step 1) With Perfect Burn Kit, P/N 2000-1, properly installed onto the
soldering iron turn the soldering on.
Note: Since the Perfect Burn Kit is adaptable to many
different soldering irons the power switch may be in a
different location or different type of switch. Additional some
solder irons do not have temperature control. If your solder
iron does not have temperature control i.e. the Milwaukee
cordless solder iron Cat-No. 2488-20, you will need to let it
heat up, this specific soldering iron takes 90 sec. to come to
temperature.
WARNING: Once the soldering iron is
turned on the tip will be hot. Ensure tip does
not come into contact with skin or other
objects as severe burns can occur or a fire to
break out.
Power Switch

Page 14 of 26
Step 2) While Perfect Burn Kit, P/N 2000-1, is heating up prepare rope
end for coning. Prepare rope end for coning by applying a piece
of tape around the rope end.
Step 3) Make a clean fresh cut to ensure the rope fibers are not frayed.
Tape
Scissors

Page 15 of 26
Step 4) With the Perfect Burn Kit, P/N 2000-1, heated up and the tape
still on the rope end, press the perfect burn rope burner head
onto the end of the rope. Hold for approximately 10-20 sec. and
remove.
Step 5) Set the soldering iron aside, ensuring the tip does not come into
contact with anything, and take a rag and wipe/pull over the rope.
This should pull the tape off. If the tape does not come off during
this first wipe then manually remove.
WARNING: Once the soldering iron is
turned on the tip will be hot. Ensure tip does
not come into contact with skin or other
objects as severe burns can occur or a fire to
break out.
Heated Perfect
Burn Tip
Rope with
Taped end
Rag

Page 16 of 26
Step 6) Reapply the Perfect Burn Tip to rope end and hold for 10 –20
sec.
Step 7) Set the soldering iron aside, ensuring the tip does not come into
contact with anything, and take a rag and wipe/pull over the rope
shaping the rope tip into a cone.
WARNING: Once the soldering iron is
turned on the tip will be hot. Ensure tip does
not come into contact with skin or other
objects as severe burns can occur or a fire to
break out.
Rag

Page 17 of 26
Step 8) If required repeat steps 6 and 7 as required to obtain a fully coned
end where the outer sheath is wrapped completely over the inner
core sealing it. Once the tip process is completed turn off your
soldering iron.
Note: The perfect burn tip can be rotated around to drag
melted outer sheath around sealing the inner core.
WARNING:Once the soldering iron is turned off
the tip will be hot. Ensure tip does not come into
contact with skin or other objects as severe burns
can occur or a fire to break out. Some solder irons
have temperature sensing tips i.e. the Milwaukee
cordless solder iron Cat-No. 2488-20, has a red
light that will distinguish once the temp has cooled
to an acceptable temperature to touch. If your
soldering iron does not have a temperature sensor
or indicator give ample time to cool prior to
touching or coming into contact with anything as it
could cause serve burns or cause a fire.

Page 18 of 26
Perfect Burn Rope Preparation Instructions
(Technora Sheath):
Step 1) With Perfect Burn Kit, P/N 2000-1, properly installed onto the
soldering iron turn the soldering on.
Note: Since the Perfect Burn Kit is adaptable to many
different soldering irons the power switch may be in a
different location or different type of switch. Additional some
solder irons do not have temperature control. If your solder
iron does not have temperature control i.e. the Milwaukee
cordless soldering iron Cat-No. 2488-20, you will need to let
it heat up, this specific soldering iron takes 90 sec. to come
to temperature.
WARNING: Once the soldering iron is
turned on the tip will be hot. Ensure tip does
not come into contact with skin or other
objects as severe burns can occur or a fire to
break out.
Power Switch

Page 19 of 26
Step 2) While Perfect Burn Kit, P/N 2000-1, is heating up prepare rope
end for coning. Prepare rope end for coning by Appling a piece
of tape around the rope end.
Step 3) Make a clean fresh cut to ensure the rope fibers are not frayed.
Tape
Scissors

Page 20 of 26
Step 4) Remove the excess tape left on the end of the rope.
Step5) The technora sheath can be a little waxy and so you can wipe
the outer sheath fibers together with your hand to help initially
form the cone.
Tape
Table of contents
Popular Tools manuals by other brands

IKA
IKA S 25 N - 10 G technical information

Perfomance Tool
Perfomance Tool M710K owner's manual

Festool
Festool CMS OF GE Supplemental user's manual

Wipaire
Wipaire WIPLINE 8000 Service manual and instructions

Gude
Gude 40084 Translation of original operating instructions

Gage Bilt
Gage Bilt GB751SR-8 Original instructions