manuals.online logo
Brands
  1. Home
  2. •
  3. Brands
  4. •
  5. ROOMLIFE
  6. •
  7. Indoor Furnishing
  8. •
  9. ROOMLIFE NOAH BEDSIDE TABLE User manual

ROOMLIFE NOAH BEDSIDE TABLE User manual

NOAH BEDSIDE TABLE
INDOOR USE ONLY · SIMPLE ASSEMBLY REQUIRED
H 50 CM x W 45 CM x L 35 CM
LOAD LIMIT: Top Shelf: 35KG · Drawer: 10KG
Frame: Metal | Top and shelf: MDF
MADE IN MALAYSIA
WARNING Do not stand on product. Do not use as a step ladder.
Only use on even surfaces. Do not use product unless all bolts, screws
and knobs are rmly secured. Product should be anchored to wall or
other suitable surface to prevent tipping. Do not use power tools for
assembly. Failure to follow these warnings could result in serious injury.
CARE Wipe clean with a soft, damp cloth. Do not use abrasive
materials or solvents. Store in a dry place.
It is STRONGLY RECOMMENDED that you ANCHOR this product.
Toppling furniture can cause serious injuries and death.
securely
attach this product
IMPORTANT:
Regularly check
drawer locks
Do not
CAUTION:
person to install and anchor the product.
WARNING:
It is STRONGLY RECOMMENDED that you ANCHOR
this product.
Toppling furniture can cause serious injuries and death.
This product has been tted with an anchor strap/bracket.
To prevent your furniture from tipping forward it is strongly
recommended that you securely attach this product
to a wall or other solid surface, using the anchor straps
provided and appropriate xings.
IMPORTANT:
Regularly check that anchors are securely maintained.
Use safety drawer locks to prevent children climbing.
Stability of tall item may be affected by thick pile carpet or
uneven oors.
Do not place unanchored televidions on furniture.
CAUTION:
For your safely when attaching the anchor xings, please
note the following:
- Check for any electrical wires or plumbing inside the wall
before drilling any holes (if unsure please seek professional
advice from a qualied trades person)
- Walls are constructed from different materials, for
example, masonry (solid brick) or plasterboard lined cavity
walls (hollow). It is important that you use the
appropriate xings for your wall type.
- Your local hardware store will have the necessary drills
and xings and can offer advice if needed. If in doubt,
engage the services of a qualied trades
person to install and anchor the product.
WARNING:
ASSEMBLY
INSTRUCTIONS
Please read instructions
carefully. Remove all
wrapping material, staples
and packing straps from the
outer carton. Check the
assembly guide to ensure
you have all required
components before you
begin assembly. Assembling
this product on a soft
surface protects its finish.
ASSEMBLY
INSTRUCTIONS
STEP 1 STEP 2
D
E
F
B
C
B
A
A* 1 B* 1 C* 1 D* 8 E* 8 F* 8
G* 1 H* 1 I* 2 J* 1 K* 1 L* 1
M6
JCBC M6 x 35mm
M4 ALLEN KEY
(BALL SHAPE)
M6
Please read instructions
carefully. Remove all
wrapping material, staples
and packing straps from the
outer carton. Check the
assembly guide to ensure
you have all required
components before you
begin assembly. Assembling
this product on a soft
surface protects its finish.
ASSEMBLY
INSTRUCTIONS
STEP 1 STEP 2
C
G
D
E
F
B
C
B
A
A* 1 B* 1 C* 1 D* 8 E* 8 F* 8
G* 1 H* 1 I* 2 J* 1 K* 1 L* 1
M6
JCBC M6 x 35mm
M4 ALLEN KEY
(BALL SHAPE)
M6
Step 1 Step 2
Please read instructions
carefully. Remove all
wrapping material, staples
and packing straps from the
outer carton. Check the
assembly guide to ensure
you have all required
components before you
begin assembly. Assembling
this product on a soft
surface protects its nish.
G
C
ASSEMBLY
INSTRUCTIONS
Please read instructions
carefully. Remove all
wrapping material, staples
and packing straps from the
outer carton. Check the
assembly guide to ensure
you have all required
components before you
begin assembly. Assembling
this product on a soft
surface protects its finish.
ASSEMBLY
INSTRUCTIONS
A* 1 B* 1 C* 1 D* 8 E* 8 F* 8
G* 1 H* 1 I* 2 J* 1 K* 1 L* 1
M6
JCBC M6 x 35mm
M4 ALLEN KEY
(BALL SHAPE)
M6
Please read instructions
carefully. Remove all
wrapping material, staples
and packing straps from the
outer carton. Check the
assembly guide to ensure
you have all required
components before you
begin assembly. Assembling
this product on a soft
surface protects its finish.
ASSEMBLY
INSTRUCTIONS
STEP 1 STEP 2
C
G
D
E
F
B
C
B
A
A* 1 B* 1 C* 1 D* 8 E* 8 F* 8
G* 1 H* 1 I* 2 J* 1 K* 1 L* 1
M6
JCBC M6 x 35mm
M4 ALLEN KEY
(BALL SHAPE)
M6
Please read instructions
carefully. Remove all
wrapping material, staples
and packing straps from the
outer carton. Check the
assembly guide to ensure
you have all required
components before you
begin assembly. Assembling
this product on a soft
surface protects its nish.
Step 3Step 4
ASSEMBLY
INSTRUCTIONS
ASSEMBLY
INSTRUCTIONS
STEP 3
A* 1 B* 1 C* 1 D* 8 E* 8 F* 8
G* 1 H* 1 I* 2 J* 1 K* 1 L* 1
STEP 4
WALL
WALL
H
I
K
LOCATE THE OTHER
BRACKET ON THE WALL
OVER A WALL STUD AND 2
INCHES BELOW THE
MOUNTING BRACKET
SECURED TO THE BACK OF
YOUR UNIT. ATTACH TO THE
WALL STUD USING THE 2''
SCREW PROVIDED,
THROUGH THE SMALLER
HOLE.
BACK VIEW
I
2''
2''
J
M6
JCBC M6 x 35mm
M4 ALLEN KEY
(BALL SHAPE)
M6
Please read instructions
carefully. Remove all
wrapping material, staples
and packing straps from the
outer carton. Check the
assembly guide to ensure
you have all required
components before you
begin assembly. Assembling
this product on a soft
surface protects its finish.
ASSEMBLY
INSTRUCTIONS
STEP 1 STEP 2
C
G
D
E
F
B
C
B
A
A* 1 B* 1 C* 1 D* 8 E* 8 F* 8
G* 1 H* 1 I* 2 J* 1 K* 1 L* 1
M6
JCBC M6 x 35mm
M4 ALLEN KEY
(BALL SHAPE)
M6
Please read instructions
carefully. Remove all
wrapping material, staples
and packing straps from the
outer carton. Check the
assembly guide to ensure
you have all required
components before you
begin assembly. Assembling
this product on a soft
surface protects its nish.
ASSEMBLY
INSTRUCTIONS
STEP 3
A* 1 B* 1 C* 1 D* 8 E* 8 F* 8
G* 1 H* 1 I* 2 J* 1 K* 1 L* 1
STEP 4
WALL
WALL
HI
K
LOCATE THE OTHER
BRACKET ON THE WALL
OVER A WALL STUD AND 2
INCHES BELOW THE
MOUNTING BRACKET
SECURED TO THE BACK OF
YOUR UNIT. ATTACH TO THE
WALL STUD USING THE 2''
SCREW PROVIDED,
THROUGH THE SMALLER
HOLE.
BACK VIEW
I
2''
2''
J
M6
JCBC M6 x 35mm
M4 ALLEN KEY
(BALL SHAPE)
M6
Step 5Step 6
ASSEMBLY
INSTRUCTIONS
ASSEMBLY
INSTRUCTIONS
STEP 5
STEP 6
LACE THE END OF THE
RESTRAINT STRAP
THROUGH THE LARYER HOLE
IN EACH MOUNTING
BRACKET. BRING BOTH
ENDS TOGETHER AND SLIDE
THE FLAT END THROUGH
THE LOCKING END AND
DRAW IT THROUGH UNTIL
ALL SLACK IS REMOVED.
A
L
A* 1 B* 1 C* 1 D* 8 E* 8 F* 8
G* 1 H* 1 I* 2 J* 1 K* 1 L* 1
M6
JCBC M6 x 35mm
M4 ALLEN KEY
(BALL SHAPE)
M6
ASSEMBLY
INSTRUCTIONS
STEP 5 STEP 6
LACE THE END OF THE
RESTRAINT STRAP
THROUGH THE LARYER HOLE
IN EACH MOUNTING
BRACKET. BRING BOTH
ENDS TOGETHER AND SLIDE
THE FLAT END THROUGH
THE LOCKING END AND
DRAW IT THROUGH UNTIL
ALL SLACK IS REMOVED.
A
L
A* 1 B* 1 C* 1 D* 8 E* 8 F* 8
G* 1 H* 1 I* 2 J* 1 K* 1 L* 1
M6
JCBC M6 x 35mm
M4 ALLEN KEY
(BALL SHAPE)
M6
Please read instructions
carefully. Remove all
wrapping material, staples
and packing straps from the
outer carton. Check the
assembly guide to ensure
you have all required
components before you
begin assembly. Assembling
this product on a soft
surface protects its finish.
ASSEMBLY
INSTRUCTIONS
STEP 1 STEP 2
C
G
D
E
F
B
C
B
A
A* 1 B* 1 C* 1 D* 8 E* 8 F* 8
G* 1 H* 1 I* 2 J* 1 K* 1 L* 1
M6
JCBC M6 x 35mm
M4 ALLEN KEY
(BALL SHAPE)
M6
Please read instructions
carefully. Remove all
wrapping material, staples
and packing straps from the
outer carton. Check the
assembly guide to ensure
you have all required
components before you
begin assembly. Assembling
this product on a soft
surface protects its nish.
WARNING
In order to prevent overturning this product must be used
with wall attachment device provided.
NOTE: This tipping restraint hardware can not be used on
brick or wood. You should seek an appropriate alternative
for wall materials other than plaster.
Step 7Step 8

Other ROOMLIFE Indoor Furnishing manuals
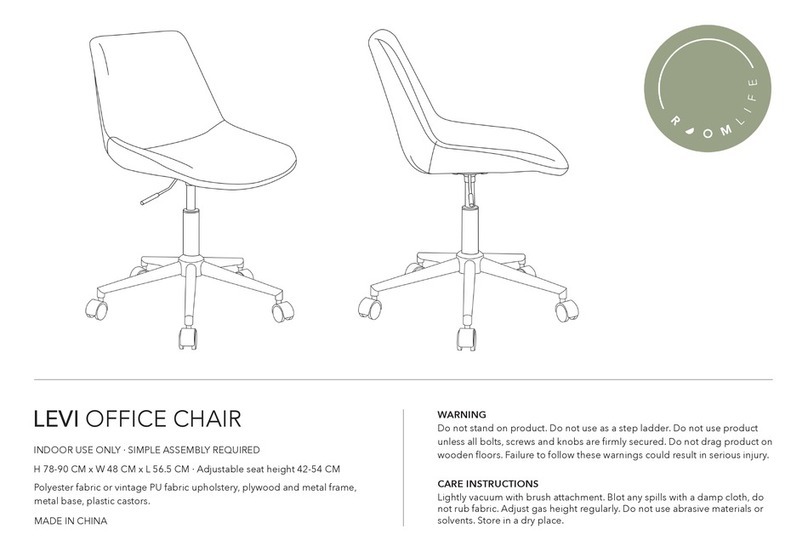
ROOMLIFE LEVI User manual

ROOMLIFE

ROOMLIFE LEVI User manual

ROOMLIFE ELLA User manual

ROOMLIFE

ROOMLIFE ELLA User manual

ROOMLIFE DANE User manual

ROOMLIFE

ROOMLIFE DANE User manual

ROOMLIFE FINLEY STORAGE OTTOMAN User manual

ROOMLIFE

ROOMLIFE FINLEY STORAGE OTTOMAN User manual

ROOMLIFE AKIRA 5 User manual

ROOMLIFE

ROOMLIFE AKIRA 5 User manual

ROOMLIFE ZEN User manual

ROOMLIFE

ROOMLIFE ZEN User manual

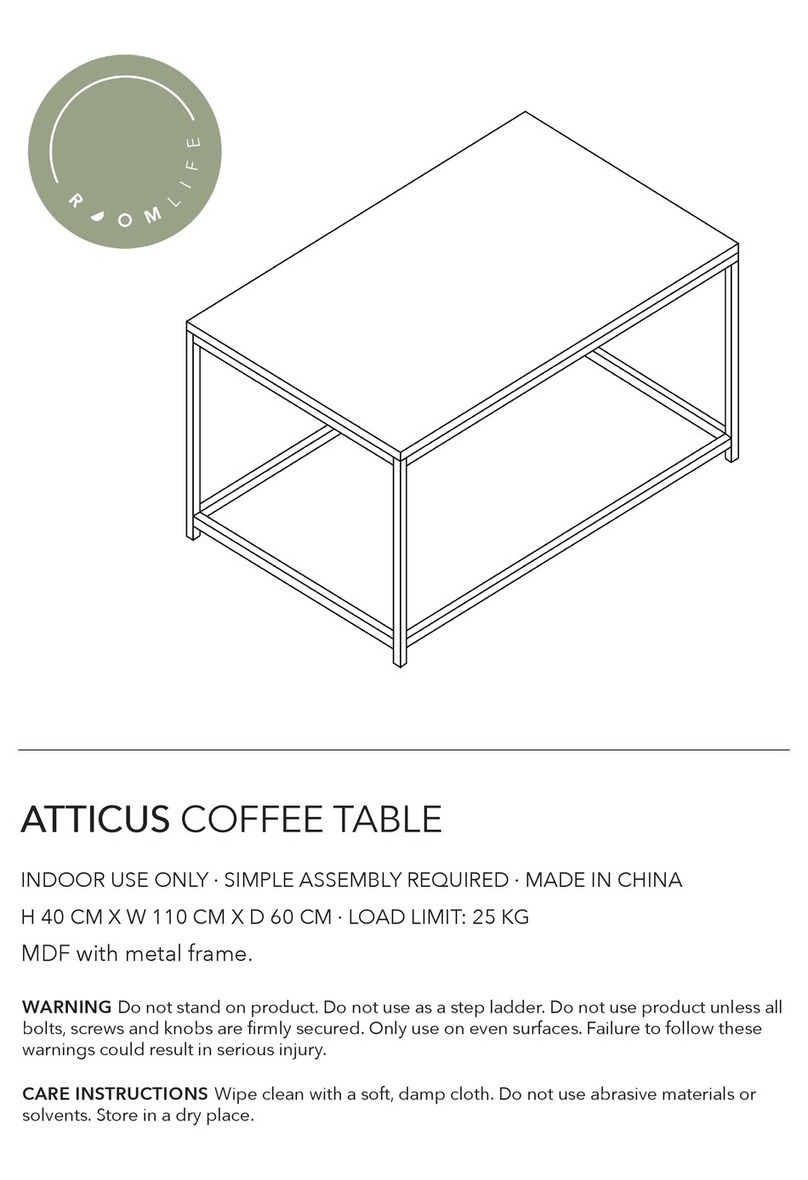
ROOMLIFE ATTICUS User manual

ROOMLIFE

ROOMLIFE ATTICUS User manual

ROOMLIFE ATTICUS User manual

ROOMLIFE

ROOMLIFE ATTICUS User manual

ROOMLIFE SVEIN User manual

ROOMLIFE

ROOMLIFE SVEIN User manual
ROOMLIFE SIENNA BENCH User manual

ROOMLIFE

ROOMLIFE SIENNA BENCH User manual

ROOMLIFE ARLO 66126805 User manual

ROOMLIFE

ROOMLIFE ARLO 66126805 User manual

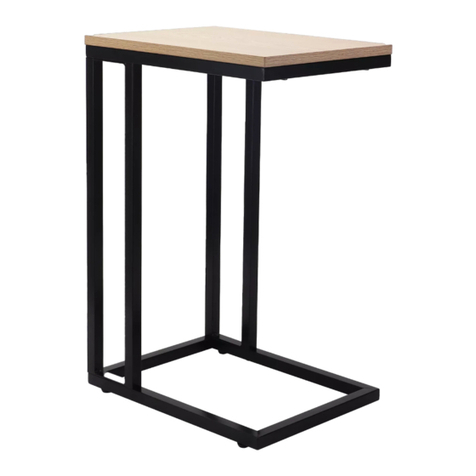
ROOMLIFE COMO SIDE TABLE User manual

ROOMLIFE

ROOMLIFE COMO SIDE TABLE User manual
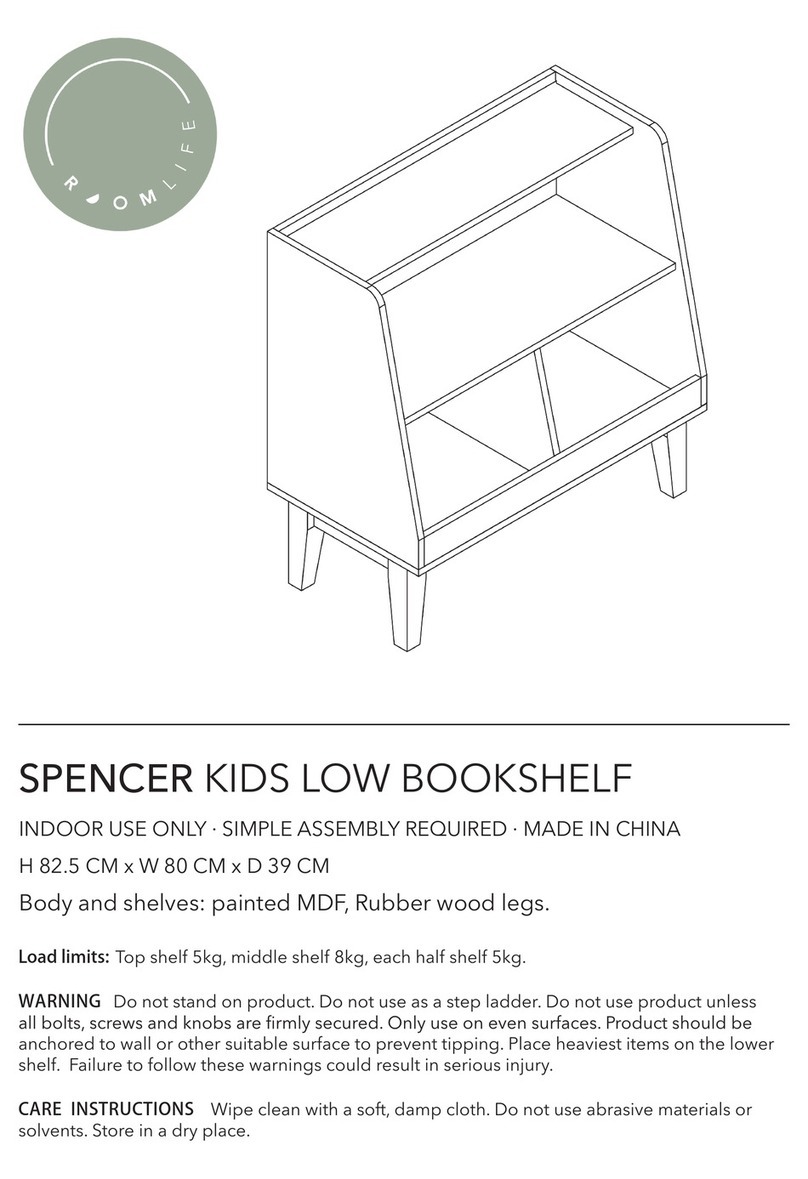
ROOMLIFE SPENCER Installation guide

ROOMLIFE

ROOMLIFE SPENCER Installation guide

ROOMLIFE ARLO User manual

ROOMLIFE

ROOMLIFE ARLO User manual

ROOMLIFE SVEIN ROUND COFFEE TABLE User manual

ROOMLIFE

ROOMLIFE SVEIN ROUND COFFEE TABLE User manual

ROOMLIFE SUNRISE User manual

ROOMLIFE

ROOMLIFE SUNRISE User manual

ROOMLIFE SVEIN User manual

ROOMLIFE

ROOMLIFE SVEIN User manual

ROOMLIFE SIENNA User manual

ROOMLIFE

ROOMLIFE SIENNA User manual

ROOMLIFE ATTICUS User manual

ROOMLIFE

ROOMLIFE ATTICUS User manual
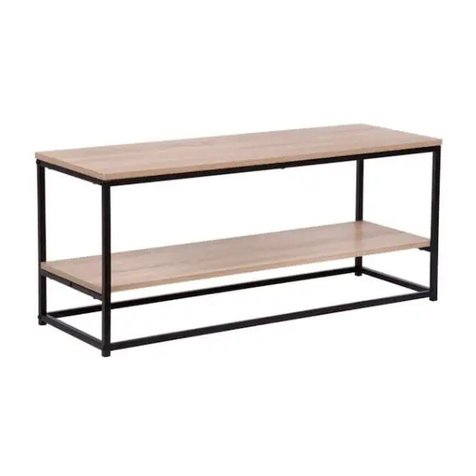
ROOMLIFE SVEIN User manual

ROOMLIFE

ROOMLIFE SVEIN User manual

ROOMLIFE SPENCER User manual

ROOMLIFE

ROOMLIFE SPENCER User manual

ROOMLIFE ATTICUS User manual

ROOMLIFE

ROOMLIFE ATTICUS User manual
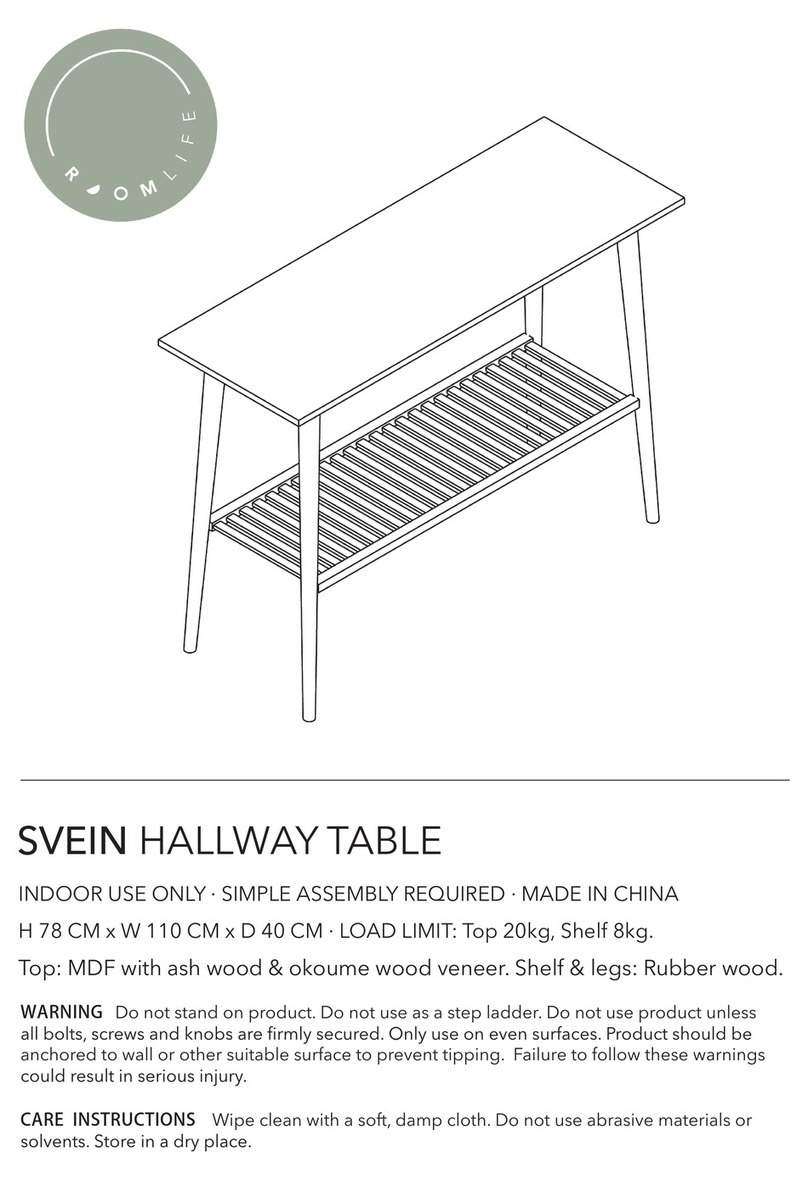
ROOMLIFE ELLA User manual

ROOMLIFE

ROOMLIFE ELLA User manual

Popular Indoor Furnishing manuals by other brands

RealFlame Outdoor Living 2020-WSTA manual

RealFlame

RealFlame Outdoor Living 2020-WSTA manual

Simpli Home brooklyn+max WyndenHall AXCLRY-08 manual

Simpli Home

Simpli Home brooklyn+max WyndenHall AXCLRY-08 manual

HOMEDEPOT Home Decorators Collection Wellford TH0107 Use and care guide

HOMEDEPOT

HOMEDEPOT Home Decorators Collection Wellford TH0107 Use and care guide

Twin Star Home ODP19029-48VB03 Important instructions

Twin Star Home

Twin Star Home ODP19029-48VB03 Important instructions

Simpli Home brooklin+max WyndenHall AXCRGL002-BL Assembly instructions

Simpli Home

Simpli Home brooklin+max WyndenHall AXCRGL002-BL Assembly instructions

West Elm 7782183 quick start guide

West Elm

West Elm 7782183 quick start guide

Herman Miller Keyn Disassembly for Recycling Instructions

Herman Miller

Herman Miller Keyn Disassembly for Recycling Instructions

Simpli Home Brooklyn+Max WyndenHall AXCBSACA01-WH manual

Simpli Home

Simpli Home Brooklyn+Max WyndenHall AXCBSACA01-WH manual

Simpli Home brooklyn + max WyndenHall AXCLRY72-WAL manual

Simpli Home

Simpli Home brooklyn + max WyndenHall AXCLRY72-WAL manual

home star Z1611035 Assembly instructions

home star

home star Z1611035 Assembly instructions

Vintage view VR Series installation instructions

Vintage view

Vintage view VR Series installation instructions

HAG Capisco user guide

HAG

HAG Capisco user guide

LOWE'S 1789VA-48-201-900-UM manual

LOWE'S

LOWE'S 1789VA-48-201-900-UM manual

B-Tech BT7165 Installation guide & parts list

B-Tech

B-Tech BT7165 Installation guide & parts list

Simpli Home brooklyn + max WyndenHall AXCCOS72-FG Assembly instructions

Simpli Home

Simpli Home brooklyn + max WyndenHall AXCCOS72-FG Assembly instructions

HAMPTON BAY Oak Cliff 186-411-ALC Use and care guide

HAMPTON BAY

HAMPTON BAY Oak Cliff 186-411-ALC Use and care guide

QU-AX JOY 54 03 20 Series manual

QU-AX

QU-AX JOY 54 03 20 Series manual

Simpli Home WyndenHall Brooklyn + Max AXCART14-RNAB manual

Simpli Home

Simpli Home WyndenHall Brooklyn + Max AXCART14-RNAB manual

manuals.online logo
manuals.online logoBrands
  • About & Mission
  • Contact us
  • Privacy Policy
  • Terms and Conditions

Copyright 2025 Manuals.Online. All Rights Reserved.