Sealing & Care:
We recommend you leaving your coop natural. You can stain your coop but should only use a "breathable" low VOC water based stain. You can have color added to these
products too...like painting, but it's a wood stain that lets the wood breathe. You paid a premium price for your coop in part to pay for the cedar. It will last outdoors in its
natural state for many years, better than almost any other wood. Sealing can keep the wood from going grey. That's the main benefit. Clean wood with mild detergent and
water or with a commercially available coop cleaner as needed. Glues used in all joints are completely waterproof and all metal parts are galvanized or have exterior rated
coatings.
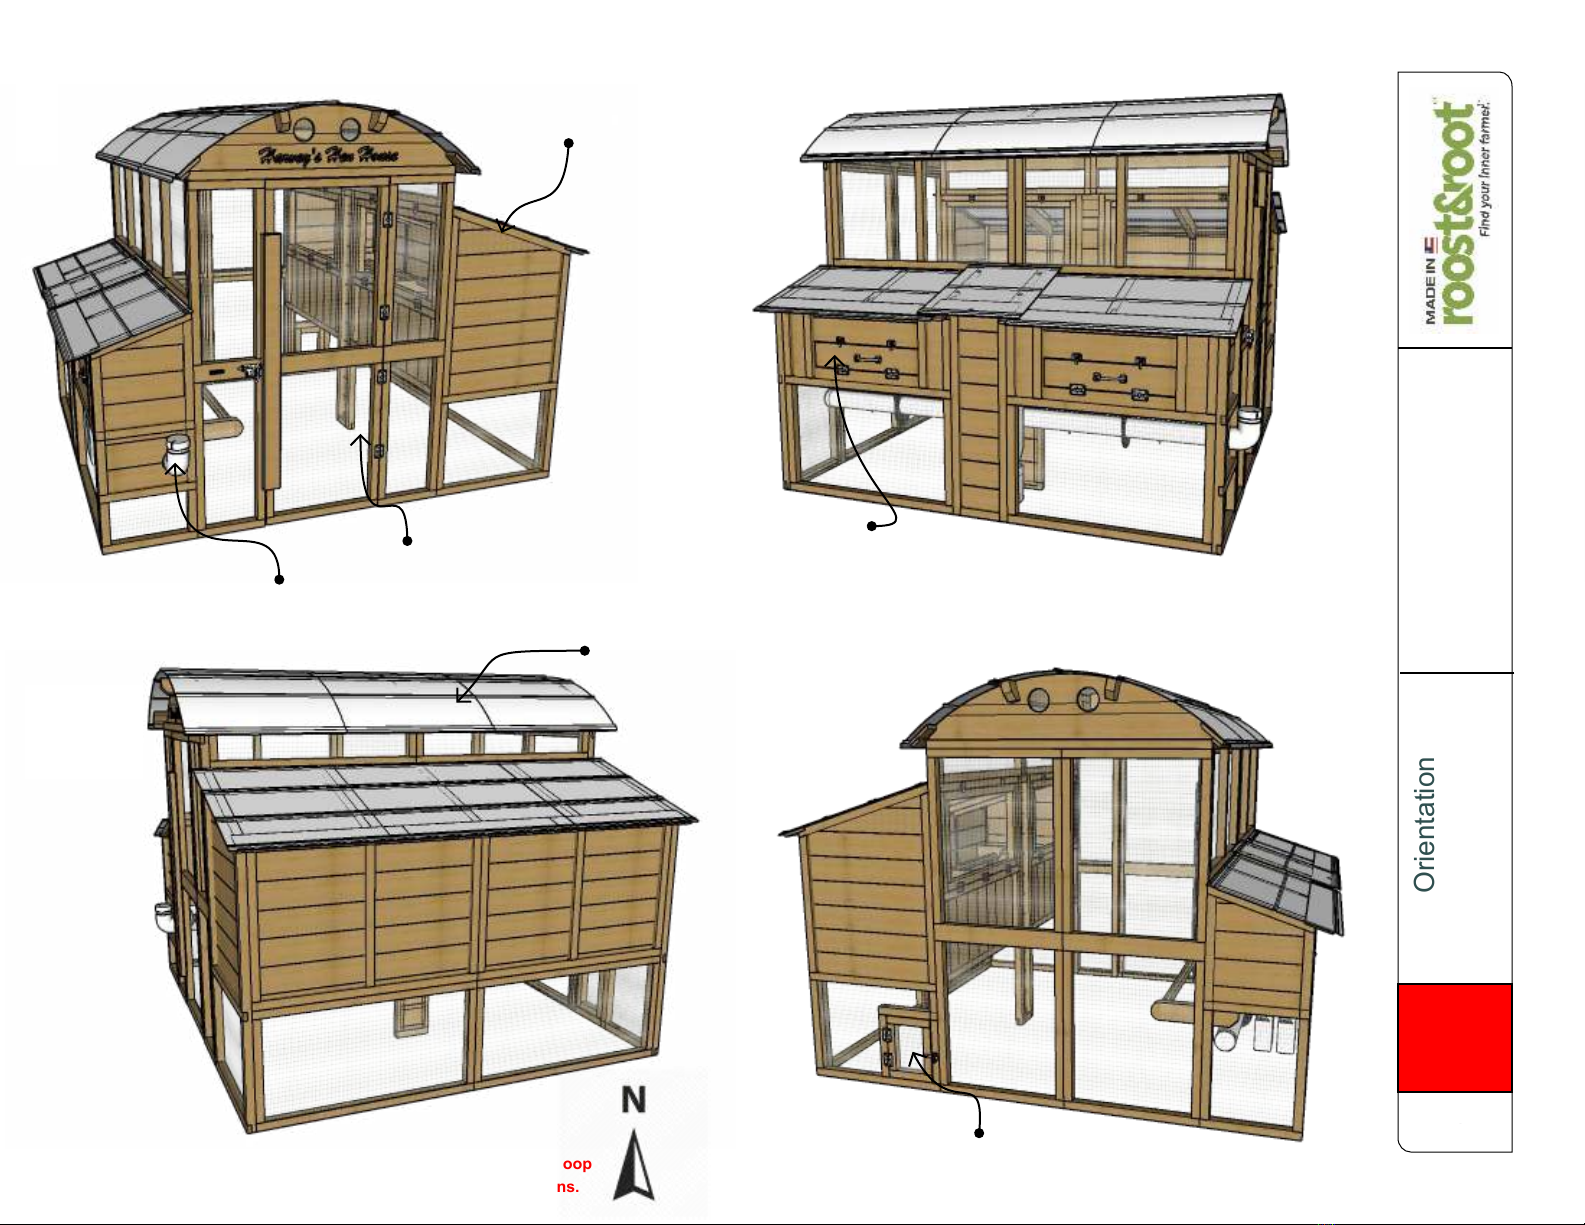
Placement:
Easy access to water/feed and clear access to doors is needed. Sunlight is not all bad, and the Galvalume roof does a good job at not transferring heat and provides shade.
Sunlight does a good job at disinfecting the ground under the coop. Fifty percent (50%) or more of direct sun is preferred. Good air movement around your coop is more
important than anything else. The proper side should face North if at all possible. Remember... High ground is dry ground. For coop doors to open easily over time, the
coop must be level.
Digging Predators:
The welded wire and cedar frames are stronger than almost any predator less than a bear :) so diggers are the prime nuisance. By far dogs are the most common digger.
Other "wild" animals, while more rare, certainly can dig too. If you’re worried about diggers, stack heavy block shaped rocks around perimeter of coop to make getting under
more difficult. Better yet, bury them around the perimeter just below grade. You can also attach a strip of wire that extends out from the bottom rails, and bury below the
surface of the soil. We recommend dirt in bottom of coops that has good drainage. Pine shavings, straw or shredded junk mail can be used in laying areas... but is not
recommended in the main run areas.
More About Cedar:
Your coop is built from rough cut domestic cedar. Our 2x2's are actually custom milled. Wood deemed defective is culled during milling, cutting and in fabrication... about 5%-
10% does not "make the cut". Knots, blemishes, fraying, coloring variations, minor surface cracking, slight warping and periodic worm marks are normal parts of natural
wood products. We try to make it to where a reversible part always has a “pretty side” and take care to make the “pretty side” show on all parts. If you’re unhappy with a
piece of wood we fabricated into your coop, send us a picture. We want you to love every piece of your new coop.
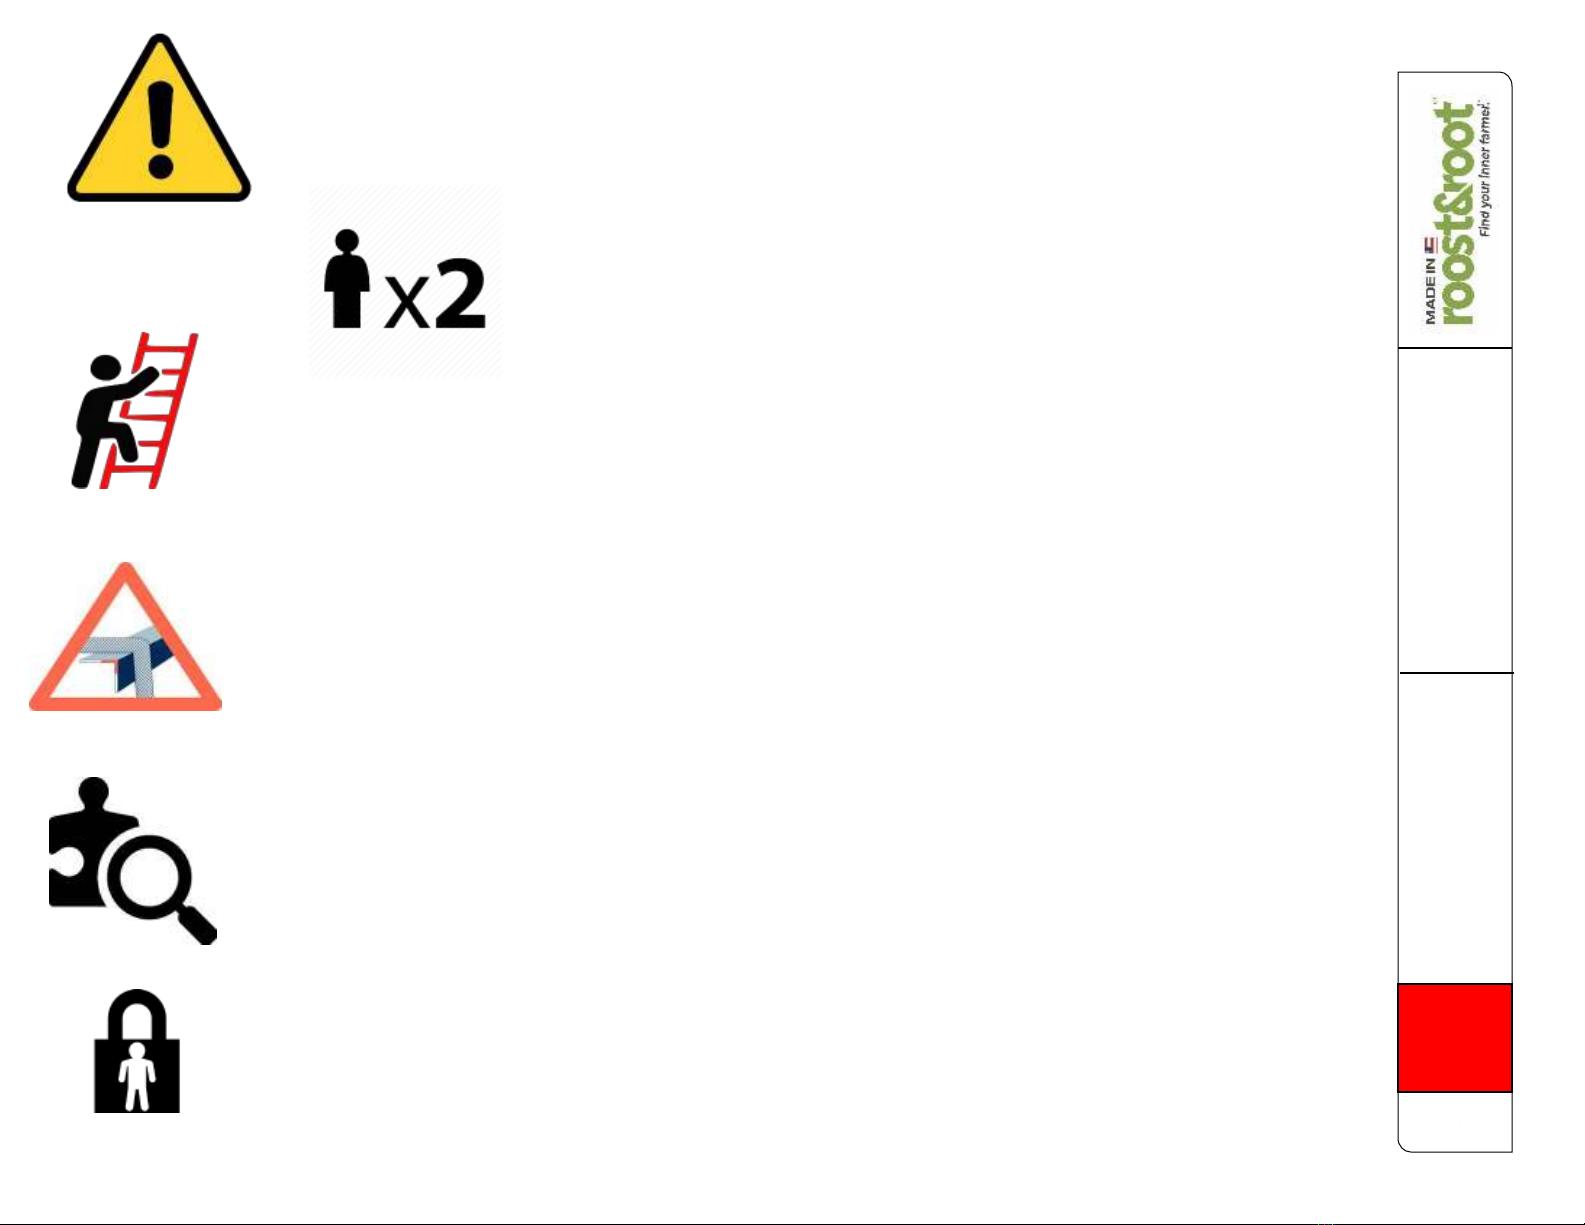
Understanding these concepts / conventions will help guide you through the instructions.
1 Mating edges of parts to be flush and tight (when called for) will keep measurements in tolerance as the coop grows in size.
2 CRITICAL: Having a flat area is required for the coop to assemble properly and operate properly.
3 We estimate about 12 man hours (a long day for 2 people) of ordinary skills to assemble. Two people are required for many steps.
4 You will need a drill (preferably cordless) a tape measure and a hammer. Everything else is provided.
5 Drive screws only deep enough to hold parts tight and not bury the heads too deeply as water can sit in the divots and it may cause
softening of the wood and prematurely loosen screws. It will also greatly decrease your ability to easily disassemble a part if needed.
6 You may end up directly driving in a screw. The provided screws are very aggressive and can drive with no pre-drilled hole or you can
preferably use the provided pilot countersink bit. Keep screw entry points in the meat of the wood and not too close to edges. Screws in
knots or close to edges should for sure be pre-drilled.
7 Rough Cedar may have knots, cracks or frays that are normal. We cull and cut around most imperfections we deem structurally problematic
during fabrication. If you get a piece that you feel is not beautiful, please let us know so we can address your concern.
8 We hand fabricated your coop with human carpenters. We work really hard to not make mistakes. On the rare occasion that we either
misfabricated a part, a part was damaged in shipping, or we forgot to package a needed part, contact us and we will ship out a replacement
part for you at no cost.
9 We recommend dirt floors in the runs of coops. A trimmed rubber mat can be placed in the bottom of egg boxes and you may wish to put
pine shavings or shredded junk mail in them. They are left wire so they can be cleaned in the event of a broken egg.