manuals.online logo
Brands
  1. Home
  2. •
  3. Brands
  4. •
  5. Rosen
  6. •
  7. Car Receiver
  8. •
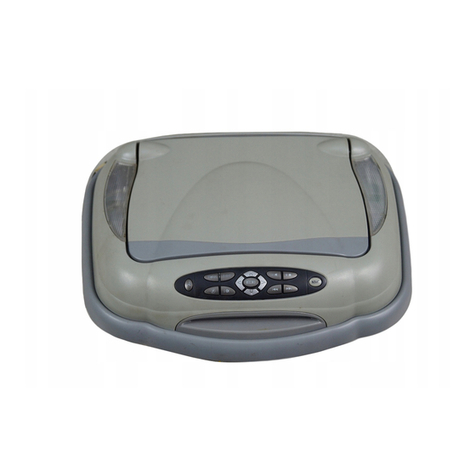
  9. Rosen ClearVue II User manual

Rosen ClearVue II User manual

Other manuals for ClearVue II

1

Other Rosen Car Receiver manuals

Rosen AV8900H User manual

Rosen

Rosen AV8900H User manual

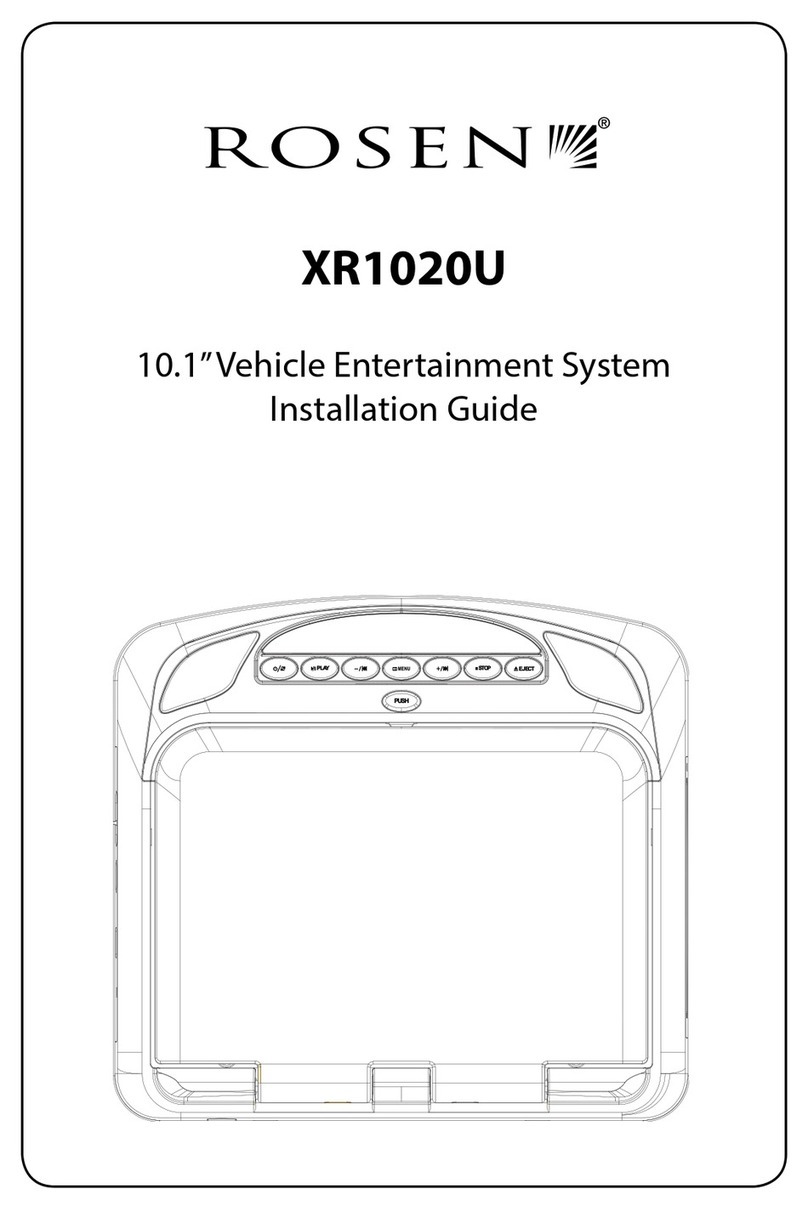
Rosen XR1020U User manual

Rosen

Rosen XR1020U User manual

Rosen RE9269D User manual

Rosen

Rosen RE9269D User manual

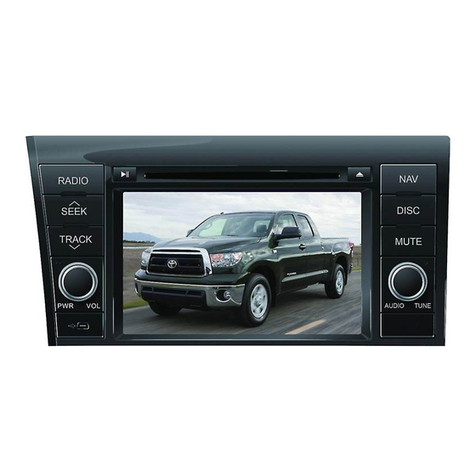
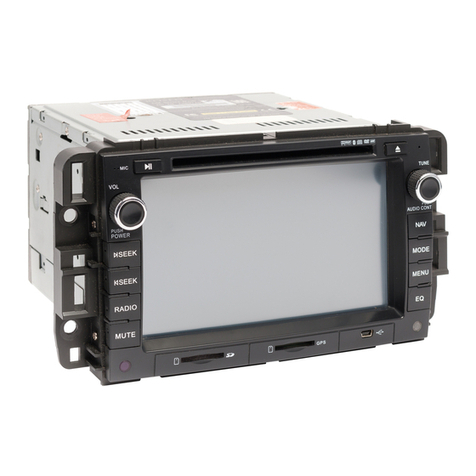
Rosen DS-GM1010 GM Series User manual

Rosen

Rosen DS-GM1010 GM Series User manual

Rosen DS-TY1070 User manual

Rosen

Rosen DS-TY1070 User manual

Rosen ClearVue II User manual

Rosen

Rosen ClearVue II User manual

Rosen DS-MZ0750 User manual

Rosen

Rosen DS-MZ0750 User manual

Rosen AV7000 Reference guide

Rosen

Rosen AV7000 Reference guide

Rosen X10 User manual

Rosen

Rosen X10 User manual

Rosen R6400V User manual

Rosen

Rosen R6400V User manual

Rosen RE8169D User manual

Rosen

Rosen RE8169D User manual

Rosen ZE0800D User manual

Rosen

Rosen ZE0800D User manual

Rosen DS-VW0710 User manual

Rosen

Rosen DS-VW0710 User manual

Rosen DS-HD0710 User manual

Rosen

Rosen DS-HD0710 User manual

Rosen XR1020U User manual

Rosen

Rosen XR1020U User manual

Rosen Mazda 3 User manual

Rosen

Rosen Mazda 3 User manual

Rosen In-Dash Multi-Media System User manual

Rosen

Rosen In-Dash Multi-Media System User manual

Rosen 410X User manual

Rosen

Rosen 410X User manual

Rosen G10 User manual

Rosen

Rosen G10 User manual

Rosen DS-TY1080 User manual

Rosen

Rosen DS-TY1080 User manual

Rosen T10 Reference guide

Rosen

Rosen T10 Reference guide

Rosen A10 User manual

Rosen

Rosen A10 User manual

Rosen RE1043D User manual

Rosen

Rosen RE1043D User manual

Popular Car Receiver manuals by other brands

Linear Series LS5050 Operation and installation manual

Linear Series

Linear Series LS5050 Operation and installation manual

Kenwood KRC-160 instruction manual

Kenwood

Kenwood KRC-160 instruction manual

Sony XR-CA430X Service manual

Sony

Sony XR-CA430X Service manual

T+A Elektroakustik K1 CD-RECEIVER operating instructions

T+A Elektroakustik

T+A Elektroakustik K1 CD-RECEIVER operating instructions

SoundMax SM-CDM1052 instruction manual

SoundMax

SoundMax SM-CDM1052 instruction manual

Xtrons HD107HD user manual

Xtrons

Xtrons HD107HD user manual

Mopar RB3 manual

Mopar

Mopar RB3 manual

Clarion ADDZEST DMZ615 owner's manual

Clarion

Clarion ADDZEST DMZ615 owner's manual

Sony XAV-601BT Specifications

Sony

Sony XAV-601BT Specifications

PIE GM12-POD/S Operation manual

PIE

PIE GM12-POD/S Operation manual

Hyundai H-910H instruction manual

Hyundai

Hyundai H-910H instruction manual

Sony XR-C6100 Service manual

Sony

Sony XR-C6100 Service manual

Sony CDX-L600X - Fm/am Compact Disc Player Installation/connections

Sony

Sony CDX-L600X - Fm/am Compact Disc Player Installation/connections

Motorola VWA63 Service manual

Motorola

Motorola VWA63 Service manual

Sound Storm STM93R user manual

Sound Storm

Sound Storm STM93R user manual

Nextar D3201 instruction manual

Nextar

Nextar D3201 instruction manual

Alpine CDE-163BT owner's manual

Alpine

Alpine CDE-163BT owner's manual

Kenwood KDC-X303 quick start guide

Kenwood

Kenwood KDC-X303 quick start guide

manuals.online logo
manuals.online logoBrands
  • About & Mission
  • Contact us
  • Privacy Policy
  • Terms and Conditions

Copyright 2025 Manuals.Online. All Rights Reserved.

ClearVue II Entertainment System
Owner's Manual
a new generation of leadership in mobile vide
ROSEN

a new generation of leadership in mobile video
NOTICE OF INTENDED USE
THE CLEARVUE II ENTERTAINMENT SYSTEM IS DESIGNED TO
ENABLE VIEWING OF VIDEO RECORDINGS ONLY FOR REAR-
SEAT OCCUPANTS.
MOBILE VIDEO PRODUCTS ARE NOT INTENDED FOR VIEW-
ING BY THE DRIVER WHILE THE VEHICLE IS IN MOTION.
SUCH USE MAY DISTRACT THE DRIVER OR INTERFERE WITH
THE DRIVER’S SAFE OPERATION OF THE VEHICLE, AND
THUS RESULT IN SERIOUS INJURY OR DEATH. SUCH USE
MAY ALSO VIOLATE STATE LAW.
ROSEN ENTERTAINMENT SYSTEMS DISCLAIMS ANY LIABIL-
ITY FOR ANY BODILY INJURY OR PROPERTY DAMAGE THAT
MAY RESULT FROM ANY IMPROPER OR UNINTENDED USE.
About the Registered Marks
(DVD systems only) This product incorporates copyright protection
technology that is protected by method claims of certain U.S. patents
and other intellectual property rights owned by Macrovision
orporation and other rights owners. Use of this copyright protection
technology must be authorized by Macrovision orporation, and is
intended for home and other limited viewing uses only unless
otherwise authorized by Macrovision orporation. Reverse
engineering or disassembly is prohibited.
Manufactured under license from Dolby Laboratories. Dolby and the
double-D symbol are trademarks of Dolby Laboratories.
FCC Approval
This equipment has been tested and found to comply with the limits
for a lass B digital device, pursuant to Part 15 of the F Rules.
These limits are designed to provide reasonable protection against
harmful interference in a residential installation. This equipment
generates, uses, and can radiate radio frequency energy and, if not
installed and used in accordance with the instructions, may cause
harmful interference to radio communications. However, there is no
guarantee that interference will not occur in a particular installation.
If this equipment does cause harmful interference to radio or
television reception, which can be determined by turning the
equipment off and on, the user is encouraged to consult the dealer
or an experienced radio/TV technician for help.
NOTICES
Table of Contents
GETTING STARTED ..................................................................................................................................................................... 6
SWITCHING ON
LOWERING AND ADJUSTING THE SCREEN
FINDING THE REMOTE CONTROL BUTTONS YOU NEED
POWERING ON THE DVD PLAYER OR VCR
VIEWING
LISTENING OVER THE VEHICLE SPEAKERS
INTRODUCTION .......................................................................................................................................................................... 8
USING THE DISPLAY-MOUNTED CONTROLS ..................................................................................................................................... 9
USING THE REMOTE CONTROL .................................................................................................................................................... 11
BASIC REMOTE CONTROL B UTTONS ............................................................................................................................................ 12
USING MENU AND NAVIGATION BUTTONS ..................................................................................................................................... 14
USING AUDIO BUTTONS ........................................................................................................................................................... 15
USING DVD-ONLY BUTTONS .................................................................................................................................................... 16
OPERATING YOUR DVD PLAYER ............................................................................................................................................... 18
OPERATING YOUR VCR ........................................................................................................................................................... 19
USING THE HEADPHONES.......................................................................................................................................................... 20
LISTENING OVER THE CAR SPEAKERS......................................................................................................................................... 21
WATCHING BROADCAST TELEVISION WITH TUNER-EQUIPPED SYSTEMS) ............................................................................................. 21
USING GAMES AND CAMCORDERS .............................................................................................................................................. 22
CHANGING DVD PLAYER OR VCR SETUP .................................................................................................................................. 22
TROUBLESHOOTING .................................................................................................................................................................. 27
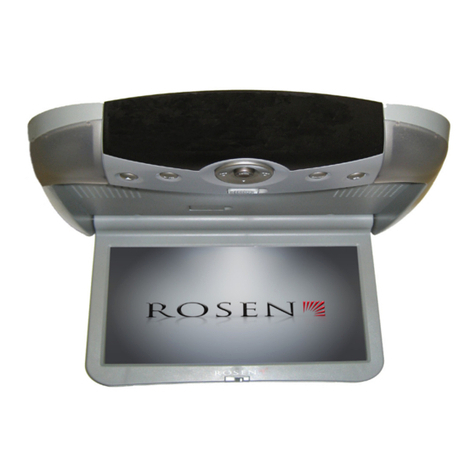
INTRODUCING T E CLEARVUE II SYSTEM
1RELEASE BUTTON
2LCD DISPLAY
3DOWN BUTTON
4UP BUTTON
SPEAKER ON/OFF BUTTON
6SOURCE BUTTON
7MUTE BUTTON
8DOME LIGHT ON BUTTON (10.4" DISPLAY ONLY)
9DOME LIGHT DISABLE BUTTON (10.4" DISPLAY ONLY)
10DOME LIGHT
11DOME LIGHT
12ADJUSTER KNOB (6.8" AND 7.0" DISPLAYS)
1
2
34
567
89
10 11
12
6
ClearVue II Owner’s Manual
GETTING STARTED
Switching On
Use the system when your vehicle is running, or with the
ignition switch in the “accessory” position.
Lowering and Adjusting the Screen
For 6.8" and 7.0"
screens: Press the
release button, as
shown. The screen
lowers and powers on
automatically. To adjust
the viewing position,
insert two fingers into the
adjustment knob and
rotate as needed.
For 10.4" screens: Press
the release button, as
shown. The screen
releases slightly and
powers on automatically.
anually position it for
optimal viewing.
Finding the Remote Control Buttons You Need
Powering On the DVD Player or VCR
Point the remote control at
the infrared sensor above
the monitor and press
POWER.
POWER
EJECT
PLAY
SOURCE (on overhead as well)
SPEAKER (on overhead as well)
7
Rosen Entertainment Systems
Viewing
Your ClearVue II system includes either a Rosen DVD player
or VCR for your video-viewing enjoyment. For more informa-
tion on operating your DVD player or VCR, see “Operating
Your DVD Player” or “Operating Your VCR” in this manual, or
see the manual provided with the unit.
DVD Player Systems
To Watch a DVD:
1 Press EJECT to open the
disc loading tray.
2 Place a DVD onto the tray
label side up, if labelled.
3 Press PLAY or EJECT to retract the disc tray.
For most DVDs, playback begins automatically. If not, press
PLAY or ENTER.
To Watch Broadcast Television (on TV Tuner-equipped systems):
1 Press SOURCE until TV and a channel number (for ex-
ample, “2”) appear on the screen.
2 Press the UP CH and DOWN CH arrow buttons on the
remote to change channels.
To Use Another Video Source (optional video game or camcorder):
1 Connect the RCA audio and video outputs of the device to
the front of the DVD player.
2 Press SOURCE until a video image appears on the screen.
VCR Systems
To Watch a Video assette:
Insert a VCR into the video
tape door. Playback begins
automatically.
To Watch Broadcast Televi-
sion:
1 Press SOURCE until CH__ and the current channel number
(for example, “CH 2”) appear on the screen.
2 Press the UP CH and DOWN CH arrow buttons on the
remote to change channels.
To Use Another Video Source (such as an optional video game or
camcorder):
1 Connect the RCA audio and video outputs of the device to
the front of the VCR.
2 Press SOURCE until LINE 2 appears on the screen.
The video image should now appear on the screen.
Listening Over the Vehicle Speakers
1 Press SPEAKER until F ON appears on the screen.
2 Turn on the car radio and tune to F frequency 88.7. If no
ClearVue audio is heard try 89.1.
POWER
EJECT
STOP
REC REC PLAY VIDEO AUDIO
LR
LINE IN 2
F.F
8
ClearVue II Owner’s Manual
INTRODUCTION
Welcome to the ClearVue II Vehicle Entertainment System
wner’s Manual. The Rosen ClearVue II has been designed
to give your vehicle’s occupants a more enjoyable journey.
Ensure that you and your passengers take time to read these
instructions.
Your system includes a combination of the following compo-
nents:
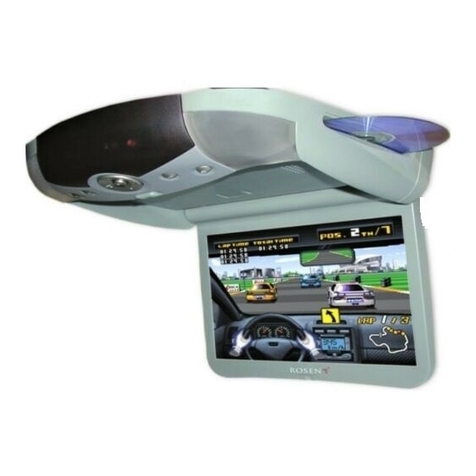
· An Overhead onitor—either a 10.4", 7.0" (widescreen), or
6.8" flat panel display
· A Video Cassette Recorder (VCR) with TV Tuner
or
· A DVD/CD/ P3 Player with or without a TV Tuner
· Wireless Infrared (IR) Headphones (2 pair)
· A Remote Control
· A Stereo F odulator (enables the video sound to be
heard over your vehicle’s speakers)
· Other parts and cables which are installed out of sight in
your vehicle
Precautions
· To avoid a dead battery, do not use the system for long
periods of time without starting the engine.
· Use this system only after proper installation by a qualified
installer.
•If the units show signs of overheating or malfunction,
power off the unit and consult your dealer immediately.
· Do not open any of the units; there are no serviceable
parts inside.
· Do not press on the monitor unit; this can distort the
picture or damage the LCD panel.
· Clean the LCD panel with a slightly damp, soft cloth using
household glass cleaner. Do not use solvents such as
benzene, thinner, commercially available cleaners or
antistatic spray.
· If your car was parked in a very cold or very hot place, the
picture may not be clear. The monitor is not damaged. The
picture will become clear after the temperature of the
ClearVue components returns to normal.
· When using portable radios and telephones near the
system, picture or sound interference may occur.
Note: The DVD system voltage range is 11-16VD operating voltage.
The system operating temperature is 0o to 50o Celsius. Use of the
DVD Player beyond the safe operating ranges listed can cause
temporary or permanent damage to the unit, and such damage may
not covered by the manufacturer’s warranty.
9
Rosen Entertainment Systems
USING T E DISPLAY-MOUNTED CONTROLS
1
2
456 7
3
8
1 Release—Press to lower the screen.
2 LCD Display—Displays information about your system’s status.
Up/Down—Press both buttons at the same time to access the
FPD Menu and change the color contrast brightness and tint of
your flat panel display monitor. See “Changing Monitor Settings”.
4 Source—Press to select a viewing source.
DVD: Press to select DVD mode TV mode or auxiliary mode.
VCR: Press to select VCR mode TV mode Line 1 or Line 2.
5 Speaker On/Off—Press to turn on/off the FM Modulator.
When the FM Modulator is on you can hear ClearVue audio over
the vehicle's speakers. When the FM Modulator is off you can
hear ClearVue audio by using the supplied wireless headphones.
To listen to the vehicle sound system normally turn off the
FM Modulator.
6 Mute—Mutes ClearVue audio to FM Modulator and headphones.
7 Dome Light On—10.4" displays only. Press to turn on the dome
light when the doors are closed. Press again to turn the dome
light off. When backlit red dome light stays on whether the door
is open or closed.
8 Dome Light Disable—10.4" displays only. Press to prevent
illumination when a door is open. When backlit red dome light
remains off even when doors are open.
Note: When dome light buttons are backlit green, dome lights
operate normally, illuminating when a door opens and turning off
when doors close. See “Using the Dome Lights”.
10
ClearVue II Owner’s Manual
Changing Monitor Settings
The ClearVue II monitor has adjustable settings for color,
contrast, brightness, and tint. To change these settings,
press the UP CH and DOWN CH arrow buttons on the overhead
console at the same time, and hold for two seconds. A menu
with the following options appears:
COLOR (32)
CONTRAST (32)
BRIGHT (32)
TINT (32)
To select a setting to be changed: Press SOURCE to move the
cursor up and down the menu list.
To change the value of a setting: Use the UP CH and DOWN CH
arrow buttons to decrease and increase the setting. The
range of values is from zero to 63, with 32 as the default.
To exit the menu: Press the UP CH and DOWN CH arrow
buttons at the same time, and hold for two seconds.
Note: While it is not technically a “monitor” setting, the DVD player
can be configured for a widescreen output compatible with the
learVue7” screen. This will eliminate or greatly reduce the “black
bars” on the top and bottom of the 7” screen when viewing a
“widescreen” DVD when the DVD Player is in “Normal” screen mode.
Please see ” hanging the Aspect Ratio Mode” on page 24 for more
information.
Using the Dome Lights
The ClearVue II overhead consoles have built-in dome lights.
This is due to installation requirements in many vehicles,
where the factory dome light is removed during installation of
the overhead console.
For 6.8" and 7.0" displays: The dome light operates just as the
original factory dome light did—illuminated when the door is open and
off when the doors are closed.
For 10.4" displays: There are two dome light control buttons on the
overhead console. Press to turn on/off the following features.
Dome Light On Dome Light Disable
When backlit green: The dome lights operate normally illuminating
when a door opens and turning off when the doors close.
When backlit red:
Dome Light On—Dome light stays on whether the door is open or
closed.
Dome Light Disable—Dome light is off while door is open. Use this
button when the door is open for long periods of time to prevent
draining the battery.
Note: Some vehicles have a dome light dimming feature that causes
the dome light to fade out gradually. The 10.4" system dome light
may not fade in the exact manner as the factory dome light, but will
still turn on and off normally in conjunction with the use of the
vehicle’s doors. This is proper operation for the system. If you have
any questions, contact your Rosen authorized dealer.