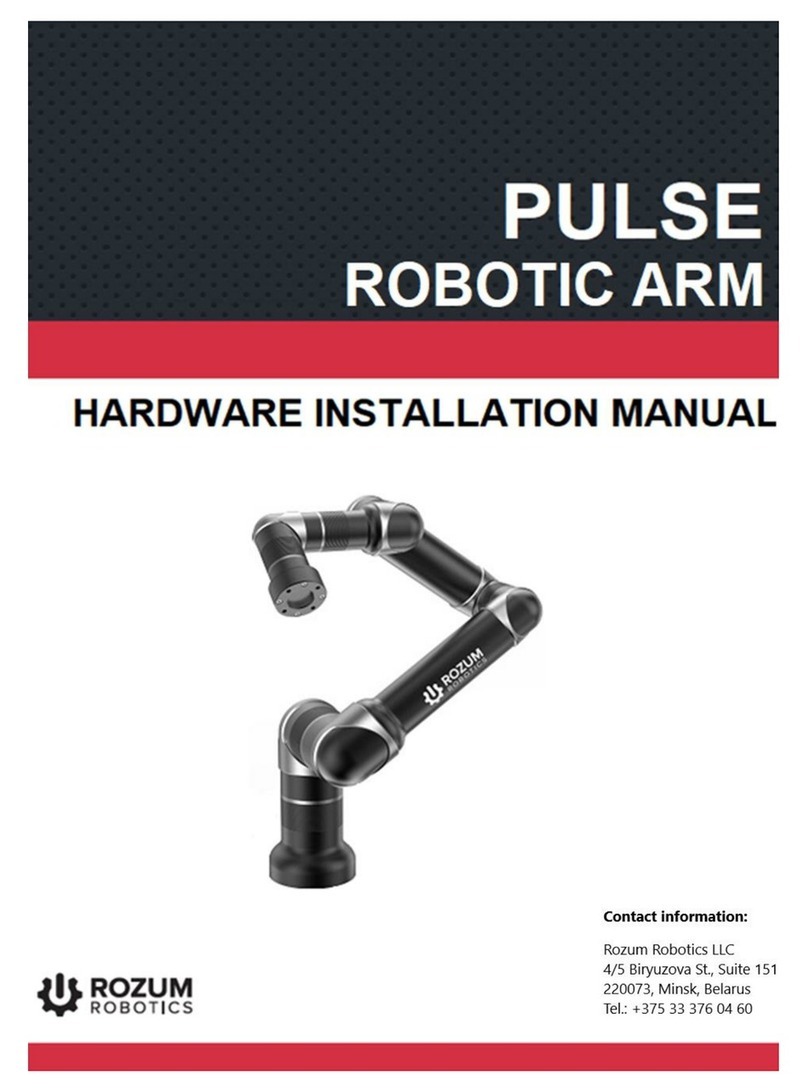
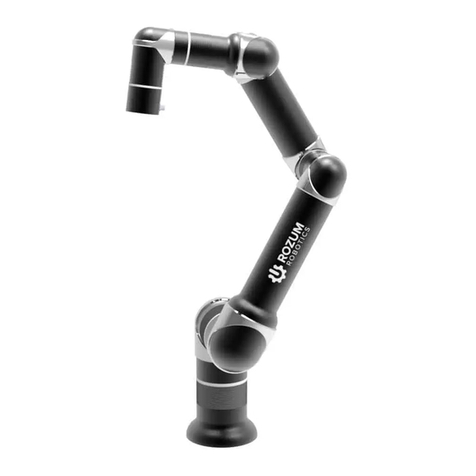
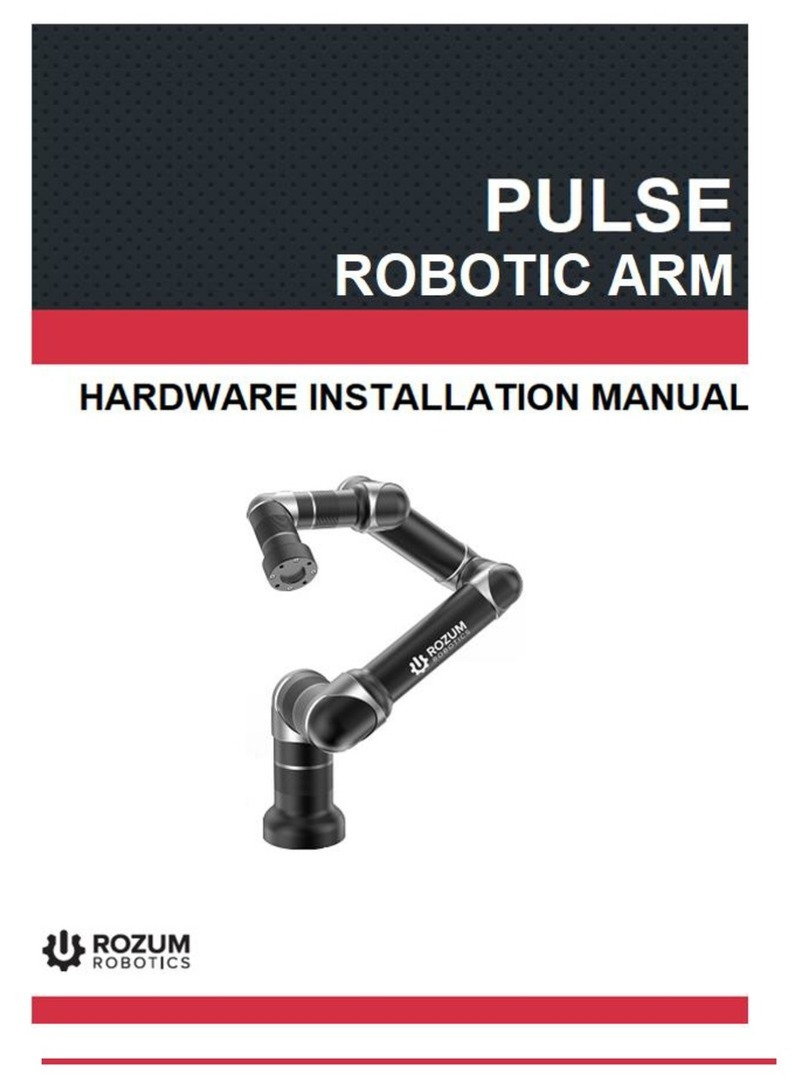
rozum robotics Pulse User manual


ROZUM ROBOTICS PULSE DESK
Rev. 5, in effect from Q2 2019
Page 2 | 56
TABLE OF CONTENTS
INTRODUCTION......................................................................................................................... 4
WARNING SIGNS AND THEIR MEANINGS......................................................................... 4
1ABOUT THE PULSE ROBOTIC ARM............................................................................. 5
1.1 Design and components ................................................................................................. 5
1.2 States and modes of the PULSE robot ......................................................................... 7
1.2.1 Normal states and modes of the PULSE robotic arm ............................................... 7
1.2.2 Emergency state........................................................................................................ 8
1.2.3 Untwisting mode....................................................................................................... 9
1.3 Safe operation requirements....................................................................................... 10
2GETTING STARTED WITH THE ROBOTIC ARM.................................................... 11
2.1 Switching the arm......................................................................................................... 11
2.2 Setting communication with the PULSE arm............................................................ 12
2.2.1 Static IP................................................................................................................... 12
Windows OS......................................................................................................................... 12
Linux OS............................................................................................................................... 14
2.2.2 Dynamic IP ............................................................................................................. 16
3THE PULSE DESK USER INTERFACE........................................................................ 16
3.1 Accessing the PULSE DESK software ....................................................................... 17
3.2 Edit screen..................................................................................................................... 17
3.3 The Main Menu of PULSE DESK.............................................................................. 19
4PROGRAMMING WITH PULSE DESK........................................................................ 20
4.1 Completing the Edit stage............................................................................................ 21
4.1.1 Creating a program ................................................................................................. 21
4.1.2 Adding commands to a program body.................................................................... 21
4.1.3 Adding a comment to a program ............................................................................ 24
4.1.4 Setting command parameters.................................................................................. 25
4.1.4.1 Wait for command........................................................................................... 26
4.1.4.2 Send to command ............................................................................................ 27
4.1.4.3 Delay command............................................................................................... 28
4.1.4.4 Point command................................................................................................ 28
4.1.5 Deleting commands ................................................................................................ 31
4.1.6 Relocating commands............................................................................................. 31
ROZUM ROBOTICS PULSE DESK
Rev. 5, in effect from Q2 2019
Page 3 | 56
4.1.7 Renaming commands.............................................................................................. 31
4.2 Debugging a program .................................................................................................. 32
4.2.1 The Check stage screen........................................................................................... 32
4.2.2 Conducting a test run .............................................................................................. 33
4.3 Running a program...................................................................................................... 34
4.3.1 Program execution.................................................................................................. 35
4.3.2 Stopping a program................................................................................................. 35
4.3.2.1 Emergency stop ............................................................................................... 35
4.3.3 Saving a program.................................................................................................... 36
4.3.4 Renaming a program............................................................................................... 36
4.4 Managing programs..................................................................................................... 37
4.4.1 Loading a program.................................................................................................. 37
4.4.2 Deleting a program ................................................................................................. 37
4.5 Closing PULSE DESK................................................................................................. 37
4.6 Updating PULSE DESK.............................................................................................. 38
4.6.1 Direct updating via Internet .................................................................................... 38
4.6.2 Updating from a USB ............................................................................................. 39
5CONTROLLING THE ARM VIA REST API ................................................................ 39
6SANDBOX........................................................................................................................... 41
Operating the sandbox ...................................................................................................... 41
Loading external software to the sandbox ........................................................................ 41
ANNEX I. SAMPLE PULSE DESK PROGRAM................................................................... 43
Starting PULSE DESK ..................................................................................................... 43
Creating a new program.................................................................................................... 44
Setting a basic trajectory by hand guiding........................................................................ 45
Setting intermediary waypoints ........................................................................................ 49
Verifying and editing the trajectory.................................................................................. 51
Adding a comment and setting other commands.............................................................. 51
Conducting a test run ........................................................................................................ 54
Executing and stopping the program ................................................................................ 55

ROZUM ROBOTICS PULSE DESK
Rev. 5, in effect from Q2 2019
Page 4 | 56
INTRODUCTION
The data, instructions, and recommendations in this manual are intended to assist operators of the
PULSE robotic arm (hereinafter—arm, robotic arm, robot) in the following:
understanding the operating principles of its hardware and software components
using PULSE DESK to program and control motion of the PULSE robotic arm
WARNING SIGNS AND THEIR MEANINGS
Below, we list the warning symbols used throughout the manual and explain their meanings.
The sign denotes important information that is not directly related to safety, but that the
user should be aware of.
The sign indicates important safety precautions the user should follow.

ROZUM ROBOTICS PULSE DESK
Rev. 5, in effect from Q2 2019
Page 5 | 56
1ABOUT THE PULSE ROBOTIC ARM
1.1 Design and components
The PULSE robotic arm is a lightweight manipulator intended for collaborative operation in
industrial and commercial applications.
Figure 1-1: The PULSE robot (without an end effector)
Although the arm is designed to operate safely in close proximity to humans, the
integrator should conduct a risk assessment for each particular installation to evaluate
the need for additional safety devices (e.g., safeguards).
In its basic design, the PULSE arm comes in combination with the hardware and software
components listed in Table 1-1.

ROZUM ROBOTICS PULSE DESK
Rev. 5, in effect from Q2 2019
Page 6 | 56
Table 1-1:Hardware and software components supplied with the PULSE robotic arm
Component
Intended use
Hardware
Control box
To control operation of the PULSE robotic arm.
Emergency stop button
To ensure Category 1 stop of the robotic arm in an emergency.
Software
PULSE DESK
To program the PULSE robotic arm to move along a desired trajectory
and perform different kinds of operations with a work tool.
Without an end effector, the PULSE robotic arm includes the following major structural sections
(see Figure 1-1):
a mounting plate (1)
an arm base (2)
six axes (3-8), comprising Rozum Robotics self-designed servo motors
a wrist with a LED indicator and a cable connector (9)
For detailed structural design and component-specific data, refer to the Hardware
Installation Manual.
In addition, the arm includes linkage elements—aluminum alloy tubes and elbow fittings. On the
elbow fitting above the wrist, there are four control buttons as shown below.
Figure 1-2: Control buttons of the PULSE robotic arm

ROZUM ROBOTICS PULSE DESK
Rev. 5, in effect from Q2 2019
Page 7 | 56
1.2 States and modes of the PULSE robot
1.2.1 Normal states and modes of the PULSE robotic arm
Table 1-2 describes the normal states and modes of the robotic arm. Transition from
INITIALIZATION to READY is automatic, whereas from READY to WORK and back—are
software-enforced.
Table 1-2:The states and modes of the PULSE robotic arm
State
Details
INITIALIZATION
Power is supplied to the robotic arm via the cable connecting it to the control
box. The arm is initializing, running self-tests to check its components. During
the initialization, the LED on the control box is blinking green, while the LED
on the robotic arm is off.
Do not move the arm manually until the initialization is over
and the wrist LED on the arm is steady green!
In case any self-test fails, the arm goes to the emergency state.
The red LED on the control box lights up, whereas the LED on
the arm wrist remains off.
READY
The robotic arm is on and ready for operation, but not in motion. The green
LED on the control box is constantly on. The LED on the arm wrist is steady
green.
You can now proceed to initialize the PULSE DESK software
(see Section 3.1) or get access to the API (see Section 5) or the sandbox
(see Section 6).
If you are initializing the PULSE DESK software for the first time, the arm
goes to the LEARN mode as soon as the starting page of the software is
displayed on the screen. Subsequently, the LEARN mode is enabled whenever
you create a new program (see Section 4.1.1).
Once the LEARN mode is on, the control buttons are enabled, and the wrist
LED turns yellow. In the mode, two sub-modes are possible:
Freeze: The arm joints are locked in their current positions, and the user
cannot move them by hand. The Freeze mode is on by default.
In the Freeze mode, an attempt to move the robotic arm by hand
guiding can cause damage to its components.

ROZUM ROBOTICS PULSE DESK
Rev. 5, in effect from Q2 2019
Page 8 | 56
READY (cont’d)
Free Drive (Zero Gravity): The arm joints become moveable, and users
can change their positions by hand guiding.
In the Free Drive mode, arm joints are not locked. To avoid
accidental damage, make sure to hold the arm tightly, providing
proper support.
To enable/ disable the mode, press the FREE DRIVE MODE button
(see Figure 1-2). When the Free Drive mode is enabled, the wrist LED turns
blue.
WORK
This is a state of active operation, when the robotic arm moves or performs
any other programmed actions (e.g., closes/ opens the gripper).
The green LED on the front panel of the control box is constantly on, and the
wrist LED is blinking green.
1.2.2 Emergency state
During operation, the arm can go to the Emergency state due to a fatal or non-fatal error.
Table 1-3 below describes the indication and state of the PULSE arm, as well as recommendations
how to respond to the emergencies.
Table 1-3: Indication and user response in an emergency state
When the
error is non-
fatal…
The wrist LED turns red. On the control box, the red LED is steady on, while the
green LED is blinking. PULSE DESK, if started, displays an emergency state
warning.
User actions:
1. Eliminate the cause of the error (e.g., an obstacle).
2. In the warning dialog, click Recover.
When the
error is
fatal…
On the control box, the red LED is steady on, while the green LED is blinking.
The wrist LED goes off since the arm is de-energized and switches to the relaxed
state.
In the relaxed state, the arm cannot retain its current position.
User actions:
1. Find out and eliminate the cause of the fatal error.
2. Switch the arm off and then back on by flipping the power switch on the
back of the control box. If the arm fails to resume normal operation after the
rebooting, contact the vendor’s Service personnel.

ROZUM ROBOTICS PULSE DESK
Rev. 5, in effect from Q2 2019
Page 9 | 56
1.2.3 Untwisting mode
The arm can go to the untwisting mode after an emergency shutdown if a twist is detected on one
or more motors in its joints during initialization. A twist is when a motor has made more than one
360° turn.
Multiple twists can lead to wire breaks and other irreparable damages.
As soon as the arm goes to the untwisting mode, access to the PULSE DESK interface is disabled.
REST API functions causing the robot to move become unavailable.
REST API functions to read parameters remain available even in the untwisting mode.
Simultaneously, a twist detection alert appears on the screen. In the alert, you get the following
information:
which axis (one or more) has a motor with a twist (for axis numbers, see Figure 1-3)
how many turns to make to untwist the axis (axes)
in which direction to make the turns
If a twist detection alert instructs “Axis 1 —3 turn clockwise,” this means that you need
to untwist Axis 1 by rotating it 360°three times in the clockwise direction.
Figure 1-3: PULSE arm axes

ROZUM ROBOTICS PULSE DESK
Rev. 5, in effect from Q2 2019
Page 10 | 56
To get back to the operation mode from the untwisting one, follow the instructions below.
If you controlling the arm via REST API:
1. Rotate the axis (axes) with a detected twist manually as specified in the twist detection
alert. For axis numbers, see Figure 1-3.
2. Send the PUT/untwisting/finish request to make sure you have completed the untwisting
as appropriate (for details of using the command, refer to the User API Reference Guide).
If the command response is:
OK —untwisting is completed successfully, and you can go back to normal operation
of the arm.
A twist detection alert —untwist the arm manually once again as instructed in the alert
and send another PUT/untwisting/finish request to check the untwisting results.
If you are controlling the arm via the PULSE DESK interface:
1. Rotate the axis (axes) with a detected twist manually as specified in the twist detection
alert. For axis numbers, see Figure 1-3.
2. In the twist detection alert (Figure 1-4), click Yes, robot has been untwisted to confirm
you have untwisted the axis (axes) manually as instructed.
Figure 1-4: PULSE DESK twist detection alert
If you have untwisted the robot as appropriate, the twist detection alert disappears from the
screen.
If you have failed to eliminate the twist or act as instructed, the alert remains on the screen
and you have to untwist the arm once again in accordance with the instructions in the alert.
1.3 Safe operation requirements
Make sure to read and meet the requirements before operating the robot.
To ensure safe operation of the PULSE robot, it is essential to comply with the following
requirements:
Conduct a risk assessment of your application to evaluate the need for additional safety
devices (e.g., safety cages, fencing, etc.) or any other risk-mitigating measures.

ROZUM ROBOTICS PULSE DESK
Rev. 5, in effect from Q2 2019
Page 11 | 56
Provide continuous power supply to the robotic arm (e.g., installing an uninterruptible
power supply, a redundancy circuit, etc.). Otherwise, we cannot guarantee that the robotic
arm maintains its position during a power outage, which may result in serious damage.
Keep away from the workspace of the arm when it is in the WORK state.
2GETTING STARTED WITH THE ROBOTIC ARM
2.1 Switching the arm
Important! Before you switch the PULSE robotic arm, it must be ready for operation, i.e.:
-mounted at its operating location
-connected to the control box, the work tool, the emergency button, and additional
equipment (if any)
-connected to your local network
-pass pre-commissioning checks
For detailed installation, connection, and pre-commissioning check instructions, refer to the
HARDWARE INSTALLATION MANUAL.
To switch the PULSE robotic arm, follow the instructions below:
Before powering the control box, make sure all cables are correctly connected and
properly secured. Always use original cables from the Rozum Robotics supply package!
1. Plug the power cord of the control box into the mains socket.
2. Flip the external mains switch (if any) of your system to the ON position.
3. Flip the power switch (see Figure 2-1) on the back panel of the control box to the ON
position. The control box starts receiving power and initializing. During the initialization.
the green LED on the control box is blinking, while the LED on the arm wrist is off.
Figure 2-1:The back panel of the control box
Once the initialization of the control box is over, the robotic arm starts initializing, too.
When the arm is fully initialized and ready for operation, the wrist LED turns steady green.
Do not move the arm manually until the initialization is over and the wrist LED on
the arm is steady green!
After you have initialized the arm, you need to set communication between the arm and a PC or
other control device as detailed in Section 2.2.

ROZUM ROBOTICS PULSE DESK
Rev. 5, in effect from Q2 2019
Page 12 | 56
2.2 Setting communication with the PULSE arm
To set communication with a PULSE arm, you can use:
a static IP address, if you connect the arm directly to a control device (a PC) or to a
network without a DHCP server
adynamic IP, if the arm is connected to a network with a DHCP server
2.2.1 Static IP
By default, the PULSE robotic arm is set to the following static IP address —10.10.10.20. To
set a PC to work with the static IP address, follow the instructions below, depending on the
operating system in use.
Windows OS
1. Switch on your PC.
2. In the right-hand corner of the Taskbar, left-click the Ethernet indicator.
3. Among the displayed connection options, select Npcap Loopback Adapter.
4. In the displayed Ethernet settings window, click Change adapter options.

ROZUM ROBOTICS PULSE DESK
Rev. 5, in effect from Q2 2019
Page 13 | 56
5. In the displayed Network Connections window, right-click the Ethernet icon and select
Properties.
6. On the Networking tab in the displayed Ethernet properties window, double-click
Internet Protocol Version 4 (TCP/IPv4).
7. In the IP Version 4 (TCP/IPv4) window, select Use the following IP address and set up the
IP address and the Subnet Mask fields to the value as shown below.
To specify the last IP address digit in the IP address field, you can use any value from
1 to 255, except for 20 since 10.10.10.20 is the default static IP address of the arm.

ROZUM ROBOTICS PULSE DESK
Rev. 5, in effect from Q2 2019
Page 14 | 56
8. Click OK to confirm the settings.
Linux OS
1. Switch on your PC.
2. Open Network Connections and double-click Ethernet to open the editing window as shown
below.

ROZUM ROBOTICS PULSE DESK
Rev. 5, in effect from Q2 2019
Page 15 | 56
3. In the displayed window, select the IPv4 Settings tab.
4. In the Method dropdown box on the IPv4 Settings tab, select Manual.

ROZUM ROBOTICS PULSE DESK
Rev. 5, in effect from Q2 2019
Page 16 | 56
5. In the Addresses area on the same tab, click Add and specify the Address, Netmask, and
Gateway as shown in the figure below.
To specify the last digits in the Gateway and the Address fields, you can use any values
from 1 to 255, except for 20, since 10.10.10.20 is the default static IP of the arm.
6. Click the Save button to confirm the settings.
2.2.2 Dynamic IP
Dynamic IP is the IP address of the PULSE arm assigned to it by the DHCP server in the user
network. To find out the dynamic IP of the robotic arm in your local network, you will need
assistance from the system administrator of the network.
If you fail to find out the dynamic IP address of the arm, check the network connection
settings. The arm may not have received the IP address from the DHCP server within
the period as preset for the network, resulting in a fallback to the static IP 10.10.10.20.
After you have set up communication with the arm, you can proceed to working with the PULSE
DESK interface (see Section 3) or REST API (see Section 5).
3THE PULSE DESK USER INTERFACE
PULSE DESK is a software program that enables operating the PULSE robotic arm together with
an attached work tool. The program is pre-installed on the PC module integrated into the control
box and boots in the course of the control box initialization. Its functionality allows for the
following:

ROZUM ROBOTICS PULSE DESK
Rev. 5, in effect from Q2 2019
Page 17 | 56
creating programs to set up a motion trajectory of the robotic arm
debugging created programs to adjust the motion trajectory
executing created programs to operate the arm
saving and deleting created programs
adjusting the motion speed of the arm
operating an attached work tool
setting parameters for communication between the arm and external equipment (e.g.,
conveyor belts, safety devices)
enabling/disabling control of the robotic arm via REST API
saving data on program execution to a production log (available to service personnel only)
3.1 Accessing the PULSE DESK software
To access the software, complete the following two steps:
1. Open your preferred browser.
2. In the browser line, type in one of the following:
the static IP —either localhost:8080 or 10.10.10.20:8080
the dynamic IP address (see Section 2.2) assigned to the arm in your local network and
the corresponding port number
The browser displays the PULSE DESK starting screen, if you start PULSE DESK for the first
time, or the Edit screen (see Section 3.2).
When connection with the arm is lost, check the network connection settings. When you
have trouble reconnecting or finding the arm IP, contact your network administrator or
the service department.
At the start, the software also informs you about available updates (if any) (for updating
instructions, refer to Section 4.6).
In case, when you try to access PULSE DESK, the screen displays an emergency
message stating that the user interface is unavailable, click the Main Menu button, then
select Configure and make sure the Enable API access toggle is in the disabled state
(for details, see Section 4.6.2).
3.2 Edit screen
When you run PULSE DESK for the first time, you will see a starting page instead of the Edit
screen. The starting page has only the Main Menu button and the Program Name field.

ROZUM ROBOTICS PULSE DESK
Rev. 5, in effect from Q2 2019
Page 18 | 56
As soon as you begin creating a new program (see Section 4.1.1) from the starting page, PULSE
DESK displays the rest of the screen elements as shown in Figure 3-1. At subsequent starts, the
software loads the Edit screen with the last executed program.
Figure 3-1:The Edit stage screen
Table 3-1 describes the interface elements of the Edit stage screen and their purposes.
Table 3-1:The elements of the Edit stage screen
No.
Description
1
The Main Menu button opens the Main menu of the PULSE DESK software (for details, see
Section 3.1).
2
The Program Name field displays either the name of the currently executed program or the
default “Program_Name_N”name.
The Program Name field cannot be empty. If you remove the program name from
the field, it will display the "Program name here..." background prompt.

ROZUM ROBOTICS PULSE DESK
Rev. 5, in effect from Q2 2019
Page 19 | 56
3
The Stepper indicates the current stage of working with the PULSE DESK software:
creating a program (Edit)
debugging (Check)
production (Run)
In the Stepper, you can see the currently active stage selected (as shown for the Edit stage in
Figure 3-1) and the completed stage(s) (if any)—marked with a checkmark.
4
The Next button enables switching from programming to debugging and then to production.
At the Run stage, PULSE DESK replaces the Next button with the Save&Run one.
5
The Program Body panel displays the sequence of commands contained in a program. PULSE
DESK indicates the currently executed command by selecting it.
If you have just started PULSE DESK and chosen to create a new program, the Program Body
contains only the Wait for command.
The Wait for command disappears as soon as you start adding new commands in
the LEARN mode using the control buttons.
6
The Service panel displays the parameters of the command selected in the ProgramBody. You
can set the parameters by changing the values in appropriate fields (see Section 4.1.4).
For the Open gripper and Close gripper commands, the Service panel is displayed
empty.
7
The Add Commands control opens a list of commands for creating a program (for details,
see Section 4.1.2).
3.3 The Main Menu of PULSE DESK
Clicking the Main Menu button opens a sliding menu (see Figure 3-2) with the following
commands:
Load program—for choosing a program to work with from a list of previously created
and saved programs
New program—for creating a new program
Save program as—for saving the program under a specified name
Delete program—for permanently removing a program
Configure—for enabling/ disabling remote control of the robotic arm via REST API

ROZUM ROBOTICS PULSE DESK
Rev. 5, in effect from Q2 2019
Page 20 | 56
Figure 3-2:The Main menu of PULSE DESK
4PROGRAMMING WITH PULSE DESK
The general workflow of the PULSE DESK software is as illustrated in Figure 4-1.
Figure 4-1: The PULSE DESK workflow
Until you complete the entire workflow up to the Run stage, switching from stage to stage is only
possible in the consecutive manner by stage names in the Stepper or the Next button. Once you
are at the Run stage, you can switch between the stages randomly by clicking the stage names in
the Stepper —Edit, Check or Run.
Before switching back from the Run stage to any other, it is advisable to stop program
execution.
Other manuals for Pulse
6
Table of contents
Other rozum robotics Robotics manuals

rozum robotics
rozum robotics Pulse User manual

rozum robotics
rozum robotics PULSE 75 Assembly instructions

rozum robotics
rozum robotics Pulse User manual

rozum robotics
rozum robotics Pulse User manual

rozum robotics
rozum robotics Pulse Assembly instructions

rozum robotics
rozum robotics Pulse User manual

rozum robotics
rozum robotics Pulse User manual
Popular Robotics manuals by other brands

BluEye
BluEye Pioneer user manual

READY
READY FORGE OS% user manual

Generation Robots
Generation Robots Nao Presenter user guide

Mitsubishi Electric
Mitsubishi Electric melfa RV-5AS instruction manual

Cytron
Cytron ReRo quick start guide

Pro's Kit
Pro's Kit Probbie The Robot GE-893 Assembly & instruction manual