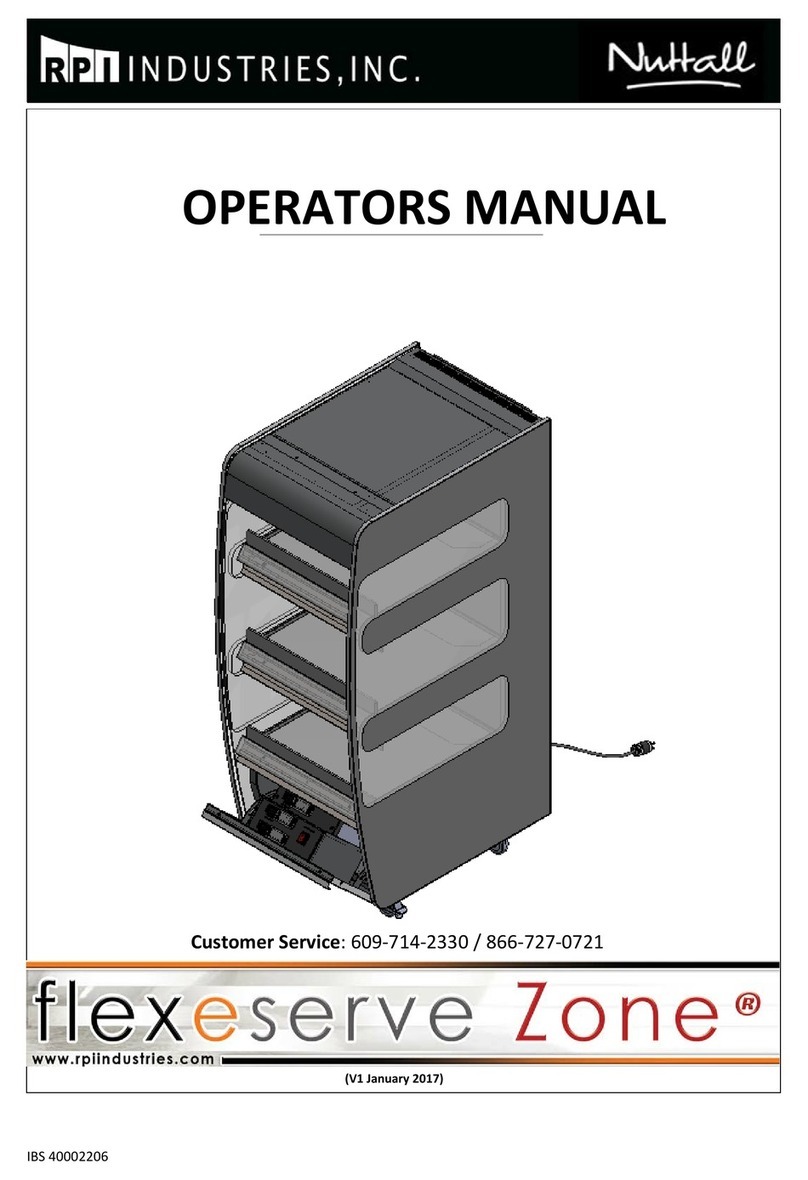
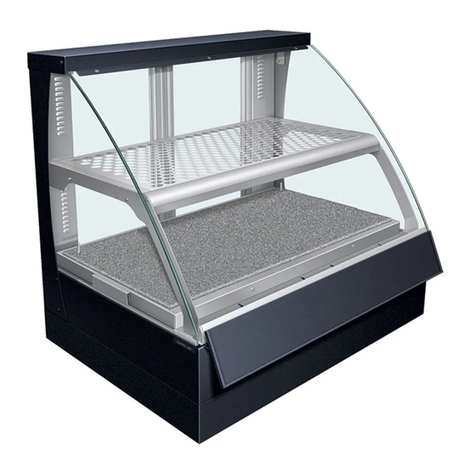
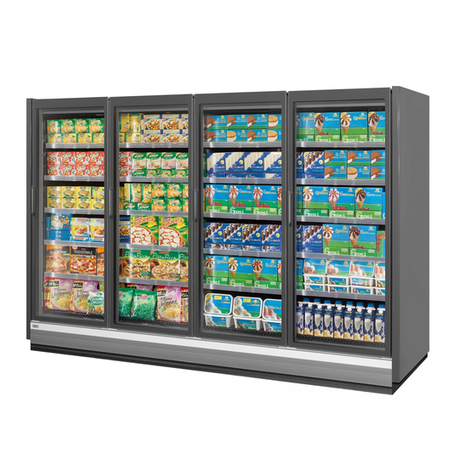
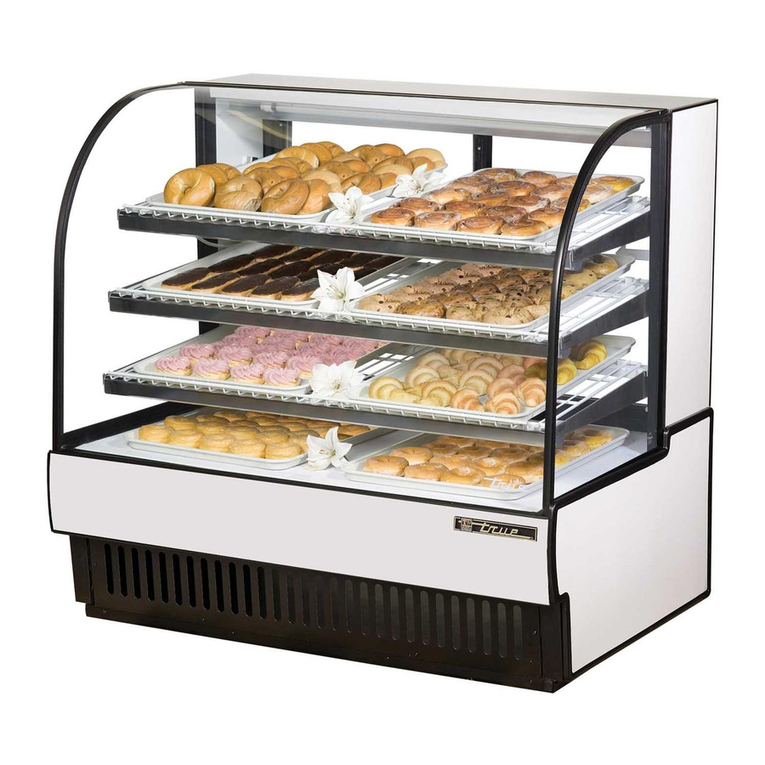
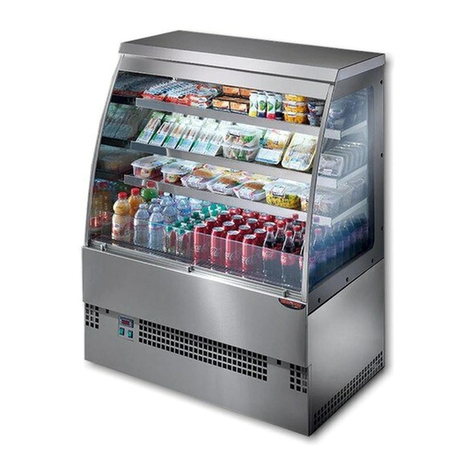
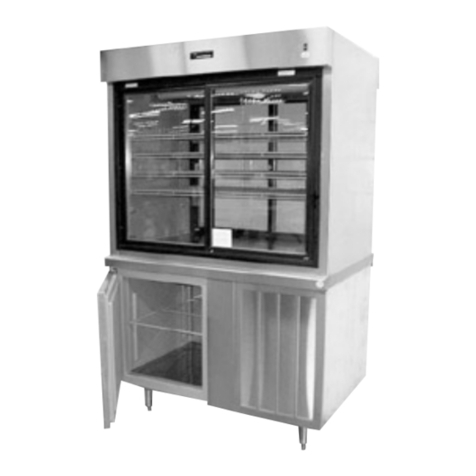
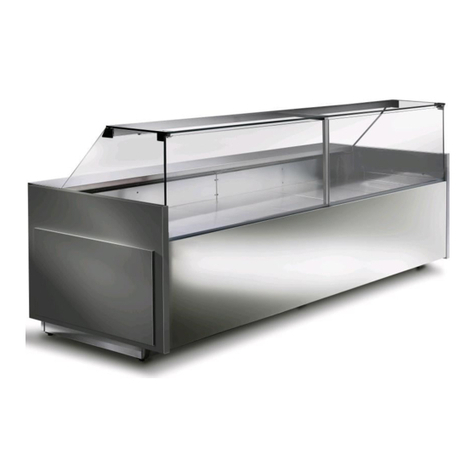
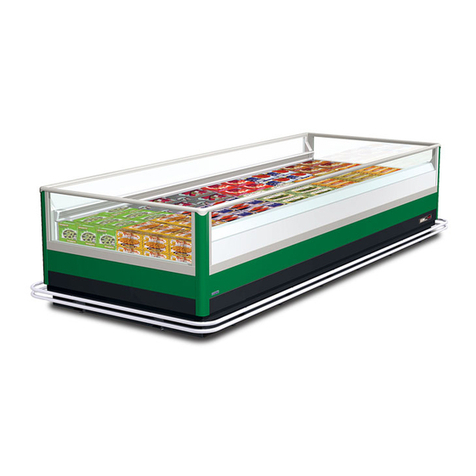
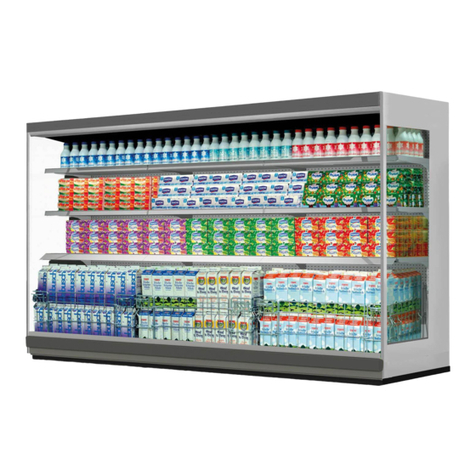
RPI VIENNA Air Screen User manual

Operating Manual
Product:
VIENNA Air Screen
VIENNA Cold Display
Self contained or remote
Operating and Maintenance instructions
Please read this manual carefully before you start to operate your cooling equipment.
Following the instructions helps to ensure the unit is fully functional at all times.
Warranty claims can only be forwarded if all instructions are strictly
followed!

Valid from: 11/2011 Technical changes reserved Page 1
Doc.: OM_VIAS & VICD (10D)
Contents
Operation and maintenance
1 Introduction .............................................................................................................. 2
1.1. Welcome .............................................................................................................. 2
1.2. Fundamental Safety Notes ............... ................................................................ 2
1.3. Warranty and Liabilities ............................................................................................ 2
1.4. Symbols and Notes ............................ ................................................................ 3
1.5. Validity .............................................................................................................. 3
2 Purpose of use …….................................................................................................. 4
3 Proper use of the unit …………..……..................................................................... 4
4 Improper use of the unit ........................................................................................ 4
5 Safety notes …………............................................................................................. 4
6 Fundamental operating notes .................................................................................. 5
6.1. Switching on the appliance ....................................................................................... 5
6.2. Setting the temperature .......................................................................................... 5
6.3. Manual defrosting .................................................................................................... 5
6.4. Lighting .............................................................................................................. 5
7 Operating description ……….. ................................................................................ 6
7.1. Load Display case …………....................................................................................... 6
7.2. Loading Restrictions .………....................................................................................... 6
8 Cleaning and care ............................................................................................. 8
8.1. General Recommendations ...................................................................................... 8
8.2. Detergents ……….................................................................................................... 8
8.3. Special cleaning hints ……………………................................................................ 9
9 Trouble shooting .......................... ................................................................ 11
10 Dangers .................................................................................................................... 12
10.1. Electrical energy ….................................................................................................. 12
10.2. Lift-up evaporator ...................................................................................................... 12
11 Maintenance ……...................................................................................................... 12
12 Wiring diagram …………………………………………………………………… 13
13 Declaration of Conformity ………………………………………………………….. 16

Valid from: 11/2011 Technical changes reserved Page 2
Doc.: OM_VIAS & VICD (10D)
OPERATING AND MAINTENANCE
1. Introduction
1.1. Welcome
With the purchase of this new refrigerating equipment you have decided on a product that combines
the highest technical demands with practical service comfort. We recommend that you read these
operating and maintenance instructions carefully in order to become familiar with the product quickly.
With the proper treatment you will enjoy this appliance for a long time. Please keep these operating
and maintenance instructions to consult in case any maintenance and repairs are needed.
We wish you successful business and much pleasure with this appliance.
1.2. Fundamental Safety Notes
THE CONNECTIONS AND ANY TECHNICAL ADAPTATIONS ON THE
REFRIGERATED EQUIPMENT ARE ONLY TO BE CARRIED OUT BY
SPECIALISTS! THIS IS ESPECIALLY VALID FOR ANY WORK ON THE
COOLING TECHNOLOGY, ELECTRICAL INSTALLATION, WATER CONNECTION
AND MECHANICAL WORK.
ANY ADAPTATION IS TO BE AUTHORIZED BY THE MANUFACTURER!
Those covers bearing a warning may only be opened by specialists!
The bottom and back panels are not to be cleaned by water jet.
Protective covers and devices may not be removed due to risk of injury!
The control unit may only be opened by a qualified refrigeration technician.
Air currents near the refrigerating unit resulting from improperly installed ventilation or draughts
are to be avoided, in order to ensure the efficient functioning of the refrigerating unit.
The surrounding temperature may not exceed 75°F; the relative humidity may not exceed
55% over a long period of time.
Due to risk of injury, sharp objects are not to be stored loosely in the refrigerating unit.
Any glass parts are to be treated with the necessary care in order to avoid injuries resulting from
broken glass.
Components and operating equipment may only be replaced by original parts.
1.3. Warranty and Liabilities
Fundamentally, our "General terms of sale and delivery“ are valid. These are known to the operator
upon the signing of the contract at the latest. Claims of warranty and liability for damage to persons
and property are not possible, if they result from one or several of the following causes:
Improper use of the unit.
Improper assembly, start up, operation & maintenance of the unit.
Operating the unit with defective safety devices or safety devices which have not been installed
properly and are not in working condition.
Disregard of the instructions in the operating manual concerning transportation, storage and
installation.
Unauthorized mechanical or electrical changes to the unit.
Insufficient maintenance of wear and tear parts.
Unauthorized repair.
Extreme environmental exposure, fire, explosions e.g.
Valid from: 11/2011 Technical changes reserved Page 3
Doc.: OM_VIAS & VICD (10D)
1.4. Symbols and Notes
This symbol points to important references for the proper use of the unit.
Not paying attention to these references can lead to a working disruption of the unit
or to the environment!
This danger symbol means a potential or direct threat to the life and health of
persons and/or a possible dangerous situation.
Ignoring these references may result in dire consequences for your health and/or can
lead to property damages!
This symbol points to operation tips and especially useful information of optimal use.
1.5. Validity
These operating instructions are valid for the models:
VIENNA Closed Display Case “VICD”
- Closed on front for assisted service only
self-contained or remote refrigerated
VIENNA Closed Display Case “VICD”
- Closed on front for assisted service only
- Service side with pull out drawer
self-contained or remote refrigerated
VIENNA Air Screen Displays “VIAS”
- Open on front for self serve
self-contained or remote refrigerated
VIENNA Counter Top Displays
- Closed on front for assisted service only VICD
- Open on front for self-serve VIAS
self-contained or remote refrigerated

Valid from: 11/2011 Technical changes reserved Page 4
Doc.: OM_VIAS & VICD (10D)
2. Purpose of use
The Refrigerated Display Cases have been specially developed for mounting in food and dispensing
counters. They are suitable for the refrigeration and presentation of foodstuffs and drinks.
These refrigerated units are not suitable for chilling foods. Any products to be presented have
to be chilled to the temperature required before being placed in the unit.
Before the Display cases are filled, please wait until the desired temperature has been reached.
Do not fill with hot foods and do not overfill!
3. Proper use the unit
The drop-in Refrigerated Display Cases conform to current state-of-the-art technology, are
constructed in accordance with the recognized safety regulations and are reliable.
However, health and/or life threatening circumstances could arise for the user or a third party or
damage could be done to the appliance or other property or equipment should the unit be operated by
non-trained personnel in a manner that is improper or non-conform.
The appliance may only be operated in a technically acceptable condition and in accordance with all
regulations, safety regulations and conscious of risks with regard to the operating instructions! Any
other uses beyond those intended are to be considered as not being in compliance with the
regulations. The manufacturer/supplier is not liable for any damages resulting from such actions. The
user bears the entire risk.
Use in accordance with the regulations includes observance of the mounting and operating
instructions and keeping with the inspection and maintenance regulations.
After cleaning the appliance is to be checked for any loose connections and damages. Any defects
found should be repaired.
The appliance is not to be used for non-operating purposes.
Any changes to the appliance are to be made solely by the manufacturer!
When replenishing the refrigerant only use the refrigerant indicated on the label. Refilling is only to be
carried out by authorized service personnel.
4. Improper use of the unit
The Refrigerated Display Cases are not suitable for chilling foods. No foodstuffs having a higher
temperature than indicated are to be filled into the display. Safe operation at temperatures of less
than +36°F is not possible.
The ventilation slots in the front and back panels of the display area may not be covered as doing so
will result in cutting off air circulation and preventing the cooling function.
5. Safety notes
All safety regulations were followed during manufacturing, particularly the VDE regulations
(Association for Electrical, Electronic & Information Technologies) and international CEE regulations.
The appliance was subject to a comprehensive final check at the plant.

Valid from: 11/2011 Technical changes reserved Page 5
Doc.: OM_VIAS & VICD (10D)
6. Fundamental operating notes
6.1. Switching on the appliance
The Display case is switched on and off by pressing the
STANDBY button (5).
1
2
345
Above the buttons there is a digital display of the cooling
regulator. This field shows the medium temperature and
any errors.
Before filling the display cases with food, please wait
until the desired temperature has been reached.
Button 1 UP - button Defrosting can be started any time by pressing the UP-
button for 3 seconds
Button 2 DOWN - button The DOWN button, among other functions, can
acknowledge an alarm
Button 3 LIGHTING Switch for lighting
Button 4 SET - button While SET button is pressed, the setpoint is indicated
Button 5 STANBY - button With this button the controller is switched to standby
mode. Pressing the button a second time, restarts the unit
6.2. Setting the temperature
The interior temperature is regulated by an electric temperature regulator. This is located underneath
the refrigerated well and is easily accessible.
On the service side the refrigerated display case is set at a temperature of 39°F. Your desired
temperature can be set by holding down the SET button (4) and simultaneously pressing UP - button
(1) for higher temperatures or DOWN - button (2) for lower temperatures.
THE DESIRED VALUE CAN ONLY BE SET WITHIN A CERTAIN RANGE
IN ORDER TO PREVENT ANY OPERATING ERRORS.
After resetting the temperature some time needs to pass before the desired temperature has been
achieved. Please check the interior temperature a few hours afterwards with an exact thermometer
and reset the thermostat if needed.
Depending on the surrounding temperature and humidity, the interior temperature is not to be set too
low as this could lead to icing on exposed areas of the cooling element. This will interfere with the
cooling performance and with the continuous defrosting which has been set by your specialized dealer
for a certain interval.
6.3. Manual defrosting
Defrosting can be started any time by pressing the UP - button for 3 seconds. During the process of
defrosting the respective LED is illuminated. The LED flashes if defrosting is requested, but may not
be started yet due to interlock conditions.
6.4. Lighting
Lighting of the Display case is connected to the control unit and is then switched on and off by
pressing button (3).

Valid from: 11/2011 Technical changes reserved Page 6
Doc.: OM_VIAS & VICD (10D)
7. Operating description
7.1. Load Display Case
Load the display case with pre-chilled product from the rear doors. You can place the goods on the
glass shelves and on the base decks. VIENNA Air Screen models have a deep well with height
adjustable base decks.
You can also use different Gastronorm containers with a choice of additionally divisional bars. This
offers you a wide range of ways to display your merchandise. Beverages, trays and GN containers
can be placed side by side in one refrigerated display case at same time!
The display case is designed to maintain the temperature of pre-chilled product.
This refrigerated unit is not a refrigerator, and consequently, if warm product is introduced,
there could be a considerable delay before the operating temperature falls to the normal
operating level.
7.2. Loading Restrictions
It is important to leave adequate free space for the refrigerated air to circulate within the display
case.
Products should be kept clear of the shaded areas, shown in the picture.
A minimum clearance of 1 ½” should be maintained below the light fittings and air plenums.
The air openings at the front and rear of the display case must never be blocked.
The presented goods are refrigerated with
cold air.
This air curtain is forced by fans which suck
the air via air louvers at the front (1) into the
Evaporator (2).
In this area below the base decks the air is
chilled and blown up through the air
plenums at the rear (3) into the display
case.
All these components are designed to have
an even distribution of chilled air in the
whole display case to guarantee constant
temperature.
The VIAS and VICD Displays come with a
deep well and are equipped with base
decks, which are adjustable in height.
Additionally you can use different Hotel
pans. Therefore additionally adapter bars
are available.
This offers you a wide range of application
presenting your goods.
Beverages, plates and American pans
beside in one refrigerated unit.
1
2
3

Valid from: 11/2011 Technical changes reserved Page 7
Doc.: OM_VIAS & VICD (10D)
Adjustable shelves
The display offers the possibility to adjust the shelves in height and angle (tilt able).
This offers you various presentations of the goods.
You can adjust the shelves 1 step up and down (± 1”) from the centre position.
Remove the glass
Before moving the shelf to another position
please remove the glass. Therefore lift up
the glass on customer side until the s/s lug
(U-profile protection on the glass) slips out
from the bracket – see pictures on right side.
Move the brackets
The shelf brackets are fixed with 2 tabs in
the slots. Upper tab is equipped with 2
notches for level or slant position
1) Lift up the bracket
2) Draw out the brackets to customer side
to remove it from the slots
3) Insert the bracket in the new position
4) Choose level / slant position
Display cases with drawer element
Models Gastro L and Gastro SL, and series Green L and Green SL
are equipped with a drawer, which offers easy loading of the deck
base from service side with large products like cakes or similar.
Remove the drawer to clean evaporator and interior well (picture 1).
Pull out the drawer to the end position, then lift up the drawer
approximately 5 cm to remove the whole drawer element from the
display case (picture 2 – showing the telescopic rails).
After removing the drawer you have to take out the stainless steel
blind (picture 3), then lift up the evaporator coil and fix it in up-position
(picture 4 – lock on left side of the handle). Now you have access to
clean the interior well and the evaporator coil.
picture 1 picture 2 picture 3 picture 4
IT IS IMPORTANT TO KEEP ALL CABINET DOORS CLOSED. IF THE DOORS ARE
NOT FULLY CLOSED, AN EVEN TEMPERATURE WILL NOT BE MAINTAINED
WITHIN THE DISPLAY CASE.

Valid from: 11/2011 Technical changes reserved Page 8
Doc.: OM_VIAS & VICD (10D)
8. Cleaning and care
Following is some advice on maintenance, care, trouble shooting and service for your refrigerated
display cases. The interior and the outside of the unit have to be cleaned every day in accordance with
hygiene regulations. Only then can you guarantee optimal presentation of the goods.
CAUTION:
BEFORE YOU START TO CLEAN AND CARE SWITCH OFF THE APPLIANCE
AND DISCONNECT IT FROM THE MAINS!
ALLOW UNIT TO DEFROST BEFORE PROCEEDING.
For cleaning purposes the unit must be turned off. Therefore, the best time for cleaning is at
the end of your working day.
The display case can be switched off during the night or outside of opening hours.
8.1. General Recommendations
The unit has to be cleaned daily.
Wear acid-proof gloves while cleaning the parts to prevent skin irritations.
After cleaning with special cleaners you have to wash all parts with clear water and dry them so
that there is no cleaner residue on these parts.
It is absolutely necessary to bear some fundamental things in mind to keep this stainless steel unit
working and to maintain its long life:
- always keep the stainless steel surface clean.
- make certain there is always enough fresh air on the surface.
- never let the surface come into contact with rusty material.
8.2. Detergents
USE THE FOLLOWING DETERGENTS!
Lukewarm soap water
Use lukewarm soap water for all surfaces that are in direct contact with the goods.
Glass-cleaner
Removes grease from glass-surfaces. You can lift the glass panels for easy cleaning of the glass
and the surfaces underneath. (Pictures 4-6)
Stainless-steel-cleaner
The stainless steel surfaces should be cleaned with a stainless-steel-cleaner only.
Lamps
The lamps are to be cleaned with soft paper or cloth only.
Drawers, GN pans
Easily removable without tools for separate cleaning.
Use brushes with plastic or natural bristles for cleaning.
AVOID THE FOLLOWING DETERGENTS!
Do not use acid, bleaching or chlorine cleaners.
Never use high-pressure, water pressure or steam jet cleaning machines.
Do not use inflammable detergents.
Never use sharp-edged or metallic tools like Steel-wool or Scrubbing cleanser for cleaning.

Valid from: 11/2011 Technical changes reserved Page 9
Doc.: OM_VIAS & VICD (10D)
8.3. Special cleaning hints
Cleaning of the interior and evaporator coil
Take out the GN containers or base decks (1) and air plenums (2) and inner tray from the well.
First of all remove visible dirt inside the well (bottom) to avoid a blockage of the drain (5 und 6).
Open the cover from the evaporator unit (3). Entire s/s housing and evaporator coil can be rinsed
safety and easily with a hand spray (4). Fans in low voltage (24V) allow danger-free cleaning. Lift
up the evaporator unit and move the lock to the left (5 und 6) – now the evaporator is fixed and
allows easy access for cleaning corners and floor of the well (7).
Picture 1 Picture 2 Picture 3
Picture 4 Picture 5 Picture 6 Picture 7
ATTENTION: Before cleaning the unit with water please check that the water can run off. If the
unit isn’t plumped to a floor drain, place an external bin below the drain to collect the wastewater.
The evaporator and the interior have to be cleaned with lukewarm soap water. Always dry the
interior after cleaning. After cleaning lift the evaporator, remove the lock and drop the evaporator
back in its original position.
Insert the inner tray, position the air plenums with the hanging tracks and drop in the base decks
or GN containers.
Never clean the outside of the refrigerated well with a water hose or an abrasive sponge. Avoid
flowing water near these areas.
All other surfaces can be cleaned with soft detergents or water.
Cleaning of condenser unit
Each self-contained refrigeration unit requires periodic cleaning of the condenser unit.
The condenser coil (looks like a radiator and is directly in front of the fan) requires periodic cleaning.
A dirty condenser is the main cause of refrigeration overheating, burnout and poor cooling levels.
Similar to the daily merchandise area cleaning, it is necessary to remove the static dust build up from
the condenser coils to ensure effective and trouble free operation.
The condenser should be thoroughly cleaned monthly (under extreme conditions clean more often)!
Important: Warranty void if this service is neglected or temperature controls interfered with.

Valid from: 11/2011 Technical changes reserved Page 10
Doc.: OM_VIAS & VICD (10D)
Condenser cleaning instructions
Remove air grill / louver in front the condenser.
Remove the dust from the condenser coil; this can be done
with either a brush or a vacuum.
Be careful and don’t bend the lamellas
Replace the air grill panel.
Please assure that the air-in and air-out openings (grille) for ventilation are NEVER blocked!
ATTENTION:
THE LAMELLAS OF THE CONDENSER COIL ARE VERY THIN AND SHARP!
AVOID DIRECT CONTACT TO PREVENT INJURIES!
Glass cleaning instructions
Tilt able front and cover glasses for easy cleaning (Picture 1 +2) in- and outside.
ATTENTION:
Hold glass during opening and cleaning!
Don’t let the glass top fall down – Hold the glass and bring it back in end position!
Front glasses made of insulated double glass (Picture 3) are secured via a tight safety cord in end
position, please support glass during opening and cleaning to save the cord!
Don’t underestimate the weight of the glass, we recommend 2 persons for cleaning front and
cover glasses on larger display cases!
Picture 1 Picture 2 Picture 3
CAUTION:
AFTER ALL CLEANING HAS BEEN COMPLETED THE DISPLAY CASE HAS TO
BE RETURNED TO ITS ORIGINAL STATE IN ORDER TO GUARANTEE
EFFICIENT OPERATION!
In addition to daily cleaning, service and maintenance of the display case is required to be
carried out in regular intervals by qualified specialists.
( see Chapter 11 MAINTENANCE )

Valid from: 11/2011 Technical changes reserved Page 11
Doc.: OM_VIAS & VICD (10D)
9. Trouble shooting
Before requesting service, please check the following:
If the appliance is not working at all please check whether:
The power supply is interrupted .................................................. Self-checking
A fuse has blown ....................................................................... Self-checking
The plug is firmly in the socket ..................................................... Self-checking
Power has been switched on ..................................................... Self-checking
The electronic has been properly set ......................................... Self-checking
The refrigeration equipment is working, but incorrect:
The products are too warm or too cold:
Is the condenser clean? ............................................................... Self-checking
Is the surrounding temperature too high? ..................................... Self-checking
Is there too much food or is it too warm? ...................................... Self-checking
Has the evaporator not been defrosted? ...................................... Self-checking
The refrigerated well is subject to strong draughts ..................... Self-checking
The cooling unit is malfunctioning ................................................ Customer service
The cooling regulator is set wrong ............................................... Customer service
The evaporators are constantly iced up:
Defrosting does not begin ........................................................... Customer service
The ventilators are not running .................................................... Customer service
The air circulation in the well is blocked ....................................... Clear the ventilation openings
Status display and error notification
Message Cause Error elimination
Temperature
indication flashes
Refrigerating chamber temperature
beyond alarm limits (parameter A1
A2)
E0
flashes
Refrigerating chamber sensor F1
error, break or short-circuit
Control sensor. Controller operates
according to with parameter c3.
E1
flashes
Sensor F2 error,
break or short-circuit
Control sensor. At setting [c3=1] the
controller operates in timed defrosting
modus (defrosting time as set in d3).
EP
flashes
Data loss at parameter memory
Unplug the appliance. Press and hold
down buttons (4) SET and (1) UP and plug
the power plug back into the socket. By
doing so the electronic will re-program
itself.
If Error occurs again please contact
customer service.
Should the options listed not be the cause of the error, please contact customer service.
IMPORTANT:
THE MANUFACTURER IS NOT LIABLE FOR LOSS OF GOODS, EVEN IF
THE APPLIANCE IS STILL COVERED BY WARRANTY.
IT IS THEREFORE RECOMMENDED THAT THE TEMPERATURE OF THE
APPLIANCE BE CHECKED PERIODICALLY.

Valid from: 11/2011 Technical changes reserved Page 12
Doc.: OM_VIAS & VICD (10D)
10. Dangers
10.1. Electrical energy
Switch the appliance off immediately upon interruptions in the electrical power supply!
Any work carried out on the electrical units or utilities may only be carried out in accordance with
electrical regulations by an electrician specialist or by those being instructed and supervised by an
electrician specialist.
Appliances and unit components which are subject to inspection, maintenance and repair work have
to be completely disconnected and volt-free. First, check as to whether the activated parts have
indeed been disconnected and are volt-free, then ground and short them out. Insulate any adjacent
parts that are also energized!
10.2. Lift evaporator
Some models of the refrigerated display cases are equipped with gas springs, which keep the
evaporator in the upright position during cleaning and service. Once the gas springs begin to weaken
and are not able to keep the evaporator in the upright position anymore, they are to be removed and
replaced immediately by a specialized service representative.
11. Maintenance
In order to guarantee efficient operation of the refrigerated well along with optimum presentation of the
goods, the entire technological equipment has to be checked and maintained regularly.
Service and maintenance, troubleshooting
Prescribed adjustment, service and inspection work is to be completed timely by the manager or if
necessary by an authorized service technician.
The operating personnel are to be informed before the beginning of the maintenance and service
work.
The unit is to be disconnected from the mains before maintaining, inspecting and repairing is
performed; the main switch is to be guarded against unintended reclosing.
Check all screw connections for tight fitting.
After finishing maintenance check all safety devices for proper functionality.
The following should be done
complete cleaning of the entire refrigerated well
checking the ventilator for functionality
checking the thermostat setting
checking the temperature of the drop-in refrigerated well
checking and cleaning the drainage lines and drip water evaporation
checking the gas spring on the evaporator
cleaning the condensers on the cooling unit
checking the amount of refrigerant
making a security check of the unit

Valid from: 11/2011 Technical changes reserved Page 13
Doc.: OM_VIAS & VICD (10D)
12. Wiring diagram
Wiring diagram: VICD and VIAS – self contained 115 V / 1 PH / 60 Hz
Wiring diagram: VICD and VIAS – remote refrigerated 115 V / 1 PH / 60 Hz

Valid from: 11/2011 Technical changes reserved Page 14
Doc.: OM_VIAS & VICD (10D)
Wiring diagram: VICD and VIAS – self contained 115/208-230 V / 1 PH / 60 Hz

Valid from: 11/2011 Technical changes reserved Page 15
Doc.: OM_VIAS & VICD (10D)
Wiring diagram: VICD and VIAS – self contained 115 V / 1 PH / 60 Hz
With rear ventilation Kit including time relay for longer runtime of the fan
Wiring diagram: VICD and VIAS – self contained 115/208-230 V / 1 PH / 60 Hz
With rear ventilation Kit including time relay for longer runtime of the fan

Parts/Service direct:
1-866-727-0721
Service Email:
service@rpiindustries.com
Parts Email:
parts@rpiindustries.com
This manual suits for next models
1
Table of contents
Other RPI Display Case manuals
Popular Display Case manuals by other brands

Federal
Federal CRR4828 Installation & operation instructions

Costan
Costan VIVALDI User instructions

Delfield
Delfield F15SC48D Specification sheet

Structural Concepts
Structural Concepts GP441RG.6122 Installation and operating manual

Bonnet Neve
Bonnet Neve OFFLIP 2 installation instructions

Tulikivi
Tulikivi 1041 installation instructions