manuals.online logo
Brands
  1. Home
  2. •
  3. Brands
  4. •
  5. RTA
  6. •
  7. Indoor Furnishing
  8. •
  9. RTA Techni Mobili RTA-1460 User manual

RTA Techni Mobili RTA-1460 User manual

MODEL
RTA-1460
D06 080906
ASSEMBLY INSTRUCTIONS
Thanks for purchasing one of our products.
Please read carefully the assembly instructions before the installation.
Please save this manual for future reference
47.25
20.9
28.74
2.24”
13.7”
3.8”
26.7”
15.4”
2.24”
24.9”
12.8”
13.7”
3.8”
TOPWEIGHTLIMIT:50Lbs
SMALLDRAWERWEIGHTLIMIT:10Lbs
BIGDRAWER WEIGHTLIMIT:15Lbs
DONOTexceedthislimit.
341 2
58
9
6 7
10
13 14
12
15
x
2SETS
P.3
PARTSLIST
RTA-1460
11
Left structure
Sliders
16
Right structure Back panel Central panel
Mainpanel
x1 x1 x1 x1
Large drawerfront
panel
Drawersleft panel
Drawersright panel
Large drawerbackpanel
Smalldrawerbackpanel
Large drawersupport
panel
Smalldrawerfront
panel
Smalldrawerbottom
panel
Large drawerbottom
panel
Handles
x1
x1
x2
x1
x2 x1 x1 x1
x1 x1
x2
Right
Left
RTA-1460 P. 4
A
B
D
C
E
13
5
1
16
16
24
PART QTY . ITEM
3.5X12 MM
F3.8X35 MM
11
G4X18 MM4
WOODEN PIN
WOODEN PIN
6x40 MM CAM BOLT
6x40 MM CAM LOCK
Longer groove on cam lock must be pointing to the hole where the cam bolt
enters in the panel.
Use the screwdriver to turn to the correct position.
A1. A2. A3.
CORRECT INCORRECT
ALIGNING THE CAM LOCK
Screw the cam bolt
to one panel
Insert and a lign cam lock on the other
panel,and slide over panel with cam bolt
Turn cam lock clockwise
to lock the panels together
Cam lock
Cam bolt
SCREWS
HOW TO ASSEMBLE USING BOLT S AND CAM LOCKS
1460 5
RTA-1460 P. 6
12
34
STEPS
1
C
C
E
C
C
E
2
Left
15 15
Right
15
Right
Right
Left
Left
15
E
E
4
C
5
4
D
A
Instructions on page 4
Attention:Do not tighten the screws until all of them are in right positions
WARNING:HOLES ON PANELS MAY BE HIDDEN UNDERNEATH PVC LAMINATE!!!
Assemble one of the flat sliders (15) to the left
structure (1) using 3 screws (E), with the wheel facing
to the front. Then screw 2 bolts (C) on the back
of the structure as shown.
Assemble one of the flat sliders (15) to the right
structure (2) using 3 screws (E), with the wheel facing
to the front. Then screw 2 bolts (C) on the back
of the structure as shown.
Assemble the other 2 flat sliders (15) to both faces
and to the bottom of the central panel (4) using screws
(E), with the wheels facing to the front.
Place the main panel
(5) upside-down with
its front edge facing
towards you. Screw 8
bolts (C) into the places
shown. Insert 2 wooden pins
(A) as shown. Assemble
panel (4) to the main
panel (5) using cam locks
(D), make sure the wheels are facing to the front.
RTA-1460 P. 7
5
6
STEPS
1
2
3
A
D
Instructions on page 4
Insert wooden pins (A) into the
structures (1) and (2) as shown.
Assemble the back panel (3) in between
the 2 structures using cam locks (D).
Insert 7 wooden pins (A) into the structures (1) and
(2), and the back panel (3) as shown. Then carefully
assemble the main panel (5) using cam locks (D).
D
5
A
RTA-1460P.8
7
8
STEPS
3
G
9
79
Left
15
15
Right
E
E
7
9
8
G
G
Usescrews(G)tosecurethe backpanel(3)asshown.
Assemblethe sliders(15)tothebottom of all
panels(7)and (9)using screws(E)asshown, with
the wheelsfacing tothe front of the panels.
The channelson allpanelswillbe at thebottom
and facing towardsthe inside.
Assemblethe panel(8)inbetween 1panel(7)and1
panel(9)using screws(G)asshown.The channelon
allpanelswill beat the bottom and facing towards
the inside.
RTA-1460 P. 9
10 11
12 13
STEPS
11
10
G
6
F
16
HD
D
7
9
G
G
Instructions on page 4
F
C
C
F
Instructions on page 4
D
16
H
14
12
D
D
C
C
F
F
Assemble the panel (11) to the panel (8) using screw
(G) as shown. Make sure the hole for the cam lock on
panel (11) is facing outwards. Then slide the panel (10)
in between the panels, making sure it enters into all the
channels.
Screw bolts (C) to panel (6)
and insert wooden pins (F)
as shown.
Then assemble panel (6)
using cam locks (D) as
shown. Finally, assemble the
handle (16) using screws (H).
Assemble the panel (13) in between the other panel (7)
and the other panel (9) using screws (G) as shown.
The channel on all panels will be at the bottom and
facing towards the inside.
13
Then assemble panel (12)
using cam locks (D) as
shown. Finally, assemble the
handle (16) using screws (H).
Screw bolts (C) to panel (12)
and insert wooden pins (F)
as shown.
RTA-1460P.10
14
15
STEPS
Insertbothdrawersasshown.
FINISHED!
Enjoyyournew unit!

Other RTA Indoor Furnishing manuals

RTA Techni Mobili RTA-220 User manual

RTA

RTA Techni Mobili RTA-220 User manual

RTA TECHNI MOBILI RTA-4804L User manual

RTA

RTA TECHNI MOBILI RTA-4804L User manual

RTA BEIJING ALC 4396 User manual

RTA

RTA BEIJING ALC 4396 User manual

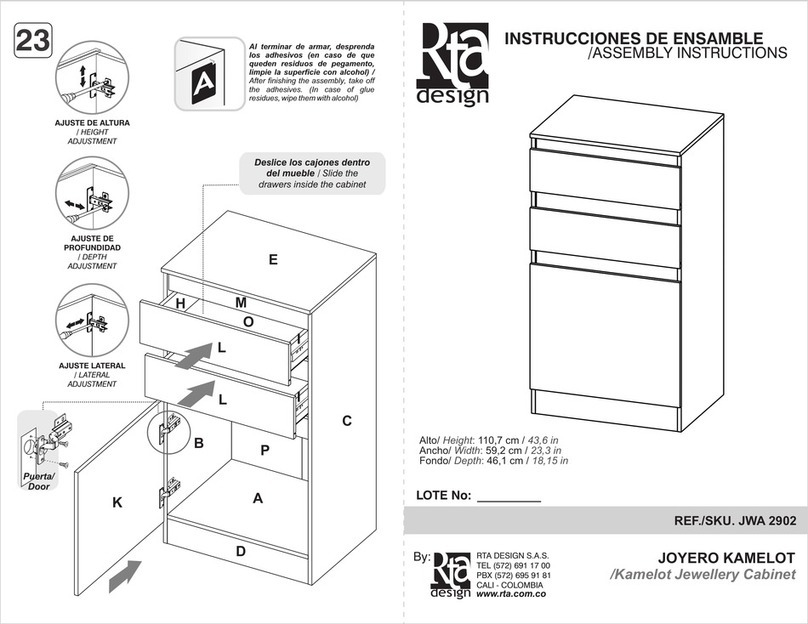
RTA JWA 2902 User manual

RTA

RTA JWA 2902 User manual

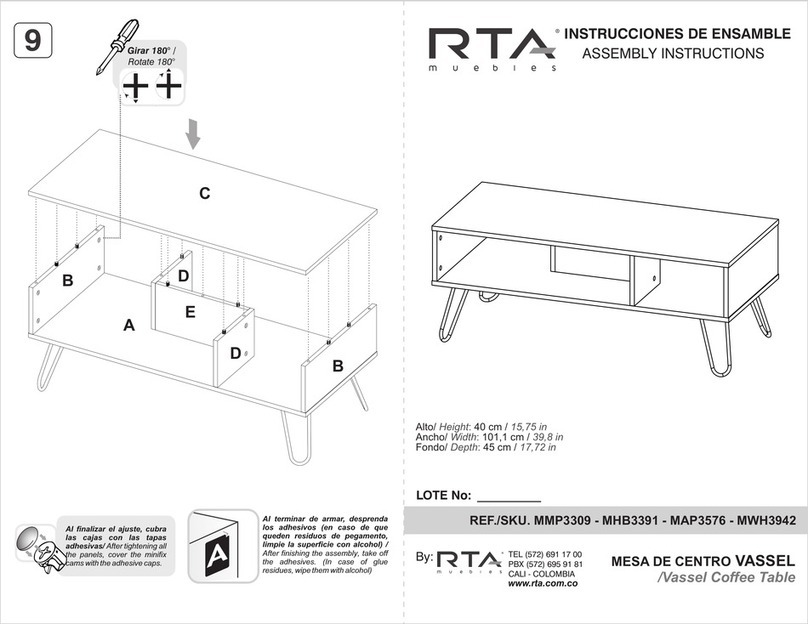
RTA VASSEL MMP3309 User manual

RTA

RTA VASSEL MMP3309 User manual
RTA BLW917 User manual

RTA

RTA BLW917 User manual

RTA FLAMENCO CHP4302 User manual

RTA

RTA FLAMENCO CHP4302 User manual

RTA LHM 3131 User manual

RTA

RTA LHM 3131 User manual

RTA Techni Mobili RTA-S07 User manual

RTA

RTA Techni Mobili RTA-S07 User manual

RTA CLW299 User manual

RTA

RTA CLW299 User manual

RTA AUDRA RDW4329 User manual

RTA

RTA AUDRA RDW4329 User manual

RTA TECHNI MOBILI RTA-913D User manual

RTA

RTA TECHNI MOBILI RTA-913D User manual

RTA Techni Mobili RTA-B018 User manual

RTA

RTA Techni Mobili RTA-B018 User manual

RTA Techni Mobili RTA-325 User manual

RTA

RTA Techni Mobili RTA-325 User manual

RTA Techni Mobili RTA-KS40 User manual

RTA

RTA Techni Mobili RTA-KS40 User manual

RTA BWM3981 User manual

RTA

RTA BWM3981 User manual

RTA Techni Mobili RTA-BC19 User manual

RTA

RTA Techni Mobili RTA-BC19 User manual

RTA rta-3806 User manual

RTA

RTA rta-3806 User manual
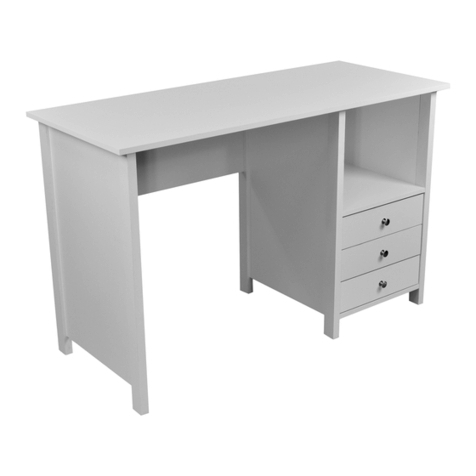
RTA ELW2364 User manual

RTA

RTA ELW2364 User manual

RTA Techni Mobili RTA-8850 User manual

RTA

RTA Techni Mobili RTA-8850 User manual

RTA Monarca MNG4956 User manual

RTA

RTA Monarca MNG4956 User manual

RTA Techni Mobili RTA-3992D User manual
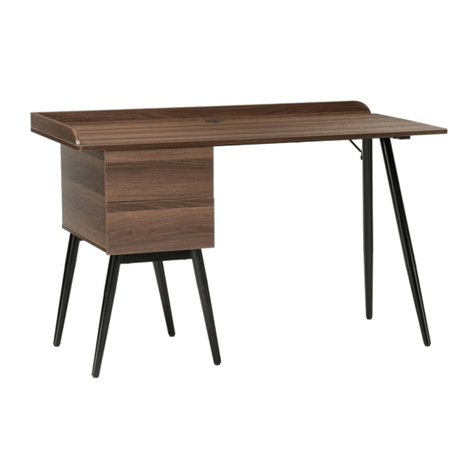
RTA

RTA Techni Mobili RTA-3992D User manual

RTA Office 11 Combo User manual

RTA

RTA Office 11 Combo User manual

RTA VOLTERRA 1.20 MLC 4287 User manual

RTA

RTA VOLTERRA 1.20 MLC 4287 User manual

Popular Indoor Furnishing manuals by other brands

FourStarGroup 11224544V manual

FourStarGroup

FourStarGroup 11224544V manual

Southern Enterprises Kellis KA326800TX Assembly instructions

Southern Enterprises

Southern Enterprises Kellis KA326800TX Assembly instructions

Manhattan Comfort ACCENTUATIONS 97AMC128 manual

Manhattan Comfort

Manhattan Comfort ACCENTUATIONS 97AMC128 manual

Frontgate Newport 140274 CHS Assembly instructions

Frontgate

Frontgate Newport 140274 CHS Assembly instructions

Expomob Yasmin Assembly instructions

Expomob

Expomob Yasmin Assembly instructions

Maintal Cueno Assembly instructions

Maintal

Maintal Cueno Assembly instructions

CareCo ELTHAM FN02010009 user manual

CareCo

CareCo ELTHAM FN02010009 user manual

Next Shropshire 121763 Assembly instructions

Next

Next Shropshire 121763 Assembly instructions

Somopar 100020 instruction manual

Somopar

Somopar 100020 instruction manual

Ambia A198 Assembly instruction

Ambia

Ambia A198 Assembly instruction

OSP TOW-53-CHY operating instructions

OSP

OSP TOW-53-CHY operating instructions

Coaster 205322 Assembly instructions

Coaster

Coaster 205322 Assembly instructions

Safavieh Furniture Cassie ETG5700 Assembly instructions

Safavieh Furniture

Safavieh Furniture Cassie ETG5700 Assembly instructions

modway EEI-3048 manual

modway

modway EEI-3048 manual

Rauch 72000.0250 Assembly instructions

Rauch

Rauch 72000.0250 Assembly instructions

Till-Hilft 89900.330 manual

Till-Hilft

Till-Hilft 89900.330 manual

BLUM TIP-ON BLUMOTION quick guide

BLUM

BLUM TIP-ON BLUMOTION quick guide

Sauder Registry Row 412922 Assembly instructions

Sauder

Sauder Registry Row 412922 Assembly instructions

manuals.online logo
manuals.online logoBrands
  • About & Mission
  • Contact us
  • Privacy Policy
  • Terms and Conditions

Copyright 2025 Manuals.Online. All Rights Reserved.