Rugged CCTV SCOUT III User manual

Instruction Manual
Please read this manual carefully before installation and use
(This manual is subject to change without notice)
SCOUT III
Infrared PTZ CAMERA
1-866-301-2288

IR Dome Camera Instruction Manual
1
Precautions:
1. Non-technicians should not attempt to operate this dome device before reading this
manual thoroughly.
2. Remove any power to the dome before attempting any operations or adjustments
inside the dome cover to avoid potential damage to the mechanism.
3. Inside the dome device are precision optical and electrical devices. Heavy pressure,
shock and other sudden adjustments or operations should be avoided. Otherwise,
may cause irreparable damage to the product.
4. Please DO NOT remove or disassemble any internal parts of the device to avoid
mal-operation and possibly void the warranty. There are no serviceable parts inside
the camera.
5. All electrical connections to the dome should be made in strict accordance with the
attached labels and wiring instructions in this manual. Or may cause damage to the
dome and void the warranty. It is highly recommended that proper lightning arresters
and surge suppressors are installed before the dome is entered into service.
6. Please do not use the product under circumstances where the limits exceed the
maximum specified temperature, humidity or power supply specifications.

IR Dome Camera Instruction Manual
2
Contents
Chapter 1 Important Safeguards ........................................ 3
Chapter 2 Product Introduction ......................................... 4
2.1 Performance Characteristics...................................................4
2.2 Specific functions......................................................................4
2.3 Features.....................................................................................5
Chapter 3 Wiring and Setup ............................................ 7
3.1 System Connection Diagram..................................................7
3.2 Communication settings ..........................................................7
Chapter 4 Quick Start Operation Guide .................................. 9
4.1 Wiring Instruction......................................................................9
4.2 Setting protocol and baud rate................................................9
4.3 Camera installation .................................................................9
4.4 Connect the power to the dome.............................................9
4.5 Joystick controller setting ........................................................9
4.6 Start testing..............................................................................10
4.7 Complete the test (Summary)...............................................10
4.8 Operation commands.............................................................10
Chapter 5 English Menu Operation Instruction .......................... 11
5.1 Main menu............................................................................... 11
5.2 Tree Menu List......................................................................... 11
Chapter 6 Short-cut Operations and Specification of IR Dome Camera ..... 23

IR Dome Camera Instruction Manual
3
Chapter 1 Important Safeguards
●Read the instruction manual before attempting installation or operation of
the dome device.
●Cautions during transportation
Avoid any damage to the product caused by heavy pressure, shock or immersions during
transportation and storage. Use only the packing material specified by the manufacturer
for transportation purpose. Warranty does not apply under any damage caused during
transportation by using unspecified packing materials.
●Certified power supply
Use Certified/Listed Class AC24V/2A power supply transformer only. The input rated
voltage is indicated on the base of the dome device or on the corresponding place.
●Installation with care
The installation and mounting should be limited to ceiling.Handle the dome unit with care.
Heavy pressure, shock and other sudden adjustments or operations should be avoided.
Otherwise, you may cause mechanical damage to the product and adversely affect the
performance.Do not touch the acrylic dome with hand to avoid possible scratch on the
opitical dome as this will affect the optical performance of the camera.
●Never attempt to disassmeble the parts
Please DO NOT remove or disassemble any internal parts of the dome camera to avoid
mal-operation and possibly void the warranty.There are no serviceable parts inside the
camera.All services work should be done by authorized maintenance personnel.
●Compliance electrical safty standards
During usage, user should abide by all electrical safty standards and adhere to electric
specifications for the operation of the dome. Use only the power supply transformer
specified by the manufacturer. The control cable for RS485 communications as well as the
video signal cables should be isolated from high voltage equipment and or high voltage
cables. It is highly recommended that proper lightning arresters and surge suppressors
are installed before the dome is entered into service.
●Installation location isolated from electric and magnetic fields
The installation should be isolated from the place where it is closed to television,
radio-transmitter, electromagnetic device, eletric motor, transformer and loudspeaker.
●Void pointing the camera directly to extermely bright objects
Never pointing the camera directly to the sun or other extremely bright objects for a long
time to avoid the risk of permanent damages to the imaging sensor.
●Maintenance with care
Use the dome device with care. Handle the unit avoiding heavy shock. Misuse may cause
damage to the video camera. Clean only with non abrasive dry cotton cloth, lint free and
approved acrylic cleaners. Should the lens of the camera become dirty, use special lens
cleaning cloth and solution to properly clean it.
●Requirements on Working Environments
Please do not use the product under circumstances where the limits exceed the maximum
specified temperature, humidity or power supply specifications.
●Indoor dome is for indoor use only
Indoor dome is for indoor use only and not suitable for outdoor or high humidity locations.
Use outdoor dome under circumstances subjected to water or high humidity.

IR Dome Camera Instruction Manual
4
Chapter 2 Product Introduction
2.1 Performance Characteristics
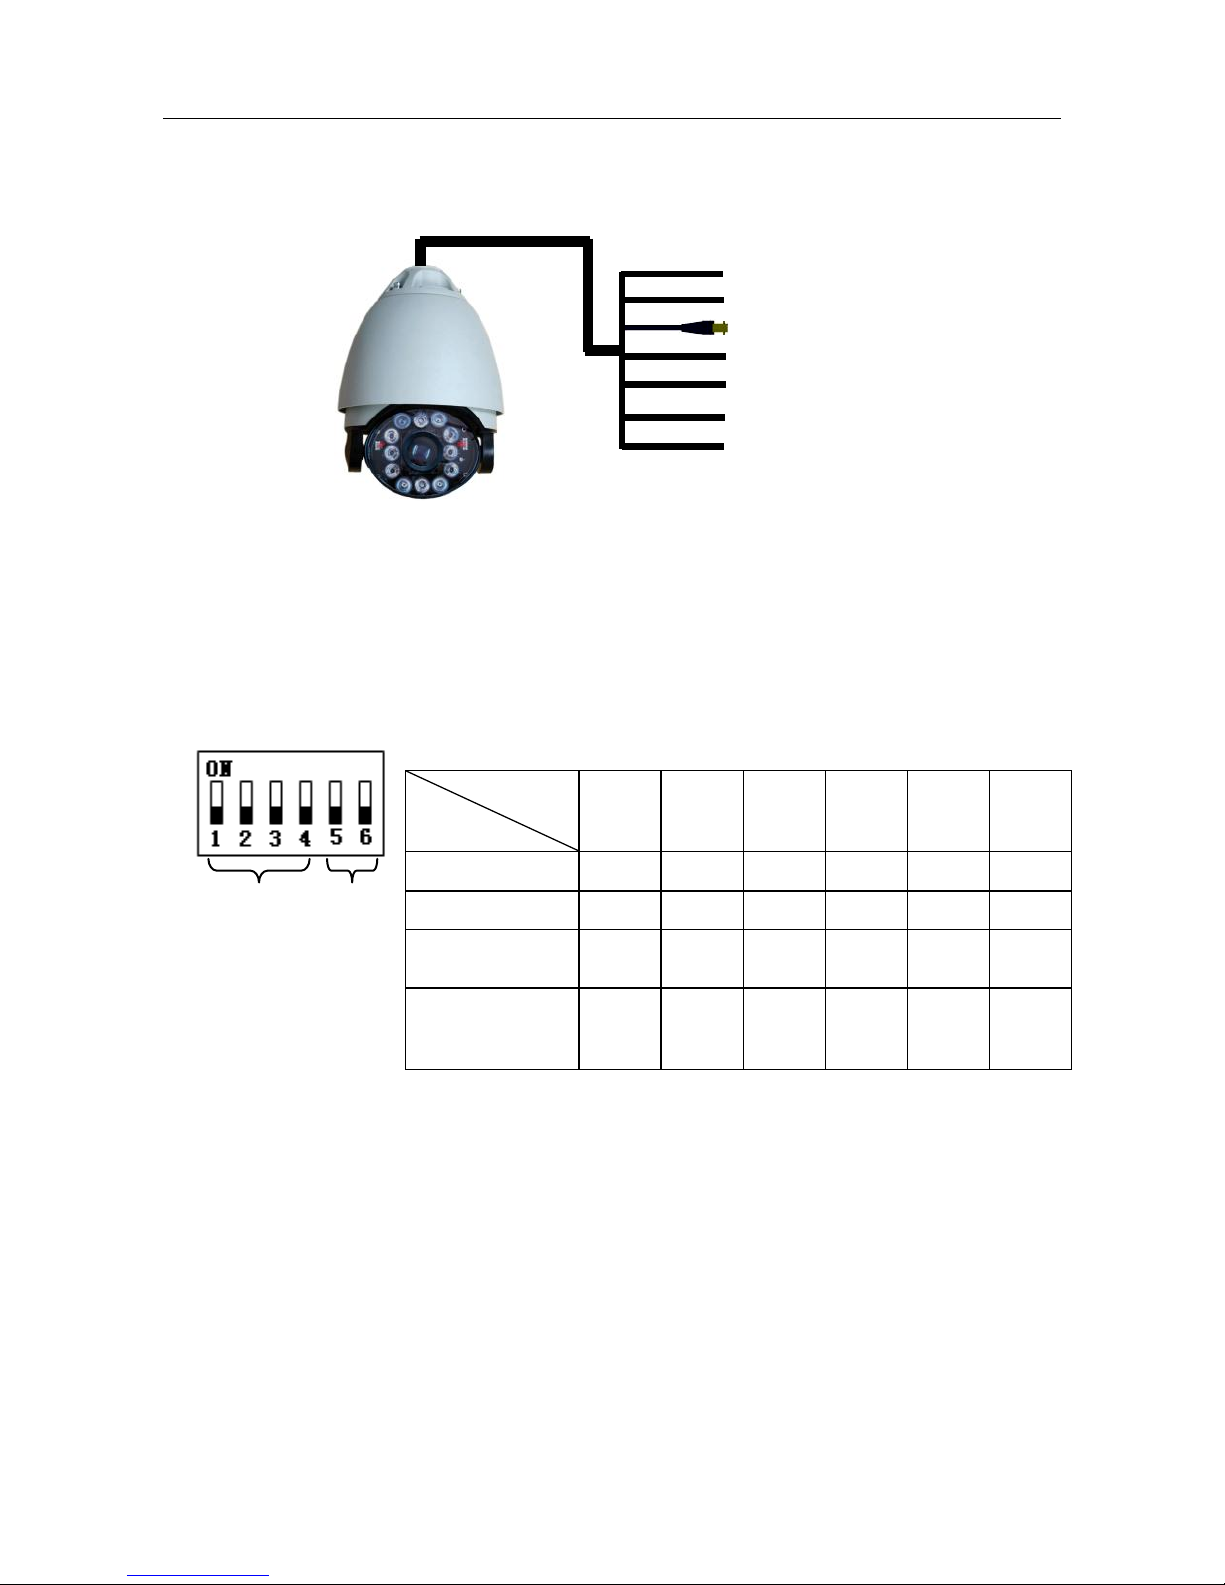
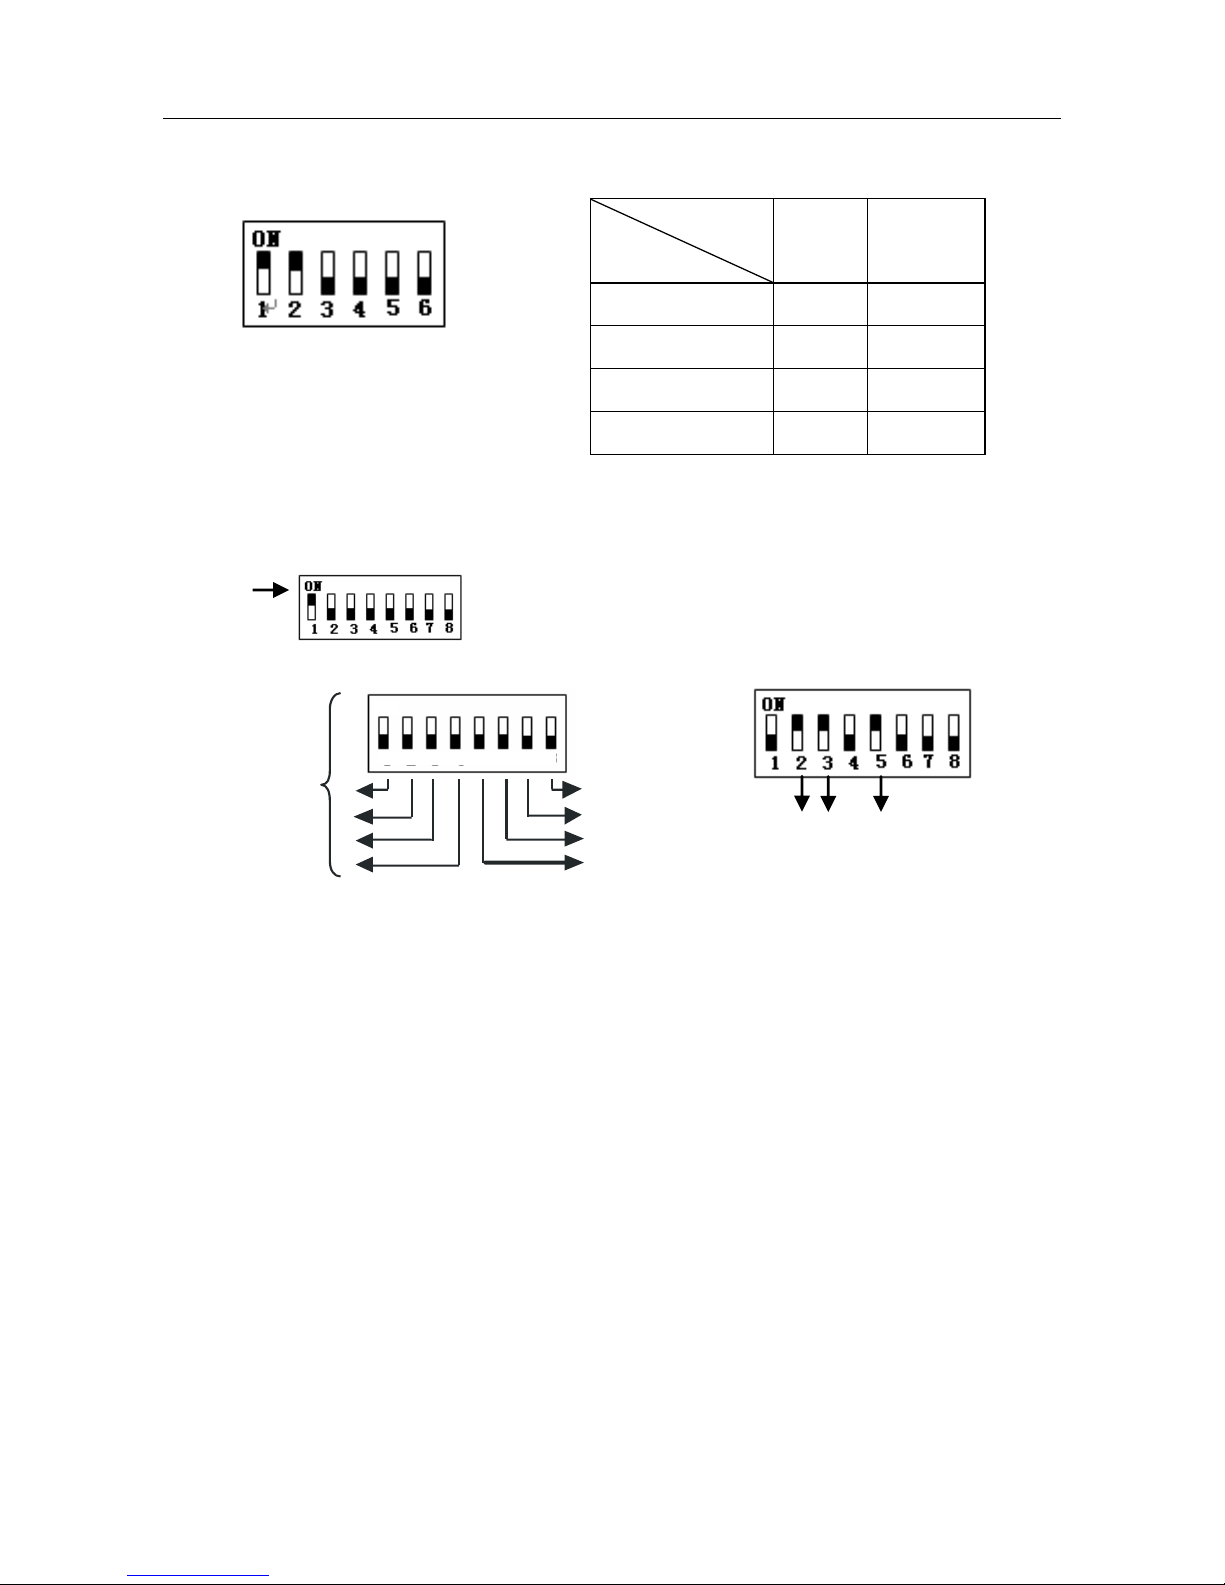
1. 0-255 individually addressed units. The dome address is defined using a dip switch with 8
positions (Binary addressing scheme)
2. Integrate multi-protocol and auto protocol differentiation. Note: The dome device auto
differentiate the protocol of the controller only on the first communication.
3. Tilt 90 degree action.
4. Pan manual operation speed can be 0.1 to 250 degree per second.
5. Tilt manual operation speed can be 0.1 to 200 degree per second.
6. 128 preset positions.(A preset position is defined as a user definable setting for precise
coordinates, pan, tilt and zoom on all 3 axis)
7. The maximum running speed when preset is called can reach 360 degrees per second
with positioning accuracy of ±0.1 degree.
8. Compatible with a varity Camera Module.(Sony, CNB, LG, Samsung)
9. Power supply: AC24V/2A
10. User friendly on screen menu interface for ease of installation.
11. RS-485( long distance) communication mode.
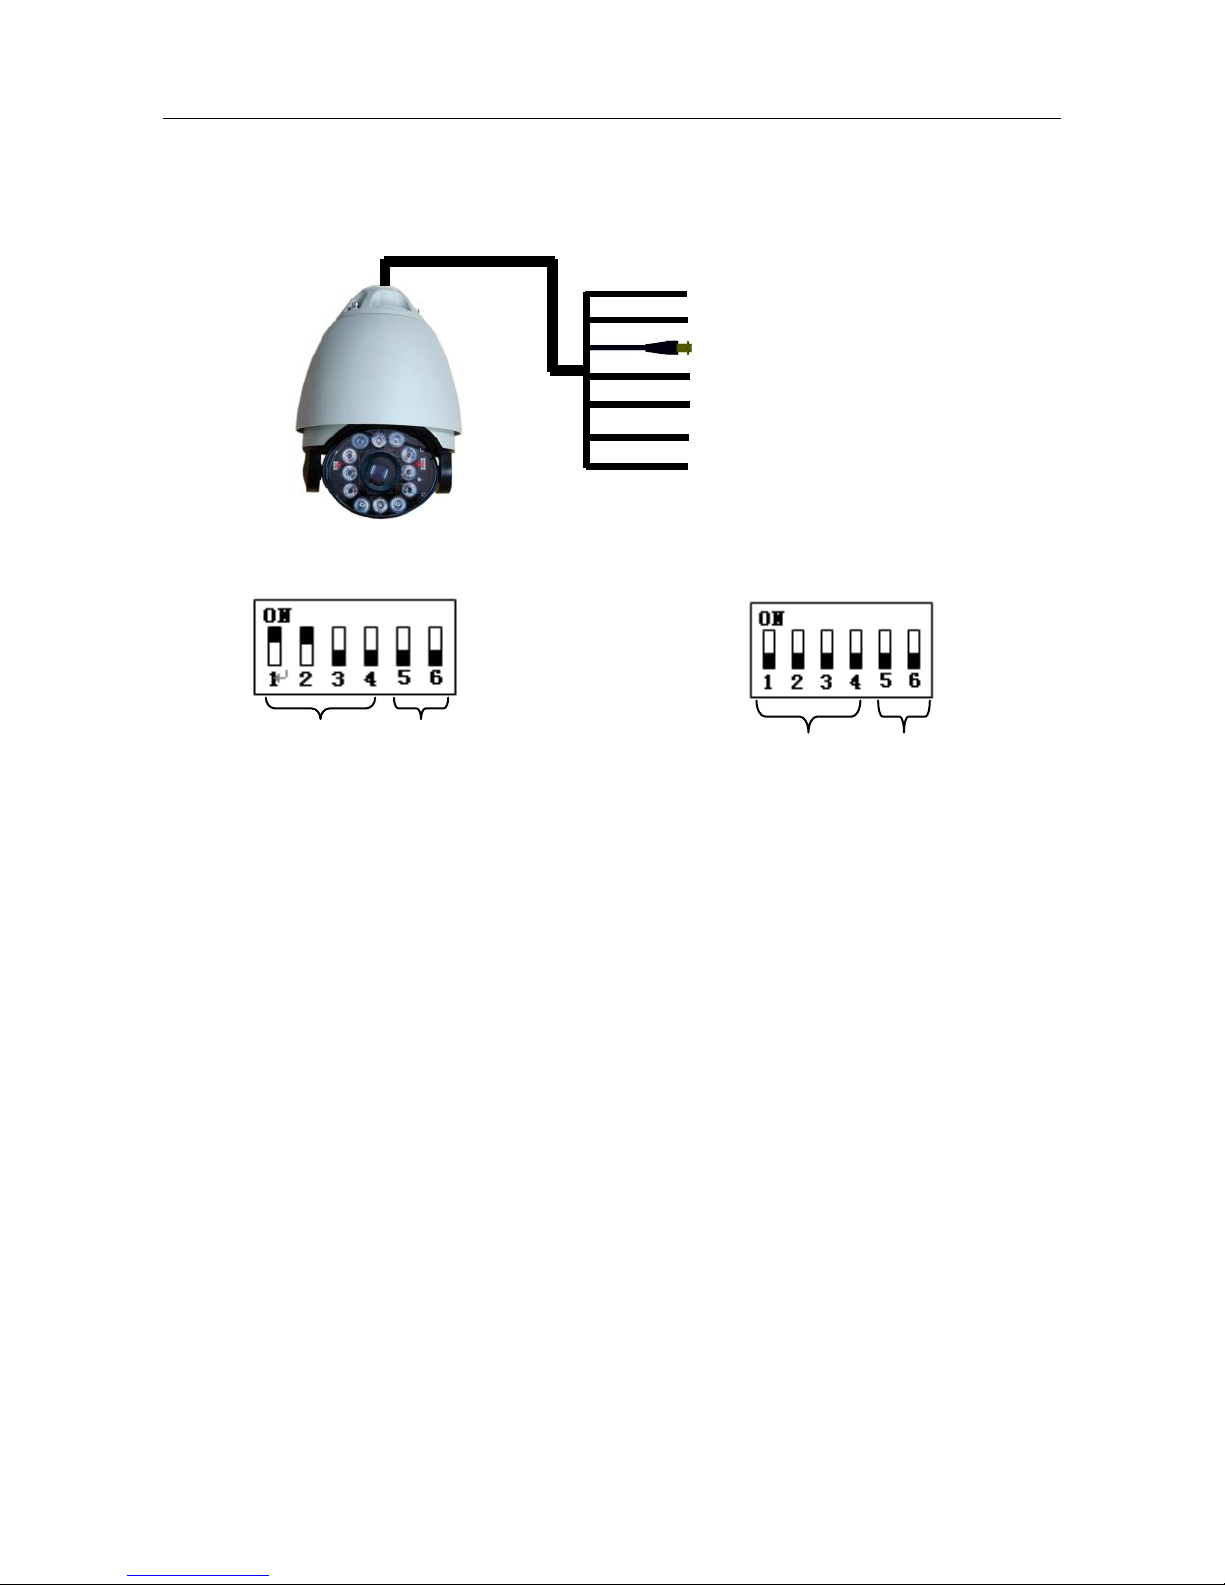
12. Selectable transmission speed,( i.e. Baud rate). User definable via dip switch settings
from 2400bps~19200bps (use the dip switch with the fifth and sixth positions )
2.2 Specific functions
1. Multi-language on screen menu for operation and function settings.
2. On Screen camera title with exact x/y coordinates. (The camera is user definable as well
as the ability to display the camera coordinates or not)
3. On screen crosshair function (By enabling this option, the target can be followed more
effectively using the crosshairs as a reference)
4. Three user definable PTZ tour (also called pattern) with up to 2 minutes record duration
for each tour. (User has the ability in real-time to monitor and record the action of a
manual dome operation)
5. Six groups of programmable vector scans (including scan speed, dwell time, preset ,PTZ
tour and interruption between tours)
6. Auto flip function with +10 degree positioning
7. Twenty-four sectors of user programmable privacy zones (sectional mask). User can
mask part of the camera sectors which differs between different models of installed
cameras.
8. Eight sectors of user programmable sectional display. User can define and display the
name and position.
9. Resume automatic operation after initial self-test of the dome as well as resume automatic
operation when there is no transmission from a keyboard controller. (Dwell time can be set
from 1 to 999 seconds)
10. User can define the function of image capture with support of the camera
11. Resume operation function. (Dome unit will return to the previous operation after the
execution of an operation using the on screen menu)
12. Intelligent manual scan function. (By executing this function in manual pan operation, you
can adjust the manual pan behavior of the dome)
13. Intelligent power off real time memory. (Should power fail while the dome was in operation,
the dome will resume its preprogrammed function when power up)
14. High efficient 3-dimensional scan function. (User can change the pan scan tour and zoom
of the frame when the dome is operating manual continuous scan or auto scan between
two horizontal points)
15. Zoom and dome speed correlation function. (When the camera is zoomed in close, the
dome speed is reduced to allow for precise operation control)

IR Dome Camera Instruction Manual
5
2.3Features
This section introduces the main features and performance of IR dome camera. This
section does not relate to the operation guide. Operation may differ from different dome
devices. User shall follow the instruction manual provided by the manufacturer. Specific
operation may be required in certain circumstances.
1. Focal length/speed auto matching
The IR dome device auto adjusts tilt and pan speed based on the distance of the focal
length, this makes the manual operation of target tracking more easier.
2. Auto Flip
The lens is moved downwards (vertically) by using the controller, then holding the joystick,
the lens makes auto 180 degrees tilt action with 10 degree positioning forward.
3. Set and call the preset position
The preset function is applicable when the definable setting for precise coordinates,pan,
tilt and zoom on all 3 axis is stored. The preset position is called to move the dome unit
and lens to certain defined postion. The preset position is stored and called by using the
controller or other controlling device. Totally 128 preset positions are applicable to this
product.
4. Pan scan between 2 points
User may set up 2 preset positions by using the controller, and the camera module can
make pan tour scan between 2 points with defined speed.
5. Auto tracking
With pre-programming, certain preset positions are lined up for auto tracking. By this
setting, the IR dome camera can make auto circulatory tracking and monitoring with
regular time
6. Resume operation function
The idle time and motion option(i.e.call preset position,auto tracking, PTZ tour) can be set
in advance with resume operation function.The dome unit will auto return to previous
operation if the user makes no control in set time.
7. Menu function
English, Deutsch and Polski on-screen menu operation function to meet the specific
needs of customers.
8. Setting address for the dome device
The dome address (total 256 addresses) is defined by using the dip switch.
9. Manual target tracking
The dome camera will be panned to follow the target motion as it moves by using the
controller. The angle of view and size of the target image will be changed with the
adjustment of the focal length. With default auto focus and IRIS, the camera will auto
adjust its focus to get distinct image with variety of the scenes by moving the dome unit.
10. Privacy zones function
User programmable privacy zones are available to be defined. User can mask part of the
camera sectors which differs from models of installed cameras. The size and location of
the privacy zone can be defined randomly.
11. Lens controlling
1)Zoom
Zoom in or Zoom out is set to get far or near image with operation of the controller.
2)Focus
System default mode is auto focus. The dome camera will auto focus on the center of the
image to keep clear picture as the lens moves. Manual focus is adopted to get expected
image under special circumstances.
3)Auto IRIS
The camera will adjust itself quickly to maintain stable image brightness through auto
reaction to changing light.
4)Manual/Auto white balance
Manual/Auto white balance is set to achieve the true color of the image according to

IR Dome Camera Instruction Manual
6
changing light.
5)Day/night switch function(applicable to the camera module having the function of color and
black-white switch)
The function of color and black-white switch will be achieved automatically.
6)Menu operation
Call No. 90 preset position to enter the dome menu.

IR Dome Camera Instruction Manual
7
Chapter 3 Wiring and Setup
3.1 System Connection Diagram
Caution: This operation should be performed with the power OFF
3.2 Communication settings
Before installation and use, the unique address for each dome and the communication protocol
including transmission speed (baud rate) should be set to correspond with the chosen control system.
3.2.1 Setting the protocol and baud rate for each dome device.
Attention: The protocol and baud rate of IR dome camera should comply with those of the
controller, which need to be restarted after revision.
On/Off
status
Protocol type
1st
digit
2nd
digit
3rd
digit
4th
digit
5th
digit
6th
digit
PELCO-D
ON
ON
OFF
OFF
**
**
PELCO-P
OFF
OFF
ON
OFF
**
**
Auto
Differentiate
OFF
OFF
OFF
OFF
**
**
Actiontop
System
reserve
ON
ON
ON
ON
**
**
GND(Yellow-Green)
Video Output
AC24V-(Black)
<<连续按 OPEN
选择 P:预置位,
T:花样轨迹,V:
矢量轨迹
AC24V+(Red)
GND(Yellow-Green)
RS485+ Orange
RS485- Yellow
On/Off switch
Protocol setting
Baudrate setting

IR Dome Camera Instruction Manual
8
3.2.2 Address setting of each dome
On/Off switch
and matching
numbers 128
64
32
1
ON
1 2 3 4 5 6 7 8
2 4 16
The address is 222+4+16=22
ON
1 2 3 4 5 6 7 8
Dome device range: 0 255 ~
Matchingnumbers
16
8
4
2
Dome device range:0~255
On/Off status
Baud rate
5th
digit
6th
digit
2400
OFF
OFF
4800
OFF
ON
9600
ON
OFF
19200
ON
ON
Dip Switch
(2+4+16=22)the dome address is: 22
4
2
16
Setting address for dome device (This figure
shows the address of dome device No.1)
This figure shows protocol of
PELOC-D, baudrate of 2400

IR Dome Camera Instruction Manual
9
Chapter 4 Quick Start Operation Guide
4.1 Wiring Instruction
Caution: Do not turn the power ON until you have finished all connections and settings.
4.2 Setting protocol and baud rate. (Turn the power off when setting, and restart the
device after revision)
The figure shows: Protocol: PELCO-D The figure shows: Auto detection protocol.
Baud rate: 2400 bps Baud rate: 2400bps
(Please refer to detailed parameter in next chapter)
This dip switch located on PCB in the dome device.
4.3 Camera installation (Please refer to camera installation section for more
details)
1. Make sure the correction of the ribbon cable between the camera module and the dome
core.
2. Different camera module may have different screws holes.
4.4. Connect the power to the dome
As soon as the power is turned ON, the dome initiates a self test which includes a rotation of
the dome on both axis and the camera will display a brief menu followed by a live image on the
monitor. The camera will display a blue screen.
Note:
During self-testing, it is normal to hear a clicking sound caused by the camera module for about 2-5
seconds of vertical movement, as a result of the vertical self alignment.
4.5 Joystick controller setting
Set the protocol, baud rate, and the address of the keyboard controller to match the settings of
the dome(For instructions of how to set the keyboard communication settings please refer to
keyboard controller manual).
GND(Yellow-Green)
Video Output
AC24V-(Black)
<<连续按 OPEN
选择 P:预置位,
T:花样轨迹,V:
矢量轨迹
AC24V+(Red)
GND(Yellow-Green)
RS485+ Orange
RS485- Yellow
Protocol setting
Baud rate setting
Protocol setting
Baud rate setting

IR Dome Camera Instruction Manual
10
Attention:
If the protocol setting of the dome is set to auto detection, the protocol of keyboard controller
can be set arbitrarily. But its baud rate should be set identical with that of the dome device.
4.6 Start testing
When all of the above settings are completed you can start testing the dome functionality
(Please refer to the next section for demonstration of menu operation and control of dome device.)
4.7. Complete the test (Summary)
1. If you have achieved control of the dome device as described above, the system is basically
normal. Please do not change the wiring or the applied settings to avoid unnecessary
damage.
2. If the dome does not respond to the commands or only partial functionality is achieved,
verify the wiring connection and communication settings.
4.8 Operation commands
Functional number range: 1~165,including positional preset points and functional preset
points.
Positional preset point range :1~50,64 ~77 and 102~165
Functional preset point range:51~63,78~101.
The following command operated by controller:
Set Home Position
Function: The dome unit will auto return to No.1 preset position without receiving any
controlling demand during set time with unmanned watch.
The time interval for returning to Home (preset 1) can be set from 1-2-4-8-10 minutes by :
Call No. 95 preset position to set 1 minute
Call No. 96 preset position to set 2 minutes
Call No. 97 preset position to set 4 minutes
Call No. 98 preset position to set 8 minutes
Call No. 99 preset position to set 10 minutes
To disable the return to Home Position function press No.100 preset postion
Setting Auto Pan scanning between two points:
User only needs to maintain a certain manual scan speed for more than 3 seconds and call
No.101 preset position to continue the auto pan scanning for certain area with specific speed
and operate tilt action and real-time zoom.
The direction (up, down, left and right)of
the dome device can be controlled by
using the keyboard controller, as
indicated in the figure.
Note: the working of dome device is
normal.
Zooming of the camera can be controlled by
zooming function Joystick or by using
TELE(zoom in) and WIDE(zoom out) on the
keyboard button.
Note: The camera and dome device are
normal

IR Dome Camera Instruction Manual
11
Chapter 5 English Menu Operation Instruction
5.1 Main menu
1. Call No.90 preset position on the keyboard to enter the main menu of dome device .
2. Select options joystick only between up and down, the arrow points to the current selected
option. Press OPEN or joystick left or right to enter the submenu of that option or change the
value or setting of that option.
3. Press CLOSE to exit menu or return to upper stage menu.
5.2 Tree Menu List
1. Language English/Deutsch/Polski/
Joystick up/down to select Language option. Joystick left/right to confirm the selection.
2. Display Options
Joystick up/down to select Display Options. Joystick left/right or press OPEN to confirm and
enter the submenu.
⑪. Preshot Setup
Move the joystick up/down to select Preshot Setup. Move the joystick left/right or press OPEN
to enter the submenu.
①.Number
Move the joystick left/right or press OPEN to enter number editing programming. The default
No. is 1. Joystick left/right to select the number to be edited and press OPEN to confirm.
Joystick left/right to select number range from 0-9.
Press OPEN to confirm the selection. Press CLOSE to return to the upper menu.
Press CLOSE
Press OPEN
or joystick left/right
<< Language options
<< Display options
<< Control options
<< Diagnostic options
<< Camera options
<< Functions programming
Press CLOSE
Press OPEN
or joystick left/right
Display Options
1.PreShot Setup
2.Sector Setup
3.Coordinates ON
4.Crosshairs OFF
5.Start-Up Scr Msg ON
IRIS CLOSE to Exit
PreShot Name
1.Number 1
2.Set Preshot
3.Call Preshot
4.Delete Preshot
5.Name _ _ _ _ _ _
6.Name Display OFF
IRIS CLOSE to Exit
Display Options
1.PreShot Setup
2.Sector Setup
3.Coordinates ON
4.Crosshairs OFF
5.Start-Up Scr Msg ON
IRIS CLOSE to Exit
1.Language English
2.Display Options
3.Control Options
4.Diagnostic Options
5.Camera Options
6.Function Programming
IRIS CLOSE to Exit
1.Language English
2.Display Options
3.Control Options
4.Diagnostic Options
5.Camera Options
6.Function Programming
IRIS CLOSE to Exit

IR Dome Camera Instruction Manual
12
②.Set Preshot
Move the cursor to select preset position. Move the joystick left/right or press OPEN to enter
the setting (ensure the preset position data you desire to save) .
Press CLOSE to finalize your selection and the screen will display Stored as illustrated below.
③.Call Preshot
Joystick left/right to select preshot number to be called from Number option. Move the joystick
up/down to select Call Preshot. Move the joystick left/right or press OPEN to call desired preset.
The lens auto switch from current preset position to corresponding preshot.
④. Delete Preshot
Select the preset position to be deleted from Number option. Move the joystick up/down to
select Delete Preshot. Move the joystick left/right or press OPEN to enter Delete Preshot option
as illustrated below. Press OPEN to confirm your selection or press CLOSE to exit.
⑤. Name
Move the joystick up/down to select Name. Move the joystick left/right or press OPEN to
confirm the selection and enter Name submenu. Joystick left/right to select programming
position and press OPEN to confirm. Joystick left/right again to select ( 0~9 , “A~Z” or “_”) and
press OPEN to confirm. Press CLOSE to exit or return to the previous menu level when
programming is done.
⑥. Name Display
Move joystick up/down to select Name Display. Joystick left/right to choose ON or OFF
⑫.Sector Setup
Move the joystick up/down to select Sector Setup. Move the joystick left/right or press OPEN to
enter the submenu.
Are you sure to do this?
IRIS OPEN to Confirm
IRIS CLOSE to Cancel
IRIS CLOSE When Done
Stored
Press CLOSE
Press OPEN
Press CLOSE
Press OPEN
Press CLOSE
1~165
001
0123456789
IRIS CLOSE When Done
_ _ _ _ _ _ _ _
IRIS CLOSE When Done
0123456789ABCDEFGHIJKLMN
OPQRSTUVWXYZ _
IRIS OPEN When Done
IRIS CLOSE to Exit
1~165
001
0123456789
IRIS CLOSE When Done

IR Dome Camera Instruction Manual
13
①. Number << Move the joystick up/down to select Number option. Joystick left/right to
select number range from 1-8.
②. Name << Move the joystick up/down to select Name option. Joystick left/right or
press OPEN to enter its submenu.
Joystick left/right to select programming position and press OPEN to confirm. Joystick left/right
again to select ( 0~9 , “A~Z” or “_”) and press OPEN to confirm. Press CLOSE to exit or
return to the previous menu level when programming is done.
③. Pan Start POS Move the joystick left/right to select a pan start point. Press
OPEN to confirm the selection. Press CLOSE to exit and
return to upper menu when done.
④. Pan End POS Move the joystick left/right to select a pan end point. Press
OPEN to confirm the selection. Press CLOSE to exit and
return to upper menu when done.
⑤. Tilt Start POS Move the joystick left/right to select a tilt start point. Press
OPEN to confirm the selection. Press CLOSE to exit and
return to upper menu when done.
⑥. Tilt End POS Move the joystick left/right to select a tilt end point. Press
OPEN to confirm the selection. Press CLOSE to exit and
return to upper menu when done.
⑦.Name Display << Move the joystick up/down to select Name Display option. Joystick
left/right to choose ON or OFF. Press CLOSE to return to upper menu.
⑬.Coordinates << Move the joystick up/down to select Coordinates option. Joystick
left/right to choose ON or OFF. Press CLOSE to return to upper menu.
⑭.Crosshairs << Joystick up/down to select Crosshairs option. Move the joystick
left/right to choose ON or OFF. Press CLOSE to return to upper menu.
⑮.Start-Up Scr Msg << Move the joystick up or down to the desired selection. Move the
joystick left or right to select ON or OFF. Based on your selection the startup message such as
camera type, baud rate, protocol, dome address and dome version will be displayed once
power up. This is particularly useful when you do not know what is the address or
Press OPEN
Press CLOSE
IRIS CLOSE When Done
Press OPEN or
joystick left/right
Press CLOSE
IRIS CLOSE When Done
Sector Setup
1 Number 1
2 Name _ _ _ _ _ _
3 Pan Start POS 0.0
4 Pan End POS 0.0
5 Tilt Start POS 0.0
6 Tilt End POS 0.0
7 Name Display OFF
IRIS CLOSE to Exit
Display Options
1.PreShot Setup
2.Sector Setup
3.Coordinates ON
4.Crosshairs OFF
5.Start-Up Scr Msg ON
IRIS CLOSE to Exit
_ _ _ _ _ _ _ _
IRIS CLOSE When Done
0123456789ABCDEFGHIJKLMN
OPQRSTUVWXYZ _
IRIS OPEN When Done
IRIS CLOSE to Exit

IR Dome Camera Instruction Manual
14
communication setting of this dome device.
3. Control Options
Move the joystick up/down to Control Options. Joystick left/right or press OPEN to enter its
submenu.
⑪. Set Pan and Tilt
Move the joystick up/down to select Set Pan and Tilt. Move the joystick left/right or press OPEN
to confirm and enter its submenu.
①.Pan Reverse
Move the joystick up/down to select Pan Reverse. Joystick left/right to choose ON or OFF.
②.Tilt Reverse
Move the joystick up/down to select Tilt Reverse. Joystick left/right to choose ON or OFF.
③.+2 Tilt Limit NA
④.Find Home On STA.
Move the joystick up/down to select Find Home On STA. Move the joystick left/right to choose
On/Off. The dome unit will start self test on power up when the function is enabled.
Press CLOSE button to exit and return to the previous menu level.
⑫. Set Default Function
Move the joystick up/down to select Set Default Function. Move the joystick left/right or press
OPEN to confirm the selection and enter submenu.
Press OPEN or
joystick left/right
Press CLOSE
Press OPEN or
joystick left/right
Press CLOSE
Press OPEN or
joystick left/right
Press CLOSE
Set Default Function
1 Default Function P
2 Number 1
3 Delay 60
4 Operation OFF
IRIS CLOSE to Exit
Control Options
1 Set Pan and Tilt
2 Set Default Function
3 Speed Limit ON
4 Auto Flip ON
5 Auto Focus PTZ
6 Auto AE PTZ
7 VectorScan AF OFF
8 VectorScan Still OFF
IRIS CLOSE to Exit
Control Options
1 Set Pan and Tilt
2 Set Default Function
3 Speed Limit ON
4 Auto Flip ON
5 Auto Focus PTZ
6 Auto AE PTZ
7 VectorScan AF OFF
8 VectorScan Still OFF
IRIS CLOSE to Exit
Set Pan and Tilt
1 Pan Reverse OFF
2 Tilt Reverse OFF
3 +2 Tilt Limit (NA)
4 Find Home On STA. ON
IRIS CLOSE to Exit
Control Options
1 Set Pan and Tilt
2 Set Default Function
3 Speed Limit ON
4 Auto Flip ON
5 Auto Focus PTZ
6 Auto AE PTZ
7 VectorScan AF OFF
8 VectorScan Still OFF
IRIS CLOSE to Exit
1.Language English
2.Display Options
3.Control Options
4.Diagnostic Options
5.Camera Options
6.Function Programming
IRIS CLOSE to Exit

IR Dome Camera Instruction Manual
15
①. Default Function P/V/T
Move the joystick up/down to select Default Function. Move the joystick left/right to select
preset/tour/PTZ Home position. Select one preset position randomly or execute one vertical
scan action.
②. Number
Move the joystick up/down to select Number. Joystick left/right to confirm the selection.
PS: Program the number of preset position.
Move the joystick left/right to select the number editing (numeral line 0~9), and press OPEN to
confirm the selection. Press OPEN to exit when your selection done, as below
③. Delay
Move the joystick up/down to select Delay. Move the joystick left/right or press OPEN to confirm
the selection and enter the setting menu.This function is to set the time duration when the
dome unit resumes from standby. The delay range is from 1-999 seconds. Please refer to the
preset postion section for setting.
④. Operation ON/OFF
Move the joystick up/down to select Operation. Move the joystick to select ON/OFF. The dome
will not resume to home position if this function is disabled.
Press CLOSE to exit and return to upper menu.
⑬.Speed Limit ON/OFF
Move the joystick up/down to select Speed Limit. Move the joystick left/down to select ON/OFF.
The dome will run with various speed limit based on different zoom cameras under this
function.
Press COSE to exit and return to upper menu.
⑭.Auto Flip ON/OFF
Move the joystick up/down to select Auto Flip. Move the joystick left/right to select ON/OFF. The
image will make auto flip for 180 degrees positioning 10 degree forward when the dome unit
reaches the top of the vertical position.
⑮.Auto Focus
Move the joystick up/down to selectAuto Focus. Move the joystick left/right to select
PTZ/OFF/Z.
PTZ: Auto focus on when pan, tilt, zoom action operated through joystick.
OFF: Auto focus off when pan, tilt, zoom action operated through joystick.
Z: Auto focus when zoom
Press CLOSE to exit and return to upper menu.
⑯.Auto AE
Move the joystick up/down to selectAutoAE. Move the joystick left/right to select PTZ/OFF/Z.
Press CLOSE
Press OPEN
Press CLOSE
Press OPEN
1~165
001
0123456789
IRIS CLOSE When Done
1~999
060
0123456789
IRIS CLOSE When Done
1~999
060
0123456789
IRIS CLOSE When Done
1~165
001
0123456789
IRIS CLOSE When Done

IR Dome Camera Instruction Manual
16
PTZ: Auto AE on when pan, tilt, zoom action operated through joystick.
OFF: AutoAE off when pan, tilt, zoom action operated through joystick.
Z: Auto focus when zoom
Press CLOSE to exit and return to upper menu.
⑰.VectorScan AF
Move the joystick up/down to select VectorScan AF. Joystick left/right to select ON/OFF.
ON = On the Auto focus
OFF = Adjust focus manually
Press CLOSE to exit and return to upper menu.
⑱.VectorScan Still
Joystick up/down to select VectorScan Stil option. Joystick left/right to select ON/OFF. The
VectorScan will run from one preset position directly to another one, avoiding the contiuous
change during the process of the image.
Press CLOSE to exit and return to upper menu.
4.Diagnostic Options
Joystick up/down to select Diagnostic Options. Move the joystick left/right or press OPEN
to enter the submenu.
⑪.Clear Memory
Move the joystick up/down to select Clear Memory. Move
the joystick left/right or press OPEN to confirm the
selection.User can clear the stored memory by using this
function.
⑫Restore Def Setting
Move the joystick up/down to select Restore Def Setting.
Move the joystick left/right or press OPEN to confirm the
selection. User can resume all default data of the dome unit
to get the default setting of the menu.
⑬.Color System
Move the joystick up/down to select Color System. Move the joystick left/right to select the
system including NTSC or PAL.
Press CLOSE to return to upper menu.
⑭.Scan & Camera Reset(NA)
This function is reserved for future application.
⑮.Dome Information
Move the joystick up/down to select Dome Information. Move the joystick left/right or press
OPEN to confirm the selection and enter the submenu. User can get the information of camera
mode, procotol, baud rate , dome number and software version by this function.
Are you sure to do this?
IRIS OPEN to Confirm
IRIS CLOSE to Cancel
Are you sure to do this?
IRIS OPEN to Confirm
IRIS CLOSE to Cancel
Press OPEN or
joystick left/right
Press CLOSE
Diagnostic Options
1 Clear Memory
2 Restore Def Setting
3 Color System PAL
4 Scan & Camera Reset(NA)
5 Dome Information
IRIS CLOSE to Exit
1.Language English
2.Display Options
3.Control Options
4.Diagnostic Options
5.Camera Options
6.Function Programming
IRIS CLOSE to Exit

IR Dome Camera Instruction Manual
17
5.Camera Options (Take Sony camera for example)
Move the joystick up or down to the desired selection. Joystick left/right or press OPEN to
confirm the selection and enter the submenu. Different options are applicable based on the
function you selected including sub- menus with additional options.
⑪. Zoom and Focus
Move the joystick up/down to select Zoom and Focus. Joystick left/right or press OPEN to
confirm the selection and enter the submenu.
①. Zoom Speed 7
Move the joystick up/down to select Zoom Speed. Move the joystick left/right to select the
desired speed (range 1~8).
②. Digital Zoom ON/OFF
Move the joystick up/down to select Digital Zoom. Move the joystick left/right to select ON/OFF.
③. AF Sensitivity High/Low
Move the joystick up/down to selectAF Sensitivity. Joystick left/right to select High/Low.
⑫. Camera Exposure
Move the joystick up/down to select Camera Exposure. Move the joystick left/right or press
OPEN to enter the submenu.
Press OPEN or
joystick left/right
Press CLOSE
Press OPEN or
joystick left/right
Press CLOSE
Press OPEN or
joystick left/right
Press CLOSE
Camera: XXXXX
Protocol: XXXXX
Baudrate: XXXX
Dome NO.: XXXX
Version: XXXXX
IRIS CLOSE to Exit
Diagnostic Options
1 Clear Memory
2 Restore Def Setting
3 Color System PAL
4 Scan & Camera Reset(NA)
5 Dome Information
IRIS CLOSE to Exit
Zoom and Focus
1 Zoom Speed 7
2 Digital Zoom ON
3 AF Sensitivity High
IRIS CLOSE to Exit
Camera Options
1 Zoom and Focus
2 Camera Exposure
3 Mask Zone
4 Mask Color
5 Others
IRIS CLOSE to Exit
Camera Options
1 Zoom and Focus
2 Camera Exposure
3 Mask Zone
4 Mask Color
5 Others
IRIS CLOSE to Exit
1.Language English
2.Display Options
3.Control Options
4.Diagnostic Options
5.Camera Options
6.Function Programming
IRIS CLOSE to Exit

IR Dome Camera Instruction Manual
18
①. AE Mode
Move the joystick to selectAE Mode. Move the joystick left or right to select AUTO/Manual/
Shutter/Iris/Bright.
②. Slow Shutter
Move the joystick up/down to select Slow Shutter. Move the joystick left/right to select OFF/ON.
③. Shutter Speed Adjustable under AE Manual/Shutter.
Move the joystick up/down to select Shutter Speed. The shutter speed will be auto adjusted
based on the brightness.
④. Iris Level Adjustable under AE Manual/Iris.
Move the joystick up/down to select Iris Level. The Iris level will be auto adjusted under this
function.
⑤. AGC Level Adjustable under AE Manual.
⑥. Bright Level Adjustable under AE Bright.
⑦. Spot AE
Move the joystick up/down to select Spot AE. Move the joystick left/right to select OFF/ON.
⑬.Mask Zone
Move the joystick up/down to select Mask Zone. Move the joystick left/right or press OPEN to
confirm and enter the submenu.
①. Number (Range: 1~24)
Move the joystick up/down to select Number. Joystick left/right to select desired number.
②. Mask Edit
Move the joystick up/down to select Mask Edit. Move the joystick left/right or press OPEN
to confirm and enter the submenu.
Press OPEN to begin the masking. The size of the mask zone can
be set by pressing FAR/NEAR, WIDE/TELE button on the
keyboard of the controller.
Press CLOSE to cancel the setting.
③. Mask Display
Move the joystick up/down to select Mask Display. Joystick left/right to select OFF/ON.
Press CLOSE to exit and return to upper menu.
Press OPEN or
joystick left/right
Press CLOSE
Press OPEN or
joystick left/right
Press CLOSE
IRIS OPEN to Begin
IRIS CLOSE to Cancel
Camera Options
1Zoom and Focus
2 Camera Exposure
3 Mask Zone
4 Mask Color
5 Others
IRIS CLOSE to Exit
Camera Options
1 Zoom and Focus
2 Camera Exposure
3 Mask Zone
4 Mask Color
5 Others
IRIS CLOSE to Exit
Camera Exposure
1 AE Mode AUTO
2 Slow Shutter OFF
3 Shutter Speed Auto
4 Iris Level Auto
5 AGC Level Auto
6 Bright Level Auto
7 Spot AE OFF
IRIS CLOSE to Exit
Mask Zone
1 Number 1
2 Mask Edit
3Mask Display OFF
IRIS CLOSE to Exit

IR Dome Camera Instruction Manual
19
⑭.Mask Color
Move the joystick up/down to select Mask Color. Move the joystick left/right or press OPEN to
confirm the selection
①.Mask Color
Move the joystick up/down to select Mask Color. Joystick left/right to select Gray1~6,White,
Red,Green,Blue,Cyan,Yellow,Magenta and Black.
②.Semi-transparency
Move the joystick to select Semi-transparency. Move the joystick left/right to select OFF/ON.
Press CLOSE to exit and return to upper menu.
⑮.Others
Move the joystick up/down to select Others. Move the joystick left/right or press OPEN to
confirm the selection and enter the submenu.
①. Sharpness
Move the joystick up/down to select Sharpness. Move the joystick left/right to select function
range from 0~15.
②. Back Light
Move the joystick up/down to select Back Light. Move the joystick left/right to select OFF/ON.
③. WB Mode
Move the joystick up/down to select WB Mode . Move the joystick left/right to select
Auto/Manual/Indoor/Outdoor/OnePush/ATW
④. R Gain Adjustable under WB Mode Manual.
⑤. B Gain Adjustable under WB Mode Manual.
⑥.Vertical Mirror
Move the joystick up/down to select Vertical Mirror. Joystick left/right to select OFF/ ON.
⑦. Horizontal Mirror
Move the joystick up/down to select Horizontal Mirror. Joystick left/right to select OFF/ ON.
⑧. IR SW Mode
Move the joystick up/down to select IR SW Mode. Joystick left/right to select Auto/Color/B/W.
Press OPEN or
joystick left/right
Press CLOSE
Camera Options
1 Zoom and Focus
2 Camera Exposure
3 Mask Zone
4 Mask Color
5 Others
IRIS CLOSE to Exit
Camera Options
1 Zoom and Focus
2 Camera Exposure
3 Mask Zone
4 Mask Color
5 Others
IRIS CLOSE to Exit
Press OPEN or
joystick left/right
Press CLOSE
Mask Color
1 Mask Color Gray5
2 Semi-transparency OFF
IRIS CLOSE to Exit
Others
1 Sharpness 1
2 Back Light OFF
3 WB Mode Auto
4 R Gain Auto
5 B Gain Auto
6 Vertical Mirror OFF
7 Horizontal Mirror OFF
8 IR SW Mode Auto
9 Stabilization OFF
10 Function OSD ON
11 WDR OFF
IRIS CLOSE to Exit
Table of contents
Other Rugged CCTV Security Camera manuals

Rugged CCTV
Rugged CCTV RB358 User manual

Rugged CCTV
Rugged CCTV PLATINUM 622 User manual

Rugged CCTV
Rugged CCTV Ruff Ride User manual

Rugged CCTV
Rugged CCTV Night Ranger User manual

Rugged CCTV
Rugged CCTV Sentry-700 User manual

Rugged CCTV
Rugged CCTV Vanguard-700 User manual

Rugged CCTV
Rugged CCTV PATC-G4028 User manual

Rugged CCTV
Rugged CCTV Night Scout TVI User manual

Rugged CCTV
Rugged CCTV stainless steel dome camera User manual

Rugged CCTV
Rugged CCTV TagShot III-27' User manual