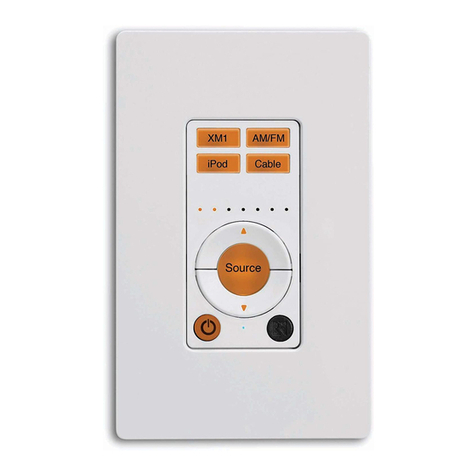
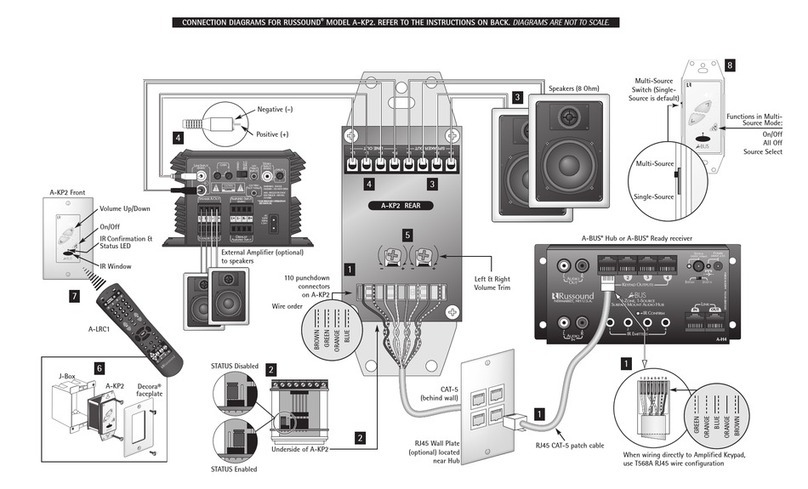
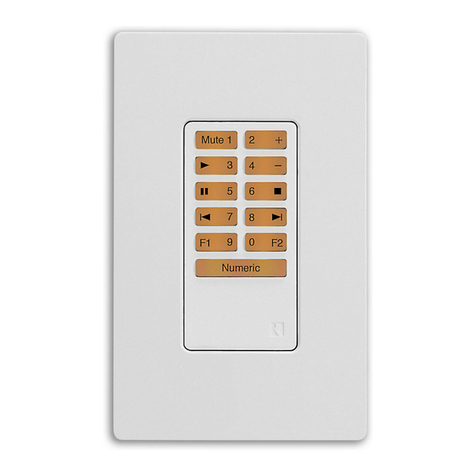
Russound ST2-KP User manual

ST2-KP Keypad
1
2
3
4
5
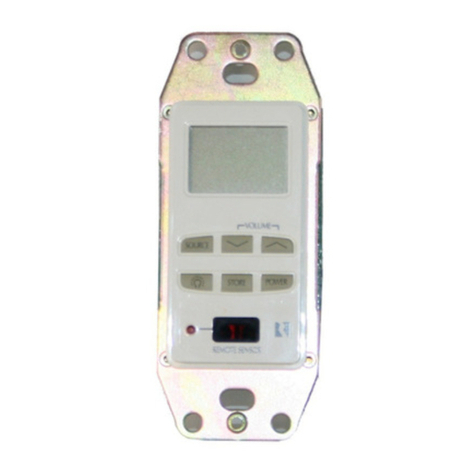
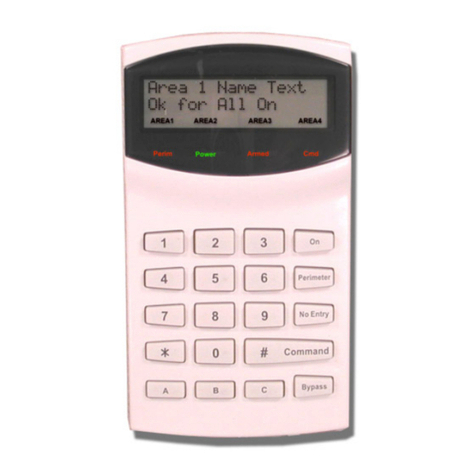
The ST2-KP keypad is an in-wall single-gang keypad that is
designed to control the ST2 Dual Tuner (AM/FM/XM). It has a
backlit LCD panel and soft-touch control buttons.
Keypad Operation
Turning the keypad on/off
To activate the ST2-KP, press . Press to power
down the keypad display. The keypad remains powered
until the ST2 Tuner is turned off.
Selecting the desired tuner
To select a different tuner, press and hold . (If the key-
pad has been hardware selected to Tuner 1 or Tuner 2, it
will not switch between the two tuners.) The backlight color
of the display will be green for Tuner 1 and amber for
Tuner 2. Each time a tuner is selected the display will
refresh with the current station or preset for that tuner, and
all subsequent button presses and memory preset entries
will be associated with that selected tuner.
Selecting the desired band (operating mode)
Push to switch between AM/FM band, or XM operating
modes. Refer to the ST2-XM Tuner manual for mode
details.
Selecting the desired frequency
Use and for manual tuning (AM/FM) and channel
up and down (XM). To move quickly through the channels,
press and hold either or for more than 1.5 sec-
onds. European frequencies show in .05 MHz increments.
Recalling a Memory Preset
To recall a memory preset, press and release or
to scroll through the presets for the selected bank.
(Memory presets must be stored for ST2-KP recall)
Selecting a Bank
To select a bank, select the desired tuner, then press and
hold or to select the desired bank. The bank
name will show on the display.
LCD PANEL - 5-character backlit display shows
frequency and band (messages scroll twice, then show first
5 characters)
FREQUENCY SELECT - Manual station tuning (European
frequencies show in .05 MHz increments)
BAND - Selects band (AM/FM); selects Operating Mode (XM)
POWER - Turns lighted keypad display on or off
TUNER SELECTION - Press and hold to select TUNER 1 or
TUNER 2 (unless jumper set for specific tuner)
BANK SELECT - Used for bank selection (press and hold)
MEM UP/DOWN - Scrolls through memory preset stations
for selected bank (press and release)
3
2
4
5
1
4
5
Warranty Repair
The Russound ST2-KP is fully guaranteed against all defects in materials and
workmanship for two (2) years from the date of purchase. During this period,
Russound will replace any defective parts and correct any defect in workman-
ship without charge for either parts or labor.
For this warranty to apply, the unit must be installed and used according to its
written instructions. If service is necessary, it must be performed by
Russound. The unit must be returned to Russound at the owner's expense and
with prior written permission. Accidental damage and shipping damage are
not considered defects, nor is damage resulting from abuse or from servicing
by an agency or person not specifically authorized in writing by Russound.
This Warranty does not cover: Damage caused by abuse, accident, misuse,
negligence, or improper installation or operation; Power surges and lightning
strikes; Normal wear and maintenance; Products that have been altered or
modified; Any product whose identifying number, decal, serial number, etc.
has been altered, defaced or removed.
Russound sells products only through authorized Dealers and Distributors to
ensure that customers obtain proper support and service. Any Russound prod-
uct purchased from an unauthorized dealer or other source, including retail-
ers, mail order sellers and online sellers will not be honored or serviced under
existing Russound warranty policy. Any sale of products by an unauthorized
source or other manner not authorized by Russound shall void the warranty on
the applicable product.
Damage to or destruction of components due to application of excessive
power voids the warranty on those parts. In these cases, repairs will be made
on the basis or the retail value of the parts and labor. To return for repairs,
the unit must be shipped to Russound at the owner's expense, along with a
note explaining the nature of service required. Be sure to pack the unit in a
corrugated container with at least three (3) inches of resilient material to pro-
tect the unit from damage in transit.
Before returning a unit for repair, call Russound at (603) 659-5170 for a
Return Authorization number. Write this number on the shipping label and ship
to: Russound, ATTN: Service, 5 Forbes Road, Newmarket, NH 03857
Due to continual efforts to improve product quality as new technology and
techniques become available, Russound/FMP, Inc. reserves the right to revise
system specifications without notice.
All trademarks are property of their respective owners.
ST2-KP Keypad-Front Panel
Technical Specifications
Dimensions: 1.875"W x 1.125"D x 4.3"H
(4.8 x 10.9 x 2.8 cm)
Fits 1 Gang UL/CSA Approved Junction Box
Weight: 5 oz. (141g)
Power Requirements: 12 VDC 150mA
CAT-5 Connection: 110 punchdown
5 Forbes Road, Newmarket, NH 03857
tel 603.659.5170 • fax 603.659.5388
e-mail: [email protected]
www.russound.com
DIAGN
(Diagnostics)
VER
(Version)
UDFRM
(Update
Firmware)
Displays current
firmware version
HOLD
BAND
After update
cycle Power
Start
Update
Cycle Power
Hold
This
Procedure
is for
Factory
use
ONLY
Utility Menu
The Utility Menu allows the installer to run a diagnostic
check on the keypad and to verify the firmware version.
The Utility Menu also contains the update firmware proce-
dure for updating the ST2-KP’s firmware. To access the
Utility Menu, press and release the Setup button on the
right side of the keypad. The menus are outlined in the
diagram at right. When finished, press and release the
Setup button until normal operating mode returns. If per-
forming Update Firmware, the power must be cycled.
Note: For the ST2-KP to operate properly, the ST2 Tuner
must be configured with Tuner 1 as Source 1, and Tuner 2
as Source 2. If this is not the case, refer to the ST2 Tuner
Instruction Manual, Setup Menu section, to set source
numbers. Configure Tuner 1 as Source 1, and Tuner 2 as
Source 2.
Utility Menu for ST2-KP 2
TNR1
TNR2
Data Rx TTL Level
Data Tx TTL Level
GND
+12VDC
Note: Do not put RS-232-
level signals into the pins.
Must use Advanced
Programming Cable P/N
2500-521065.
1
3
ST2-KP Side Panel
The ST2-KP’s setup button, OS update pins and hardware tuner select pins are
located on the right side of the keypad (when facing front).
CAT-5 Connection
The ST2-KP keypad uses a 110-
punchdown terminal on the back
panel to provide a simple installation
and strong connection for CAT-5
cable’s eight conductors. Punchdown
terminals require the use of a punch-
down tool. Attach the CAT-5 cable to
the 110-punchdown terminal on the
ST2-KP keypad as shown, matching
the conductor colors to the connec-
tion color guide. The keypad will not
operate properly if the terminations
deviate from the required connection
order.
Take care when using an impact 110
punchdown tool, as this may over-
spread the contact points. Use of the
impact tool may propel stray bits of
wire and jacket into the keypad’s chas-
sis and possibly cause a short in the cir-
cuitry. Gently shake or blow air through
the keypad chassis to remove stray
wire before the keypad is installed into
the junction box.
ST2-KP Back Panel
Keypad Installation
1. Check whether or not you can route the wire to the location you
have chosen.
2. To install a single-gang keypad, you will need to use a UL/CSA
approved plastic single-gang (18 ci) electrical box or a low voltage
mounting ring.
3. Route CAT-5 wire to the junction box from the ST2 tuner.
4. Use a 110 punchdown tool to connect each wire to its correspon-
ding color labeled on the punchdown terminal.
5. Mount the keypad in the electrical box and attach the cover plate.
CAT-5 Cable
Keypad to ST2 Connection
The ST2 tuner supports up to two ST2-KP keypads. An SA-ZX3 Keypad Splitter
can be used to add additional keypads.
The ST2-KP connects to the ST2 tuner with CAT-5 cable.
The keypad connects to the ST2 tuner with an RJ-45 (T568A) jack on the tuner
connection end of the cable.
Be sure to use the keypad ports for the ST2-KP and NOT the RNET link ports.
Note: ST2-KP keypads are not to be used when the ST2 Tuner is a component
of an RNET™ controller such as the CAV6.6. The RNET-system keypads are
capable of providing all functions of the ST2-KP.
Junction Box ST2-KP Back Plate Cover Plate
4
2
OS Update/Run Jumper -The pins are jumpered when performing an OS update
on the keypad, and the jumper is left on one pin during normal operation.
(Typically needed only on a keypad that has never been updated)
Hardware Selected Tuner Jumper - The ST2-KP can be set to select only Tuner 1
(jumper on bottom two pins) or Tuner 2 (jumper on top two pins), or to select
both tuners (no jumper or simply store jumper on a single pin).
Setup Button - Activates information and update menus for the keypad.
OS Update Port - Used to update the ST2-KP keypad operating system firmware.
If an update is released, it will be available online through the Document Center
on www.russound.com. Look for it in the “Firmware and Downloads” section
under Multi-Zone product type. The Advanced Programming Cable is available
from Russound, Part #2500-521065.
1
1
3
4
2
ST2-KP Side View
Tuner 2
selected
Tuner 1
selected
Safety Instructions
1. Read Instructions - All the safety and operating instructions should be
read before the appliance is operated.
2. Retain Instructions - The safety and operating instructions should be
retained for future reference.
3. Heed Warnings - All warnings on the appliance in the operating instruc-
tions should be adhered to.
4. Follow Instructions - All operating and user instructions should be fol-
lowed.
5. Water and Moisture - The appliance should not be used near water; for
example, near a bathtub, washbowl, kitchen sink, laundry tub, in a wet
basement, or near a swimming pool.
6. Wall Mounting - The appliance should be mounted to a wall only as
recommended by the manufacturer.
7. Heat - The appliance should be situated away from heat sources such as
radiators, heat registers, stoves, or other appliances (including ampli-
fiers) that produce heat.
8. Power Sources - The appliance should be connected to a power supply
only of the type described in the operating instructions or as marked on
the appliance.
9. Object and Liquid Entry - Care should be taken so that objects do not fall
and liquids are not spilled into the enclosure through the openings.
10.Damage Requiring Service - The appliance should be serviced by quali-
fied service personnel when:
A. Objects have fallen, liquid has been spilled into the appliance; or
B. The appliance has been exposed to rain; or
C. The appliance does not appear to operate normally; or
D. The appliance has been dropped.
11.Servicing - The user should not attempt to service the appliance beyond
that described in the operating instructions. All other servicing should be
referred to qualified service personnel.
Precautions:
1. Do Not Touch The Unit With Wet Hands – Do not handle or touch the
keypad when your hands are wet or damp. If water or any other liquid
enters the ST2-KP’s cabinet, take the unit to a qualified service person
for inspection.
2. Care – From time to time you should wipe off the front panel with a soft
cloth. Do not use rough material, thinners, alcohol or other chemical sol-
vents or cloths since this may damage the finish or remove the panel
lettering.
2
4
Tuner 1 + 2
selected
OS update
mode selected
Other Russound Keypad manuals

Russound
Russound KP4-KP6 User manual

Russound
Russound ISK1 User manual

Russound
Russound MDK-C6 User manual

Russound
Russound SPG User manual

Russound
Russound IPK-1 User manual

Russound
Russound KPL User manual

Russound
Russound A-K3 User manual

Russound
Russound UNO-S1 User manual

Russound
Russound A-K4 User manual

Russound
Russound V-KP-1 User manual

Russound
Russound CA-LCD User manual

Russound
Russound V-KP-1 User manual

Russound
Russound UNO-S2 User manual

Russound
Russound SLK-1 User manual

Russound
Russound Sphere E Series User manual

Russound
Russound A-K3 User manual

Russound
Russound MDK-C5 Operating manual

Russound
Russound UNO-S2 User manual

Russound
Russound CA4-KP User manual

Russound
Russound ISK2 User manual