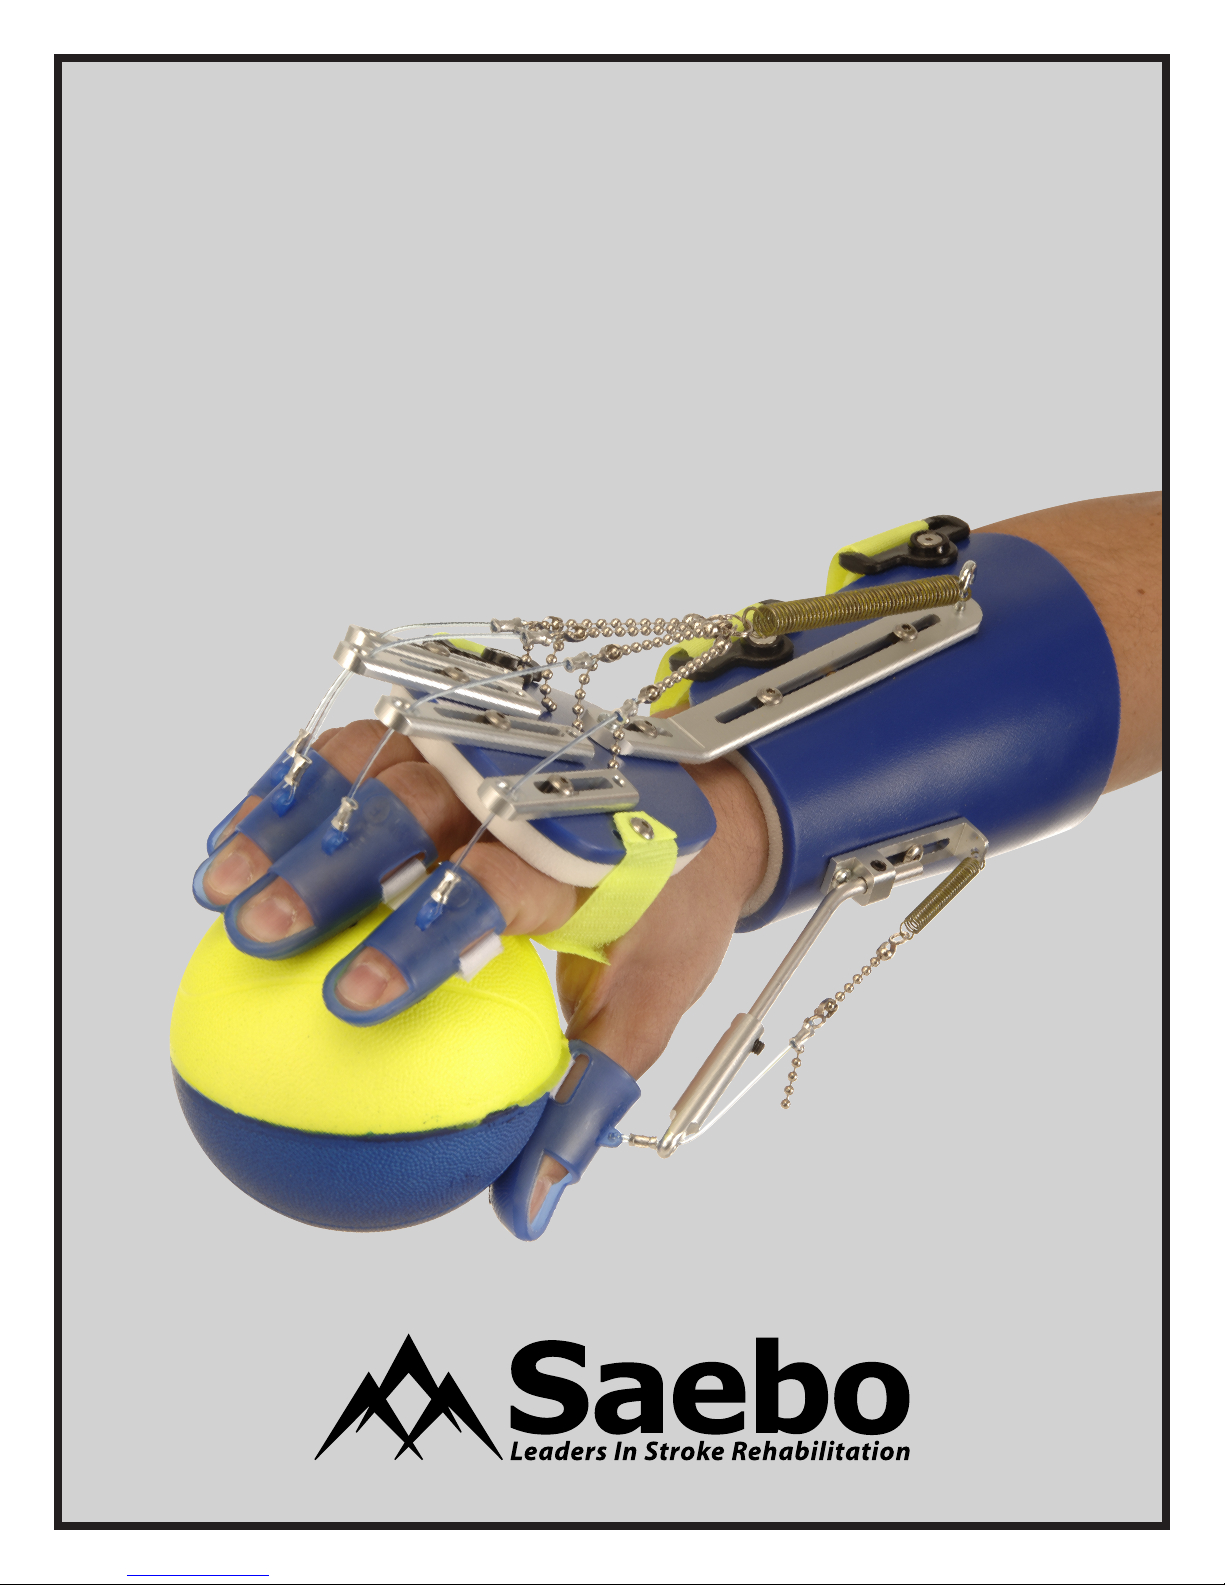
Step #13:
Connect the two tension cords. This is accomplished by
inserting the tension cords through the attachment cleats. Pull the
tension cords through the cleats until the tension markers hit the back
of the cleats. Pull the cords up and back to secure.
Step #14:
You can loop the free ends of the tension cords back
around and over themselves to keep them out of the way.
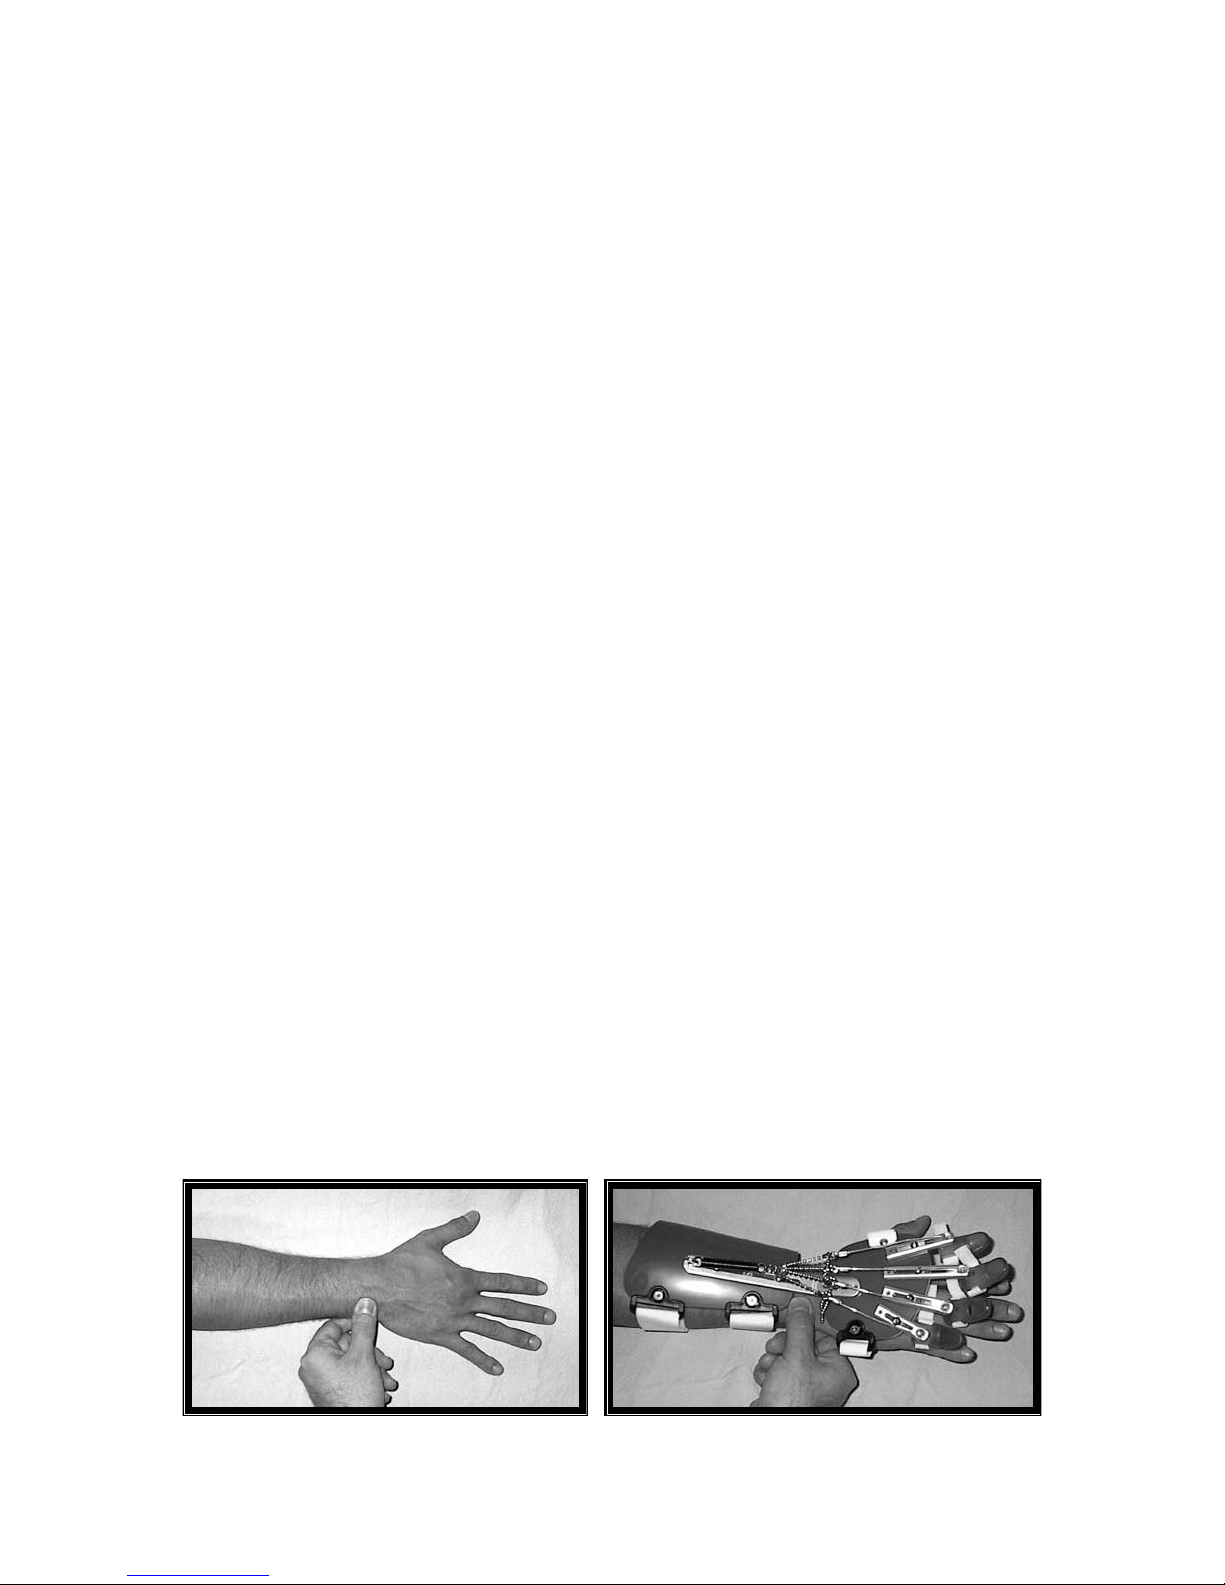
WARRANTY
Care and Cleaning of the Kit Style SaeboFlex and SaeboReach
• Kit style devices are fabricated so that the foam liners can be removed
and replaced with the replacement foam liners provided in the Saebo
kit. Replacement straps for the digit caps, hand pieces, and forearm
shells are also included.
• The remainder of the parts/pieces can be cleaned with the same
cleaning solutions used for other rehabilitation equipment and supplies
such as Dispatch.
• Spray or apply solution to a clean cloth and wipe down.
• If the device was only used a few times, the foam liner, which is closed
cell, can be re-used after wiping down and cleaning with the same
solution.
Care and Cleaning of Custom Fabricated SaeboFlex and SaeboReach
• Use of Dispatch or other hospital grade disinfectant liquid or spray
applied to a clean cloth and wipe down.
• Foam padding is closed cell and non- absorbent and can also be wiped
down with disinfectant cleaning solution as well as using a clean cloth.
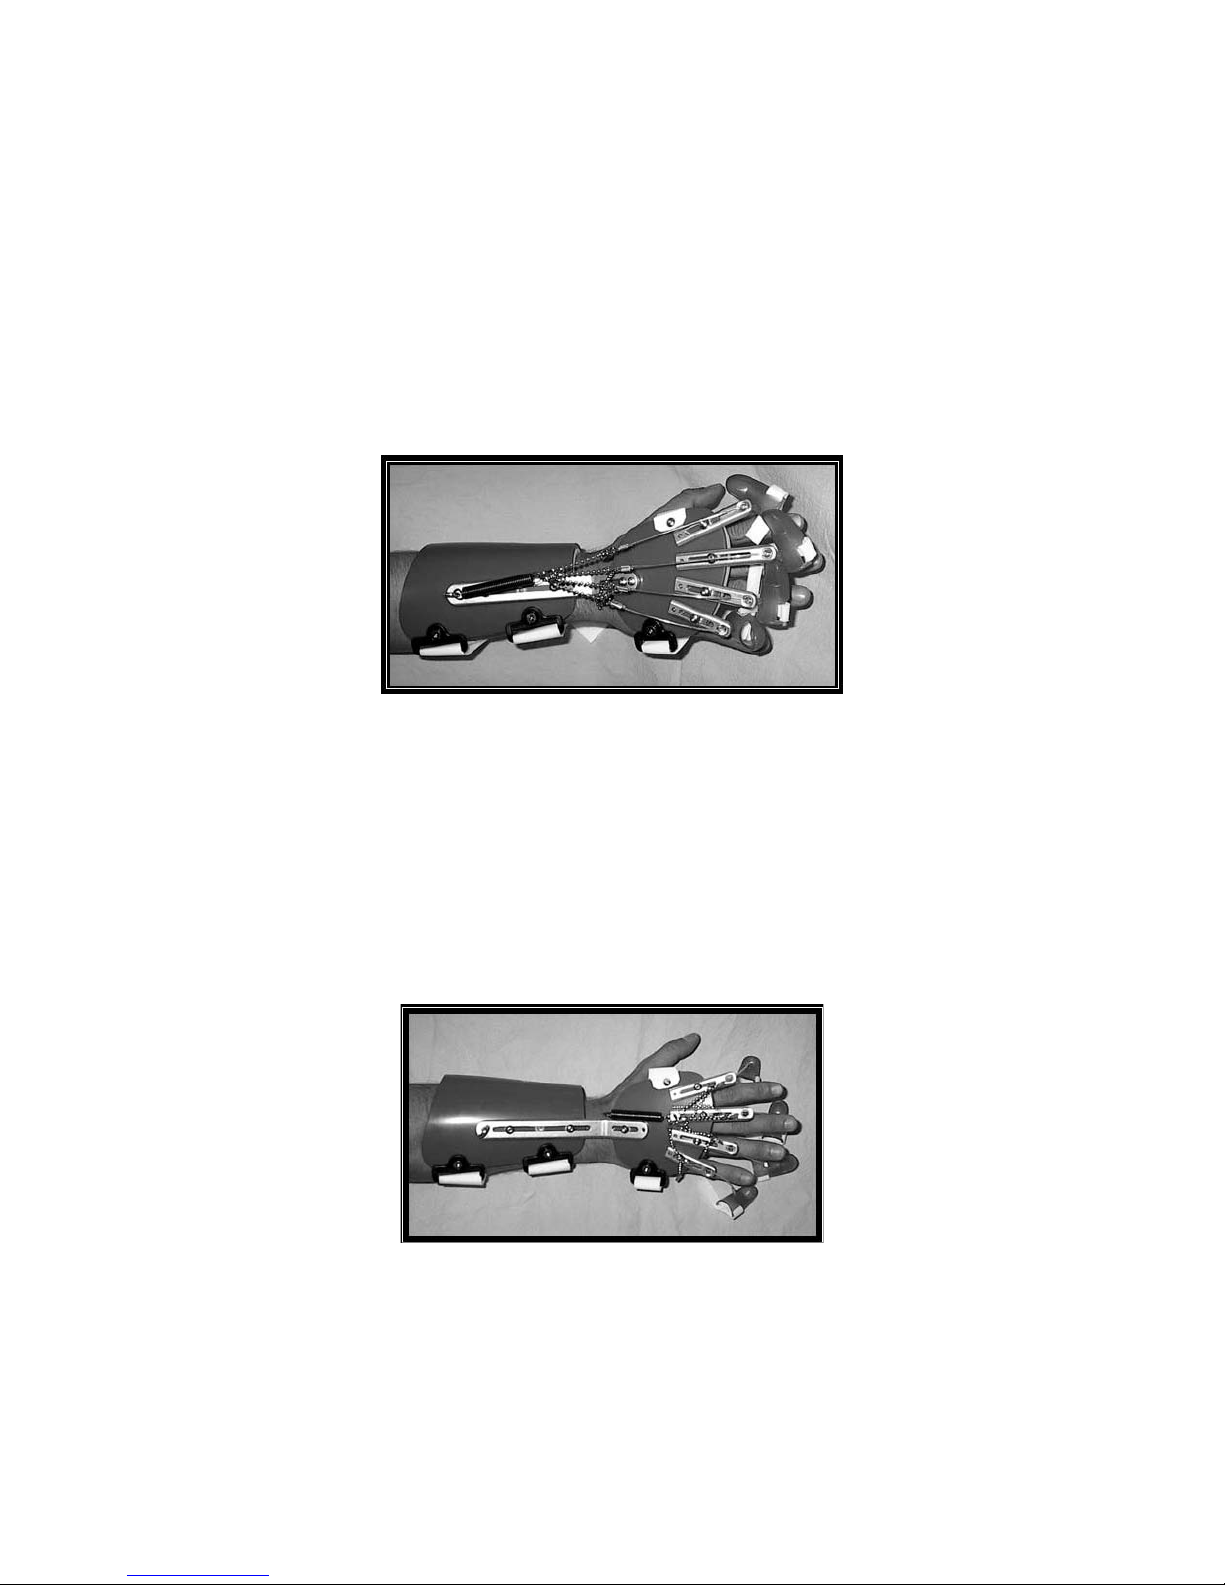
Step #13:
Connect the two tension cords. This is accomplished by
inserting the tension cords through the attachment cleats. Pull the
tension cords through the cleats until the tension markers hit the back
of the cleats. Pull the cords up and back to secure.
Step #14:
You can loop the free ends of the tension cords back
around and over themselves to keep them out of the way.
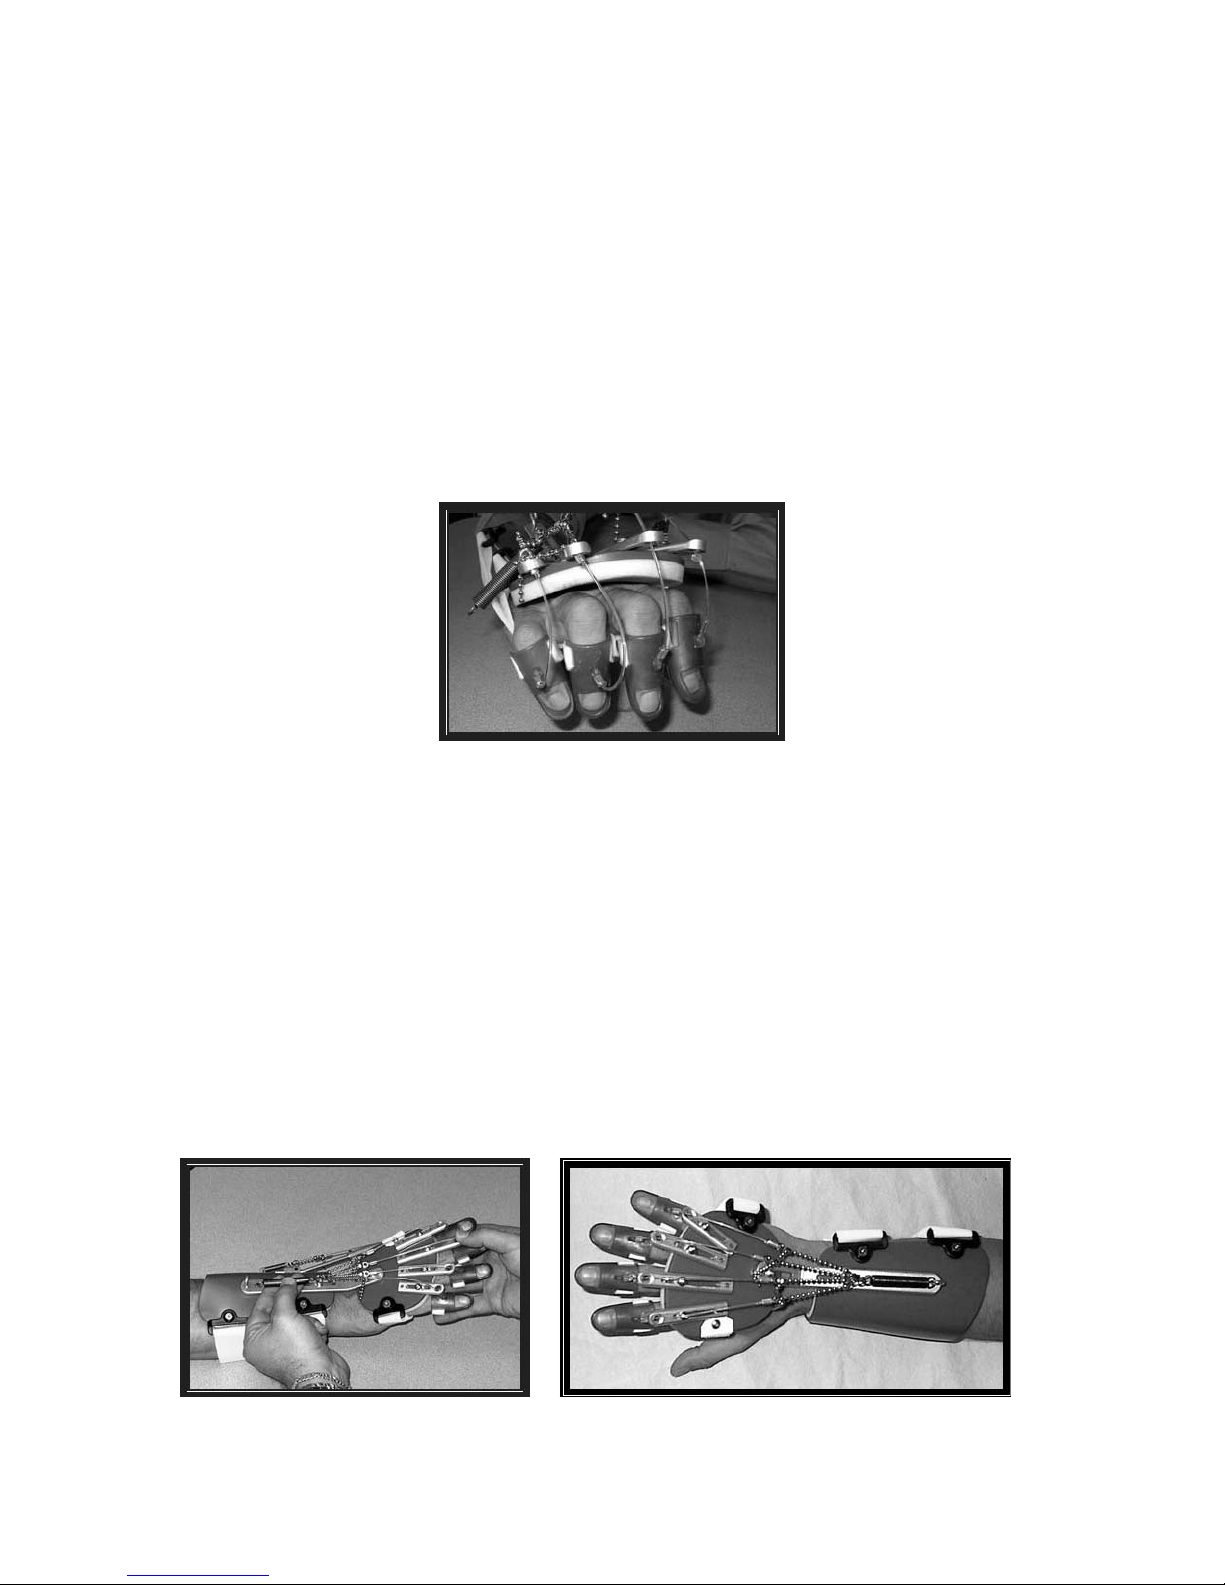
WARRANTY
Care and Cleaning of the Kit Style SaeboFlex and SaeboReach
• Kit style devices are fabricated so that the foam liners can be removed
and replaced with the replacement foam liners provided in the Saebo
kit. Replacement straps for the digit caps, hand pieces, and forearm
shells are also included.
• The remainder of the parts/pieces can be cleaned with the same
cleaning solutions used for other rehabilitation equipment and supplies
such as Dispatch.
• Spray or apply solution to a clean cloth and wipe down.
• If the device was only used a few times, the foam liner, which is closed
cell, can be re-used after wiping down and cleaning with the same
solution.
Care and Cleaning of Custom Fabricated SaeboFlex and SaeboReach
• Use of Dispatch or other hospital grade disinfectant liquid or spray
applied to a clean cloth and wipe down.
• Foam padding is closed cell and non- absorbent and can also be wiped
down with disinfectant cleaning solution as well as using a clean cloth.