10
very human mistakes! The highest level in each level category always produces the best
moves the computer can think of within the settings constraint.
When you set the level, bear in mind that when the computer has more time to think about
its moves, it gets stronger and plays better—just like a human player! Sharpen your chess
skills—as you beat the computer on each level, graduate to the next. Keep challenging
yourself and learn more about the game!
Note that on the higher levels, the computer may take a long time to complete its search.
Press PLAY to force the computer to abort the search and make a move.
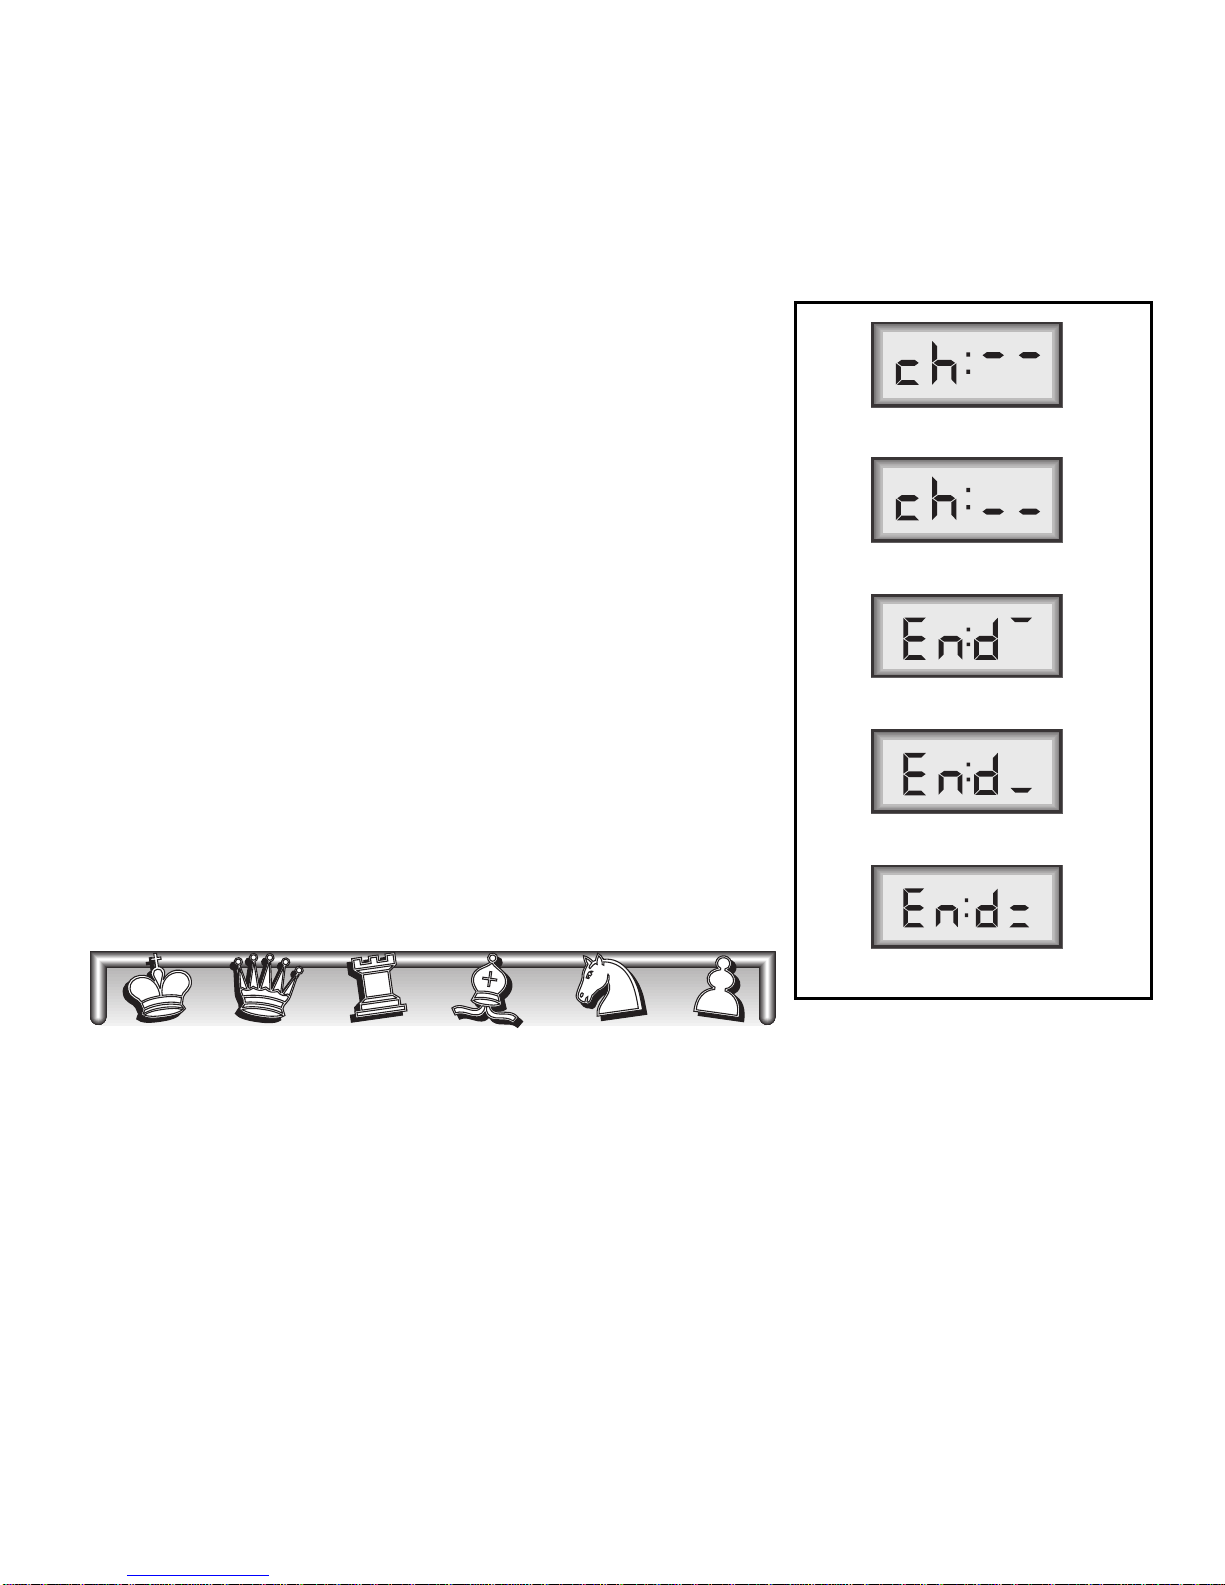
Press LEVEL to enter Level Mode,
and the current level is displayed
(e.g., Level (board square) A3 shows
as L:A3). To change the level, simply
press a board square, and that level
will show in the display. Press LEVEL
again to exit Level Mode.
The LEVEL key also gives you
access to five special Teach Modes.
For details on selecting Teach
Modes, see Section 3.2.
3.2 Teach Modes: Learn Tactics!
Your chess computer contains five
built-in Teach Modes. This feature
allows you to learn basic moves and
master the tactics of the pieces, one
at a time. For each individual Teach
Mode, the only pieces on the board
will be Kings, pawns, and the se-
lected piece type. This will help
beginners to concentrate solely on
one piece at a time, without losing
focus and being distracted by other
pieces on the board.
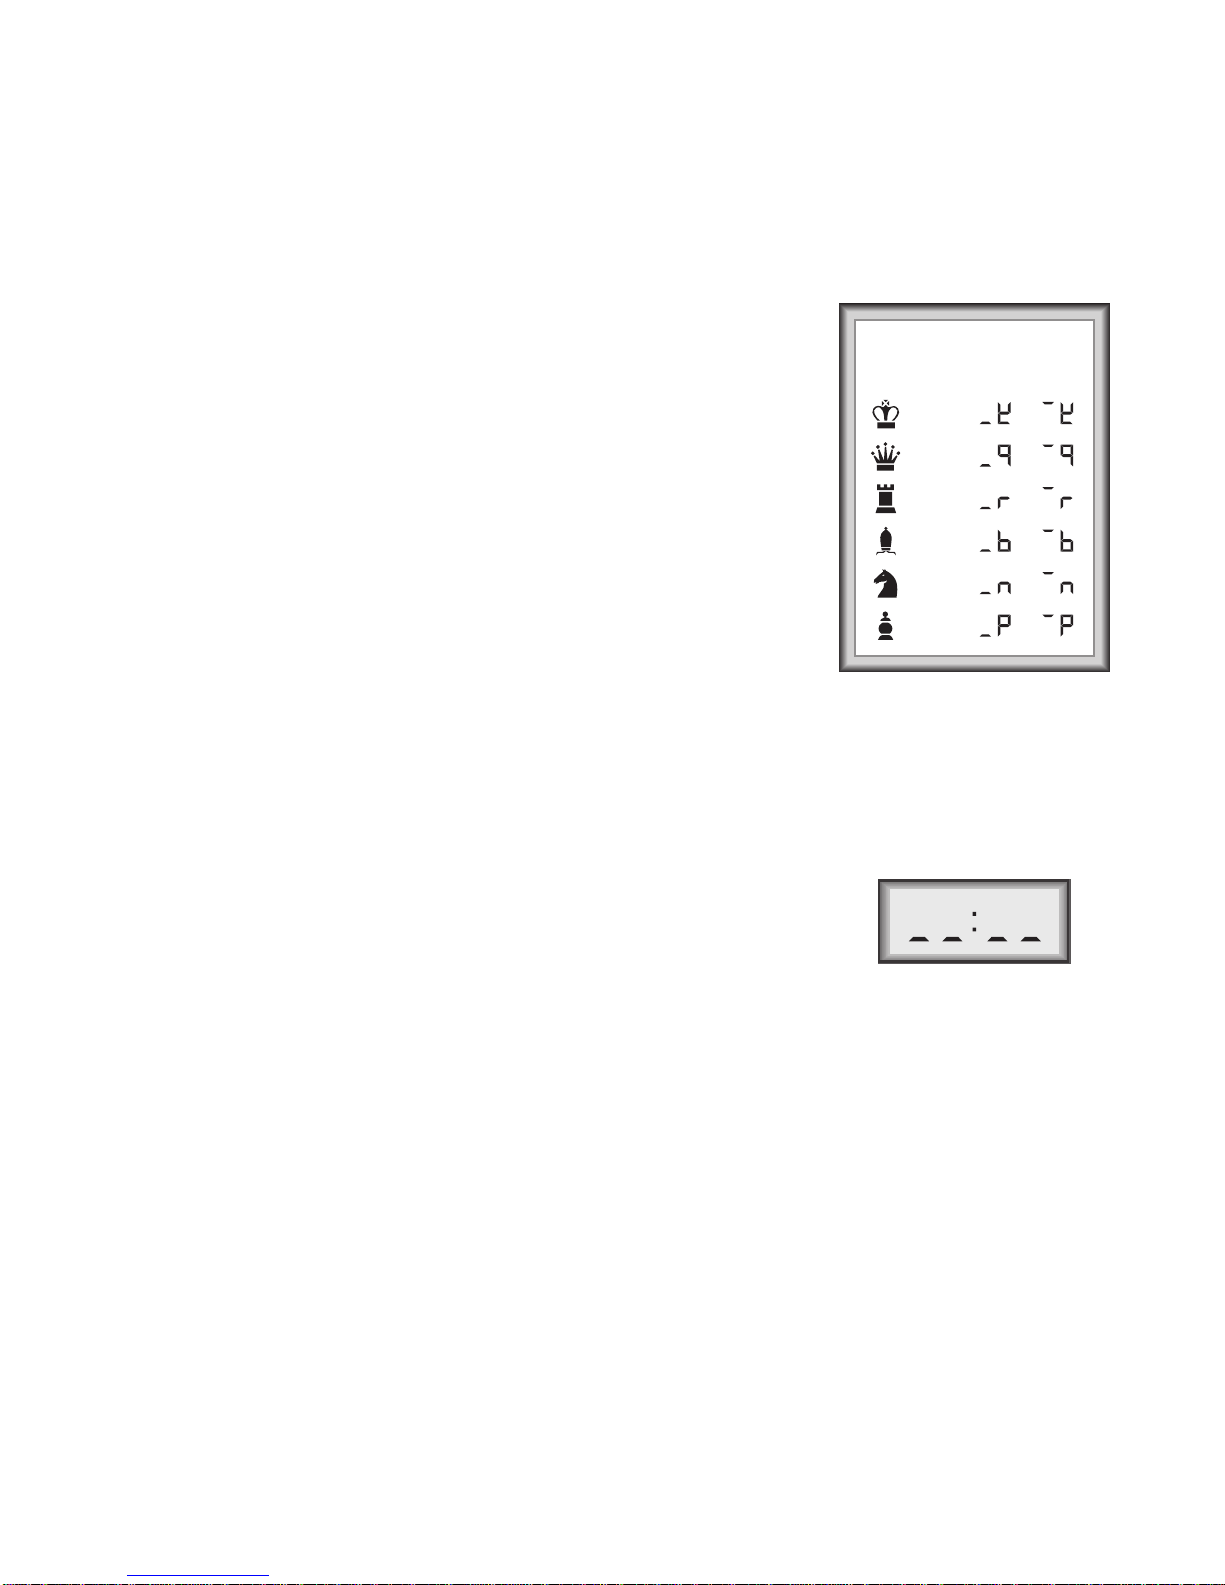
To select a Teach Mode, press
LEVEL, and then the required piece
TEACH MODES AT A GLANCE!
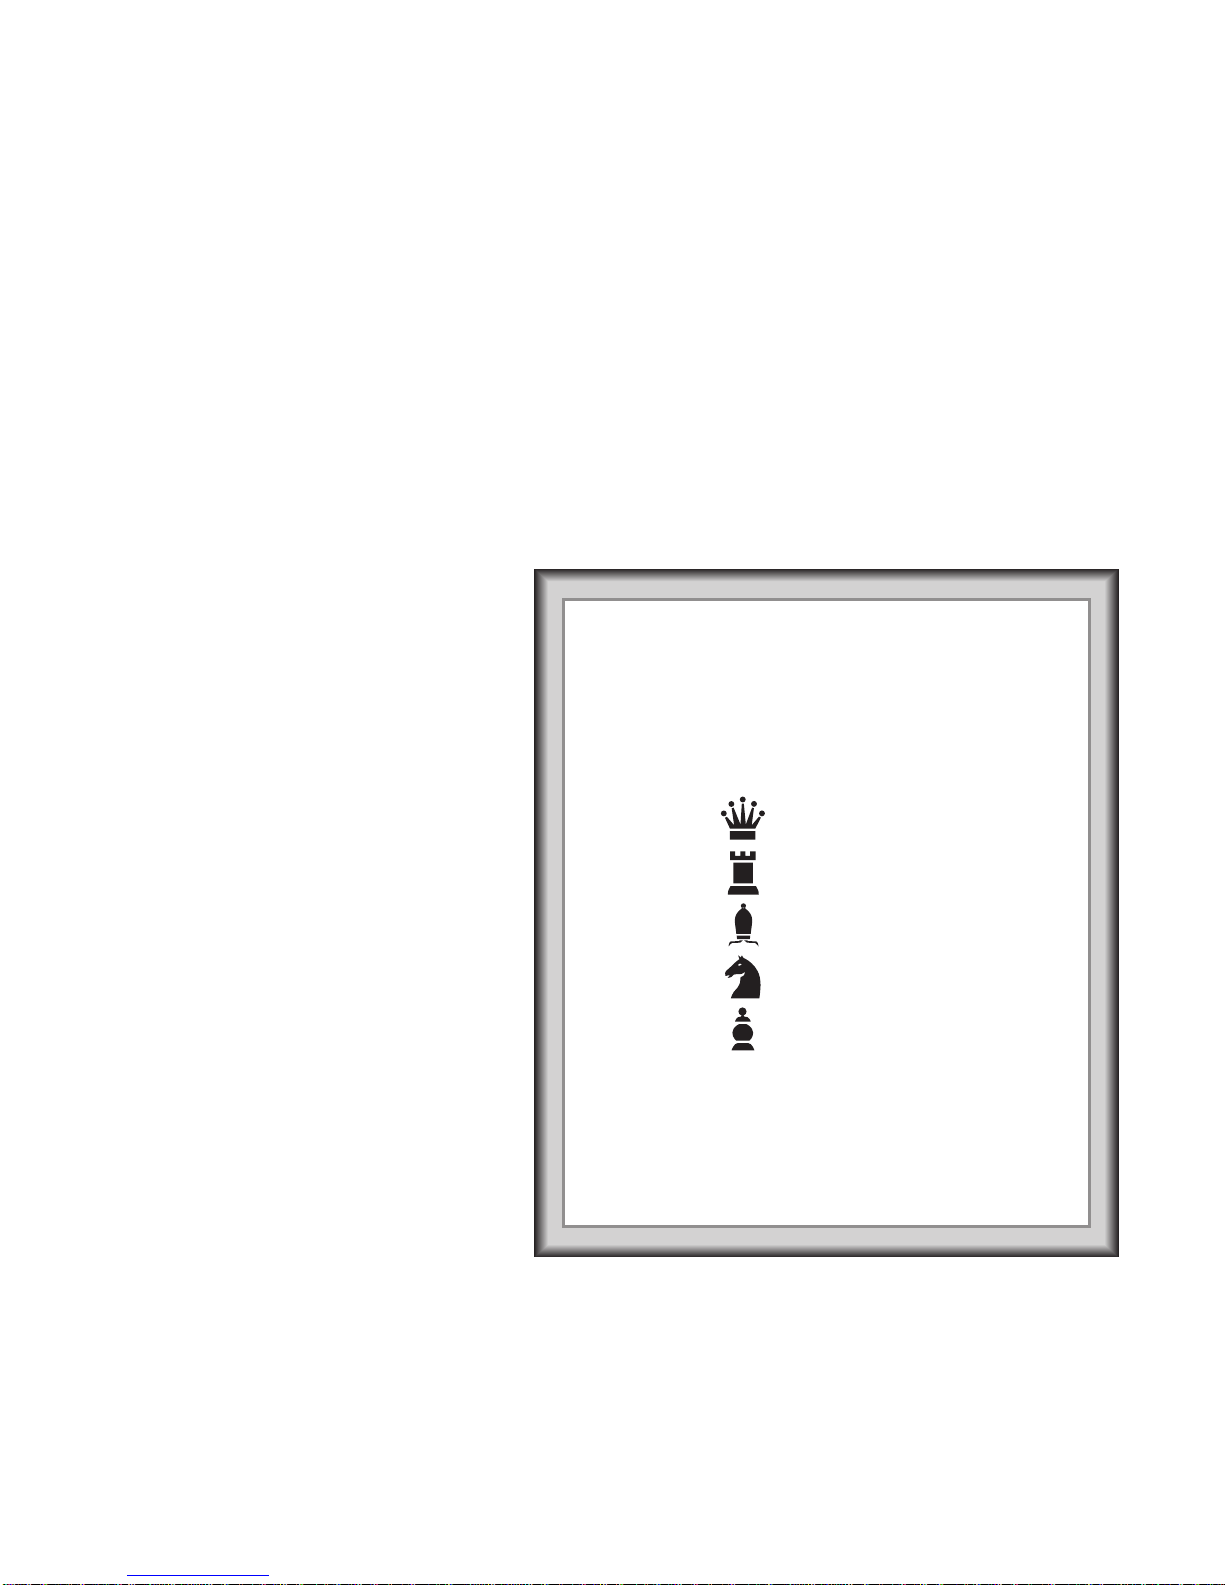
1. Press LEVEL and then any piece symbol key
except King (as shown below) to enter Teach
Mode.
To study Press
Pieces on the board
Queens
Kings, Queens, pawns
Rooks
Kings, Rooks, pawns
Bishops
Kings, Bishops, pawns
Knights
Kings, Knights, pawns
Pawns
Kings, pawns
2. Press LEVEL to exit Level Mode and enter
your selection into the computer. Now you can
play, studying the piece of your choice!
To
return to the standard 32-piece game, press
NEW GAME.