If the playeris subject to sharp temperature
change, or warmair affected any components,
moisture may condenseon the lens inside(the
so call “sweltering”).For example, if the player
is brought directlyfrom a cold to a warmlocation
in winter.With the ensuing condensation, the
player may notoperation properly. Should this
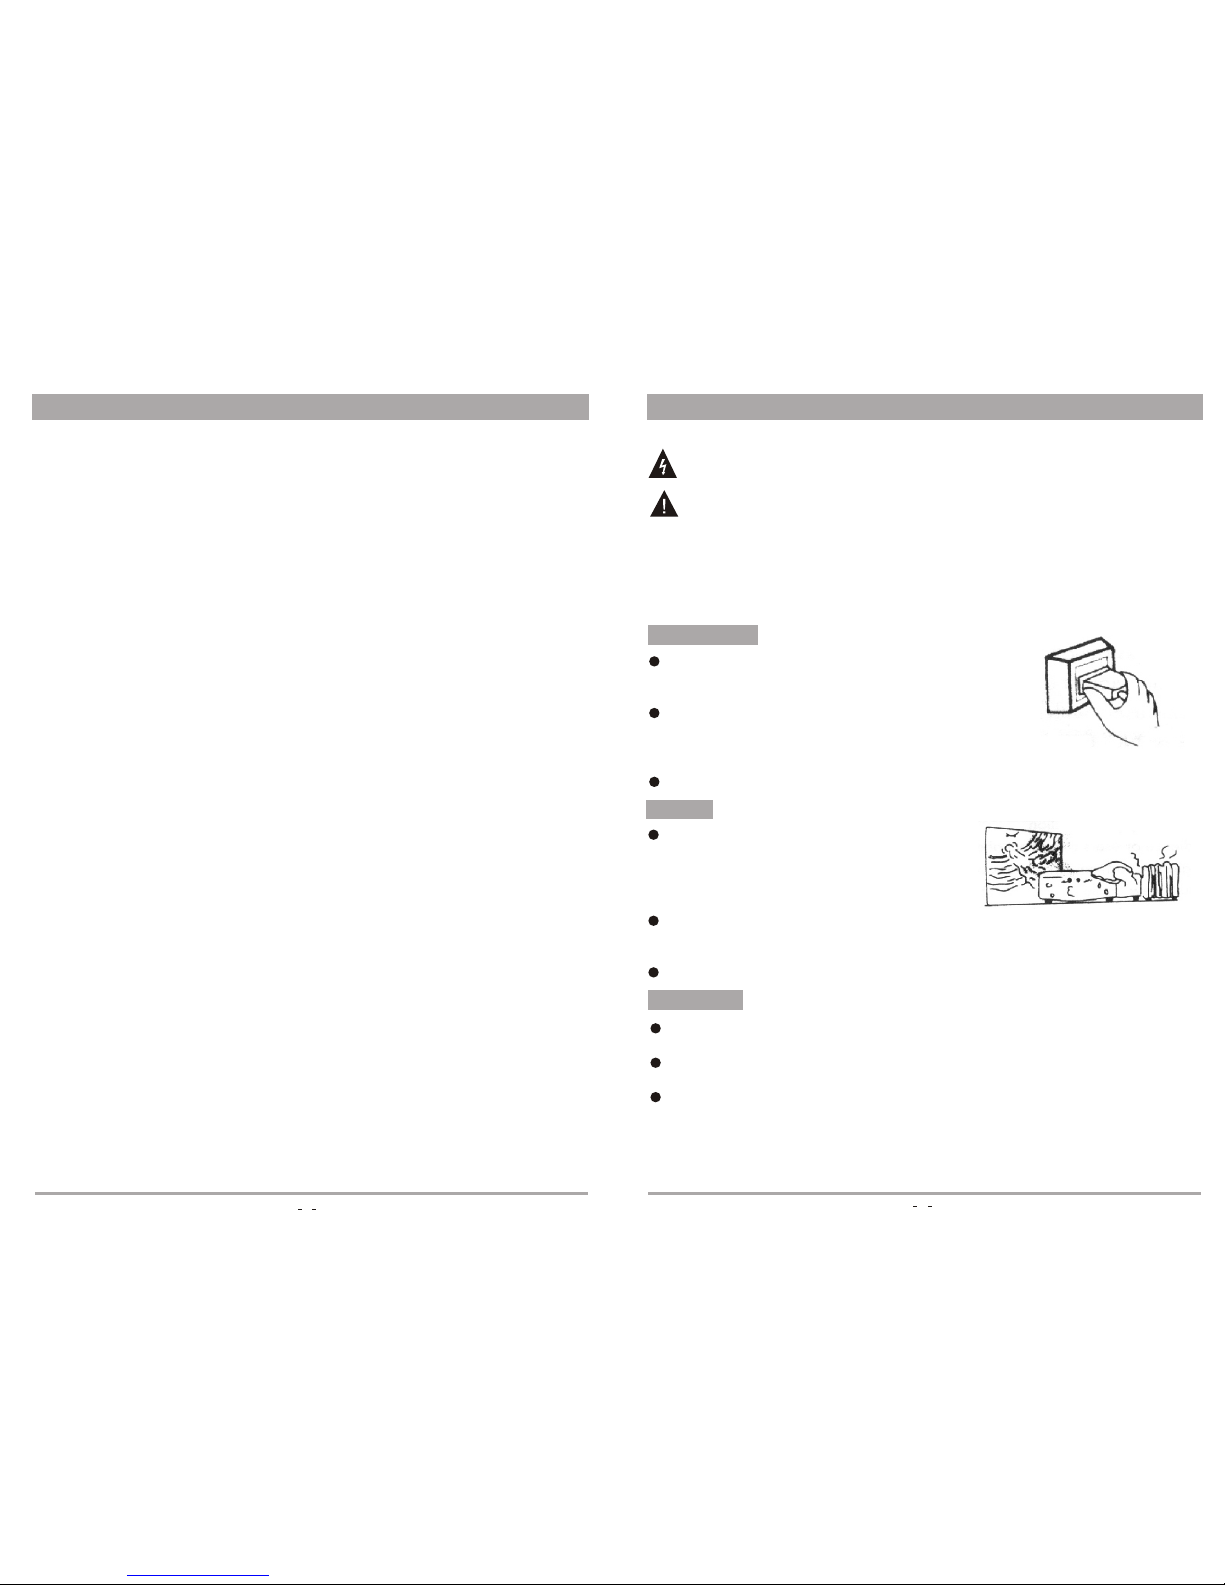
occur, putthe player in warm room, andturn the
POWER button toON and wait about an houror two (the duration) is environment
related) for themoisture to evaporate. The player will resume working after the
condensation evaporates.
Cleaning
Clean the cabinet,panel and controls with a softcloth slightly moistened with a
mild detergent solution.Do not use any type ofabrasive pad, scouring powder, or
solvent, such asalcohol or benzene, to avoid damagingthe surface or removing
the prints onthem.
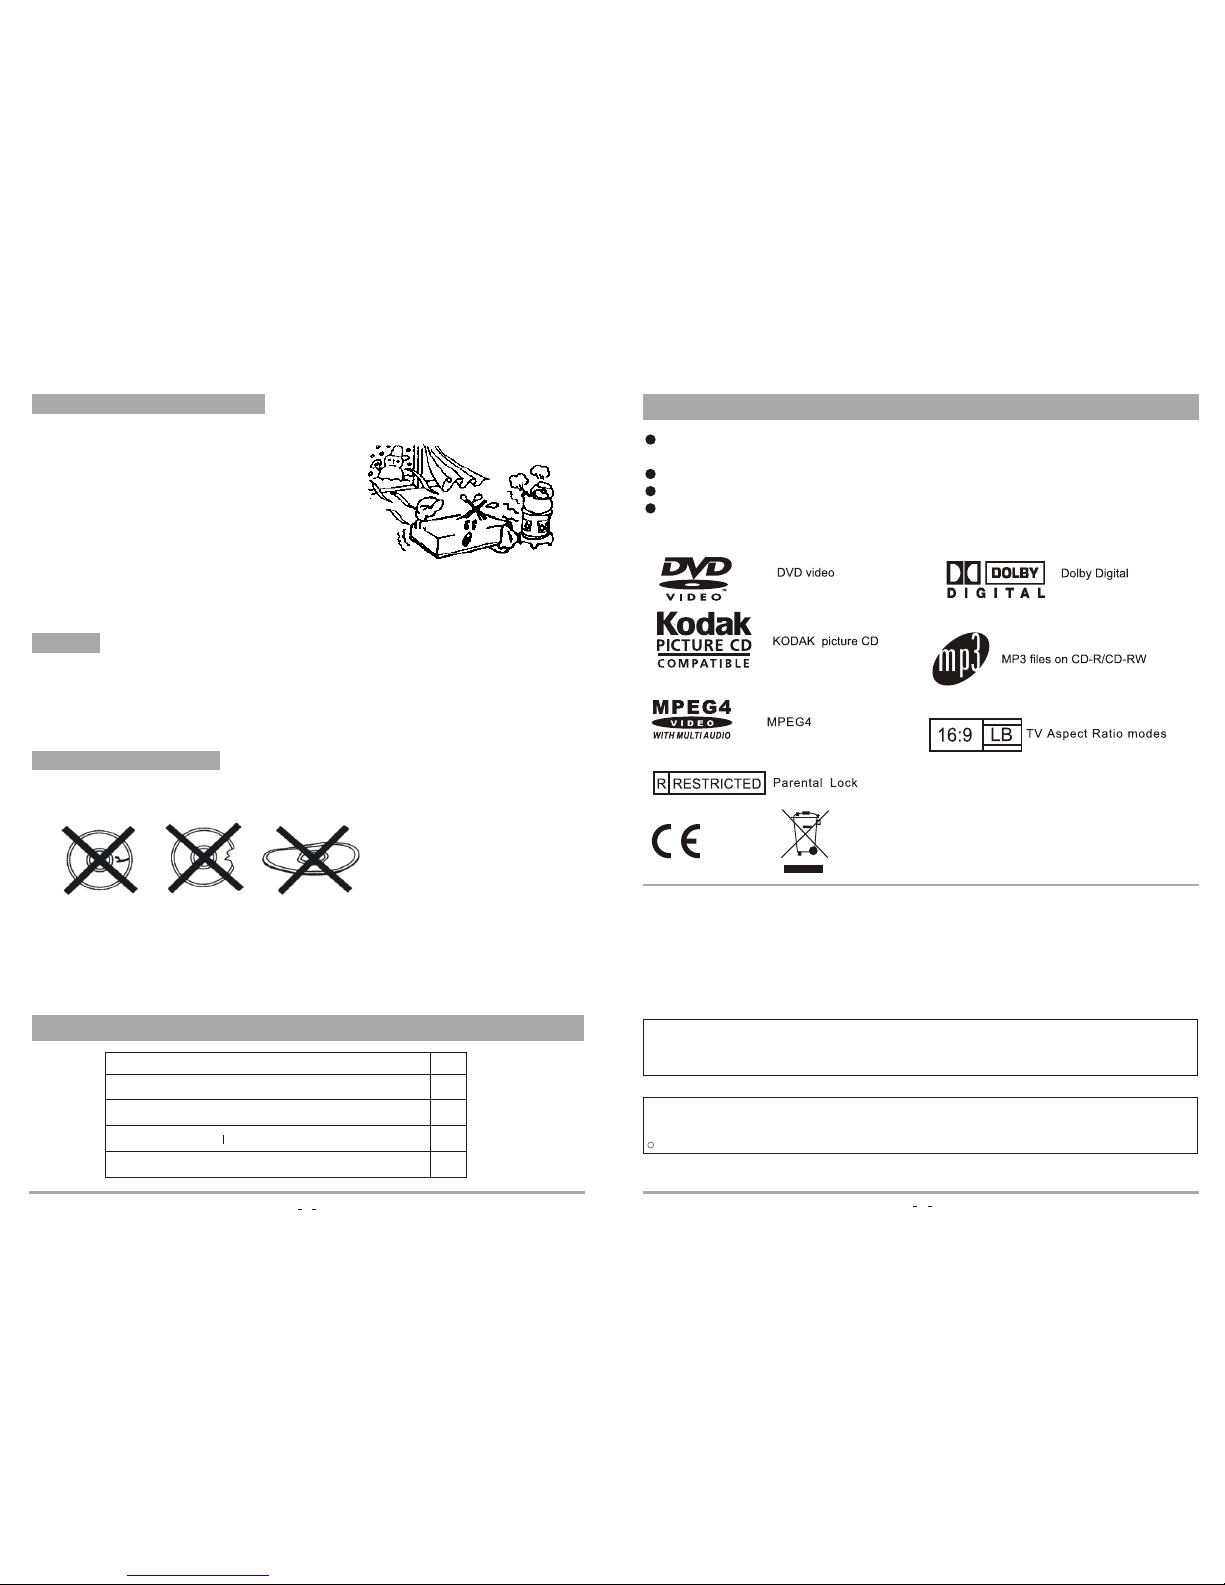
Do not playany cracked, broken ,or deformed disc.
Because the discshould be rotated with high speed,so it is very dangerous toplay
any broken ordeform disc. Do not apply anytape or glue on the disc.Otherwise, it
may damage theplayer.
Notice if thereis any strange noise or vibrationwhile playing. If the picture orsound
skip or thepicture distorted, please stop the playerimmediately.
Cracked Broken Deform
4
Condensation inside theplayer
Precaution about thedisc
Package
Remote Control
User Manua
1
1
1
2
Audio/Video cable
DVD player 1
AAA 1.5Vbattery
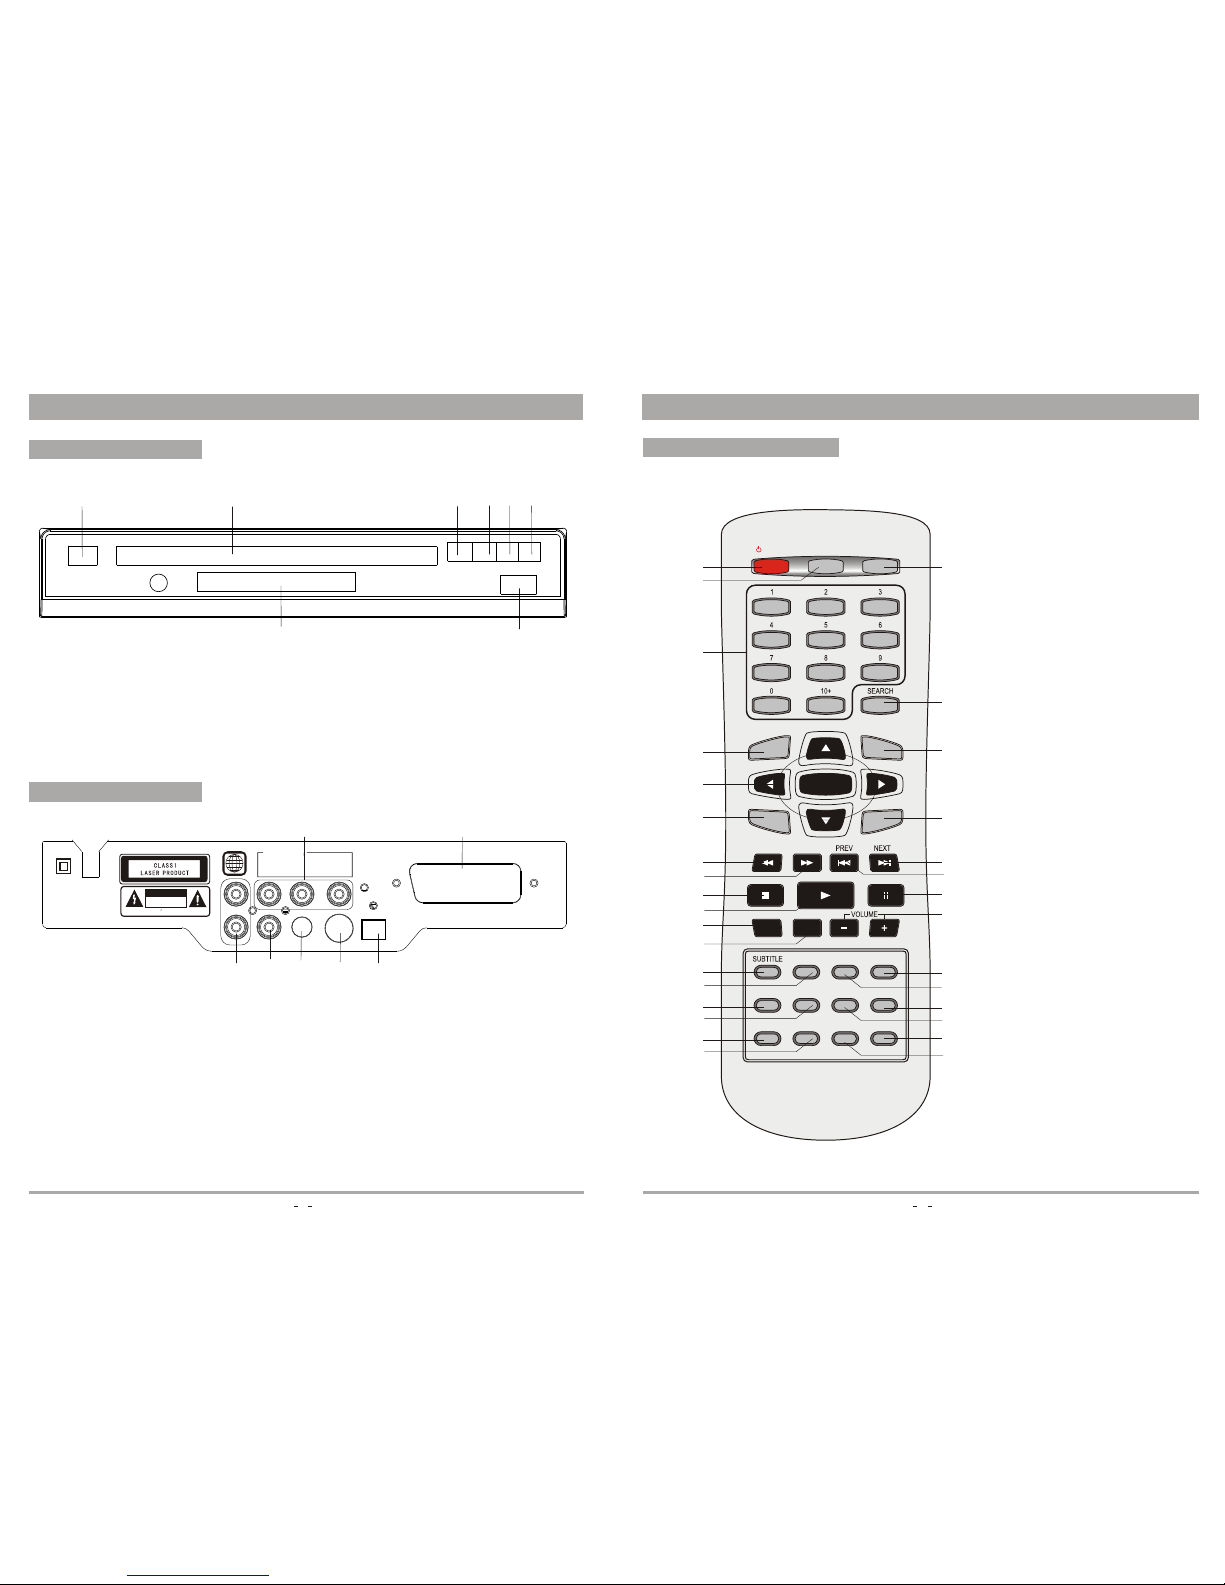
Main Features
Full compatibility withMPEG4, DVD, CD, Mp3, KODAK PictureCD, CD-RW
(finalized)
Component (Y, Pb, Pr),S-videoand composite videooutput
Progressive Scan
Scart Output
Disc format supported by this player:
You can help protectthe environment!
Please remember torespect the local regulations:
hand in thenon-wroking electrical equipments to an
appropriate waste disposalcenter.
This product incorporatescopyright protection technology that is protected by
method claims ofcertain U.S.patents and other intellectual property rights owner
by Macrovision Corporationand other rights owners. Use of this copyright
protection technology mustbe authorized by Macrovision Corporation, and is
intended for homeand other limited viewing uses only unless otherwise authorized
by Macrovision Corporation.
The product complieswith KODAK Picture CD format and will display KODAK
Picture CDs. The "KODAK Picture CD Compatible "logo is a trademark of Eastman
Kodak Company andis used with permission.
Manufactured under licensefrom Dolby laboratories."Dobly" and the double-D
symbol are trademarksof Dolby laboratories. Confidential Unpublished Works.
1992-1997 Dolby laboratories, Inc. All rights reserved.
C
3