manuals.online logo
Brands
  1. Home
  2. •
  3. Brands
  4. •
  5. Salsbury Industries
  6. •
  7. Indoor Furnishing
  8. •
  9. Salsbury Industries 3600 Series User manual

Salsbury Industries 3600 Series User manual

With rugged all aluminum construction, Salsbury’s 4B+ horizontal
3600 series USPS approved mailboxes will provide years of
maintenance free service.
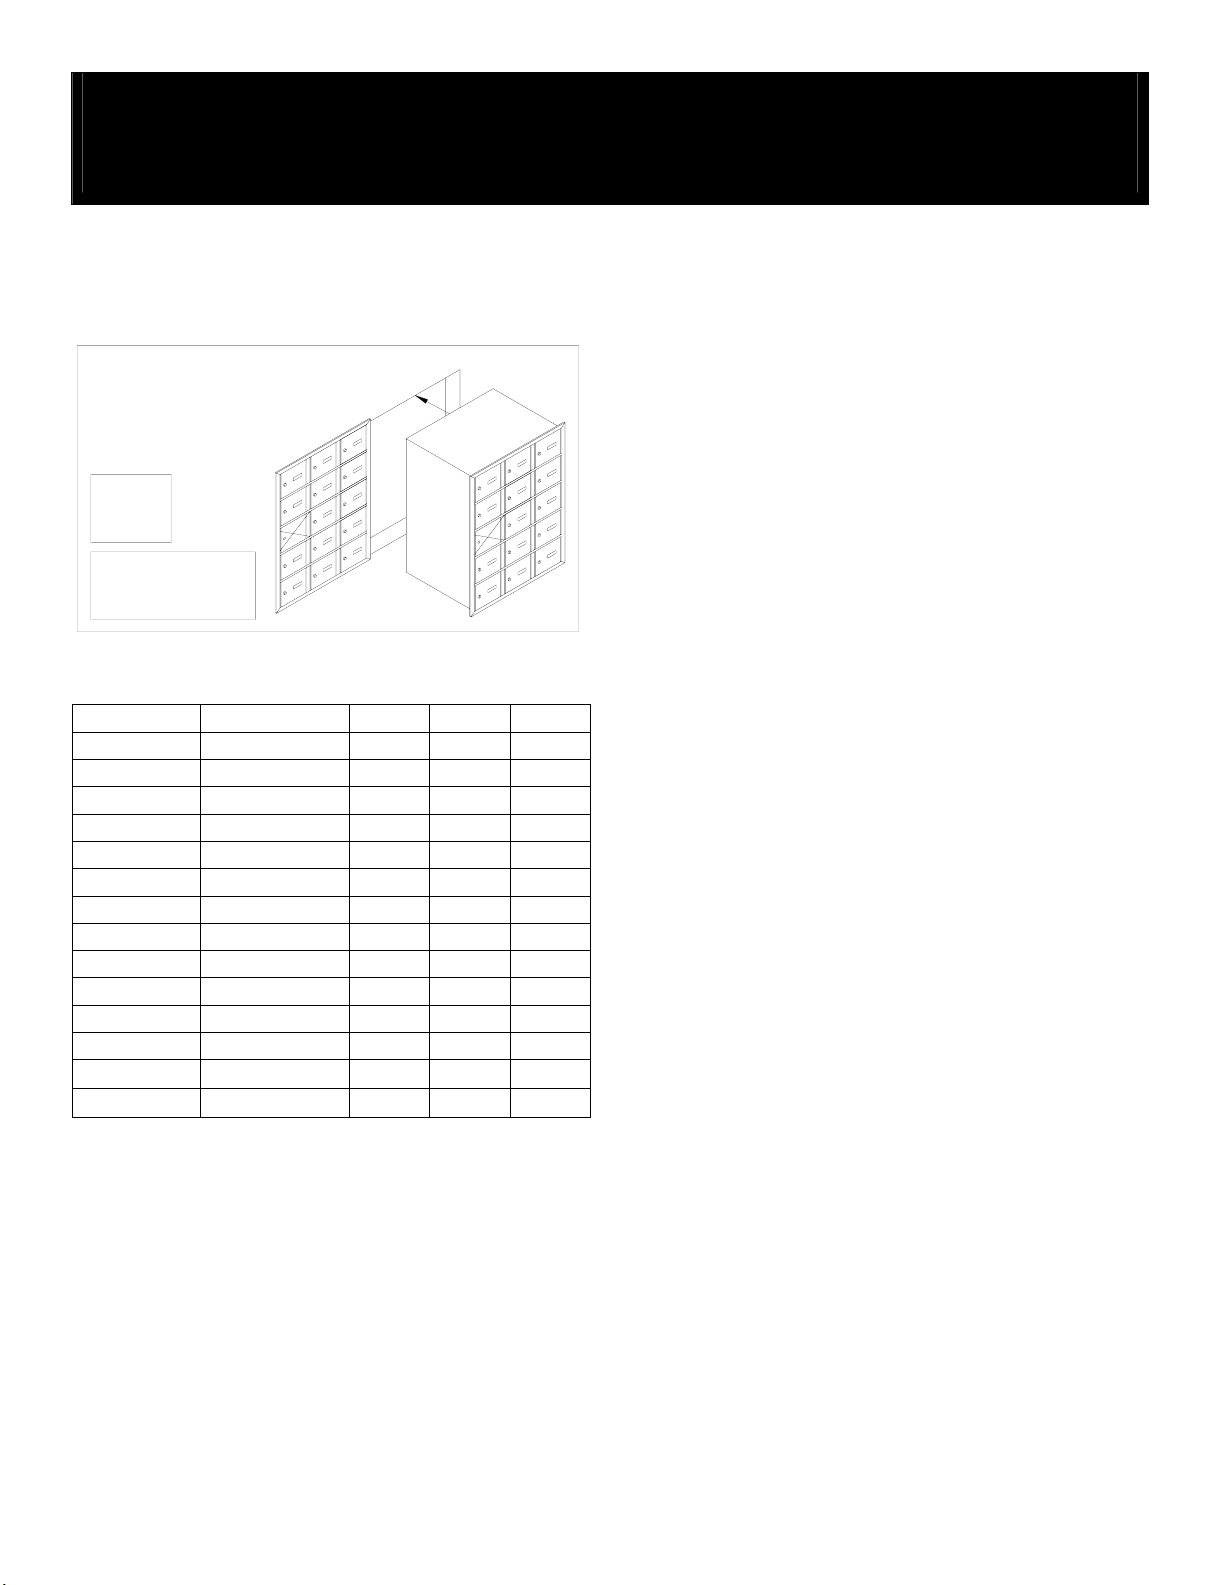
FRONT LOADING
Rough opening trim is integral part
of unit.
12-3/4"
5-1/4"
6-1/4"
B
A
5-1/4"
Overall Dimensions of Each Unit – FRONT LOADING
7 Doors High Width Height Depth
3621FL 3 “A” Doors Wide 22-3/4” 40-3/4” 16-1/2”
3628FL 4 “A” Doors Wide 29-1/4” 40-3/4” 16-1/2”
3635FL 5 “A” Doors Wide 35-3/4” 40-3/4” 16-1/2”
3614FL 2 “B” Doors Wide 29-1/4” 40-3/4” 16-1/2”
6 Doors High
3618FL 3 “A” Doors Wide 22-3/4” 35-1/4” 16-1/2”
3624FL 4 “A” Doors Wide 29-1/4” 35-1/4” 16-1/2”
3630FL 5 “A” Doors Wide 35-3/4” 35-1/4” 16-1/2”
3612FL 2 “B” Doors Wide 29-1/4” 35-1/4” 16-1/2”
5 Doors High
3615FL 3 “A” Doors Wide 22-3/4” 29-3/4” 16-1/2”
3620FL 4 “A” Doors Wide 29-1/4” 29-3/4” 16-1/2”
3625FL 5 “A” Doors Wide 35-3/4” 29-3/4” 16-1/2”
3610FL 2 “B” Doors Wide 29-1/4” 29-3/4” 16-1/2”
Calculation Of Overall Dimensions of Multiple Units
Width and height of outside trim frame of each unit:
Overall Width = No. of doors wide times 6-1/2” plus 3-1/4”
(“B” door units count as 4 “A” doors wide)
Overall Height = No. of doors high times 5-1/2” plus 2-1/4”
U.S.P.S. APPROVED
4B+ Horizontal Mailboxes – 3600 Series
Calculation Of Rough Opening Dimensions
Width of Rough Opening = Overall Width less 1”
(For multiple units = Sum of Overall Widths less 1”)
Height of Rough Opening = Overall Height less 1”
Notes
1. Wall opening and lumber frame must be square.
2. Mailboxes should be shielded from direct weather conditions.
3. Store keys in a safe place until ready for use.
4. Hardware is not included to fasten unit into rough opening.
Postal Regulations
Mailboxes must be installed according to Postal Regulations. There
shall be no less than 28 inches from the finished floor level to the
bottom of the lowest row of mailboxes and no more than 67 inches
from the finished floor level to the tenant locks of the top row of
mailboxes. The postal access door shall be allowed to open a
minimum of 90 degrees with no obstruction. The master lock
opening must be a minimum of 30” and a maximum of 58” above the
finished floor.
Installation Instructions
1. It is recommended that the mailbox units be unpacked and
reviewed before construction of the rough opening and support
framing. These mailbox units are shipped fully assembled.
2. Units must be securely supported by a frame constructed of 2”x4”
or 2”x6” lumber. Cut a hole in the wall according to the Rough
Opening Dimensions. Construct support framing as shown in the
installation drawings.
3. Place unit in rough opening and securely fasten to the support
framing. Caution: Do not deform, force, or twist the frame to fit
an incorrect rough opening or against an irregular surface.
USPS Master Lock Installation
Contact your local postmaster for units serviced by the United States
Postal Service. The USPS will supply and install its own master lock
on your mailbox unit upon request. Screws for the USPS master lock
are provided.
FRONT LOADING Installation Instructions
Phone/Fax 1.866.505.MAIL
www.BudgetMailboxes.com
*Pricing shown above does not include shipping see BudgetMailboxes.com for complete pricing
4B+ Horizontal Mailboxes – 3600 Series
FRONT LOADING Installation Instructions
Front View of Mailboxes In Wall
Phone/Fax 1.866.505.MAIL
www.BudgetMailboxes.com
*Pricing shown above does not include shipping see BudgetMailboxes.com for complete pricing
4B+ Horizontal Mailboxes – 3600 Series
FRONT LOADING Installation Instructions
Top View of Mailboxes In Wall
Side View of Mailboxes In Wall
Phone/Fax 1.866.505.MAIL
www.BudgetMailboxes.com
*Pricing shown above does not include shipping see BudgetMailboxes.com for complete pricing
4B+ Horizontal Mailboxes – 3600 Series
FRONT LOADING Installation Instructions
Installation of Identification Window
Identification labels, clear plastic windows, and metal
window backup plates are provided, separately bagged,
for use in marking the user’s identity on each mailbox
door. The steps below are numbered according to the
picture to the right.
1. Mark the user’s name or other appropriate identity on
one of the ½” x 2” labels provided. Tear the label from
the card.
2. Insert the label into the clear plastic window so that the
marking will be visible from the front of the mailbox door.
3. Place the clear plastic window into the rectangular hole
in the door so that the identity is visible from the front of
the door.
4. Slide metal window backup plate down into grooves at
top of door. Slide plate down until it covers the plastic
window and the bent lip of the plate rests on the top edge
of the plastic window. At this point the identification
installation is complete.
2
3
4
1
Phone/Fax 1.866.505.MAIL
www.BudgetMailboxes.com
*Pricing shown above does not include shipping see BudgetMailboxes.com for complete pricing

This manual suits for next models

12

Other Salsbury Industries Indoor Furnishing manuals

Salsbury Industries 77000 Series User manual

Salsbury Industries

Salsbury Industries 77000 Series User manual

Salsbury Industries 3700 Series User manual

Salsbury Industries

Salsbury Industries 3700 Series User manual

Salsbury Industries S-51000 Series User manual

Salsbury Industries

Salsbury Industries S-51000 Series User manual

Popular Indoor Furnishing manuals by other brands

Crate&Barrel Alfresco Assembly instructions

Crate&Barrel

Crate&Barrel Alfresco Assembly instructions

noken Smart Cabinets 100165528 manual

noken

noken Smart Cabinets 100165528 manual

Ergotron ZAH25CG/CG4 Assembly instructions

Ergotron

Ergotron ZAH25CG/CG4 Assembly instructions

World Market 590396 Assembly instructions

World Market

World Market 590396 Assembly instructions

Forte Chicory CHRK212 Assembling Instruction

Forte

Forte Chicory CHRK212 Assembling Instruction

ZONE KIZ 311-065V00 manual

ZONE KIZ

ZONE KIZ 311-065V00 manual

GRAMMER OFFICE Sail GT Operating	 instruction

GRAMMER OFFICE

GRAMMER OFFICE Sail GT Operating instruction

Next LOGAN DOUBLE EXTENDING DINING TABLE Assembly instructions

Next

Next LOGAN DOUBLE EXTENDING DINING TABLE Assembly instructions

Crate and Barrel Lanai Owner's manual and quick assembly instructions

Crate and Barrel

Crate and Barrel Lanai Owner's manual and quick assembly instructions

RTA Products Techni Mobili RTA-7002 Assembly instructions

RTA Products

RTA Products Techni Mobili RTA-7002 Assembly instructions

Wampat W01E3157R Assembly instructions

Wampat

Wampat W01E3157R Assembly instructions

Bilt Trinity Basics TSC-4802 owner's manual

Bilt

Bilt Trinity Basics TSC-4802 owner's manual

Furniture of America CM7427N Assembly instructions

Furniture of America

Furniture of America CM7427N Assembly instructions

Vivo DESK-V000C instruction manual

Vivo

Vivo DESK-V000C instruction manual

EXPEDO BILLIE K3S Assembly manual

EXPEDO

EXPEDO BILLIE K3S Assembly manual

Flash Furniture CH-00288-BK-GG Assembly instructions

Flash Furniture

Flash Furniture CH-00288-BK-GG Assembly instructions

Furniture of America Claudine Beige CM7675Q-BED Assembly instructions

Furniture of America

Furniture of America Claudine Beige CM7675Q-BED Assembly instructions

M.E.Goncalves Moveis Estrela 27768 instruction manual

M.E.Goncalves

M.E.Goncalves Moveis Estrela 27768 instruction manual

manuals.online logo
manuals.online logoBrands
  • About & Mission
  • Contact us
  • Privacy Policy
  • Terms and Conditions

Copyright 2025 Manuals.Online. All Rights Reserved.