manuals.online logo
Brands
  1. Home
  2. •
  3. Brands
  4. •
  5. Salton
  6. •
  7. Fan
  8. •
  9. Salton SMF03 Installation guide

Salton SMF03 Installation guide

 

  


INSTRUCTIONSANDWARRANTY





MODELNO.SMF03

SALTON16inchMISTFAN


Thank you for purchasing this fan. In order to guide you in knowing the             
product well and using it correctly, please read this manual thoroughly before           
operatingit.




Please read this instruction manual thoroughly before operating it in order to use the fan correctly and                
efficiently.

WorkingElements
The Electric Mist Fan uses ultrasonic vibration elements, which atomizes the water to 15 micro              
ultraparticles and spreads mist to the air through wind. This increases the cool humidity resulting in               
cool,moistairinasingleroomorintheentirehome.




AssemblyChart
1.Frontguardornament
2.Frontguard
3.Bladecap
4.Blade
5.Guardmountingnut
6.Rearguard
7.Motor
8.Setscrew
9.Fanbody
10.Base
11.Wheel
12.Basenut
13.Plastictube







Firmlyplacethefanonthegroundthenaddwaterinsidethewatertankaccordingtothesixstepsbelow:















Note:
Do not take out the water tank before unplugging the power cord plug. Hot water (40℃and above)                 
shouldnotbeaddedinthewatertank.
Do not add dirty water or any additives (such as perfume, essential oil and mosquito repel, etc.), instead                 
addcleandrinkingwaterorpurifiedwatertoensurelongerlifeforthehumidifier.






























1. Insertplugtotheelectricaloutlet,makesure
thattheindicatorlightisonasshownbelow.
2. Press“ON/SPEED/OFF”buttononthefanbody,
tochoosethewindspeedLow,Med,High
thatmatchesthecorrespondinglightonthecontrol
panel.Pressthisbuttonagaintoswitchoffthe
fanandallfanfunctionsreturntooriginalstate.
However,independentoperationbuttonsareavailable.
3. Press“SWING”buttononfanbodyorremotecontroller,
tochangethewinddirection,meanwhilethe
correspondinglightswitcheson.Pressthisbuttonagaintostoposcillation.
4. Press “MIST” button on fan body or remote controller, the mist will spread out from the front mist                  
plate, meanwhile the corresponding light switches on. Press this button again to stop this function.              
“MIST” button can be used separately, or work together with the fan, and this produce the feel of                 
coolwind.Ifthemistfunctionisusedseparately,itcanincreasehumidityintheair.
5. Press “ION” button on fan body or remote controller, the negative ions generated by the ionizer               
emanate from the unit throughout the room and cause dust, pollen, mold spores, pet dander, etc.               
to clump together and drop out of the air, meanwhile the corresponding light switches on. Press this                
buttonagaintostopthisfunction.
“ION”buttoncanbeusedseparately,orworktogetherwiththefan.
Note: After a period of running the negative ion, there will be little dirty around the orifice of                 
negative ion generator, it is the effect of negative ion which is normal phenomenon, you may clean                
itbyyourself.
6. Press “TIMER” button on remote controller, to set the fan running time between 1  6 hours and                 
switches the fan off after preset time. To set a time of 1 hour you need to press the button once and                     
to set 6 hours of running time you need to press 6 times and the number of hour will be changed                    
everytime,meanwhilethecorrespondinglightswitcheson.
7. Press “WIND” button on remote controller, to choose the wind type, meanwhile the corresponding             
lightswitcheson.
8. Press "OFF" button on remote controller, it switches off the fan and all fan functions return to                
originalstate.However,independentoperationbuttonsareavailable.
9. Remote Control: must be aimed the infrared port (see FIG right side) when in use. If the remote                 
control doesn’t work, please first check the inside battery and change them to new batteries if               
needed.
Note: Change the batteries with new and same types. Otherwise your remote control may not              
operate properly. Remove the batteries out of the remote control if you won’t use the remote               
controlforalongtime.Oldbatteriesmaydamageyourremotecontrol. 




>RatedVoltage:230V~
>RatedFrequency:50Hz
>TotalPower:100W
>MistCapacity:200ml/h
>BladeSize:400mm
>WaterTankCapacity:1500ml









1. Make sure this appliance and the power cord is not damaged before operating. In case of damage,                 
pleaseconsulttoyourauthorizedtechnicalserviceprovider.
2. Wet hands are not allowed and dangerous to pull out the plug from the electrical outlet with them in                   
thatcondition.
3. It is not allowed and dangerous to touch the water and any parts in the water when this appliance is                    
working.
4.Donotinsertanyobjectintoguardandmistsprayholetoavoiddestroyingthisappliance.
5. The plug must be removed from the electrical outlet when not operating and before moving, installing,                
uninstallingandcleaning.
6. Do not pull the plug while the power is on. Always ensure that the plug is fully inserted into the                    
electricaloutletbeforeoperating.
7.Donottakeoutthewatertankbeforeunpluggingthepowercordplug.
8. Do not add any chemical or metal ingredient into the water tank or flume, these materials are                 
dangerousandmaycauseproblems.
9. Safety water level switch shall be cut off automatically when the water tank lacks water in order to                  
protecttheultrasonictransducer.Forcontinuoususe,addwater.
10. Babies, old people and people suffering from valetudinarianism are not fit for being directly under               
thefanwindforalongperiodoftime.
11.Thisappliancemustbeusedundertheratedvoltageandfrequencyasindicatedinratinglabel.
12. Do not disassemble, repair or modify this appliance on your own, warranty shall be voided if repair is                  
carriedoutbyanunauthorizedperson/agency.
13. If the power cord is damaged, it must be replaced by the manufacturer or its service agent or a                   
similarqualifiedpersoninordertoavoidanyhazard.
14. This appliance is not intended for use by persons (including children) with reduced physical, sensory               
or mental capabilities, or lack of experience and knowledge, unless they are under supervision or given               
instructionsconcerninguseoftheappliancebyapersonresponsiblefortheirsafety.
15.Childrenshouldbesupervisedtoensurethattheydonotplaywiththeappliance.









1. Pleasepulloffthepowercordplugfromtheelectrical
outletandmakesurethatyourfanisnotoperating
beforecleaningit.
2. Pleasecleanthewatertankeverytwotothreeweeks,
andtheflumeeveryweek.
3. Pleasetakeoutthewatertankwhencleaningit,and
pullplastictubeoutoftheatomizingcupproperly,
thentakeouttheatomizingcupandcleanit.
4. Useadryclothtoabsorbremainingwaterwhen
cleaningtheultrasonicatomizeranddryitusingapiece
ofsoftcloth.Orusemilddetergenttocleantheultrasonic
atomizerifitisdirty.
5. Pleaseaddafewdropsoflubricanttothemotorshaftafter
cleaningtoextendmotorlifeeveryyear.
6. Ifyouarenotusingthisappliance,packitproperlyandstore
itinacooldryplace.




Specialdetergentforultrasonichumidifier
Function:Thisspecialdetergentisusedtocleantheultrasonic
transducerintheflume.Itcanremovewaterfurringtoensure
betterperformanceandlongerlifeforthehumidifier.



Usage: Put 23 drops on the ultrasonic transducer, wait for 1         
minute, scrub it with the brush, wash gently with clean water,          
thenuseacleanandsoftclothtodryit.
Cautions: Do not let the detergent spatter on your skin and clothes or into your mouth and eyes. If it                  
happens, wash immediately with clean water. Keep this detergent away from direct sunlight and heat              
sourcesandoutofchildren’sreach.

PLEASEAFFIXYOURPROOFOFPURCHASE/RECEIPTHERE
INTHEEVENTOFACLAIMUNDERWARRANTYTHISRECEIPTMUSTBEPRODUCED.

WARRANTY

1. HomeofLivingBrands(Pty)Limited(“HomeofLivingBrands”)warrantstotheoriginalpurchaserof
thisproduct(“thecustomer”)thatthisproductwillbefreeofdefectsinqualityandworkmanship
whichundernormalpersonal,familyorhouseholduseandpurposemaymanifestwithinaperiodof1
(one)yearfromthedateofpurchase(“warrantyperiod”).
2. Where the customer has purchased a product and it breaks, is defective or does not work properly for                 
the intended purpose, the customer must notify the supplier from whom the customer bought the              
product (“the supplier”) thereof within the warranty period. Any claim in terms of this warranty must               
be supported by a proof of purchase. If proof of purchase is not available, then repair, and/or service                 
chargesmaybepayablebythecustomertothesupplier. 
3. Thefaultyproductmustbetakentothesupplier'sservicecentretoexercisethewarranty.
4. The supplier will refund, repair or exchange the product in terms of this warranty subject to legislative                
requirements. This warranty shall be valid only where the customer has not broken the product              
himself, or used the product for something that it is not supposed to be used for. The warranty does                  
not include and will not be construed to cover products damaged as a result of disaster, misuse,                
tamper,abuseoranyunauthorisedmodificationorrepairoftheproduct.
5. This warranty will extend only to the product provided at the date of the purchase and not to any                  
expendablesattachedorinstalledbythecustomer.
6. If the customer requests that the supplier repairs the product and the product breaks or fails to work                 
properly within 3(three) months of the repair and not as a result of misuse, tampering or               
modification by or on behalf of the customer, then the supplier may replace the product or pay a                 
refundtothecustomer.
7. The customer may be responsible for certain costs where products returned are not in the original               
packaging, or if the packaging is damaged. This will be deducted from any refund paid to the                
customer.
HOMEOFLIVINGBRANDS(PTY)LTD(JOHANNESBURG)
JOHANNESBURG TEL NO. (011)  
4909600
CAPETOWN TEL
NO.(021)5525161
DURBAN TEL
NO.(031)7926000
www.salton.co.za

Other Salton Fan manuals

Salton SMF16 Installation guide

Salton

Salton SMF16 Installation guide

Salton SORF16 Installation guide

Salton

Salton SORF16 Installation guide

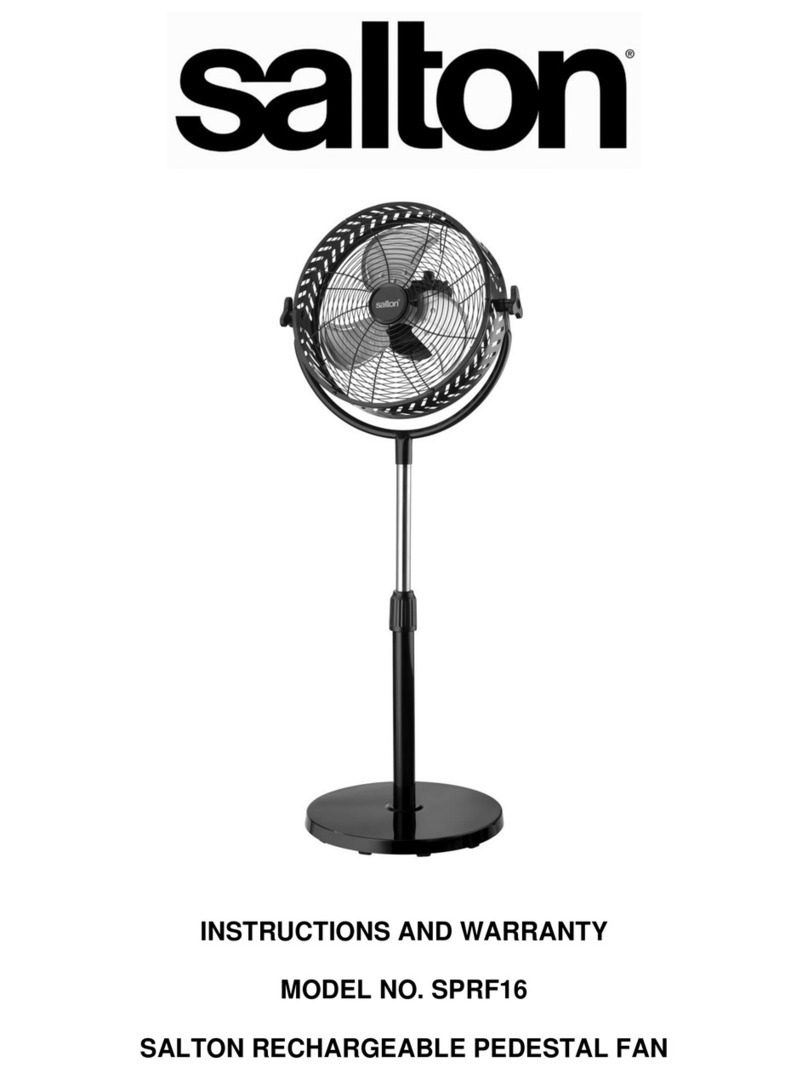
Salton SPRF16 Installation guide

Salton

Salton SPRF16 Installation guide

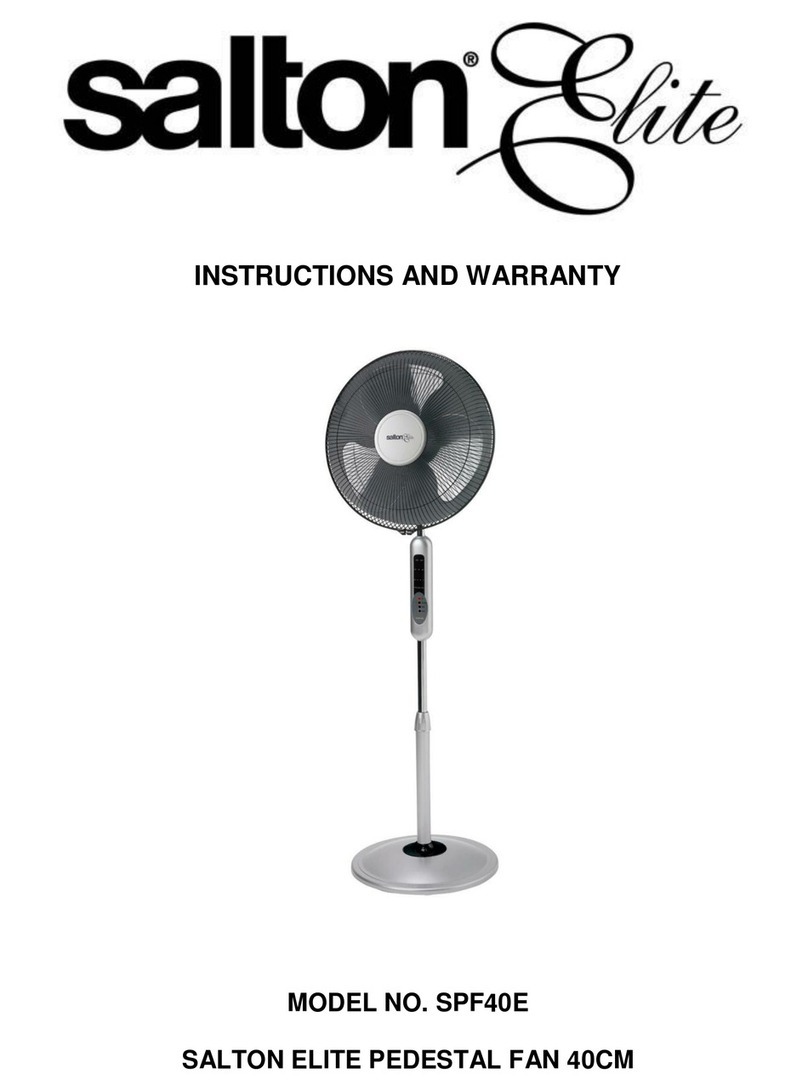
Salton SPF40E Installation guide

Salton

Salton SPF40E Installation guide

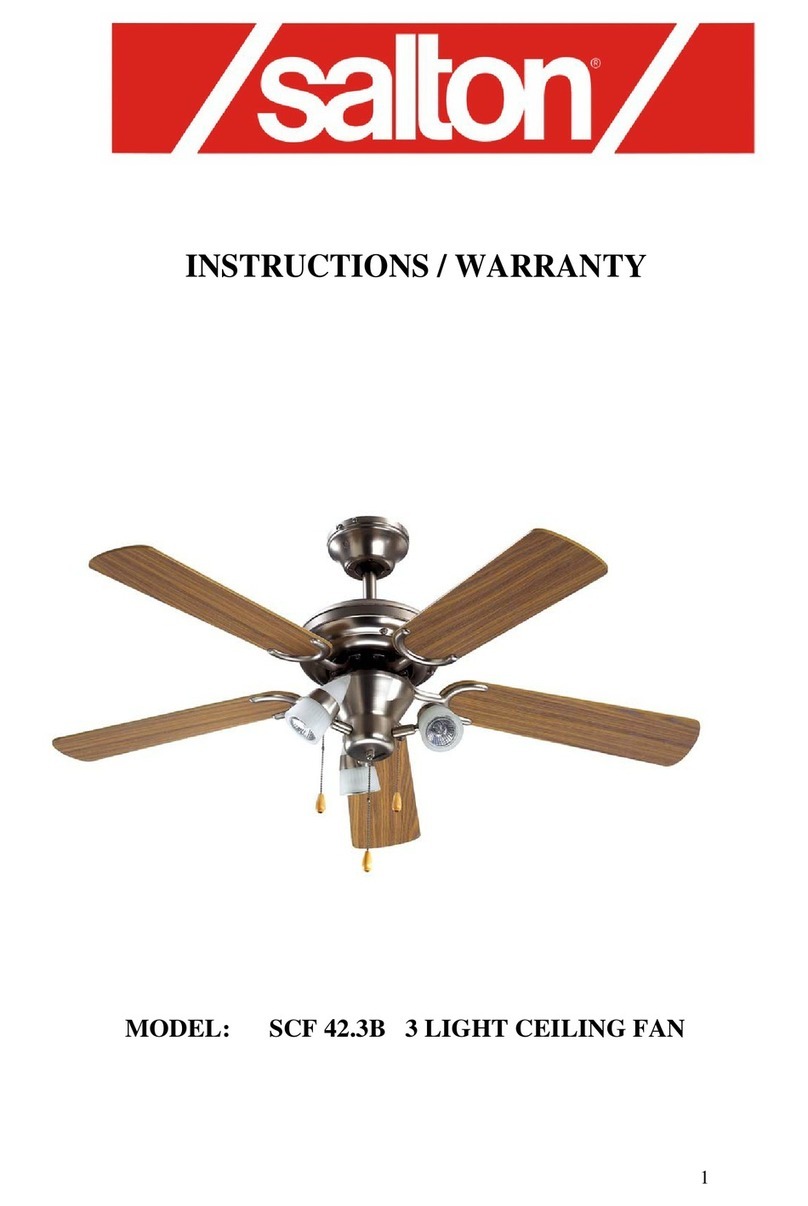
Salton SCF 42.3B Installation instructions manual

Salton

Salton SCF 42.3B Installation instructions manual

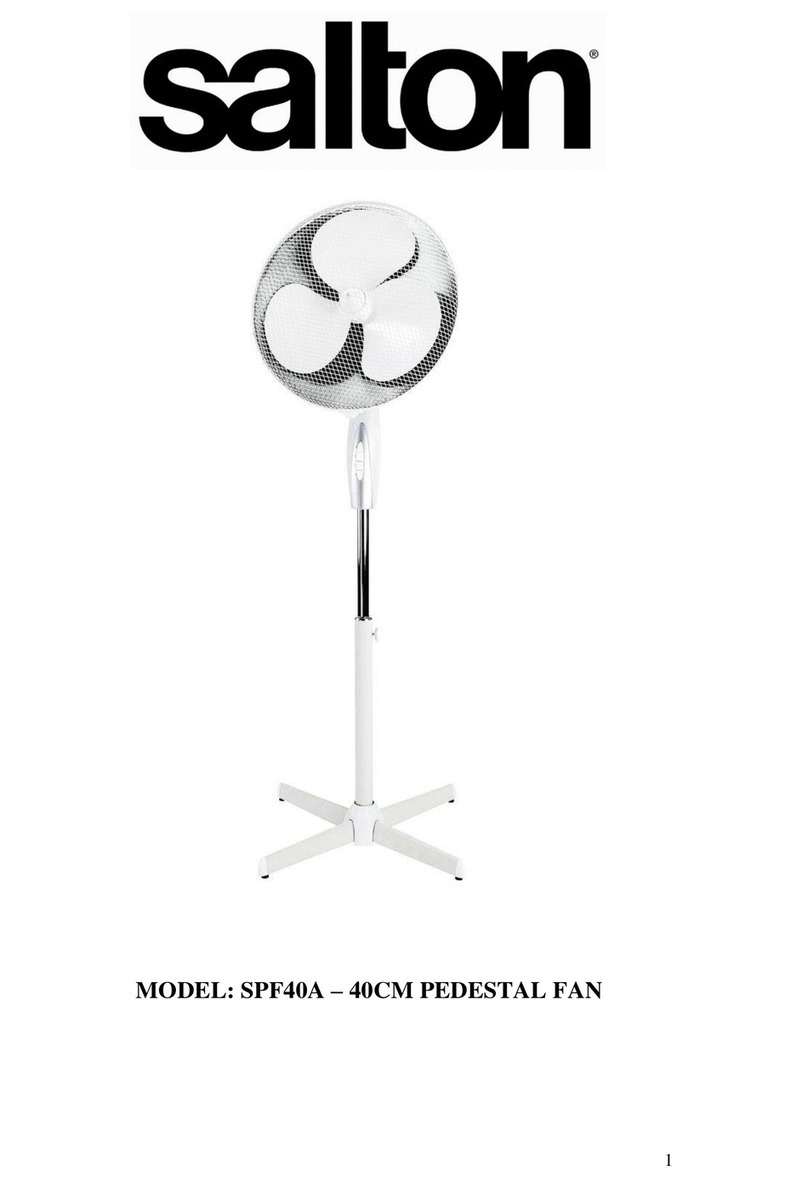
Salton SPF40A User manual

Salton

Salton SPF40A User manual

Salton SCF25 User manual

Salton

Salton SCF25 User manual

Salton SBF35 Installation instructions manual

Salton

Salton SBF35 Installation instructions manual

Salton SBF45 Installation guide

Salton

Salton SBF45 Installation guide

Salton SF30 Installation instructions manual

Salton

Salton SF30 Installation instructions manual

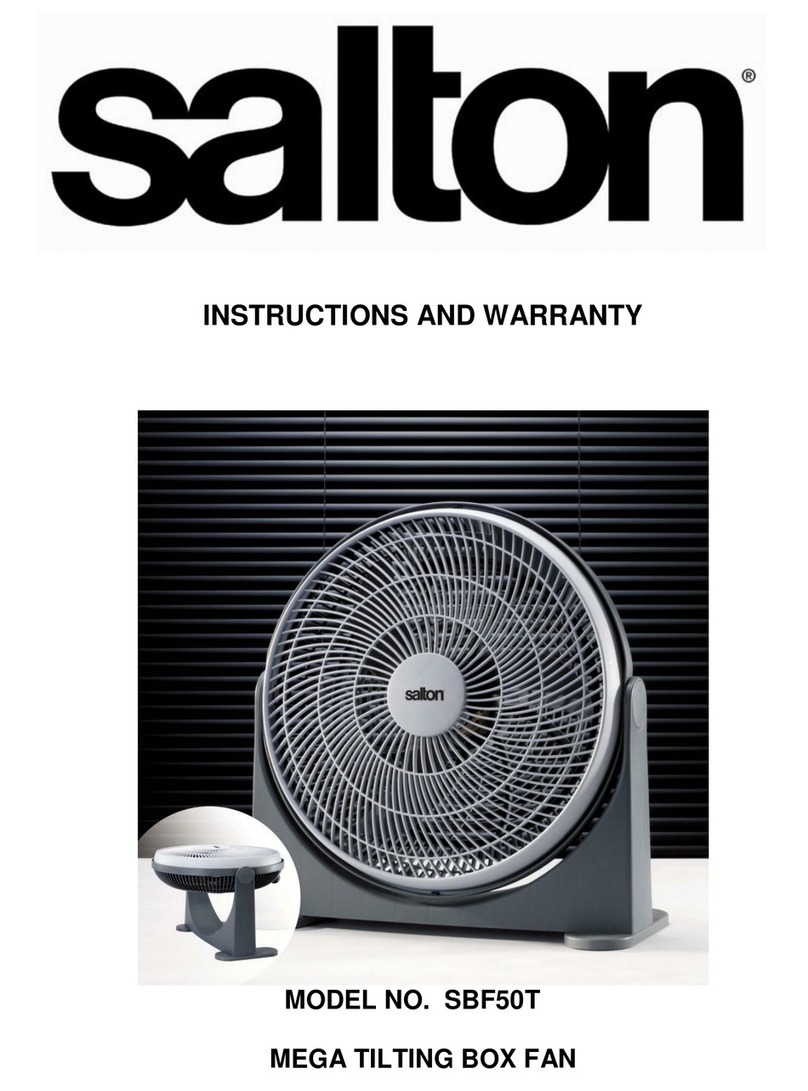
Salton SBF50T Installation guide

Salton

Salton SBF50T Installation guide

Popular Fan manuals by other brands

Wind River McKenzie WR2009 Series instructions

Wind River

Wind River McKenzie WR2009 Series instructions

Faro Barcelona ventyly HYBRID Assembly manual

Faro Barcelona

Faro Barcelona ventyly HYBRID Assembly manual

Casablanca Mission owner's manual

Casablanca

Casablanca Mission owner's manual

Ruck Ventilatoren IsoBox RX S Series Assembly instruction

Ruck Ventilatoren

Ruck Ventilatoren IsoBox RX S Series Assembly instruction

Bigassfans 2025 installation guide

Bigassfans

Bigassfans 2025 installation guide

Naterial ANEMO ZN DC116 Assembly, Use, Maintenance Manual

Naterial

Naterial ANEMO ZN DC116 Assembly, Use, Maintenance Manual

Lindab Plexus Series Installation instruction

Lindab

Lindab Plexus Series Installation instruction

Hunter 25745 Parts guide

Hunter

Hunter 25745 Parts guide

Rittal 3238.500 Assembly and operating instructions

Rittal

Rittal 3238.500 Assembly and operating instructions

TaoTronics TT-TF005 user manual

TaoTronics

TaoTronics TT-TF005 user manual

Klarstein 10027944 manual

Klarstein

Klarstein 10027944 manual

Colasit CMVeco 125 operating instructions

Colasit

Colasit CMVeco 125 operating instructions

Pro-Elec PEL01916 instructions

Pro-Elec

Pro-Elec PEL01916 instructions

Home Decorators Collection HAVERBROOK AM634-PN Use and care guide

Home Decorators Collection

Home Decorators Collection HAVERBROOK AM634-PN Use and care guide

Broan AI Series User's and installer's manual

Broan

Broan AI Series User's and installer's manual

Tower Hobbies T662001 Safety and instruction manual

Tower Hobbies

Tower Hobbies T662001 Safety and instruction manual

Wider IMP50250BH instruction manual

Wider

Wider IMP50250BH instruction manual

Optimus F-1888 Cleaning instruction

Optimus

Optimus F-1888 Cleaning instruction

manuals.online logo
manuals.online logoBrands
  • About & Mission
  • Contact us
  • Privacy Policy
  • Terms and Conditions

Copyright 2025 Manuals.Online. All Rights Reserved.