Sam 20 S 1234 Technical reference manual

P1
Topcon Control
All models from 2023
(400 & 800mm wide floor-belts
single and tandem axle)
INSTRUCTION AND
PARTS MANUAL
www.samfarmmachinery.com
Strong. Simple. Smart.
6 TONNE TANDEM-AXLE
AU
9 TONNE TANDEM-AXLE

P2
THANKS FOR CHOOSING A SAM
This Instruction and Parts Manual covers all Topcon Control spreaders manufactured since 2023.
For all other SAM Machinery Instruction Manuals please visit www.samfarmmachinery.com
SERIAL NUMBER
All SAM Machinery products are identified with a unique serial number located on the front of the machine
(e.g. ‘20 S 1234’). Please include this number with all parts and servicing enquiries so we can provide you with fast
and accurate assistance.
INTRODUCTION
Coombridge & Alexander have created SAM Spreaders from over 75 years’ experience making agricultural machinery.
SAM Spreaders are the gold standard for spreading techniques throughout Australasia.
Strong, simple and smart, each machine is handcraed from the very best materials and componentry we can find.
They are known for their practical design and easy to use operation.
Coombridge & Alexander control the complete manufacturing process of the iconic SAM range: Fertiliser Spreaders,
Combo Spreaders, Orchard Spreaders, Feed Wagons, Hydraulic Trailers and Quick Hitches.
We stand by the quality of all of our products - our team have put the hard work in so you can expect a long working
life out of your gear. All the best with your new SAM. We trust you will love it.
For all parts, servicing or support enquiries please contact your local dealership.
www.samfarmmachinery.com
MODEL DETAILS
MODEL
SERIAL NUMBER
20 S 1234
Trusted since forever (75 years strong)
Serial number:
Visit: www.samfarmmachinery.com

P3
QUALITY GUARANTEE
SAM Machinery products are guaranteed against any defects in either material or manufacture for a period of 24
months from delivery date, provided that the equipment is properly maintained and has not been subject to abuse
or misuse, operated incorrectly, over loaded or used for purposes other than for which the equipment is designed or
is not maintained correctly or if fitted with other than genuine parts.
Claims are only valid when approved by the manufacturer. No person or agent is authorised to assume any
liability.
As the use of the equipment is outside our control we can only guarantee quality. No liability for loss, direct
expenses incurred from the use of this equipment or from any other cause of in respect of performance etc.
can be accepted.
Defective parts must be returned freight paid to the distributor or available to be inspected as directed.
Should such parts prove to the manufacturers satisfaction to be faulty - repair of - replacement of defective parts
shall constitute fulfillment of guarantee obligations. Parts destroyed, lost or tampered with nullify guarantee.
WARRANTY
SAM Machinery products as designed and supplied by Coombridge & Alexander Ltd, are warranted against faulty
workmanship and defective materials for a period of 24 months from date of purchase. Such warranty is subject to
the following conditions:
1. That the basic maintenance (as noted in P18) is followed.
2. This warranty covers the repair or replacement of parts or machinery sold by Coombridge &
Alexander Ltd and damaged as a result of faulty workmanship or faulty materials.
It does not extend to any other loss or damage including consequential loss or damage to other
property or persons.
3. No responsibility will be accepted for repairs made other than by Coombridge & Alexander Ltd without prior
authorisation by Coombridge & Alexander Ltd.
a. Without limiting the generality of paragraph 1. above, this warranty does not cover the following;
b. Losses sustained through delay in delivery
c. Travel expenses
d. Damage caused by accident, misuse or abuse
4. Damage to any goods which have been altered or modified by someone other than Coombridge &
Alexander Ltd or its authorised dealers.
5. Procedure for recovery under warranty;
1. No loss or damage will be covered under warranty unless the following procedure is followed by
the purchaser.
1. If the purchaser is an authorised dealer -
a. PFG Australia Ltd must first be advised of details of the goods concerned, the loss or
damage sustained and the circumstances in which the loss or damage arose.
b. Aer consultation with Coombridge & Alexander Ltd they will then decide if such loss or
damage is within the terms of warranty and shall advise the dealer as to how the loss or
damage is to be repaired.
2. If the purchaser is not an authorised dealer -
a. The loss or damage should be reported directly to PFG Australia Ltd who will consult with
Coombridge & Alexander Ltd, PFG Australia will advise whether it is covered by the
warranty and direct the purchaser accordingly as to what action is to be taken.

P4
BASIC SAFETY
Many agricultural machines have potentially dangerous moving parts, which can cause serious or fatal
injuries. Remember;
1. Read ALL warning labels on the machine and ensure you understand operating instructions
2. Turn o the tractor before removing any guards, blockages or servicing the machine
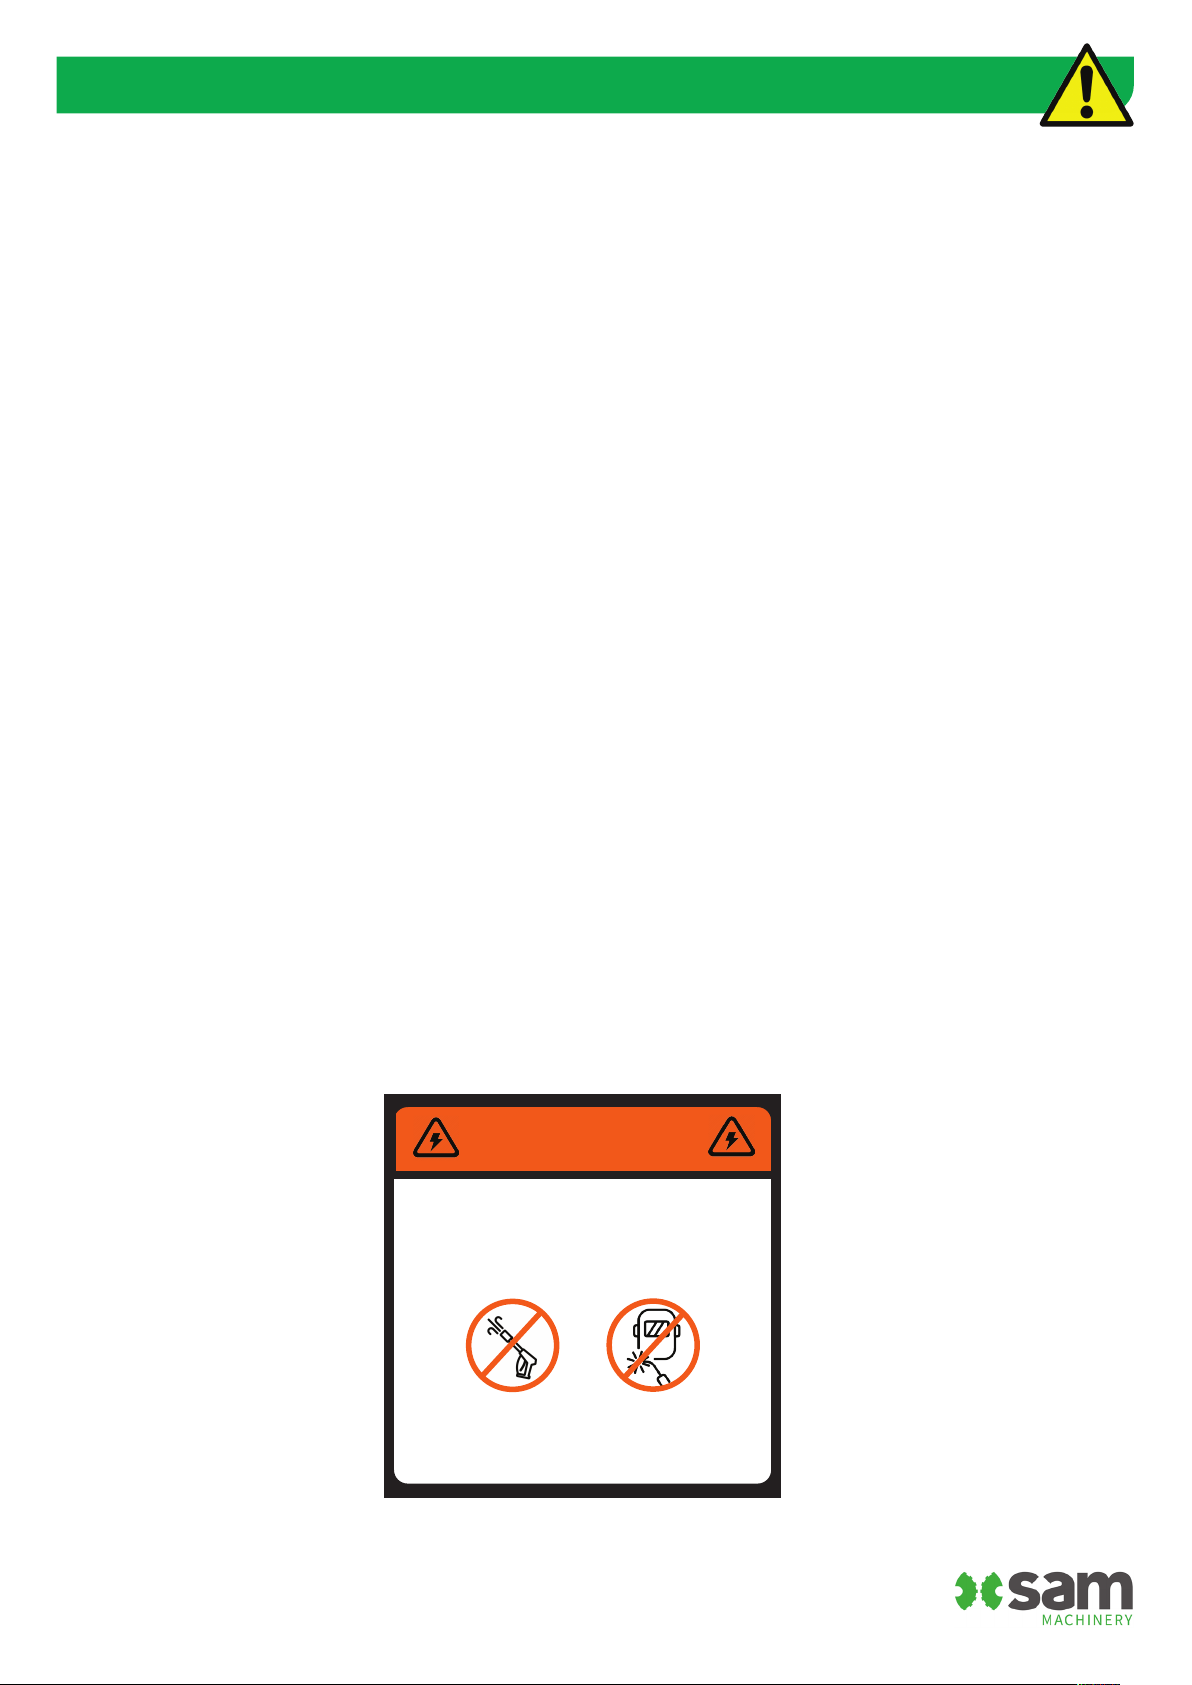
3. Never use your hands or fingers to check for hydraulic oil leaks
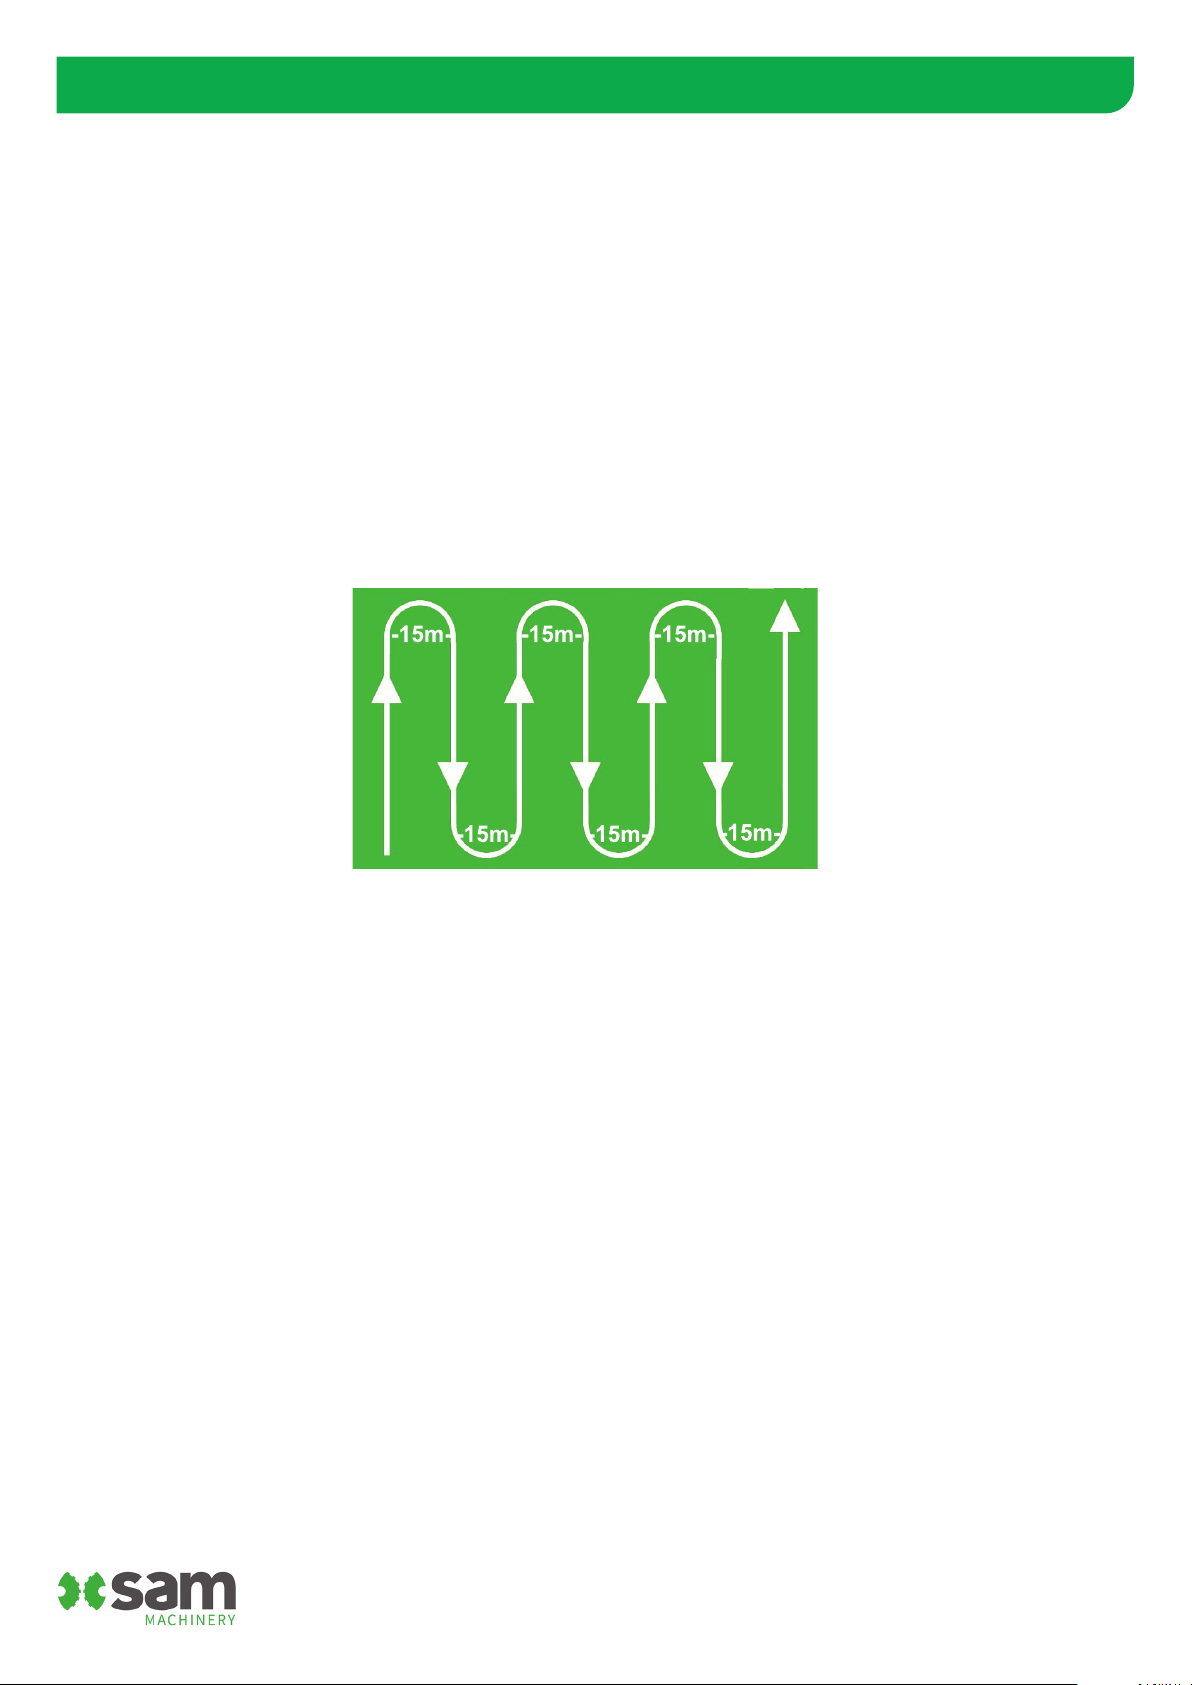
4. Keep at least 15 metres distance from the spinner discs when operating
5. Do not use the machine in steep areas where there is a high-risk of roll-over occurring.
OPERATIONAL CHECK
Before you start work with a machine there are a few basic checks that can be carried out. Ask yourself:
1. Is the machine you intend to use suitable for the job e.g. in good working order and safe to use?
2. Are all safety devices such as guards in place and working correctly?
3. Are there any known mechanical defects – pay particular attention to items such as wheels and tyres, and
moving parts?
4. Are you (or the operator) properly trained to do this job/use this machine?
5. Has the instruction manual for the machine been provided, read and understood?
6. Is the right personal protective equipment (PPE) available and being worn?
7. Has a risk assessment been carried out?
8. Has the work been properly planned and communicated to those who may be at risk?
9. Is the machine operator competent to do the job safely?
10. Hitching and attachment points for trailed machinery - check that it has been safely attached to the
towing vehicle such as a tractor. Pay attention to the condition of drawbar/pick-up hitch, and hitch rings,
pins, clips etc.
11. Carry out any pre-use checks as specified.
HEALTH & SAFETY RISK ASSESSMENT
A hazard identification, assessment and control procedure has been conducted on a representative
SAM Spreader and where necessary appropriate risk control measures have been outlined below;
HAZARD HARM CONTROLS
Contact, impact or entanglement
from moving parts/ loose objects
inc. gears, chains, sprockets, spinner
shas and discs, and wheels.
1. Deep cuts or amputation
2. Bruising
3. Fractures
Avoid wearing loose clothing,
jewellery or gloves - they increase
the risk of entanglement.
Stand a safe distance from the
machine when under operation.
Leaking hydraulic hoses and/or
couplings.
1. Leaking oil may get into skin
2. Skin and eye irritation
3. Breathing diiculties
Apply a programme of preventive
maintenance (hydraulic hoses and
hydraulic hose couplings).
Leaking oil, or bulging or abraded
hose walls, must have faulty parts
replaced.
Never use hands or fingers to
detect leaks.
Wear appropriate PPE
(personal protective equipment).
Tractor and/or Fertiliser Spreader
roll-over due to instability under
varying conditions and terrain.
1. Serious injury
2. Fatality
Do not use the machine in steep
areas, or on unstable ground.

P5
BASIC MAINTENANCE
To keep your SAM Spreader in excellent working condition, please follow these basic maintenance
procedures as you go.
1. Keep your machine fairly clean and very well greased.
2. Before each use; check the hydraulic system for signs of oil leaks or wear. Check there is no play in the spinner
bearings by liing up on the spinner discs. Tension the spinner bearings by tightening the large nyloc nut at
the top of the spinner sha (this can be adjusted by undoing the grub screws).
3. Aer every five hours of operation grease all nipples on the front and back floor shas, and the four spinner
sha bearings should be well greased.
4. Aer every ten hours of operation check all bolts are tight, including the wheel nuts, joiners and
spinner discs and vanes. Check all nipples and grease points on the front floor adjusters slides,
drawbar jack, back door jack, hubs and tandem axle pivot points.
5. The floor-belt should be tensioned with a 40mm sag below the middle of the chassis, with an even curve/sag
from front to back. Adjust when necessary.
6. All roller chains should be kept well oiled, particularly during long periods of storage.
7. Check the couplings above the spinner tubes stay approximately 2mm between the top and bottom halves.
8. Check your linkage/tow pins.
9. Always ensure tractor oils are kept in excellent condition. Beware when changing a Spreader between
dierent tractors. Pump oil out of the hoses unless they use the same hydraulic oil.
10. If you have load cells, please make sure the bolts are regularly tightened.
11. Avoid high pressure hosing/waterblasting around your load cells, sensors and monitor.
12. Do not weld on this machine. Welding will destroy load cells and computer.
Please keep these checks up for the lifetime of your SAM.
WARNING
(Both may destroy electronics)
DO NOT WELD ON THIS MACHINE
DO NOT USE HIGH PRESSURE CLEANING
ON ELECTRONICS
(load cells, display, sensors or junction box)

P6
SET-UP AND OPERATION
BEFORE STARTING WORK please read the following application and set-up instructions
to ensure safe and productive operation.
MESH SCREEN
We recommend removing the mesh screen from inside the polyethelene bin when spreading lime. It stays in for urea.
SPREADING CENTRES
We recommend spreading at 15 metre centres for granulated fertiliser products and 10 metre centres for powdered
or fine granulated products such as Lime. You can choose any spread width in the set-up mode.
For all TOPCON set up instructions - see the TOPCON manual provided.
There is also a video on the SAM Machinery YouTube channel -
‘How to set up your SAM Computer control Spreader’.
(This is for dealers at delivery).
https://www.youtube.com/watch?v=B4Ius9ZULZE

P7
HYDRAULIC OPERATION
Always ensure tractor oils are kept in excellent condition. Beware when changing your Spreader
between dierent tractors. Pump oil out of the hoses unless they use the same hydraulic oil.
CONNECTING THE HYDRAULICS
Connect the red ‘Spinner’ pressure hose to a pressure port on a tractor SCV (Selective Control Valve).
Connect the black ‘Floor’ pressure hose to a pressure port on a separate tractor SCV. This pressure port must be
on a separate SCV to the spinners.
Connect the green/yellow return hose to the tank return on the tractor. This cannot be connected to the return on
the SCV for the spinners or the floor.
FLOW REQUIREMENTS
Adjust the spinner SCV on the tractor to achieve 850rpm on the spinners. You can check the spinner speed from
the screen. This will require approx. 45-50 litres/minute.
Adjust the floor SCV on the tractor to 40 litres/minute to achieve the maximum application rates. For lower
application rates this can be reduced as required to increase hydraulic eiciency and reduce heat in the system.
Refer to the TOPCON user manual.
It is very important that you adjust the hydraulic oil flow from the tractor as above. Note, the higher the bypass oil
flow, the higher the pressure in the spreaders hydraulic system.
SET-UP AND OPERATION

P8
BULK DENSITY
TO MEASURE BULK DENSITY OF PRODUCT BEING SPREAD
This quick process is very important for spread accuracy.
1. Turn on the scales. Put the empty scoop on the scales. Then zero the scale (by pressing the TARE button).
2. Take scoop o the scales and fill to the top. Product must be level with the top.
3. Put the scoop and product back on the scales and weigh it.
782 grams = a density of 782 kilograms per cubic metre.
Note: You can take multiple samples and average them to double-check your accuracy.

P9
123 4 5 6 7 8
10
9
11
12
SPARE-PARTS FOR COMPUTER CONTROLLED SPREADER
MACHINE SIDE-VIEW - For 3.8, 6 Tonne Computer Controlled Spreaders - Both 400 & 800 wide belts
REFERENCE PART NUMBER DESCRIPTION QTY.
1*
3103 Wheel & Tyre - 11.5/80 x 15.3 (12ply)
2-43107 Wheel & Tyre - 400/60 X 15.5 (TR Tread)
3948 Wheel & Tyre - 550/60 x 22.5 (16ply)
2 7815 Gear Box 1
3 P4769 Mudguard 2
4 P4697A Floor Tension Adjusters 2
5 P3022 Front Sha (Complete) 1.5” - (inc. Sprockets + Spacer Ring)
For all 400 wide belt
1
P4826 Front Sha (Complete) 1.5”
For 800 wide belt - 5 & 6 Tonne
1
6 P5049 Floor tension adjuster 2
7 6535 Front Bin Skirt Rubber
For 800 wide belt
1
3526 Front Bin Skirt Rubber
For 400 wide belt
1
8 1609 Serial Number Plate 1
9 7500 Hose Kit - D200
For 400 wide belt
1
7501 Hose Kit -
For 800 wide belt - 5 & 6 tonne
1
10 P1402 Jack Stand (70sq) - DG701 1
11 P3557 Swivel Tow Hitch (12mm Mounting Plate) - 50mm Ball Eye
12* - Hub & Stub - 70sq 2-4
13 5924 Load cells 8
* Wheel & Tyre, Tow Hitch and Hub & Stub set-up varies depending on machine model, size and year of manufacture.
NB: the image below is showing a 6 Tonne SAM Spreader with Computer Control and a 400mm wide-belt.
13

P10
123 4 5 6 7 8
10
9
11
12
PARTS MANUAL - SAM 9T COMBO SPREADER
MACHINE SIDE-VIEW - For 9 Tonne Computer Controlled Spreaders - 800 wide belts
REFERENCE PART NUMBER DESCRIPTION QTY.
1 3869 Wheel & Tyre - 500/60 x 22.5 (16ply) 4
2 7815 Gearbox 1
3 5924 Load cells 8
4 P4697 Belt & Floor Chain Tension Adjusters 2
5 P4984 Front Sha (Complete) 1.5” - (inc. Sprockets + Spacer Ring) 1
6 4024 Bearing & Housing - Pillow-Block 50mm (P210) 2
7 6535 Front Bin Skirt Rubber 1
8 1609 Serial Number Plate 1
9 4086 Hose Kit - D208 1
10 P1402 Jack Stand (70sq) - DG701 1
11 P2102 Swivel Tow Hitch (20mm Mounting Plate) - Ball/No Ball
12* - Hub & Stub - 80sq 2-4
P4859 Mudguards 2
* Wheel & Tyre, Tow Hitch and Hub & Stub set-up varies depending on machine model, size and year of manfacture.
Please include the machine serial number with all parts and servicing enquiries.
NB: the image below is a 9 Tonne SAM Combo Spreader with Computer Control and an 800 wide floor belt.
NB: the image opposite is a 6 Tonne SAM Combo Spreader with Computer Control and an 800 wide floor belt.

P11
1
2
5
4
3
6
7
9
8
10
11
12
13
SPARE-PARTS FOR TOPCON CONTROL SPREADER
MACHINE REAR-VIEW - For 3.8, 5, 6 Tonne Computer Controlled Spreaders - Both 400 & 800 wide belts
REFERENCE PART NUMBER DESCRIPTION QTY.
1 P5077 Danfoss OMP50/9 Hydraulic Motor 2
2* P3040 Skirt Pressing (S/S) - (inc. Rubber + Rivets)
specify le/right
2
P4686 Skirt Rubber & Rivet Set - x2 (2.77 x 80mm) + 34 Rivets 1
3* P3067 Floor-belt and Chain (Complete)
for 4, 5, 6 Tonne 800 wide belt
1
P0391 Floor-belt and Chain (Complete)
for 4, 5, 6 Tonne 400 wide belt
1
4 P4882 Spinner Tube Mounting Frame
for 800 wide belt
1
P202 Spinner Tube Mounting Frame
for 400 wide belt
1
5* P4857 Deflector + Divider S/S Panel (Complete)
for 800 wide belt
1
P4452 Deflector + Divider S/S Panel (Complete)
for 400 wide belt
6 P2809 Back Door Jack
for 400 wide belt
1
P2101 Back Door Jack
for 800 wide belt
1
7 7311 Hydraulic Sensor Valve HCV 3749-1 1
8 P440 Flexi Coupling CA90 - 25mm/1” (with rubber insert) 2
9 3424 UNF Nyloc Nut 1 1/4” & Grubscrew 3/8” 2
10 P4695 Mollybush Bearing and Housing set.
Check the length - long or short
2
11 P4683 Back Sha - 50mm (Complete inc. 5T Sprockets)
for 800 wide belt
1
P4664 Back Sha - 50mm (Complete inc. 5T Sprockets)
for 400 wide belt
1
12 P20H Spinner Tube - Complete
for 800 wide belt
2
P20C Spinner Tube - Complete
for 400 wide belt
2
13* P2103 Spinner Vanes - Set 5CR12 Vanes
for 400 wide belt
1
P4684 Spinner Vanes - Set 5CR12 Vanes (with bis inserts)
for 800 wide belt
1

P12
MACHINE REAR-VIEW - 9 Tonne Computer Controlled Spreaders - 800 wide belts
REFERENCE PART NUMBER DESCRIPTION QTY.
1 P5077 Danfoss OMP50/9 Hydraulic Motor 2
2P4666 Skirt Pressing (S/S) - (inc. Rubber + Rivets)
Specify le/right
2
P4709 Skirt Rubber & Rivet Set - x2 (4.0 x 80mm) + 34 Rivets 2
3 P3068 Floor-belt and Chain (Complete)
for 8 or 9 Tonne Combo
1
4 P4882 Spinner Tube Mounting Frame 1
5 P4857 Deflector + Divider S/S Panel (Complete) 1
6 P2101 Back Door Jack
for 800 wide belt
1
7 7311 Hydraulic Flow Control Valve - HCV 3749-1 1
8 P440 Flexi Coupling CA90 - 25mm/1” 2
9 3424 UNF Nyloc Nut 1 1/4” & Grubscrew 3/8” 2
10 4024 Bearing & Housing - Pillow-Block 50mm (P210) 2
11 P4835 Back Sha - 50mm (Complete inc. 5T Sprockets) 1
12 P20G Spinner Tube - Complete 1
13 P4684 Spinner Vanes - Set 5CR12 Vanes + Welded Bis Inserts 1
* Floor-Belt and Chain, Skirt Pressings, Couplings and Back/Front Shas vary depending on machine model, size and year
of manufacture. Please include the machine serial number with all parts and servicing enquiries.
1
2
5
4
3
6
7
9
8
10
11
12
13
NB: the image above is a 9 Tonne SAM Combo Spreader with an 800 wide floor belt.
SPARE-PARTS FOR TOPCON CONTROLLED SPREADER

P13
HUB MAKE / MODEL HUB SIZE BEARINGS SEAL HUB CAP
ADR Mk7 70sq 30213/32210 100 x 120 x 8 Screw on
ADR Mk7 80SQ 32215/32212 130 X 77 Screw on
BEARINGS / SEALS

P14
The spreading table below is fixed beside the back door of each SAM Fertiliser Spreader.
The required fertiliser application rate can be set by adjusting the back door and viewing the spreading table sticker
to achieve the desired rate per hectare - setting the pointers on the back door level with the selected box.
The ‘DOOR HEIGHT’ side scale (1-20cm) represents the opening space (in centimetres) between the floor-belt and
the back door.
Your back door could be fitted with a manual back door jack or an electric back door.
SPREADING TABLES

P15

P16
QUESTION / PROBLEM SOLUTION
What is the Spreader bin capacity?
Densities can vary significantly. To get an accurate density always
weigh your product or ask your supplier.
3.8t Combo Spreader
3.6t of Superphosphate
4.8t of Lime
2.3t of Urea
6t Combo Spreader
6t of Superphosphate
8t of Lime
4t of Urea
9t Combo Spreader
9t of Superphosphate
11T of Lime
5.9t of Urea
What paint treatment does the chassis
receive?
The chassis is firstly sand-blasted, then thermal-arc spray
galvanised, followed by a super tough top coat.
Can I get dierent wheel/tyre options? A variety of tyre options are available for each model. Please
contact your dealership directly for more information.
How do I prevent Urea blocking the back door
exit?
A sheet for chicken wire with 1/2”/1.5cm gaps (or similar) can be
fixed to the existing mesh grill inside the spreader bin to prevent
larger clumps of product blocking the back door exit.
If you are experiencing something not listed here, please contact your local dealership.
TROUBLESHOOTING

P17
TROUBLESHOOTING
QUESTION / PROBLEM SOLUTION
What hydraulic oil flow is required?
Standard SAM Fertiliser Spreaders are fitted with two OMP50
hydraulic motors running in series, requiring an external oil flow of
50 litres per minute plus 40 litres for the floor. For a total
requirement of 90 litres per minute.
What RPM should the spinner sha turn at? The spinner sha should turn at approx 850RPM.
What direction do the spinner discs turn in?
When standing at the back of the machine, the right-hand spinner
disc should turn clockwise and the le-hand spinner disc
anti-clockwise.
How do I prevent fertiliser product falling out
the sides and/or front of the spreader bin (e.g.
striping)?
The side-skirts (running the length of the machine, inside the
plastic bin) and front/rear bin scrapers will require regular
adjustment, particularly when the machine is new. Both the
side-skirts and front/rear bin scrapers are bolted (slotted holes)
onto the machine - these bolts can be simply loosened and the
skirt or scraper maneuvered to be flush with the floor-belt.
What tension should be on the floor-belt and
chain assembly?
The floor-belt should be tensioned with a 40mm sag below the
middle of the chassis, with an even curve/sag from front to back.
What are the minimum and maximum
application rates for various fertiliser
products?
From 45kg/hectare at 15m spreading centres for Urea (and similar
products), and up to 3,000kg/hectare at 10m spreading centres
for Lime.
How accurate is the spread pattern?
Representative machines have been tested using the
nationally recognised Spreadmark test for accuracy. Spread
patterns are rated using Coeicient of Variation (CV), a
measure of the percentage of fertiliser outside a perfect spread -
0% being a perfect spread pattern.
Standards recognise a CV under 15% as acceptable for nitrogenous
fertilisers (DAP, Urea, Nitroposka Blue etc.). SAM Fertiliser Spread-
ers have achieved a 7.1% CV for Urea and 8.1% CV for Superphos-
phate - well within industry standards.

P18
ITEM PD BEFORE
EACH
USE
EACH
MONTH
AFTER
1 YR
AFTER
2 YR
Tyres
Check for air and wear.
X
X
X
X
X
Spinners
- Check the rubber in the spider coupling for wear.
- Check there is no play in the spinner bearings by lifting up on the spinner
discs. (Tension the spinner bearings by tightening the large nyloc nut at
the top of the spinner shaft (this can be adjusted by undoing the
grubscrews).
X
X
X
X
X
Load cells
- If you have load cells, make sure the bolts are regularly tightened.
- Avoid high pressure hosing/waterblasting around your electronics.
X
X
X
X
Tow eye
- Check front tow eye for corrosion, wear or cracking.
X
X
X
X
Couplings
- Check the couplings above the spinner tubes stay approx. 3mm between
the top and bottom halves and the grub screws are tight.
X
X
X
X
Nuts & bolts
- Check all bolts are tight, including the wheel nuts.
- Check all wheels are torqued to 270Nm.
X
X
X
X
Grease
- Check machine accepts grease in all grease points.
- Check all fully greased - grease all nipples on the front and back floor
shafts, the four spinner shaft bearings, front floor adjusters slide, drawbar
jack, clutch pivot bearings, backdoor jack, hubs and tandem axle pivot
points.
X
X
X
X
Bearings and seals
- Check all are greased.
- Should be greased from factory. Grease if dry.
X
X
X
X
Skirts
- Check the condition.
- Check pressed on the floor mat with no daylight.
X
X
X
X
Belt
- Check the condition (for cracks or perished areas).
- Check the joiner.
- Check the tension is correct (should have a 40mm sag below the middle
of the chassis, with an even curve front to back).
X
X
X
X
Hydraulic hoses
- Check condition of all hoses and cylinders for signs of leaks and tears.
Including from the tractor to the Spreader.
X
X
X
X
Cleaning
- Keep your machine fairly clean.
- If not being used for a long period make sure it is clean. Do not store
product in it for long periods.
- Visually check there are no obstructions under the mat.
X
X
X
X
Gear box
- If computer controlled (with black gear box) make sure oil is visible in
lower right glass.
- If manual drive (with stainless gearbox) remove plate and grease/oil
chains to ensure well lubricated.
X
X
X
Doors
- Check back door and Jack(s) operation.
X
X
X
Labels
- Check all safety decals and rear spreader chart in place.
X
X
X
Tractor oil
- Always ensure tractor oils are kept in good condition and full.
X
X
X
Chains
- Check for wear.
X
X
X
Chassis & bin
-
Check for cracks, excessive rust.
X
X
Molly bushes
- Check front and back mollybushes for excessive wear and tear. Should be
no ‘play’.
X
X
Vanes
- Check vanes. Bolts torqued to 55Nm.
X
X
Spinner tubes
-
Check spinner tube bolts to discs torqued to 55Nm.
X
X
Please keep your checks up for the lifetime of your SAM.

P19
www.samfarmmachinery.com
instagram / @newsfromSAM
facebook / @sammachineryaustralia
Table of contents