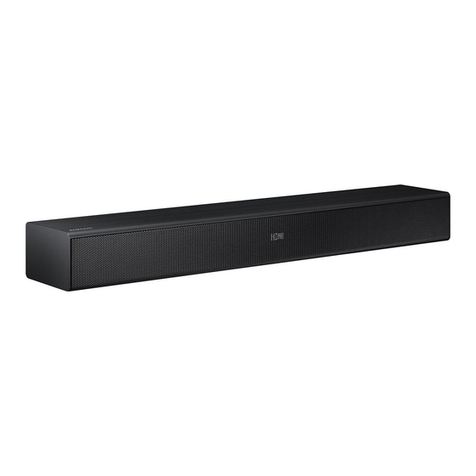
User Manual
AH81-13926W-02
NSPBI00898A-02
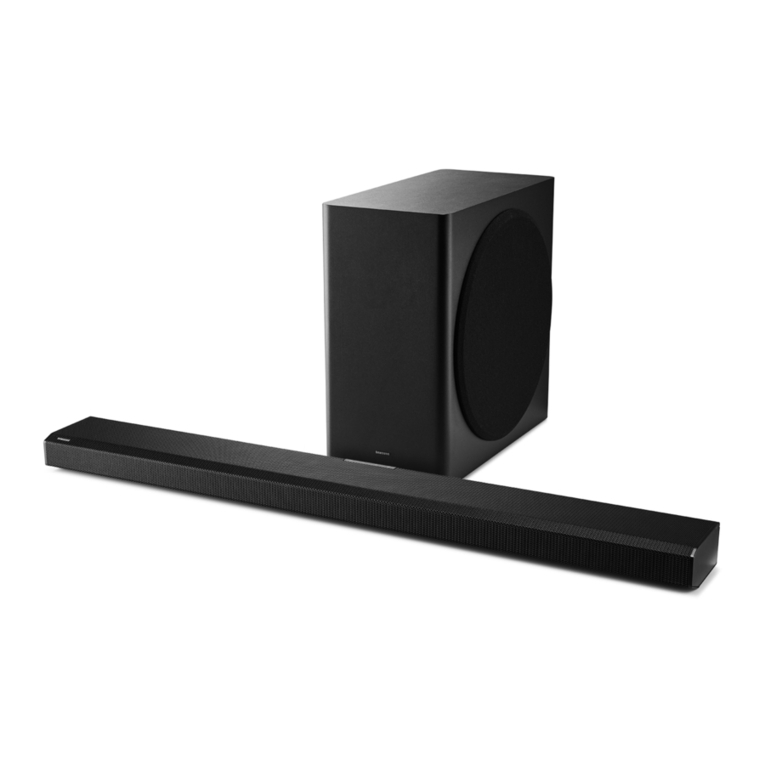
HW-Q900A
You can access the FULL MANUAL on Samsung’s on-line customer support centre by scanning the QR code
on the left.
To see the manual on your PC or mobile device, download the manual in document format from Samsung’s
website. (http://www.samsung.com/support)
© 2021 Samsung Electronics Co., Ltd. All rights reserved.
Contact SAMSUNG WORLD WIDE
If you have any questions or comments relating to Samsung products, please contact the SAMSUNG customer care Centre.
SAFETY INFORMATION
SAFETY WARNINGS
TO REDUCE THE RISK OF ELECTRIC SHOCK, DO NOT
REMOVE THE COVER (OR BACK).
NO USER-SERVICEABLE PARTS ARE INSIDE. REFER
SERVICING TO QUALIFIED SERVICE PERSONNEL.
Refer to the table below for an explanation of symbols
which may be on your Samsung product.
CAUTION
RISK OF ELECTRIC SHOCK. DO NOT
OPEN.
This symbol indicates that high voltage is
present inside. It is dangerous to make any
kind of contact with any internal part of this
product.
This symbol indicates that this product has
included important literature concerning
operation and maintenance.
Class II product : This symbol indicates that a
safety connection to electrical earth (ground)
is not required.
If this symbol is not present on a product
with a power cord, the product MUST have
a reliable connection to protective earth
(ground).
AC voltage : Rated voltage marked with this
symbol is AC voltage.
DC voltage : Rated voltage marked with this
symbol is DC voltage.
Caution. Consult Instructions for use : This
symbol instructs the user to consult the user
manual for further safety related information.
WARNING
• To reduce the risk of re or electric shock, do not expose
this appliance to rain or moisture.
CAUTION
• TO PREVENT ELECTRIC SHOCK, MATCH WIDE BLADE OF
PLUG TO WIDE SLOT, FULLY INSERT.
• This apparatus shall always be connected to a AC outlet
with a protective grounding connection.
• To disconnect the apparatus from the mains, the plug
must be pulled out from the mains socket, therefore the
mains plug shall be readily operable.
• Do not expose this apparatus to dripping or splashing.
Do not put objects lled with liquids, such as vases, on
the apparatus.
• To turn this apparatus off completely, you must pull the
power plug out of the wall socket. Consequently, the
power plug must be easily and readily accessible at all
times.
PRECAUTIONS
1. Ensure that the AC power supply in your house complies
with the power requirements listed on the identication
sticker located on the bottom of your product. Install
your product horizontally, on a suitable base (furniture),
with enough space around it for ventilation (7~10 cm).
Make sure the ventilation slots are not covered. Do not
place the unit on ampliers or other equipment which
may become hot. This unit is designed for continuous
use.
To fully turn off the unit, disconnect the AC plug from
the wall outlet. Unplug the unit if you intend to leave it
unused for a long period of time.
2. During thunderstorms, disconnect the AC plug from
the wall outlet. Voltage peaks due to lightning could
damage the unit.
3. Do not expose the unit to direct sunlight or other heat
sources. This could lead to overheating and cause the
unit to malfunction.
4. Protect the product from moisture (i.e. vases), and
excess heat (e.g. a replace) or equipment creating
strong magnetic or electric elds. Unplug the power
cable from the AC wall socket if the unit malfunctions.
Your product is not intended for industrial use. It
is for personal use only. Condensation may occur if
your product has been stored in cold temperatures.
If transporting the unit during the winter, wait
approximately 2 hours until the unit has reached room
temperature before using.
5. The battery used with this product contains chemicals
that are harmful to the environment. Do not dispose
of the battery in the general household trash. Do not
expose the battery to excess heat, direct sunlight, or
re. Do not short circuit, disassemble, or overheat the
battery.
CAUTION : Danger of explosion if the battery is replaced
incorrectly. Replace only with the same or equivalent
type.
Fabric cleaning
Remove any dirt or stain on the product surface
immediately.
Removing and cleaning can be less effective for some
substances or if left for a prolonged time.
CAUTION
• Use a vacuum cleaner or an adhesive lint roller to
remove dust, handprints, and the likes.
• Some cleaning brushes may damage the product,
depending on the materials they contain.
• Towels and cleaning clothes may leave lint or dirt on
the product.
• Do not use a nail or other tools to scratch the dirt off. It
may damage the fabric.
• To remove oil or liquid stains, use a clean white cloth
moist with water. If the stain persists, wipe it with
a mixture of water and neutral detergent (such as
dishwashing soaps) and a cloth.
• A non-neutral detergent or cleaner may cause
discoloration or fabric damage.
• After cleaning, use a dry cloth or hairdryer to dry
the area.
• Do not use excessive force to avoid discoloration or
fabric damage.
01 CHECKING THE
COMPONENTS
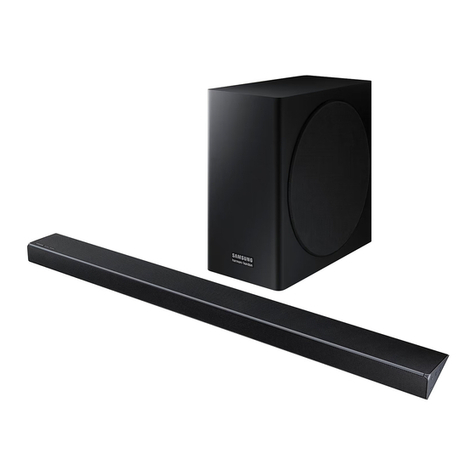
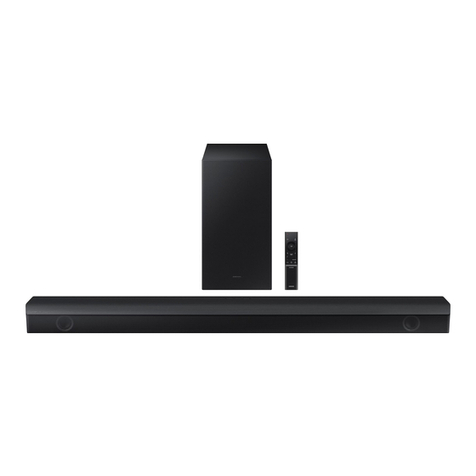
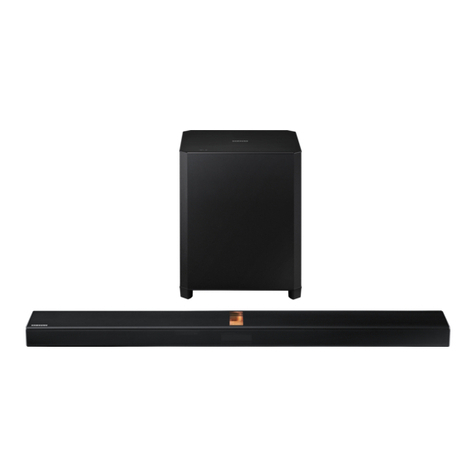
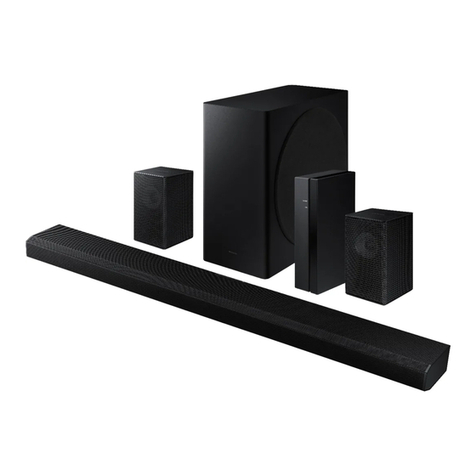
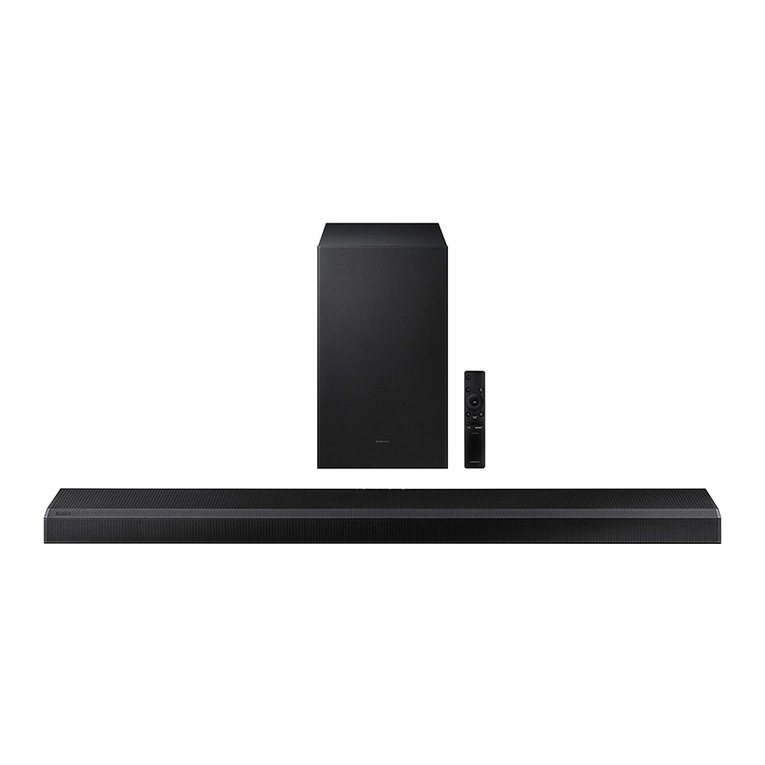
Soundbar Main Unit / Soundbar Remote Control /
Batteries / Subwoofer / Power Cord X 2 (Subwoofer,
Soundbar) / HDMI Cable / Wall Mount Guide / Holder-
Screw X 2 / Screw (M4 x L10) X 2 / Bracket-Wall Mount X 2
/ Rubber-Foot X 4
NOTE
• For more information about the power supply and
power consumption, refer to the label attached to the
product. (Label: Rear of the Soundbar Main Unit)
• To purchase additional components or optional
cables, contact a Samsung Service Centre or Samsung
Customer Care.
02 PRODUCT OVERVIEW
Top Panel of the Soundbar
1
Display
Volume
Mic On/Off
2
1Position the product so that the SAMSUNG logo is
located on the top.
2(Multi Function) Button
In standby mode, press the (Multi Function)
button to turn on the Soundbar.
Press the (Multi Function) button to change the
input source.
Bottom Panel of the Soundbar
IDSET
HDMIIN 1
HDMIIN 2
POWER
NETWORK
SERVICE
DIGITALAUDIO IN
(OPTICAL)
HDMITO TV
(eARC/ARC)
HDMI2
HDMI1
IDSET
(WOOFER/REAR)
NETWORK
SERVICE
ID SET
(WOOFER/REAR)
DIGITAL AUDIO IN
(OPTICAL)
HDMI TO TV
(eARC/ARC)
HDMI 2
HDMI 1
IDSET
HDMIIN 1
HDMIIN 2
POWER
NETWORK
SERVICE
DIGITALAUDIO IN
(OPTICAL)
HDMITO TV
(eARC/ARC)
HDMI2
HDMI1
IDSET
(WOOFER/REAR)
POWER
NETWORK
SERVICE
ID SET
(WOOFER/REAR)
DIGITAL AUDIO IN
(OPTICAL)
HDMI TO TV
(eARC/ARC)
HDMI 2
HDMI 1
IDSET
HDMIIN 1
HDMIIN 2
POWER
NETWORK
SERVICE
DIGITALAUDIO IN
(OPTICAL)
HDMITO TV
(eARC/ARC)
HDMI2
HDMI1
IDSET
(WOOFER/REAR)
POWER
NETWORK
SERVICE
ID SET
(WOOFER/REAR)
DIGITAL AUDIO IN
(OPTICAL)
HDMI TO TV
(eARC/ARC)
HDMI 2
HDMI 1
IDSET
HDMIIN 1
HDMIIN 2
POWER
NETWORK
SERVICE
DIGITALAUDIO IN
(OPTICAL)
HDMITO TV
(eARC/ARC)
HDMI2
HDMI1
IDSET
(WOOFER/REAR)
POWER
NETWORK
SERVICE
ID SET
(WOOFER/REAR)
DIGITAL AUDIO IN
(OPTICAL)
HDMI TO TV
(eARC/ARC)
HDMI 2
HDMI 1
6
3
4
5
7
9
8
3POWER
Connect the Soundbar’s AC power cable.
4ID SET (WOOFER/REAR)
Press to connect the Soundbar to surround speakers
and a subwooferwirelessly.
(The surround speaker is sold separately.)
5NETWORK
Press to connect to a wireless network (Wi-Fi) via
the SmartThings app.
6SERVICE
Connect a USB storage device to upgrade the
product’s software.
7DIGITAL AUDIO IN (OPTICAL)
Connect to the digital (optical) output of an external
device.
8HDMI 1 / HDMI 2
Inputs digital video and audio signals
simultaneously using an HDMI cable.
Connect to the HDMI output of an external device.
9HDMI TO TV (eARC/ARC)
Connect to the HDMI jack on a TV.
03 CONNECTING THE
SOUNDBAR
Connecting Electrical Power and
Subwoofer
HDMI IN 1
HDMI IN 2
ID SET
(WOOFER,
REAR)
NETWORK
SERVICE
DIGITAL AUDIO IN
(OPTICAL)
HDMITO TV
(eARC/ARC)
HDMI 1
HDMI 2
ID SET
POWER
HDMIIN 1
HDMIIN 2
IDSET
(WOOFER,
REAR)
NETWORK
SERVICE
DIGITALAUDIO IN
(OPTICAL)
HDMITO TV
(eARC/ARC)
HDMI1
HDMI2
IDSET
Rear of Subwoofer Bottom of the Soundbar Main Unit
Manually connecting the Subwoofer
1. Turn off the Soundbar main.
2. Press and hold ID SET on the rear of the subwoofer for at
least 5 seconds.
Rear of Subwoofer "Blinking blue fast"
5 sec
3. Press the Up button on the remote control for
5 seconds.
PAIR
5 sec
ID SET
4. Check if the LINK LED is solid blue (connection
complete).
• The LINK LED indicator stops blinking and glows a
solid blue when a connection is established between
the Soundbar and the Wireless Subwoofer.
Auto EQ
AUTO EQ technology uses the subwoofer’s built-in
microphone to measure the frequency response and
calibrate the BASS performance.
• You must keep the room as quiet as possible while
operating the Auto EQ tuning.
• Do not use any buttons until the Auto EQ tuning is
complete.
• During Auto EQ Tuning, there is no sound from the
Soundbar’s main unit and rear speakers.
Country/Area
Samsung Service Centre
Web Site
CHINA 400-810-5858 www.samsung.com/cn/support
TAIWAN
0800-32-9999 (All Product)
0809-05-5237 (Only for HHP)
0809-00-5237 (B2B / Dealer)
0809-02-6868 (Samsung pay)
www.samsung.com/tw/support
HONG KONG
3698 4698 ( All Product)
3698 4688 ( B2B )
3698 4633 (eStore)
2121 9088 ( Samsung pay )
www.samsung.com/hk/support
(Chinese)
www.samsung.com/hk_en/
support (English)
MACAU 0800 333
SINGAPORE
1800 7267864 |
1800-SAMSUNG (Other)
1800 4252997 |
1800-GALAXYS (HHP)
www.samsung.com/sg/support
AUSTRALIA 1300 362 603 (Other)
1300 425 299 (HHP) www.samsung.com/au/support
NEW ZEALAND
0800 726 786 (All Product)
0800 6 726 786 (Support for
Smart Mobile Devices)
www.samsung.com/nz/support
VIETNAM
Toll free numbers:
_ 1800 588 889 (All Product)
_ 1800-588-855 (HHP)
Hotline: (028)73056888
www.samsung.com/vn/support
THAILAND
Hotline no : 1282
1800-29-3232
(Toll free for all product)
www.samsung.com/th/support
MYANMAR +95-1-2399-888
VIP HHP +95-1-2399-990
www.samsung.com/mm/support
CAMBODIA 1800-20-3232 (Toll free) www.samsung.com/th/support
LAOS +856-214-17333
Country/Area
Samsung Service Centre
Web Site
MALAYSIA
1800-22-8899 (HHP)
1800-88-9999 (OTH)
+603-7713 7420
(Overseas contact)
www.samsung.com/my/support
INDONESIA
021-5699-7777
0800-112-8888
(All Product, Toll Free)
0800-112-7777
(All Product, Toll Free)
www.samsung.com/id/support
PHILIPPINES
Dedicated Hotline for Mobile
Phones:
#GALAXY (just dial #425299)
All Products :
1-800-10-7267864
[ PLDT - Toll Free ]
1-800-8-7267864
[ Globe - Toll Free ]
84222111 [ Landline ]
www.samsung.com/ph/support
INDIA
1800 5 SAMSUNG
(1800 5 7267864) (Toll-Free)
1800 40 SAMSUNG
(1800 40 7267864) (Toll-Free) www.samsung.com/in/support
NEPAL
16600172667
(Toll Free for NTC Only)
9801572667
(Toll Free for Ncell users)
BANGLADESH 08000-300-300 (Toll free)
09612-300-300 www.samsung.com/bd/support
SRI LANKA 011 SAMSUNG (011 7267864) www.samsung.com/in/support
