manuals.online logo
Brands
  1. Home
  2. •
  3. Brands
  4. •
  5. Samsung
  6. •
  7. VCR System
  8. •
  9. Samsung SV-5000 Manual

Samsung SV-5000 Manual

Valentine_308
Valentine 308
Remote controls:
Remote controls for the AV system are located in the AV podium at the front of the classroom.
Light:
Lighting controls are located at the front of the classroom.
Fluorescent lighting should be used for general classroom presentations and is controllable from the
switches at the front of the classroom. The lighting is zoned to provide localized lighting which minimizes
the washout of images on the front projection screens.
Dimmable incandescent lighting controls are located at the front of the classroom. These lights are
recommended whenever projected materials are used in the room.
Troubleshooting/HELP!!!
If all else fails, call ITTT at ext 3037 (Monday -Friday 9am to 5pm) or send an e-mail to [email protected]u
1 of 9 9/2/03 2:44 PM
Valentine_308
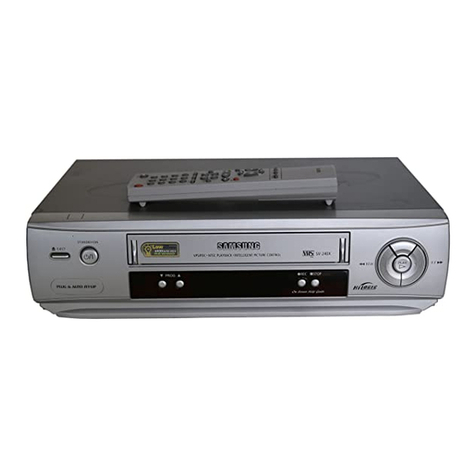
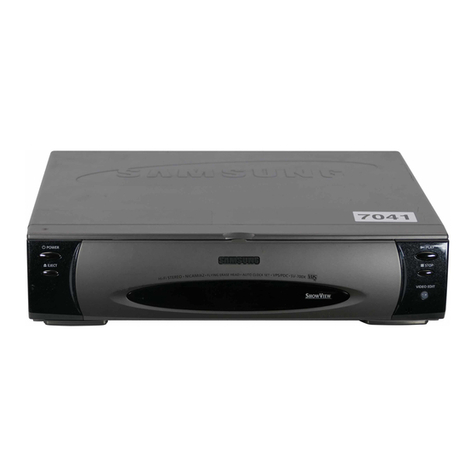
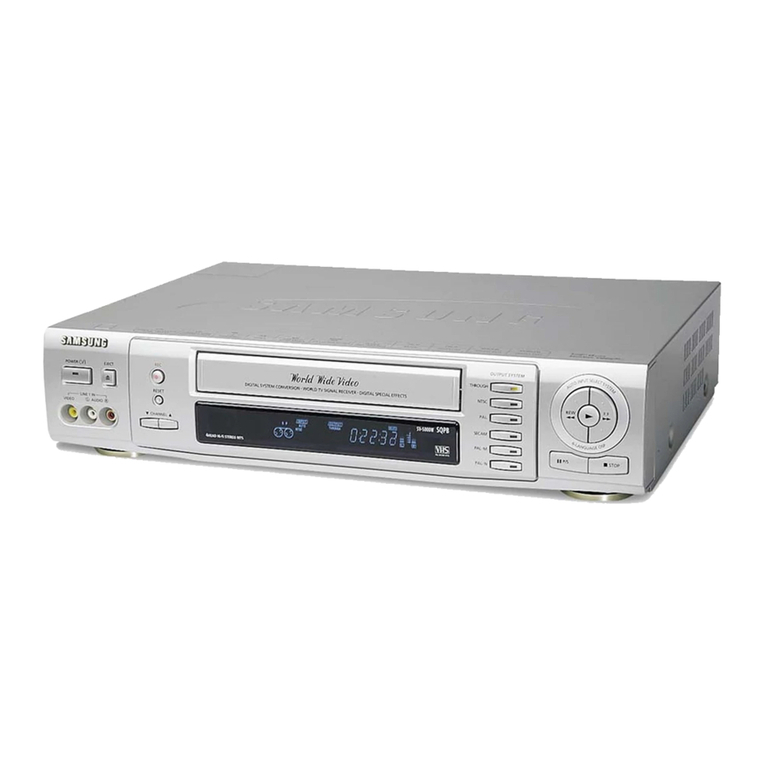
I want to play a videotape in the Samsung Multi-standard VCR.
The VCR installed in this room will accept and play back 1/2" VHS NTSC, PAL, and SECAM videocassettes
through the LCD projector.
1. Power up the LCD projector with the RED “On-Off” button located Eiki remote control.
NOTE: Make sure the remote control power switch (left hand side) is in the 'on' position.
2. Press the VIDEO button on the projector remote control to switch the projector to the computer
input.
NOTE: Wait for the projectors countdown timer to expire before attempting to switch the input. The LCD
projector will take approximately one minute to warm up.
3. Power on the Samsung VCR with the power button located on the left side of the unit.
4. Press the NTSC button located to the right of the front display panel.
5. Insert the videotape into the VCR.
6. Turn on the audio amplifier with the “Standby/On” switch located on the left side of the unit. Select
the “VCR” input (input A) on the Yamaha audio amplifier and adjust the volume knob.
NOTE: For troubleshooting assistance, see the “Adjusting Audio FAQ’s” section of this guide.
2 of 9 9/2/03 2:44 PM
Valentine_308
I want to play a CD or audiocassette with the Denon CD/cassette player.
1. Turn on the audio amplifier with the “Standby/On” switch located on the left side of the unit.
Select the “VCR” input (input A) on the Yamaha audio amplifier and adjust the volume knob.
NOTE: For troubleshooting assistance, see the “Adjusting Audio FAQ’s” section of this document”.
2. Power on the Denon CD/Cassette deck.
3. Insert the CD or audiocassette materials into the proper transport.
4. Select the “CD/Cassette” input (input C) and adjust the volume control on the audio amplifier.
5. Press the Play button for either the audiocassette or CD player.
I want to play a CD with the internal desktop PC.
1. Turn on the audio amplifier with the “Standby/On” switch located on the left side of the unit.
Select the “VCR” input (input A) on the Yamaha audio amplifier and adjust the volume knob.
NOTE: For troubleshooting assistance, see the “Adjusting Audio FAQ’s” section of this document”.
2. Power on the PC located within the AV cart.
3. Insert the CD or audiocassette materials into the CD-ROM drive.
4. Select the “Desktop PC” input (input D) and adjust the volume control on the audio amplifier.
5. Use the CD Player application to control CD playback.
3 of 9 9/2/03 2:44 PM
Valentine_308
I want to access some computer resources such as Web pages, network files,
Powerpoint files, audio CDs, DVD disks, or CD-ROMs.
1. Power up the LCD projector with the projector remote control.
NOTE: Make sure the remote control power switch (left hand side) is in the 'on' position.
2. Press the COMPUTER button on the projector remote control to switch the projector to the
computer input.
NOTE: Wait for the projectors countdown timer to expire before attempting to switch the input. The
LCD projector will take approximately one minute to warm up.
3. Boot up the computer in the podium.
4. Start the Web browser, or other computer program to begin your presentation; or insert the
Audio CD, DVD or CD-ROM into the proper disk drive.
NOTE: Not all computers have the ability to play DVD videodisks.
If you require audio for your presentation...
1. Turn on the audio amplifier with the “Standby/On” switch located on the left side of the unit.
Select the “VCR” input (input A) on the Yamaha audio amplifier and adjust the volume knob.
NOTE: For troubleshooting assistance, see the “Adjusting Audio FAQ’s” section of this document”.
2. Select the PC input (input D) and adjust the volume control on the audio amplifier.
4 of 9 9/2/03 2:44 PM
Valentine_308
I want to connect a portable laptop computer to the LCD projector.
1. Connect the VGA cable located on side of the podium to your portable laptop computer.
Troubleshooting tip: The external VGA port is typically located at the back of the Laptop under the LCD
display. It is a 'female' connection that can easily be identified by its configuration of fifteen holes located
in three rows.
If you have problems connecting the laptop to a projector consult the “Laptop Computer Connection
FAQ’s” located in this guide.
2. Boot up your portable laptop computer.
3. Power up the LCD projector with the projector remote control.
NOTE: Make sure the remote control power switch (left hand side) is in the 'on' position.
4. Press the COMPUTER button on the projector remote control to switch the projector to the
computer input.
NOTE: Wait for the projectors countdown timer to expire before attempting to switch the input. The LCD
projector will take approximately one minute to warm up.
5. Toggle the video mode of your laptop to send computer video out the external connector.
Troubleshooting tip: To activate the external video port, most laptops use a macro key and function key
combination. Refer to your PC instruction guide for further details, or try using the "Fn" key (typically
located to the left of the spacebar) and the "CRT/LCD" macro key (typically located at the top of the
keyboard in the row of function keys). The procedure for switching video modes is dependent on the make
and model of your computer.
NOTE: The AV cart also provides convenient access to AC power, high-speed data, and audio
connections.
If you require audio for your presentation...
1. Turn on the audio amplifier with the “Standby/On” switch located on the left side of the unit.
Select the “VCR” input (input A) on the Yamaha audio amplifier and adjust the volume knob.
NOTE: For troubleshooting assistance, see the “Adjusting Audio FAQ’s” section of this document”.
2. Select the PC input (input D) and adjust the volume control on the audio amplifier.
5 of 9 9/2/03 2:44 PM
Valentine_308
Laptop Computer Connection FAQ’s.
Connect the VGA cable to the back of the computer.
15 pin VGA video cable
6 of 9 9/2/03 2:44 PM
Valentine_308
After you have securely connected the VGA cable to the back of the
laptop, toggle the video settings of the laptop by holding down the "Fn"
key and tapping the "F8" key.
NOTE: Some laptop computers us the "F5" key in conjunction with the "Fn" key.
An Important Note about Laptop Computer Video
Most laptops offer three video settings:
local video (only) - computer video is only displayed on the laptop
projector video (only)- computer video is 'sent' to another display device such as an LCD projector, CRT monitor,
or plasma display
local video AND projector video - computer video is simultaneously sent to both the local laptop display, as well
as being sent to another device such as an LCD projector, CRT monitor, or plasma display.
Many Laptops cannot display video to both the local (built-in) video monitor as well as the external video port. The
solution to this problem is to de-activate the local video monitor by toggling to the ‘external video only” mode.
7 of 9 9/2/03 2:44 PM
Valentine_308
LCD Projector FAQ’s.
The LCD projector in this electronic classroom is capable of projecting PC
and Macintosh computer video signals. The projector is rated at 2000
ANSI lumens, and is optimized to display XGA (1024 x 768) signals.
The unit will also accept and project VGA (640 x 480), and VGA (800
x 600) resolutions. When using video sources such as VCRs, or DVD
players, the projector accepts NTSC and PAL (M, N) and SECAM
signals and outputs them at either 4 x 3 or 16 x 9 aspect ratios.
To activate the LCD projector, use the RED “On-Off” button located on
the projector remote control.
NOTE: Make sure the remote control power switch (located on the side
of the remote) is in the 'on' position.
COMPUTER/VIDEO switching - Use the COMPUTER or
VIDEO buttons on the remote to select either a computer or video
(VCR, DVD, laser disk, etc.) signal source.
LCD Projector Remote
IMPORTANT !! Make sure that you turn off the projector (with the projector remote) when you
are done.
Press the power button on the remote control, wait for the dialog box to appear on the screen, and
press the power button a SECOND time to shut off the projector.
8 of 9 9/2/03 2:44 PM
Valentine_308
Audio Troubleshooting FAQ’s.
3. Turn on the audio amplifier with the “Standby/On” switch located on the left side of
the unit. NOTE: Make sure the RED light over the “Standby” switch is not lit. If it is, push the
“Standby” button one time. The Orange power light should activate. If it doesn’t, try pushing the
“Power” button one time.
4. PC Audio troubleshooting tip: When using PC audio, make sure that you have set the necessary
internal volume controls for the PC. This may require setting volume levels with hardware (keystrokes
or thumbwheels), or through software (Start/Settings/Control Panel/Multimedia).
5. Turn the “Input” knob until the orange indicator is located beneath the desired source.
Input Signal Source
A VCR Adjust volume levels of VCR programs
A DVD Adjust volume level of DVD programs
B Not used
C CD/Cassette Adjust volume levels for the CD/Cassette deck
D Desktop PC Adjust volume levels for the PC (Web, Powerpoint, CD,
DVD) materials
E Not used
6. Verify that the “Pure Direct” and CD/DVD Direct Amp” lights are not lit. If they are,
press them one time to deactivate.
9 of 9 9/2/03 2:44 PM
Other manuals for SV-5000

1

Other Samsung VCR System manuals

Samsung SV-170 User manual

Samsung

Samsung SV-170 User manual

Samsung SV-7000W User manual

Samsung

Samsung SV-7000W User manual

Samsung SVR-433 User manual

Samsung

Samsung SVR-433 User manual

Samsung CXJ1964BX/XAA User manual

Samsung

Samsung CXJ1964BX/XAA User manual

Samsung SV-M10K User manual

Samsung

Samsung SV-M10K User manual

Samsung SV-410X User manual

Samsung

Samsung SV-410X User manual

Samsung VR5460 User manual

Samsung

Samsung VR5460 User manual

Samsung SV-7000W User manual

Samsung

Samsung SV-7000W User manual

Samsung SV-5G User manual

Samsung

Samsung SV-5G User manual

Samsung VR5160 User manual

Samsung

Samsung VR5160 User manual

Samsung VR9180 User manual

Samsung

Samsung VR9180 User manual

Samsung SV-A20XK User manual

Samsung

Samsung SV-A20XK User manual

Samsung SV-5000W User manual

Samsung

Samsung SV-5000W User manual

Samsung VR5260 User manual

Samsung

Samsung VR5260 User manual

Samsung VR400PVR400PC User manual

Samsung

Samsung VR400PVR400PC User manual

Samsung SV-A20GK User manual

Samsung

Samsung SV-A20GK User manual

Samsung SV-251GX User manual

Samsung

Samsung SV-251GX User manual

Samsung SV-L625K User manual

Samsung

Samsung SV-L625K User manual

Samsung TB531VCT1X/XSA User manual

Samsung

Samsung TB531VCT1X/XSA User manual

Samsung SV-640GS User manual

Samsung

Samsung SV-640GS User manual

Samsung SV-613X User manual

Samsung

Samsung SV-613X User manual

Samsung VR9160 User manual

Samsung

Samsung VR9160 User manual

Samsung SVR-639 User manual

Samsung

Samsung SVR-639 User manual

Samsung SV-G180UM User manual

Samsung

Samsung SV-G180UM User manual

Popular VCR System manuals by other brands

FUNAI 31B-250 Service manual

FUNAI

FUNAI 31B-250 Service manual

JVC HR-E249E instructions

JVC

JVC HR-E249E instructions

JVC HR-J255EA instructions

JVC

JVC HR-J255EA instructions

JVC HR-J658EE instructions

JVC

JVC HR-J658EE instructions

Palsonic VCR-9600-CONNECTIONSETTING CHANNELSSETTING TIMERTROUBLE... Easy guide

Palsonic

Palsonic VCR-9600-CONNECTIONSETTING CHANNELSSETTING TIMERTROUBLE... Easy guide

Toshiba M469 owner's manual

Toshiba

Toshiba M469 owner's manual

Sony SLV-ED10ME operating instructions

Sony

Sony SLV-ED10ME operating instructions

Sony DSR-2000P operating instructions

Sony

Sony DSR-2000P operating instructions

JVC HR-DD445EK instructions

JVC

JVC HR-DD445EK instructions

GE VG4064 user guide

GE

GE VG4064 user guide

FUNAI 21A-700 Service manual

FUNAI

FUNAI 21A-700 Service manual

FUNAI 25A-664 Service manual

FUNAI

FUNAI 25A-664 Service manual

Durabrand DCV203 owner's manual

Durabrand

Durabrand DCV203 owner's manual

Mitsubishi HS-HD2000U Service manual

Mitsubishi

Mitsubishi HS-HD2000U Service manual

RCA VR681HF user guide

RCA

RCA VR681HF user guide

Philips VRZ264AT Specifications

Philips

Philips VRZ264AT Specifications

Sony ShowView HV-FX7950N operating instructions

Sony

Sony ShowView HV-FX7950N operating instructions

JVC HR-VP450U instructions

JVC

JVC HR-VP450U instructions

manuals.online logo
manuals.online logoBrands
  • About & Mission
  • Contact us
  • Privacy Policy
  • Terms and Conditions

Copyright 2025 Manuals.Online. All Rights Reserved.