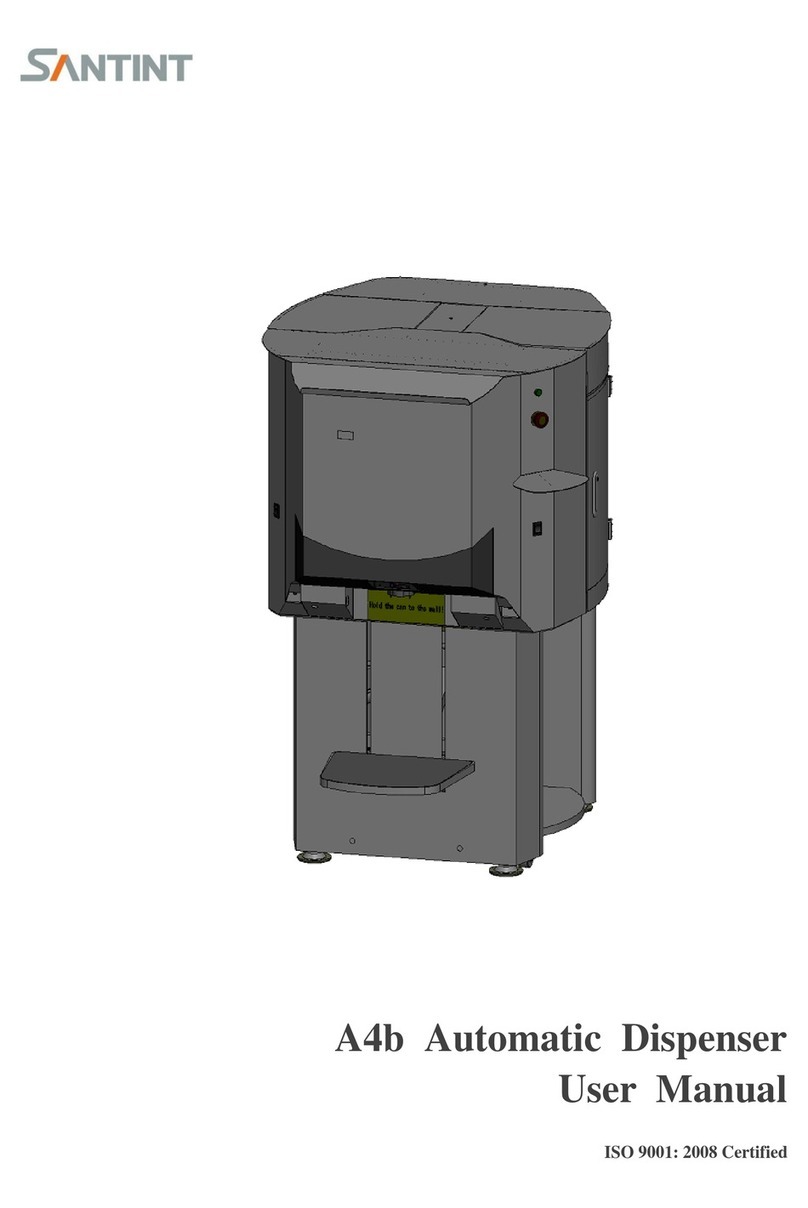
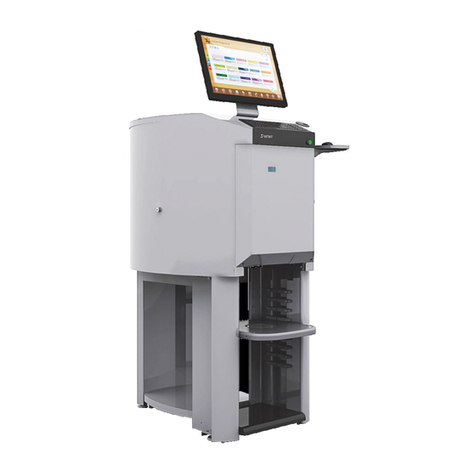
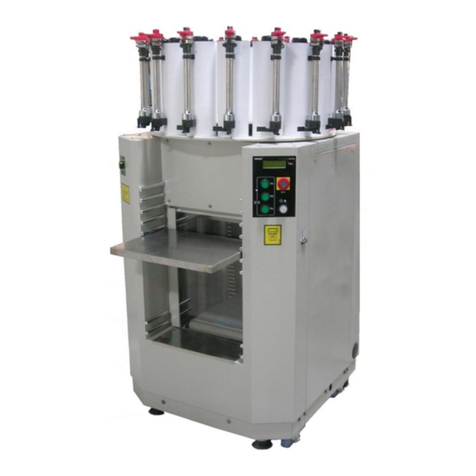
Santint M3 User manual

Please read this manual carefully before operation
M3 Manual Dispenser
User’s Manual

Contents
Preface……………………………………………………………………………………………...…1
1. General Safety Instructions………………………………………………………………….……1
2. Configuration………………………………………………………………………………………2
3. Major Specifications………………………………………………………………………………2
4. Installation and Preparations before Operation…………………………………………...……3
4.1 Installation………………………………………………………………………………………3
4.2 Preparation before operation……………………………………………………………………3
5. Operation……………………………………………………………………………………..……4
5.1 Color Mixing………………...…………………………………………………………………4
5.2 Rotating and Locking of Turntable………………………………………………………….…4
5.3 Dispensing Procedures…………………………………………………………………………5
6. Maintenance………………………………………………………………………….……………7
6.1 Daily Maintenance……………………………………………………………………….……7
6.2 Weekly Maintenance……………………………………………………………..……………7
6.3 Periodical Maintenance…………………………………………………….……………………7
6.4 Yearly Maintenance……………………………………………………………………………8
6.5 Replacement……………………………………………………………………………..………9
6.6 Calibration……………………………………………………………………………………10
6.7 Long Time Not Using……………………………………………………………..…………11
7. Troubleshooting…………………………………………………………………………………12
8. Circuit Diagram…………………………………………………………………………………13

Santint
M3 Manual Dispenser V1.0 1
Preface
Thanks for purchasing the Santint Manual Dispenser!
This user’s manual provides general information on installation, usage and maintenance of our manual
dispenser. Any improper use will shorten its longevity. Read this manual completely and carefully before
installation, use and maintenance of the machine. The manual should be kept in a convenient place for
future reference.
For any questions, please do not hesitate to contact our service team.
1. General Safety Instructions
1. Please read the manual carefully, check if there is any missed parts before installation and operation.
2. Working environment temperature: 0℃~+55℃, relative humidity: 15%~90%. Transformation and
storage temperatures shall be within a range of -10 ℃to +55 ℃and for short periods not exceeding 24h
at up to +60 ℃. Atmosphere pressure: 86kPa~106kPa.
3. Keep this machine on the solid ground, then adjust the feet to make the foundations on a horizontal
status before working.
4. Before installation and maintenance, must cut off the power supply and unplug from outlet.
5. Do not operate any appliance with a damaged cord or plug, or after the appliance malfunctions or is
dropped or damaged in any manner. Return appliance to the nearest authorized service facility for
examination, repair, or electrical or mechanical adjustment.
6. Do not lengthen the power line.
7. Do not operate the machine in case the machine shell is removed.
8. Do provide separate power supply socket for this machine. The loading capacity of the socket shall be
in line with the requirements listed in the User Manual. Please confirm that there is dependable ground
wire with the electrical socket before usage.
9. This equipment is prohibited for a potentially explosive environment.
10. This machine is only used for dispensing of the water based paint. To mix and dispense the flammable,
explosive, poisonous and harmful liquid are prohibited.
11. Do keep the children away from the machine. Do not operate the machine except for the staff.

Santint
M3 Manual Dispenser V1.0 2
12. Disconnect the power supply plug if the machine would not be used for a long time.
13. Take notice: ---- Warnings or Dangers. Read the relevant information carefully.
2. Configuration
3. Major Specifications
No. of Canisters
10
12
14
16
20
24
Power Supply
See the nameplate
Rated Power
80W
Stirring Speed
20 rpm
CanisterVolume
2.3L
MinimumShot
U.S. Fluid Ounce: 0.077ml(1/384 USOZ)
U.S. Metric Fluid Ounce: 0.081ml(1/384US METRIC OZ)
Metric: 0.1ml
Dimension
(mm)
600x600x1200
710x710x1200
860x860x1200
860x860x1200
1016X1016X1200
1150X1150X1200
Net Weight
48KG
53 KG
63 KG
65KG
72KG
85KG
I
A
N
G
Lid
Tray
Button
Shell
Valve Handle
Nozzle
Cylinder
Turntable
Canister
Handle
Black
Button
Red
Button
Black
Gauge
Red
Gauge
Locking
Handle

Santint
M3 Manual Dispenser V1.0 3
4. Installation and Preparations before Operation
4.1 Installation
Please refer to Installation Guide.
4.2 Preparation before operation
A The colorant in each can must be fully mixed (It is not recommended to be mixed by shaker as too
many bubbles may appear that would cause the chromatic aberration).
B Remove each canister lid and pour the colorant into the corresponding canister.
C Before operation, remove the air out of each pump. Follow the procedures:
a Press down the black button and lift the black gauge. Align the maximum value of the gauge
with the upper surface of the handle, and then release the black button. Lift the handle to its
highest position and press down it slowly. Do not touch the valve key during this process. Repeat
the foregoing operation for 5-6 times.
Press down the red button and lift the red gauge. Align the maximum value of the gauge with the
upper surface of the handle, and then release the red button. Lift the handle to its highest position
and press down it slowly. Do not touch the valve key during this process. Repeat the foregoing
operation for 5-6 times.
bOpen the tray by pulling it down. See Figure 2. Move the tray up and down to an appropriate
height. Press it gently so that it can be locked into the grooves of the location plate. See Figure 3.
(Return the tray back to its original position when it is not in use)
(3)
Fixing
Plate
Groove
(2)
Tray

Santint
M3 Manual Dispenser V1.0 4
c Place a clean container under the nozzle. Lift the handle upwards slowly to its maximum level.
Hold the valve key by the left hand and rotate it for 90°, and then press down it. If the outpoured
colorant is intermittent, it means there is air inside the cylinder. Release the valve key to make it
back to its original position. Repeat step a and c till the outpoured colorant is constant. Pour back
the colorants inside the container to the canister.
Repeat step a and step c to other pumps. Then the machine is ready for dispensing.
5. Operation
5.1 Colorant Mixing
Connect power supply and press the button to initiate mixing; to stop mixing, just press the button once
again. Normally, keep the machine power on all the times. It is recommended to mix 3 times every day
with each time for 10 minutes (If client has special requirement, the stirring frequency and time every day
can be different).
5.2 Rotating and Locking of Turntable
As shown in Figure 5, press the brake handle down to the horizontal slot to rotate the turntable. To lock the
turntable, rotate the turntable to the expected position firstly when need to, then push the turntable brake
handle up to the vertical slot, move the turntable to the left and right slightly to let the brake handle return
to its original position.
(Figure 4)
Nozzle
End Plate
Valve Key

Santint
M3 Manual Dispenser V1.0 5
5.3 Dispensing Procedures
The minimum shot of the dispenser is measured by the minimum mark of the red gauge. The measured
value is on the label on the bottom of the gauge. 2957/384 means 1/384 U.S. ounce. It is similar for the
black gauge. If the label on the bottom is 2957/48, and the number on the black gauge is “30”, that means
30X29.57/48ml. If the number on the red gauge is “2”, that means 2X29.57/48ml.
Dispensing Procedures:
A.Check the formula and confirm the volumes for colorants.
B.Open the base paint can and put it onto the proper platform. Press the locking handle to the
horizontal hole and rotate the turntable to make the desired nozzle right above the base paint can. Pull the
locking handle to the vertical groove and trim the turntable to reset the locking handle.
Notice: the base paint can shall be as near as possible to the housing.
C.See figure 6, press the black (red) button and lift the black (red) gauge. Align the measuring mark
with the upper surface of the handle then release the button to lock the gauge.
③
(Figure 5)
①
②
Base Paint
Can
Button
Locking
Handle

Santint
M3 Manual Dispenser V1.0 6
D.Lift the handle and make it contact with the gauge head. Hold on for several seconds to make sure
the cylinder is full of colorant.
Notice: do not open or operate the valve key when lift the handle. Or the air would be sniffed into the
cylinder and cause inaccuracy.
E.Shown as Figure 7: rotate the valve key for 90°and press the handle slowly to its bottom. Release
the valve key and make it back to the original position.
F. Press down the black button, reset the black gauge to its zero position. Release the red button.
(Figure 6)
Black
Gauge
Handle
Red Gauge
Black Button
Red Button
(Figure 7)
Nozzle
End Plate
Valve Key

Santint
M3 Manual Dispenser V1.0 7
(Repeat the foregoing step if one colorant is required for several times)
Notice: the gauge is precision tool, do not drop the red/black gauge when reset it back to its zero
position to keep its accuracy.
Notice: reset the gauge to the zero position when not using it.
The red gauge volume plus the black gauge volume shall equate to the formula volume of the
colorant.
G.Repeat the foregoing steps for the next colorant.
6. Maintenance
6.1 Daily Maintenance
A. Move each plunger handle up and down three times every day to ensure smooth flow of the
colorant and to avoid blockages in pumps and canisters.
B. Clean the nozzle with soft cloth or cotton moistened with water or thinner to keep it
unobstructed.
C. Move the valve handle 5 times every day. This can keep the valve in optimum working condition
and prevent the colorant from drying in the valve.
D. Check the colorant level in canisters and refill if necessary. If the colorant is lower than the
feeding level, air will enter the pump when lifting up the plunger handle. This will cause
inaccuracy in dispensing.
6.2 Weekly Maintenance
A. Check if the canister is loose. If so, tighten the fixing screws under the turntable (see
Replacement of Canister)
B. Check if the gauge’s scales are damaged or covered with colorant. Clean or replace the gauges if
necessary.
6.3 Periodical Maintenance
The dispenser must be maintained every 3-6 months for the following aspects:
A Check the fixed base is loosed or not (Figure a),If loosed, push the base to the most bottom
position, fasten two screws of the base Symmetrically with inner hexagon Spanner. (Figure b,

Santint
M3 Manual Dispenser V1.0 8
c),do not screw too hard.
B Open canister lid during the process of mixing to observe if the agitator works normally. For any
abnormity, stop mixing and repair the canister.
C Clean the nozzle: Rotate the valve handle and pull out the nozzle, Clean the nozzle with cotton
moistened with water or thinner. Then rotate the valve handle once again to reinstall the nozzle.
Notice:
1. After reinstallation of nozzle, dispense out small amount of colorant to fill the nozzle. The
reinstallation must be carried out gently.
2. The manufacturer provides with large-size nozzle; the end user can choose the correct-size nozzle
according to the colorant’s viscosity.
6.4 Yearly Maintenance
After long period of service, the inner wall of the pump or the canister may stick some colorant. This will
make the piston move hardly and cause measurement errors. Small amount of colorant is allowed. But if
too much may cause great difficulties in the movement of the piston and generate measurement errors. In
this case, cleaning must be done to canisters and cylinders.
To clean without dismantling the canisters assembly:
a Remove the canister assembly from the turntable;
b Pour the colorant in the canister into a clean container;
c Clean the canister with warm water to get rid of most of the adhesive colorant;
d Properly dispose the mix of cleaner and colorant according to local environmental regulations;
e Reinstall the canister on the turntable;
a
b
c

Santint
M3 Manual Dispenser V1.0 9
f Add some cleaner into the canister;
g Set the Black gauge to its maximum scale;
h Put a container right below the nozzle and then operate as dispensing procedures;
i Set the Red gauge to its maximum scale, then operate as dispensing procedures;
j Repeat step g-i until the canister is clean (the cleaner can be used for 1-3 times. Yet fresh cleaner is
required for the final cleaning);
k Leave the canister to dry out before re-filling new colorant.
6.5 Replacement
A Replace Sniff-Back Piston
Remove the nozzle (see above-mentioned method), rotate the valve handle to its maximum travel.
Pull out the broken sniff-back piston. Install a new sniff-back piston with small O-ring. Reinstall the
nozzle and release the valve handle.
Notes:make the groove of the piston facing the bulged part of the valve handle.
B Replace the canister
a.Loose the three fixing screws of the canisters and rotate the canisters clockwise to remove them
from the turntable.
b.While installing new canister, place the three screws at the bottom of the canister into the bigger
ends of the three cone-shaped holes in the turntable.
A
Put the screw into the big hole
Notice
Insert paddle shaft into the
drive hole.

Santint
M3 Manual Dispenser V1.0 10
c.Rotate the canister anti-clockwise, shift the canister’s three screws to the smaller ends of the
cone-shaped holes, then fix the screws with Inner Hexagon Wrench from the bottom of the
turntable.
C Change the nozzle
a. Switch the valve spanner(Fig. 1);
b. Remove the nozzle (Fig. 2), clean it for future use.
c. Clean the new nozzle. Install the O ring (8X1.8) (Fig. 3).
d. Switch the valve spanner, install the nozzle gently. (Fig. 4)
e. Pour out some paints after the reinstallation.
1 2
3 4
6.6 Calibration
Normally the machine has been precisely calibrated and ready for use before leaving the factory. Yet
in the following cases, new calibration is necessary:
When replacing either the Rough or Fine gauge or the location pin of the said gauge.
The dispensing result is not accurate.

Santint
M3 Manual Dispenser V1.0 11
A. Check the condition of the gauges or their location pins. Replace them if necessary.
B. Press and hold the black button until the black gauge reaches zero-scale. Release the black button
back to the original position. Use an inner hexagon spanner to adjust the screws on the active base
until its top surface touches the bottom surface of the gauge knob.
C. Press and hold the red button until the red gauge reaches zero-scale. Release the red button back to
the original position. Use an inner hexagon spanner to adjust the screw on the plunger handle until
its top surface touches the bottom surface of the red gauge knob.
D. Measurement: Measure the minimum dispensing quantity of the black gauge and red gauge
respectively according to Dispensing Procedures (B-E).
E. Compare the measured value with the standard one to find their difference. For any difference
exceeding the permitted range, you’ll have to adjust the screw(s) on the active base or the plunger
handle.
F. Repeat the step D and E until you get the required minimum dispensing quantity.
6.7 Long Time Not Using
If long time not using, and there is colorant in canister, the machine must be kept to connect the power
supply. Dispense out some colorant (1ml) periodically (every 5 days) to avoid the nozzle becoming dry
and hard. Otherwise, disconnect the power supply, pour the colorant into clean(or corresponding) canister,
and clean the container to avoid the colorant becoming dry in the pump.

Santint
M3 Manual Dispenser V1.0 12
7. Troubleshooting
Symptom
Cause
Action
The motor does not work.
No power
Check if plug and wire are fine;
Check if socket has power.
The fuse is broken.
Replace fuse.
The motor is disconnected.
Open motor case and reconnect
the motor correctly.
The motor is broken.
Replace it.
Uneven flow of colorant
from the nozzle during
dispensing.
Air bubbles in the cylinder
See "Preparation Before
Operation ". Allow the bubbles
to escape
Colorant in canister is low.
Top off colorant.
Dried deposits of colorant causing
blocks.
Clean canister assembly and
relevant parts.
Canister is loose on
turntable.
Loose fastening screws.
Tighten fastening screws.
Colorant doesn’t dispense
easily.
Nozzle blocked.
Clean nozzle.
Piston doesn’t move easily.
Colorant has dried and hardened in
the cylinder.
Canister and pump should be
removed, emptied and cleaned
thoroughly. Replenish with new
colorant.
Agitator doesn’t move during
mixing.
The crank shaft under the canister is
not attached to the plastic sleeve of
the rotating panel.
Reinstall the canister.
Colorant leakage at the
nozzle.
Worn out O-ring.
Replace O-ring.

Santint
M3 Manual Dispenser V1.0 13
8. Circuit Diagram

Santint
M3 Manual Dispenser V1.0 1
ZHENGZHOU SANHUATECHNOLOGY & INDUSTRY CO. LTD.
ADD: Feilong Road, Zheng zhou Xingyang Industries Convergent Areas,
Zhengzhou City, Henan Province. PR. China. 450042
TEL:(86)371-67857168 After-Service:(86)371-67857319
FAX:(86)371-67857166 WEB:http://www.santint.com
E-mail:info@santint.com
Table of contents
Other Santint Dispenser manuals
Popular Dispenser manuals by other brands

Stoelting
Stoelting CW5-37A Technical handbook

Royal Catering
Royal Catering RCSD-4 user manual

Textron
Textron GREENLEE 9522 instruction manual

Bunn
Bunn BUNN-O-MATIC ULTRA-1 Use & care instructions

Nordson
Nordson SEE-FLO 7 Customer product manual

Franke
Franke EXOS618EX Installation and operating instructions

Macnaught
Macnaught M3OKT516-KIT instruction manual

KATRIN
KATRIN 44672 installation instructions

START International
START International Labelmoto LD6025 quick start guide

Fast & Fluid Management
Fast & Fluid Management Harbil HA180 Operating and safety manual

FISNAR
FISNAR DTD50 operating guide

HOSPECO
HOSPECO STRATUS2 quick start guide