16 17
Connecting to Broadband
Connecting your Saorview Connect
box to your broadband gives you
access to On Demand players and
brilliant features like Spotlight
recommendations and the roll-back
guide. Minimum 2Mbps broadband
speed required.
The best way to do this is with
an Ethernet cable (provided).
Alternatively, you can connect to
your Wi-Fi network once the box is
switched on and during set-up.
Connect using an Ethernet cable
Connecting your Saorview Connect
box to your router with an Ethernet
cable will give you the best
performance when watching On
Demand content.
For most domestic routers, the
connection process is simple.
Just plug one end of the Ethernet
cable into the Ethernet socket on
your Saorview Connect box, and
the other into an Ethernet socket
on your router. The router will
automatically detect the box and
create the necessary seings, and
you will then be able to access
On Demand and other content
via broadband.
Some routers require you to manually
set up the connection between
the Saorview Connect box and the
router. To manually adjust internet
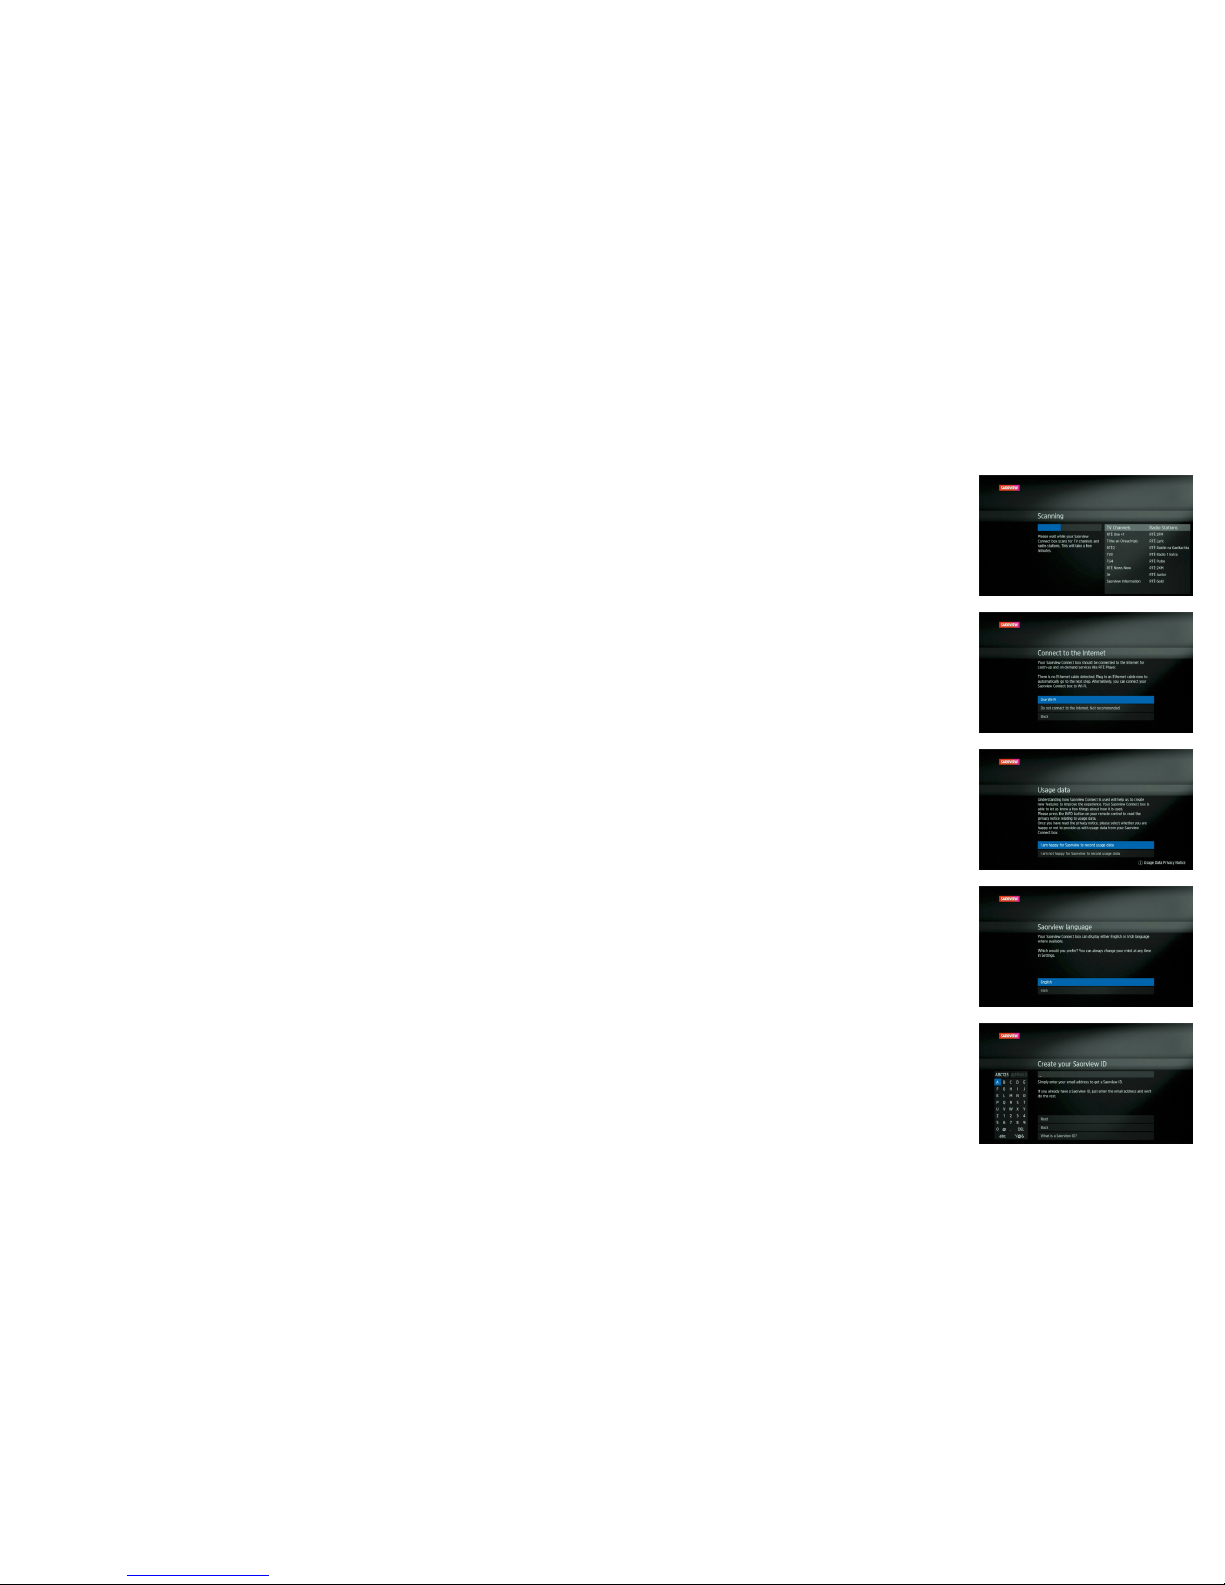
connection seings, press HOME and
navigate to Seings. Select Internet
connection and press OK. Select
Network set-up to enter the manual
configuration screen. NOTE - only
take this step if you are familiar with
how to manage network seings.
If you have already connected
your Saorview Connect box to your
router, you will see a message
on screen saying ‘Great, you’re
already connected via an Ethernet
Connection’. If not, the message will
say ‘No Ethernet or Wi-Fi connection
is detected’.
You can connect your Saorview
box to your broadband router with
Wi-Fi if using an Ethernet cable is
not possible.
Connect using Wi-Fi
To connect to the Internet using
a secured Wi-Fi network, select
Network set-up under Internet
connection in Seings. You will
be prompted to connect to your
preferred Wi-Fi network and to
enter your password. (Remember
that passwords are case-sensitive).
Once you’ve entered your password,
follow the on-screen instructions to
complete the set-up.
If you want to change your Wi-Fi
connection at any time, from the
Home screen menu go to Seings
then Internet connection and the
box will show you available wireless
networks.
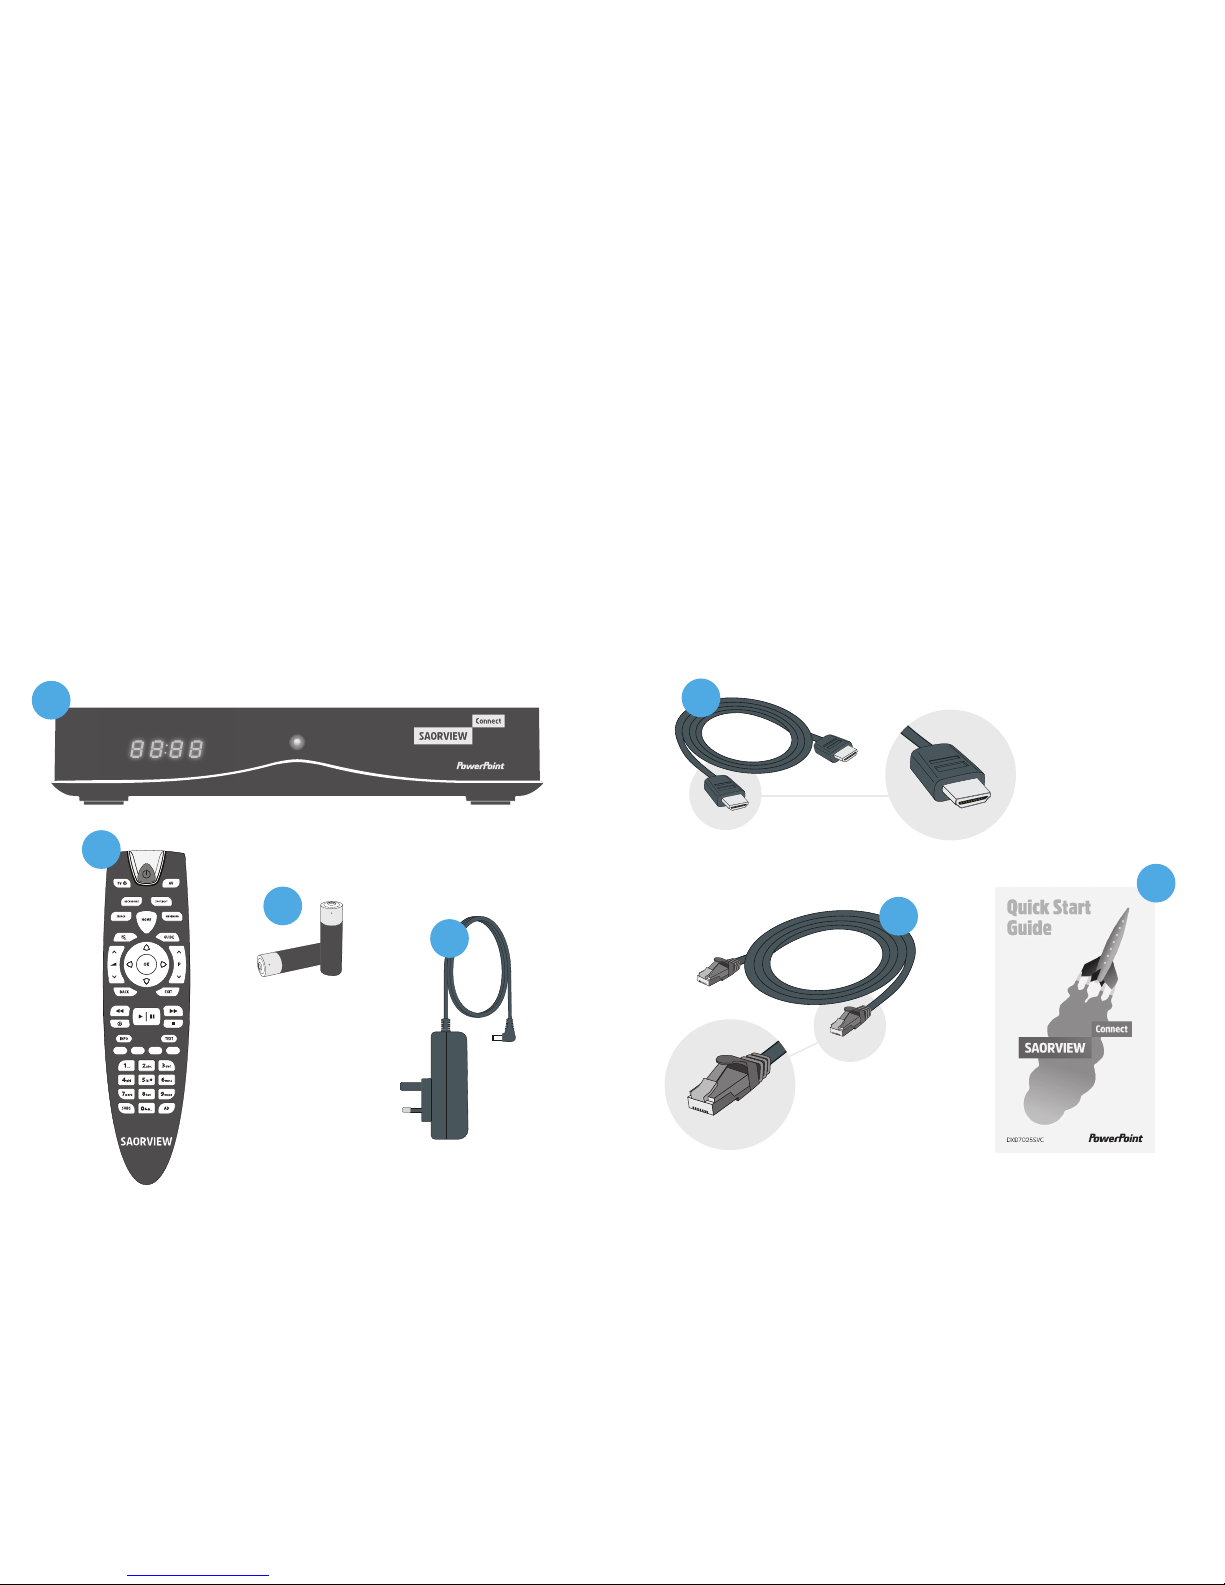
Saorview Connect
set top box
Ethernet cable Broadband router
Aerial
TV