SARK 500 Service manual

SARK500 Embedded VoIP/TDM PBX
Administrators Guide V3.1
SARK Version 3 Release 1-115
Ma 2011

Contents
CONTENTS ............................................................................................................................. 2
1 COPYRIGHT INFORMATION .............................................................................................. 3
2 INTRODUCTION .................................................................................................................. 4
3 FEATURES OVERVIEW ...................................................................................................... 5
4 SARK IMPLEMENTATION ON THE WARP ....................................................................... 6
5 USING SARK ....................................................................................................................... 7
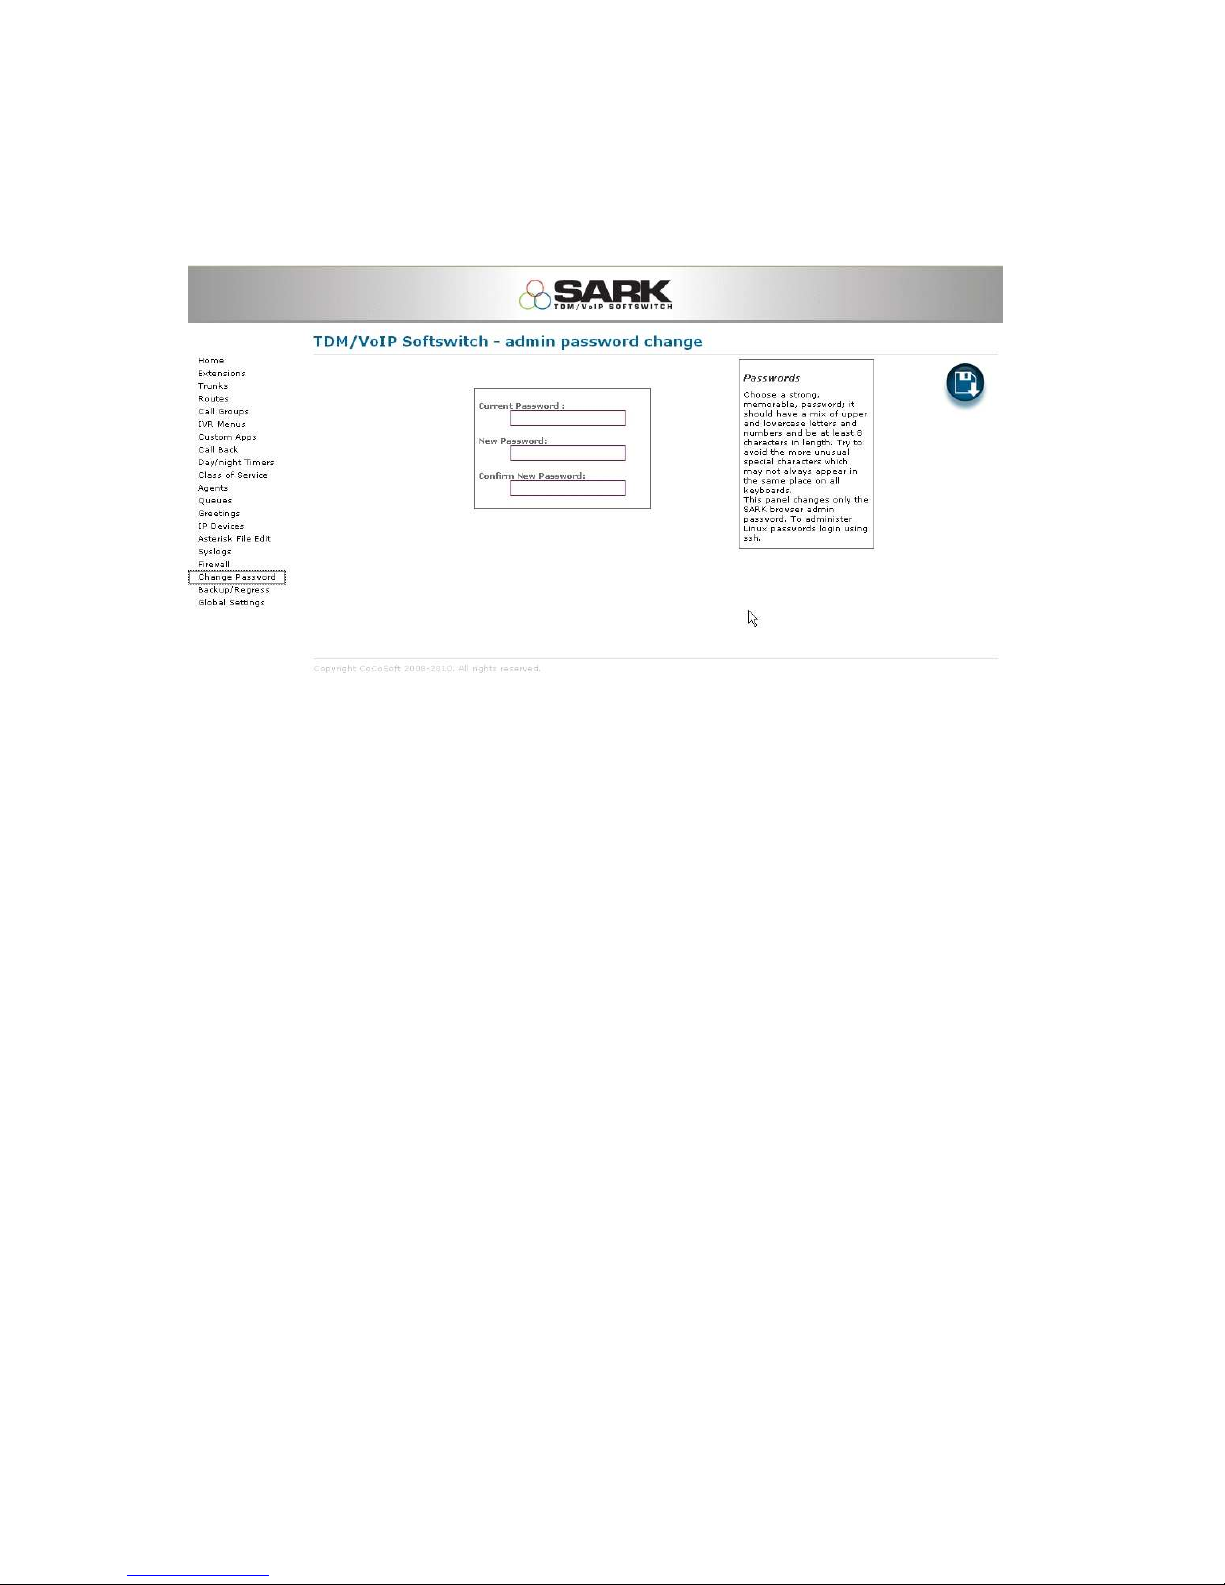
6 LOGGING ON TO SARK AND SETTING THE PASSWORDS ........................................... 9
7 ADDING TRUNKS ............................................................................................................. 11
8 ADDING EXTENSIONS ..................................................................................................... 18
9 CONFERENCING .............................................................................................................. 21
10 INTERACTIVE VOICE RESPONSE ................................................................................. 23
11 ADDING ROUTES ........................................................................................................... 26
12 FIREWALL ....................................................................................................................... 27
13 NETWORK CONFIGURATION ........................................................................................ 31
14 BACKUP/REGRESS & SAVE TO USB ........................................................................... 33
15 GLOBAL SETTINGS ....................................................................................................... 34
16 CALL RECORDING ......................................................................................................... 35
17 ASTERISK FILE EDIT ..................................................................................................... 36
18 SARK SERVICE CODES ................................................................................................. 38
19 NANP SUPPORTED SERVICE CODES .......................................................................... 44
20 PIKA TELEPHONY HARDWARE CHANNEL DRIVER ................................................... 45
21 CHANNEL STATUS ON THE APPLIANCE LCD ............................................................ 64
22 DEPLOYMENT AND DIMENSIONS ................................................................................ 68
23 SARK DIRECTORY STRUCTURE ON THE WARP ........................................................ 69
24 SARK ADDITIONAL PERL DEPENDENCIES................................................................. 73
25 SARK ADDITIONAL BUSYBOX COMMANDS ............................................................... 73

1 Cop right Information
TRADEMARKS
SARK UCS/MVP and SARK500 are re istered trademarks of Aelintra Telecom Limited.
PIKA is a re istered trademark of PIKA Technolo ies Inc.
All other trademarks, product names and company names and/or lo os cited herein, if any, are the
property of their respective holders.
DISCLAIMER
This document is provided to you for informational purposes only and is believed to be accurate as of the
date of its publication, and is subject to chan e without notice. Aelintra Telecom Limited. assumes no
responsibility for any errors or omissions in this document and shall have no obli ation to you as a result of
havin made this document available to you or based upon the information it contains.

2 Introduction
SARK500 on the WARP appliance provides a solid-state SIP/TDM PBX solution for system inte rators and
PBX resellers. The appliance is a purpose-desi ned telephony platform with its own inte rated analo ,
di ital and GSM telephony boards. The system can support up to 8 FXO (CO) lines or 8 Di ital (BRI)
Channels or 4 GSM channels, dependin upon the confi uration. It also provides a further 8 SIP or IAX2
trunks for VoIP telephony. The system can be confi ured with up to 20 IP handsets from any of the leadin
SIP manufacturers (e. . Snom, Aastra, Cisco, Yealink etc).
The onboard SARK UCS/MVP software provides a feature-rich raphical workbench and decision en ine
desi ned to enerate and run efficient PBX ima es.

SARK500 Embedded PBX
Pa e 5 5/15/2011/PADS-2.2.6.2/SAIL-3.1
3 Features Overview
SARK500 provides an easy to use raphical workbench and decision en ine that controls and mana es the PBX.
The Warp appliance is a purpose-desi ned solid state telephony platform with its own inte rated analo , di ital
and GSM telephony boards. The SARK Implementation on the WARP appliance uses the SARK source code
directly from the SARK svn repository. SARK is also available as, a CentOS 5 .iso, a tarball or a Redhat/CentOS
rpm.
SARK500 features
Add or chan e extension and voicemail accounts in seconds
Inte rated, extensible automatic provisionin service
Supports all Asterisk-supported trunk technolo ies
Reduce lon distance costs with LCR and powerful pattern-based outbound routin
Route incomin calls based on time-of-day, DID, Caller ID
Supports BLF, call parks and directed call pickup
Create infinite level interactive Di ital Receptionist (IVR) menus
Desi n sophisticated recursive call roups
True hot-desk support (option)
Advanced voice recordin features (option)
Mana e callers usin ACD and Queues
Detect and direct incomin faxes
Automatic Backup and one-click Restore
Powerful on-board firewall
Simple network mana ement

SARK500 Embedded PBX
Pa e 6 5/15/2011/PADS-2.2.6.2/SAIL-3.1
4 SARK Implementation on the Warp
Overview
Surprisin ly few chan es were necessary to deploy SARK onto the Warp platform. Over 90% of the code is
exactly the same as it is on any other SARK platform. The C code has been recompiled for the WARP's PPC CPU
and there are some other minor chan es due to the absence of a re ular System V initiator, however they are
relatively minor.
The majority of the SARK code all resides in a sin le tree in /opt/sark. This has been placed into persistent
stora e usin conventional 'ln –s back-to-root' practice. A very few SARK features have been disabled on the
Warp platform due to missin platform functionality
PIKA infrastructure changes
l IPtable support added by Mark Recoskie
l Shorewall firewall added
l Daemon startup sequence chan ed and a firewall starter added (S70shorewall)
l Daemontools starter added for the SARK helper daemon
l Cron root added for the SARK timer, backup and a ein routines
SARK disabled features
l Dynamic Proxy has been disabled because the Li httpd rewrite en ine doesn’t support it.
l Network scannin to discover “orphan” SIP devices is disabled because the PIKA Linux platform does not
have 'nmap', 'pin –W' or 'arp'. This will be redeployed in a near release usin arpin –W with a
recompiled BusyBox.
l Multi-tenant support is disabled on the WARP; it is inappropriate for smaller systems
SARK new features for PIKA
l sarkpnet.pl has been created to mana e ip chan es in the PIKA environment
l sarkedsw.pl (firewall) has been modified for PIKA from the EL5 project
SARK Storage la out on the Warp
l SARK pro ram stora e is almost all on /persistent/opt/sark
l The only exception is the HPE (hi h performance en ine) which is in /var/lib/asterisk/a i-bin.
l SARK customer data stora e (the database, backups and various customer mana ed files) is held on
/persistent2/opt/sark. This ives a clean separation between data and lo ic and makes firmware
up rade simpler.
l All mana ed usin standard symlinkin e. .
/opt/sark → /persistent/opt/sark → /persistent2/opt/sark/target

SARK500 Embedded PBX
Pa e 7 5/15/2011/PADS-2.2.6.2/SAIL-3.1
5 Using SARK
The SARK browser pa es follow a standard layout. The fi ure below shows a typical SARK Web pa e.
Navi ation is handled by the column to the left of the screen. Modifiable data appears in the data window in
the centre and information and action buttons appear to the ri ht. All data fields have instant help (see
below). To save your chan es, press the save (disk icon) button. To commit your chan es (i.e. brin them into
service), click the checkmark (tick) button; this will cause SARK to re enerate the underlyin Asterisk
confi uration files and issue a soft reload.
S stem Help
Every name field in the system has context sensitive help associated with it. All you need do is hover the cursor over
any name field for an explanation of the field's function.

SARK500 Embedded PBX
Pa e 8 5/15/2011/PADS-2.2.6.2/SAIL-3.1
S stem Buttons
The system buttons are clustered to the ri ht of each data panel. The available buttons are as follows
NEW button. Used to create a new object instance
SAVE button. Used to save an update or chan e
ACTION button. Used to perform an action.
DELETE button. Used to delete an object instance.
COMMIT button. Used to “enliven” your chan es by updatin the PBX runnin instance
CANCEL button. Used to cancel the current operation and return to the parent screen.

SARK500 Embedded PBX
Pa e 9 5/15/2011/PADS-2.2.6.2/SAIL-3.1
6 Logging on to SARK and setting the passwords
To lo on to SARK you will need to know the IP address of the appliance. To obtain the IP address; after the
appliance starts press the touch sensitive button to the ri ht of the LCD screen. The button to les the LCD
display between the line status view and the IP address view. Type the IP address of the appliance in the address
bar of any Web browser on the same subnet. The SARK lo in appears.
Type the user name and password in the appropriate text box. The default user name is admin and the default
password is sarkadmin. Click the OK button. The SARK splash pa e appears.
The System Statistics section (to the ri ht) shows eneral status information. Telephone Tux is just for fun (and,
of course, there is a cool T-shirt).7 Chan in the Default Passwords

SARK500 Embedded PBX
Pa e 10 5/15/2011/PADS-2.2.6.2/SAIL-3.1
Changing the Browser Password
For security reasons, we recommend that you chan e the default browser password immediately usin the
chan e password panel.
The system requires a password of at least 8 characters and you should try to use a mixture of upper and lower case
and at least one numeric character. This panel is only responsible for the maintenance of the browser password. It
does NOT chan e the root password of the box.
Changing the Password for the Appliance root User
Use an SSH client to open a session to the appliance usin the IP address displayed on the LCD. Type the user
name root and your password at the prompts. The factory set root password is sarkroot If you want to chan e
the password for the root user account, type passwd root at the Linux command prompt on the appliance.
Follow the prompts to enter and confirm the new password. Password information is preserved between
restarts.

SARK500 Embedded PBX
Pa e 11 5/15/2011/PADS-2.2.6.2/SAIL-3.1
7 Adding Trunks
Outbound trunks for FXO/ Di ital (BRI) and inbound trunks for FXO are automatically installed on the platform
so there is nothin to do to activate them. You will need to add/create inbound and outbound routin (see
Routes below).
If you are runnin FXO lines (or BRI without DNID presentation) then you should edit the “Analo -In” channel to
route your inbound calls to a valid end-point; for example; an operator, call- roup, queue or IVR. For the case
of inbound calls from Di ital (BRI) channels with DNID presentation, create one or more DiD (DDI) trunks to
route the inbound calls. (see the next section). You may need to confirm with your telephone line supplier (PTT)
how many di its they will present in the DNID.

SARK500 Embedded PBX
Pa e 12 5/15/2011/PADS-2.2.6.2/SAIL-3.1
Adding a DiD(DDI) Trunk
Di ital (BRI) and VoIP (SIP/IAX2) inbound calls are routed by testin the dialed number (called the Dialed Number ID
or DNID). To confuse matters further; in di ital systems these numbers are often allocated in blocks by the
telephone company and are known as DiD numbers (Direct Inward Dial) or DDI numbers (Direct Dial In). SARK has a
special trunk construct to mana e and route these DiD numbers. It is called a PTT_DiD_Group trunk and you can
define a set of conti uous DiD numbers usin this trunk type.
Let’s add an example DiD roup with the ran e 446640 to 446649. To do that we can create a trunk object
called a PTT_DiD_Group. Click the new button on the trunks panel and then choose “PTT_DiD_Group” from the
drop down.
Now fill out the DiD ran e...
Click Commit to create the Trunks. Of course, the set of DiDs in your DiD Group can quite le ally consist of a
sin le number, in which case you would enter the same number in the start and end boxes. N.B. Even thou h
the update screen requests positive confirmation of a DiD Group create, it is not unknown for a di it to be

SARK500 Embedded PBX
Pa e 13 5/15/2011/PADS-2.2.6.2/SAIL-3.1
entered incorrectly causin hundreds or even thousands of DiDs to be created. Not to worry, if this happens you
can simply re ress SARK to the commit BEFORE you made a mistake.(see the section on Backup/Re ress).
Our trunks have been created and we can now route them to their destinations by clickin the edit button on
each trunk.
Route the inbound calls by clickin the open and closed inbound route drop downs and choosin a destination
from the available system endpoints.

SARK500 Embedded PBX
Pa e 14 5/15/2011/PADS-2.2.6.2/SAIL-3.1
Smartlink
SARK has a fla called “smartlink” which you can set on when you create a DiD roup. This is useful when you first
create a set of extensions and then create your DiD trunks later. Smartlink will match the numbers of each
extension to the ri ht hand side numbers in the DiD roup. For example, if you had an extension ran e of 400 to
420 and a DiD ran e of 668400 to 668420 then SARK will automa ically route inbound calls on 668400 to extension
400; calls on 668401 to 401 and so on. This can save a lot of work when there are lots of extensions to be routed
durin system setup.

SARK500 Embedded PBX
Pa e 15 5/15/2011/PADS-2.2.6.2/SAIL-3.1
Adding a VoIP “Sibling” Trunk
Sibling trunks provide a convenient way o routing calls between SARK instances. In this way, you can
easily and quickly build a network o interconnected PBX’s which route calls to one another depending
upon the number dialed.
To create a Sibling trunk choose SailToSail rom the trunk type dropdown in Trunk create
Now ill out the link in ormation. In the Sibling name box enter the hostname o the PBX you wish to link
to (just the short name not the FQDN). Fill out the IP address and include a password (this will be the
same on both sides o the link). I the Sibling is remote (i.e. not in the same subnet) then you may want to
have SARK create a irewall rule or it. In the example below, the other machine is in the same subnet so
there is no need to create a rule.
Now click on save or commit to create your new trunk….

SARK500 Embedded PBX
Pa e 16 5/15/2011/PADS-2.2.6.2/SAIL-3.1
SARK has created a trunk or you with a peername which is the concatenation o your hostname and the
remote hostname. You must now login to the remote PBX and create a mirror-image Sibling trunk to
receive calls and send calls back. Once done, you can create a route to send calls up to the other PBX.
In this example, we want to use the remote PBX as our outbound media server (perhaps or PSTN line
consolidation) so we will send all o our outbound calls up to it. Here is a route that will do that…
Now, whenever we dial a PSTN number on the Sark500 it will be routed up to the other SARK PBX
(perhaps a larger model) or termination onto the PSTN.

SARK500 Embedded PBX
Pa e 17 5/15/2011/PADS-2.2.6.2/SAIL-3.1
Perhaps we also want to allow extension-to-extension calling between the two PBXs. We can extend our
route dial plan to include that also. Let’s say, or example, that the extensions on the remote PBX are 4
digits in length and always begin with “41”. We can modi y our route as ollows…
We’ve added the dialplan _41XX which will route any 4 digit dials beginning 41 up to the other PBX or
termination. We would probably also create a dialplan on the remote PBX to route 3 digit numbers
beginning 4 back to us (because throughout this guide, our examples use 3 digit extensions on the local
box beginning at 401).

SARK500 Embedded PBX
Pa e 18 5/15/2011/PADS-2.2.6.2/SAIL-3.1
8 Adding Extensions
Extensions for the FXS channels are already defined in the system when it leaves the factory. There is nothin
further to do. However, you will almost certainly want to define SIP extensions to the system. To add an
extension; click extensions at the top of the navi ation menu. Then click the “new” button to create an
extension.
Choose the phone type from the device drop-down. Fill out the details for your phone and (optionally) enter the
MAC address if you want SARK to automa ically enerate a TFTP provisionin file for your phone type. SARK has
a fairly extensive phone database and it can provision most commercially available phone types. Click the Save
button if you have several entries to create or simply click the Commit button to create this entry and
re enerate the Asterisk files immediately.
SARK will create the extension for you.
SARK will create the necessary Asterisk entries with automatic randomly enerated passwords and the correct
ACL checkin for your subnet…

SARK500 Embedded PBX
Pa e 19 5/15/2011/PADS-2.2.6.2/SAIL-3.1
…And it will also enerate the correct provisionin data for the phone type you chose…
You may freely modify any of these entries SARK has enerated for you and save them back to the database.
You can also freely create your own provisionin templates and profiles allowin you to tailor the SARK
provisionin platform to suit your individual needs.

SARK500 Embedded PBX
Pa e 20 5/15/2011/PADS-2.2.6.2/SAIL-3.1
Adding a PIKA Line-out extension
The appliance is equipped with a line-out port that you can use to connect to a public address system. To add an
extension for the port, simply create an extension; choose a device type of PIKAFXS and enter a Custom Dial
Strin of “PIKA/audio/1”
To test the line-out extension, connect your public address system to the appliance (or just plu a set of cans into
the line out jack on the back of the unit – it’s a standard mini jack plu ). Plu in a phone to any FXS port and dial
the extension of the line-out port you added. When you speak, you should hear your voice on the public address
system (or in the cans).
Other manuals for 500
1
Table of contents