Instructions for installation and use Electric sauna infrared emitter
7
In a stove-heated sauna, the distance
between a heater and sauna ceiling should be
no less than 100 mm.
In a stove-heated sauna you need three
heaters for two bathers, for example, when
using the regular stove at the same time.
One for the back of each bather covered with
a leaning grill and one heater for the
legroom. Legroom heater is mounted
underneath the upper bench, on the back
wall. Legroom heater doesn’t need a grill.
The height of a sauna room is normally
between 2100 to 2300 mm.
The minimum height is specified in the
installation and operating instructions of the
sauna stove.
Using infrared heaters in the ceiling of a stove-heated sauna is not recommended.
Placing the infrared heater
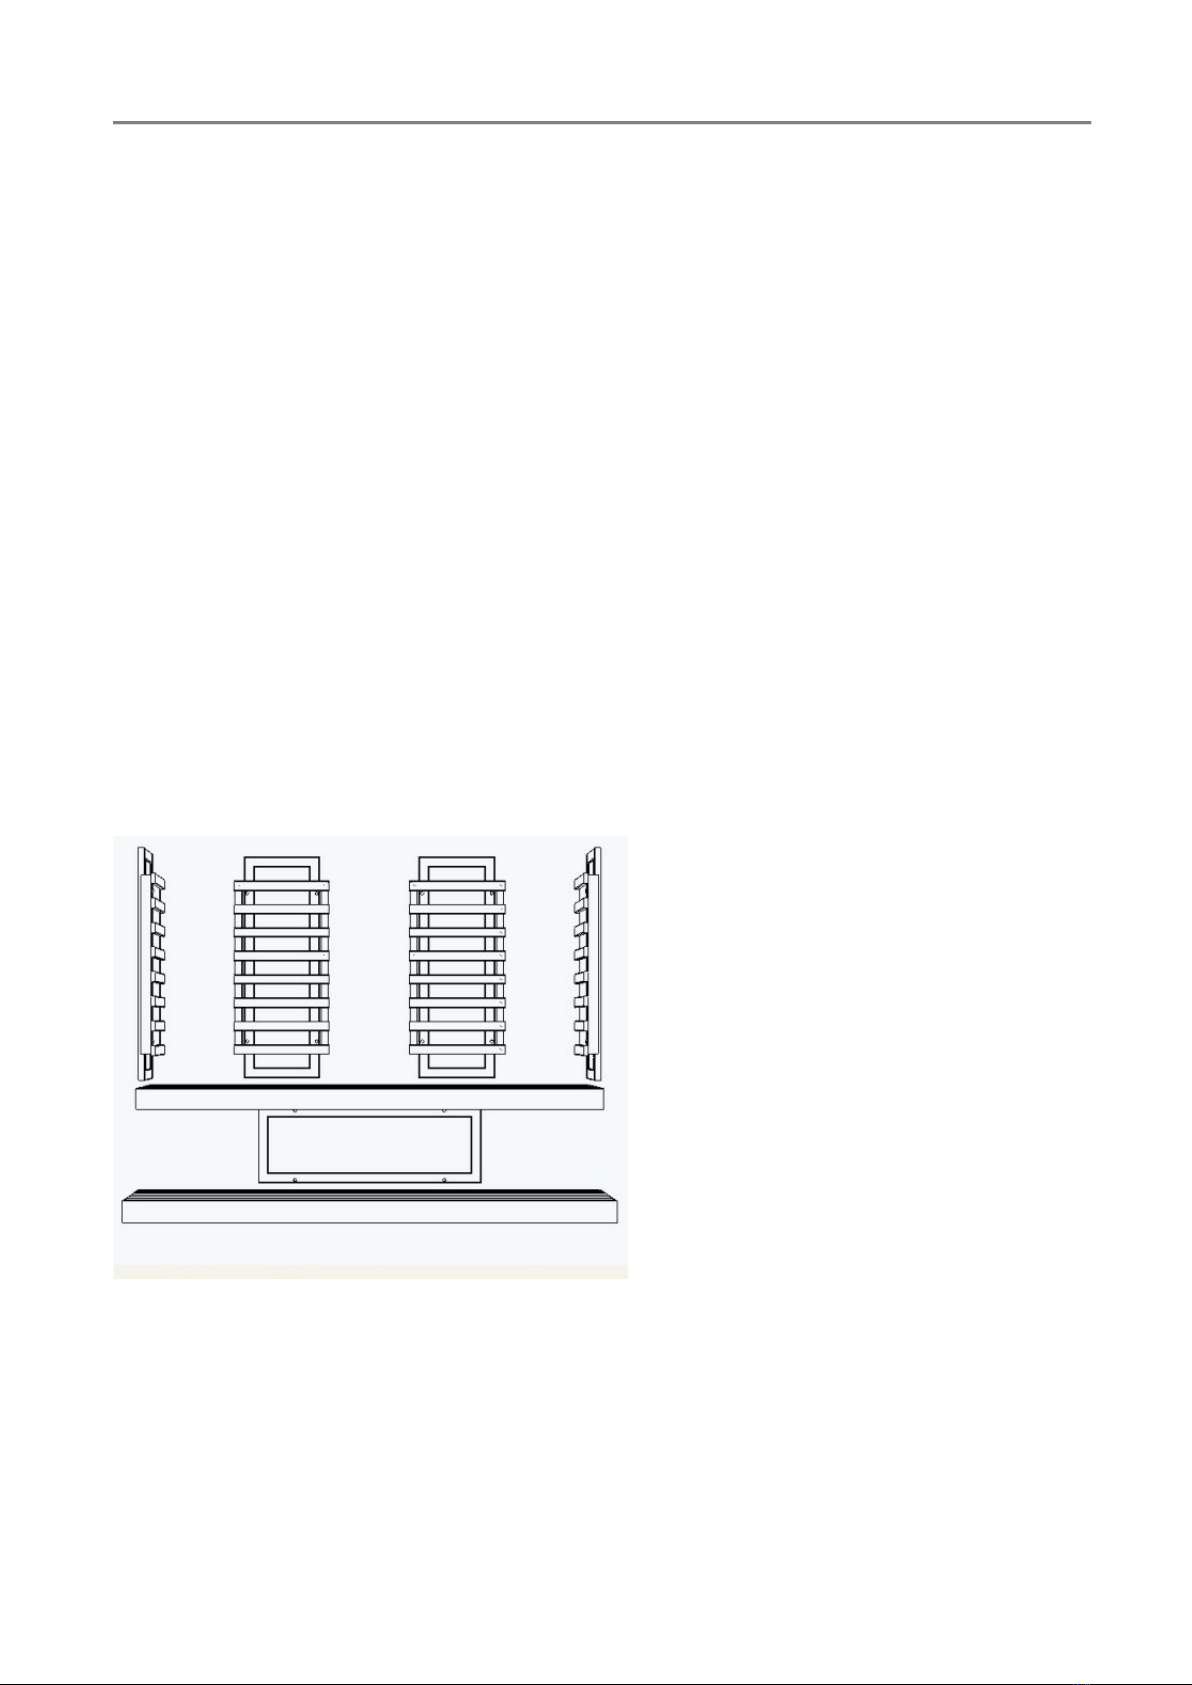
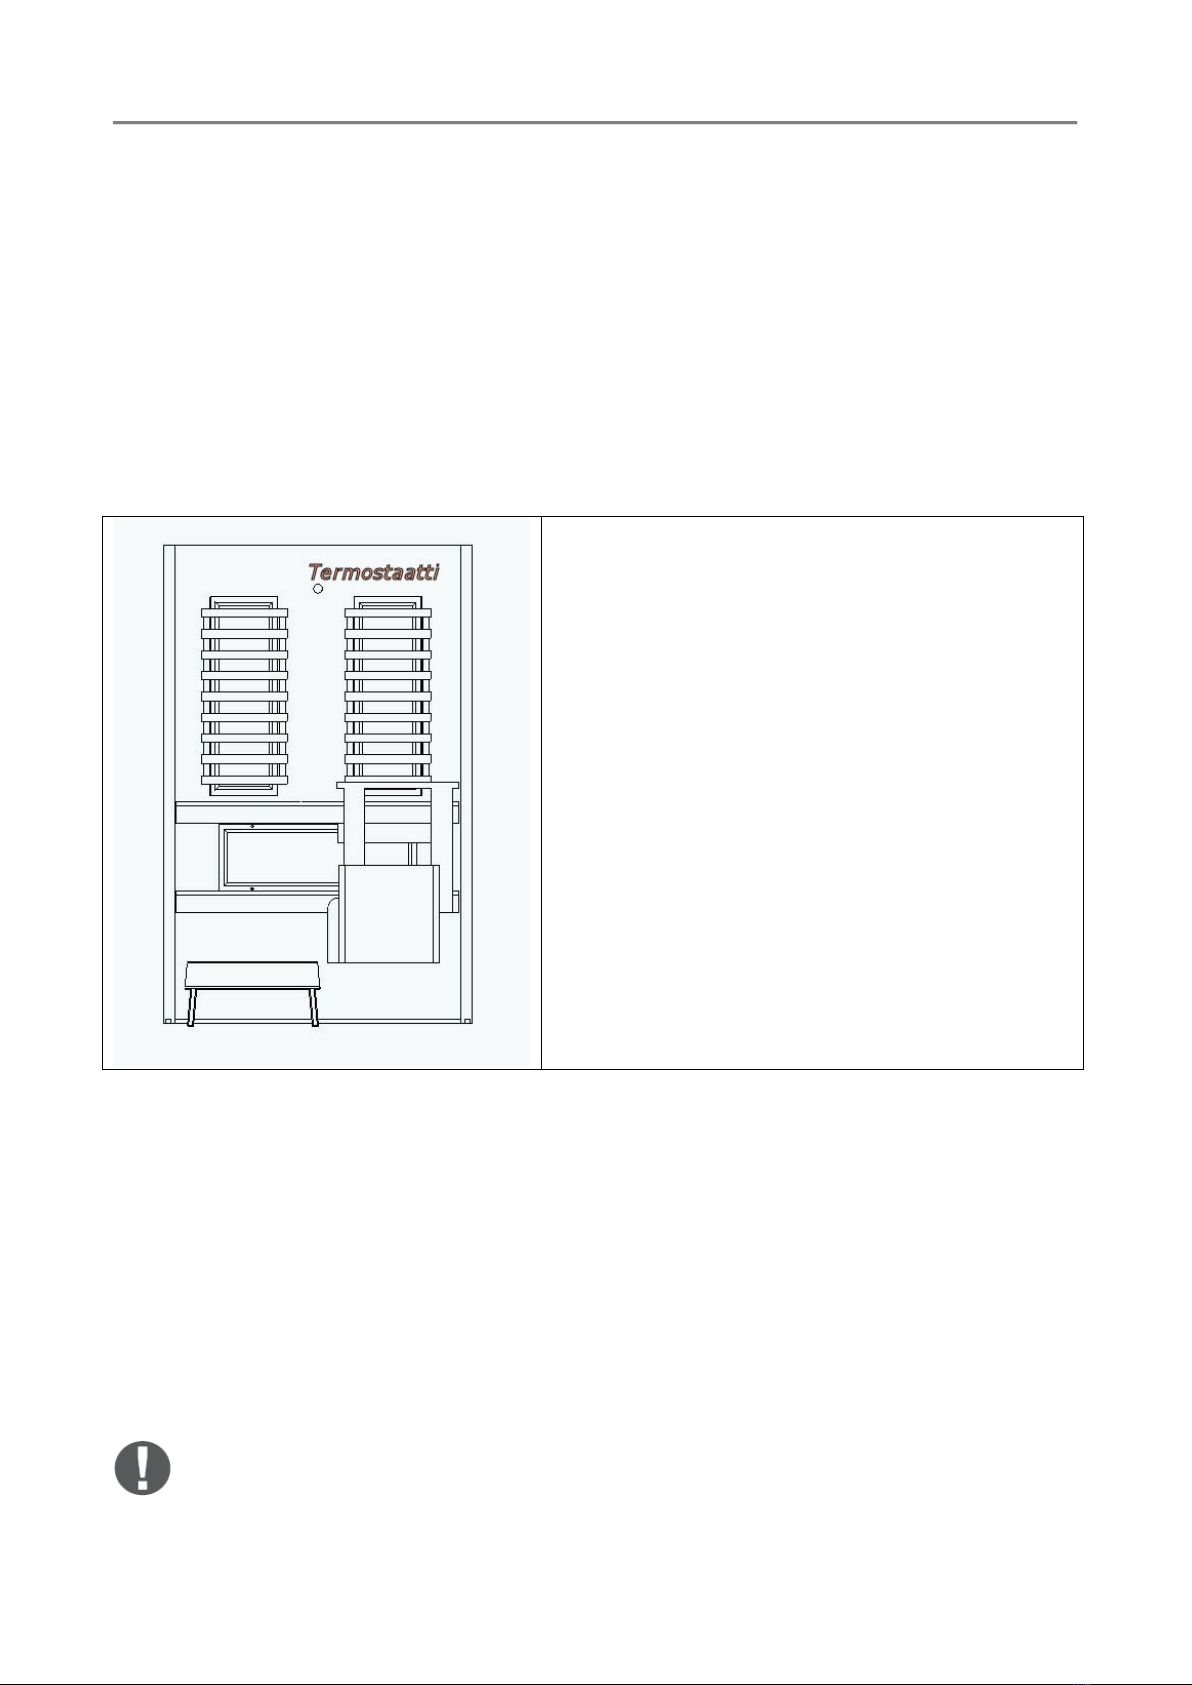
The heaters are placed on the wall mounting them behind the back(s) of the bather(s) and on
both sides of the bench. The heater for the legroom is installed in line with the bench under
the seat mounting it onto the back wall.
In front of the infrared heaters will be installed grills for leaning, on which you can lean on
during sauna. Legroom heater doesn’t need a grill.
Infrared heater for stove sauna
If you want, you can heat a stove sauna with infrared heaters. In this situation the need for
heaters is calculated by the cubic capacity of the sauna.
When the sauna is heated with a stove you need a minimum of one infrared heater per bather.
To enhance the effect of the heat you can install infrared heaters to the legroom and on the
sides of the benches when possible. Preheat the sauna with the stove to approx. 45oC. Turn on
the infrared heaters and enjoy the beneficent heat.
Joint use of infrared heaters and sauna stove
The heaters are placed on the wall mounting them behind the back(s) of the bather(s) and on
both sides of the bench and to the legroom. The heater for the legroom is installed in line with
the bench under the seat mounting it onto the back wall.
In front of the infrared heaters will be installed grills for leaning, on which you can lean on
during sauna. Legroom heater doesn’t need a grill.
Take note of the security distances of the stove when installing the infrared heaters.
A pleasant temperature for a combination sauna is 70oC. Every bather will find a suitable
temperature for themselves by trying. In a combination sauna you can throw water on the
stove and enjoy the infrared heat simultaneously.
Infrared sauna evaporates a lot of water from your body. Remember to drink water.