SBM SB-9 User manual

1
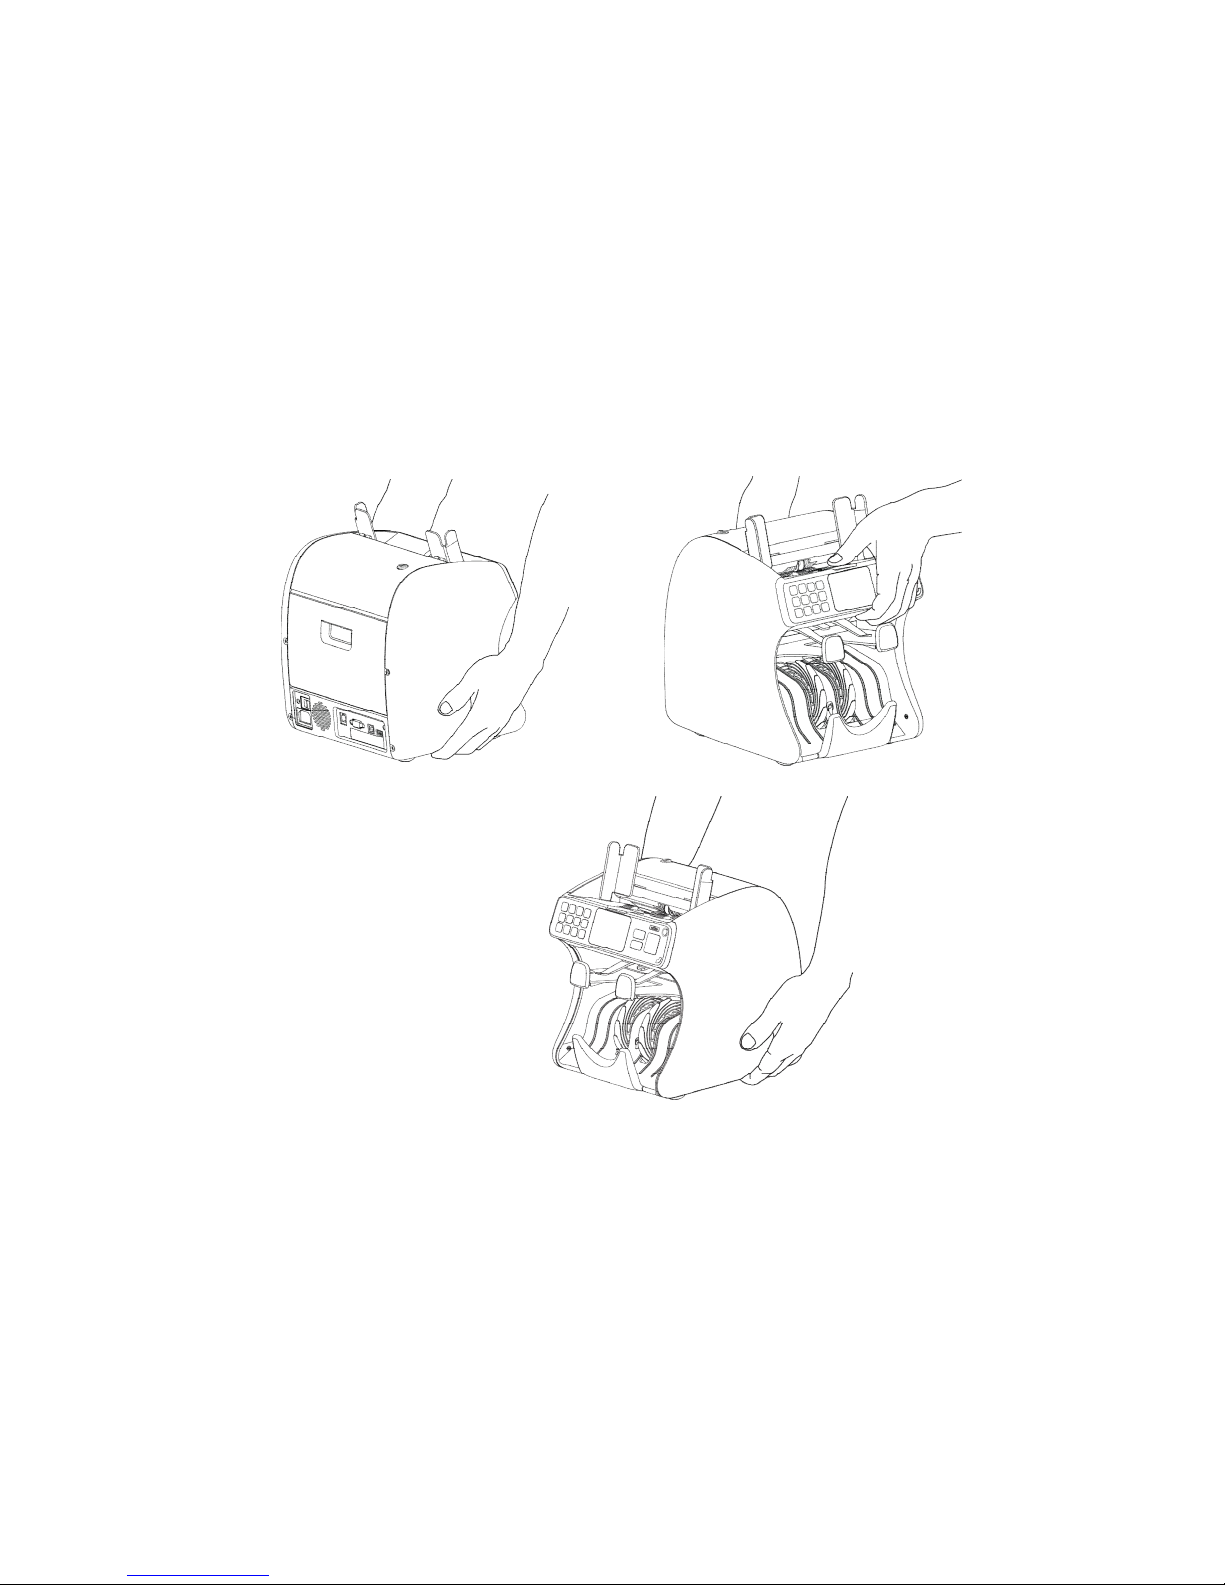
Important Safety Information
Always be careful when using the machine. To reduce the risk of fire, electrical shocks, and other injuries, keep
these safety considerations in mind when installing, using, and maintaining your machine:
Stability: Place the machine on a secure, stable surface. The machine can be seriously damaged if it falls.
Power Supply: Provide correct power to the machine, as listed on the back of the machine. If you are not sure
of the type of power that is supplied to your office, call your electric company.
Grounding: If the plug has three prongs, it must be plugged into a grounded (three hole) outlet. Grounded
plugs and outlets are designed for your safety - do not try to make a three-prong plug fit into a two-prong outlet
by modifying the plug or outlet in any way. If you cannot insert the plug into your wall outlet easily, then a
qualified electrician should inspect the outlet.
Overload: Do not plug too many electrical devices into a wall outlet or an extension cord. An overloaded outlet
could be a reason of a fire and electrical shock hazard.
Cleaning: Before cleaning the machine, unplug it from the power outlet. Clean exposed parts with a soft cloth
slightly dampened with water. Do not use aerosol cleaners.
Gas Leaks: Never use any machine close to a gas leak. If you think gas is leaking, call the gas company
immediately. A small electrical spark in the machine could cause a fire or explosion.

2
Precaution
When using the machine, these precautions should always be followed:
1. Never push objects of any kind into your machine through the case or cabinet openings.
2. Do not use your machine near water, in wet locations, or outdoors.
3. Do not allow anything to rest on the power cord, line cord, or PC interface cable. Do not locate your
machine where the cords can be damaged by persons’ walking on them.
4. Do not allow pets to chew on the power cord or PC interface cable.
5. Use supplies or cleaning materials only as directed. Keep all supplies and materials out of the way of
children.
6. The power supply turns this machine on and off. Make sure that your machine is installed near an outlet and
is easily accessible.
7. Never remove covers or guards that require a tool for removal. There are no operator serviceable areas
inside your machine. Refer servicing to authorized service personnel.
8. Never defeats interlock switches. This machine is designed to restrict operator access to unsafe areas.
Covers, guards and interlock switches are provided to ensure that the machine will not operate with covers
opened.
9. Risk of explosion if battery is replaced by an incorrect type. Dispose of used batteries according to the
instruction.

3
Managing the performance of the machine
This unit has many sophisticated sensors. Without proper maintenance, it cannot last its good performance.
Please read the “Daily Maintenance” section of this manual carefully, and do it everyday. When the performance
is deteriorated on a sudden, please clean all the sensors first before calling a service.
Safety Notes
Your machine and the supplies are designed and tested to
meet strict safety requirements. Included are safety agency
examination and approval and compliance to established
environmental standards. Please read the following
instructions carefully before operating your machine, and refer
to them as needed to ensure the continued safe operation of your machine.
Battery is used for ‘PBA POWERIO’ in this
machine. If wrong date and time are
displayed on LCD after correct setting, it is
necessary to change the battery of ‘PBA
POWERIO’. Please read the following instructions carefully before changing the battery.
WARNING
Hazardous moving parts!
Keep fingers and other body parts away
CAUTION
Risk of explosion: if battery is replaced by an incorrect type.
Dispose of used batteries according to the instructions.

4
Table of Contents
Chapter 1 Installation ---------------------------------------------------------------------------------- 6
Chapter 2 Description of the Parts ---------------------------------------------------------------- 9
Chapter 3 Overview of Control Panel ------------------------------------------------------------ 10
Chapter 4 Overview of Display (LCD) ------------------------------------------------------------ 11
Chapter 5 Getting Started ---------------------------------------------------------------------------- 12
Placing Bills into the Hopper 12
Counting 13
Chapter 6 Basic Operation --------------------------------------------------------------------------- 14
Selecting Count Mode 14
CF Detector On / Off 14
ADD On / Off 16
Batch On / Off 16
Changing Display Contents 17
Grand Total 20
Selecting Currency 21
Dual User 21

5
Chapter 7 Set ‘MENU’ and its Parameters ------------------------------------------------------ 23
User Menu 23
Set Speed of the Machine 24
Set Contrast of Banknotes 25
Set Pocket Capacity 26
Settings 26
PC Interface 30
Sensitivity Setting 30
Parameters 31
Reserved 32
Chapter 8 Troubleshooting -------------------------------------------------------------------------- 33
LCD Error Messages 33
Fixing Problems 34
Chapter 9 Daily Maintenance 35
Chapter 10 Specification ------------------------------------------------------------------------------- 38

6
1 Installation
Unpacking List
1. SB-9 Counter 1 Unit
2. Bill Guide 2 pcs.
3. AC Power Code 1 pc.
4. SB-9 User's Manual 1 pc.
5. Serial Cable 1 pc.
* Optional Items: Printer, Serial to USB A Cable, USB A to USB B Cable
Choosing a Location
To help guarantee trouble-free operation of your machine, place it on a flat, stable surface near your workstation.
Do not place your machine:
In direct sunlight.
Near heat sources or air conditioners.
In dusty or dirty environments.
Handling the Machine
When handling or moving the machine, do not lift with grasping the Reject Pocket. The picture shows how to lift
the machine correctly. Please refer to the pictures on the next page.

7
(X) (X)
(O) Correct way to lift the machine

8
Setting Up Your Machine
Power Cord
Plug one end of the cord into the back of the machine and the other
end into a standard AC power outlet.
If you turn on the power switch, the machine will display version and
checksum. If there is Service Call number saved by a service
provider, the Call number will be displayed.
Printer
Your SB-9 has a serial interface port, which allows you to connect the printer to print out counting result. To
connect the printer to the machine, follow the steps below:
1. Make sure that both the SB-9 and the printer are turned off.
2. Plug the cable of printer into the serial port of SB-9.
3. Turn on the printer and SB-9.
CAUTION
In case that another port is used to avoid
electrical shock, turn off SB-9 and turn on
the machine after Port is connected.
.

9
② Hopper
③ Pocket LED
① Front Cover
④ LCD & Control Panel
⑤ Reject Pocket
⑥ Stacker
⑦ Currency Gate
Adjustment Screw
⑧ Rear Cover Open
Handle
⑨ Power Switch
⑩ AC Inlet
⑪ RJ11
⑬ RS232C
⑫ Lan Port
⑭ USB B ⑮USB A
2 Description of the Parts

10
3 Overview of Control Panel
$ € Select Currency
ADD Accumulated Count On/Off
CF Counterfeit Detector On/Off
BATCH Batch function On/Off
DENOM. Select a denomination
5 (START) In dual user mode:
Counting Start (manual mode) /
Stop key / Transmit data or Print
PRINT Printing the Count
GT Grand Total Display
Menu Change settings or parameters
/ Escape from Menu
▲ Up
▼ Down
MODE Change Mode (Ch. 6)
DISPLAY Change Display Mode (Ch. 4)
START/ENTER Counting Start (manual mode) /
Enter /Stop key /
Transmit data or Print(In dual user mode)
C Clear Errors / Cancel Input
Pocket LED If some notes remain on the
Reject pocket, this LED will be lit.

11
4 Overview of Display (LCD)
Amount Display (Simple View)
Amount Display (Detail View)

12
5 Getting Started … (Simple Counting)
Placing Bills into the Hopper
It is very important to place the bills into the hopper correctly because recognition performance of the bills is
highly affected by the arrangement of the bills. And the number of the rejected bills can be increased when they
are not arranged and placed correctly. Refer to the pictures below for the correct placement of the bills.
Good Bad
Please avoid counting bills like wet, excessively dirty, spoiled, folded, curled notes and with foreign material like
clips, bands, etc. Sometimes it causes malfunction of the machine.

13
Counting
In AUTO mode, the machine starts to count the bill automatically as it detects the existence of the bill in the
hopper. In MANUAL mode, the machine will start to count the bill only if the bills are placed into the hopper and
START key is pressed. While counting, the machine will display the number of the bills on LCD display and it
stops working when it meets the conditions described as below;
- No bills in the hopper
- Stacker is full.
- Rejecter is full.
- The number of the bills counted is the same as the batch number to be set in BATCH mode.
- Errors have occurred.
If an error is occurred during operation and the machine stops, then an error message will be displayed. To clear
the error, press CLEAR key. The machine will try to solve the problem automatically, but if it fails to clear a jam
or there are some other mechanical errors, open the front or rear cover and get rid of jammed bills and close the
cover correctly. Then press the CLEAR key again to clear error message.
STOP during OPERATION
Press START button to stop operation while the machine is counting.
To restart, press CLEAR button.

14
6 Basic Operation
Selecting Counter Mode
There are three counting modes; COUNT, MIXED, and SINGLE modes.
The modes are changed in sequence as shown below every time when the MODE key is pressed;
MIXED SINGL COUNT
■ Mixed mode (MIXED mode)
In Mixed mode, the machine counts and discriminates the
denominations of the bank notes. If the denomination of a bank note is
successfully discriminated, then the note will be sent to the output
stacker. If a note fails to be detected or it is a suspect note (if CF is ON),
the note will be sent to the reject pocket.
To change into the MIXED mode, press MODE key until “MIXED” is
displayed on LCD.
■ Single mode (SINGL mode)
In Single mode, the machine sorts out notes whose denomination is the same as a selected denomination. The
other notes whose denomination is not matched will be sent to the reject pocket. To select a denomination,

15
press DENOM key. The denomination will be displayed in LCD. For
example in case of US dollar, every time DENOM key is pressed, the
denomination will be changed sequentially:
D.D -> $1 -> $2 -> $5 -> $10 -> $20 -> $50 -> $100 -> D.D
D.D is an abbreviation of “Detected Denomination”. If D.D is selected, the
machine detects the denomination of the first note and sets it to the
selected denomination. Once a denomination is selected by D.D, it cannot
be changed while the Input Hopper or the output stacker contains notes. If the output stacker and the input
Hopper are emptied, the machine will try to find a new denomination of the first note in next trial and sorts the
notes with the new denomination.
■ FACE mode
A banknote has 2 faces, front face and rear face. If front and rear face banknotes of a denomination are mixed
the machine can sort front face to Stacker and rear face to Reject pocket.
Pressing the Display key you can find the “Stay Note” as the reject reason.
■ ORIENT mode
The face of a banknote has 2 orientation, Up and Down. After you sort front face and rear face of a banknote

16
bundle you can also get the sole orientation of a banknote bundle with this mode. The banknote bundle
arranged to one face by now can be sorted Up to Stacker and Down to Reject pocket.
In this time you can also find “Stay Note” as the reject reason pressing the Display key.
■ Count mode (COUNT mode)
In Count mode, the machine only counts the bank notes without discriminating a denomination.
To change into the simple counting mode, press MODE key until “COUNT” is displayed on LCD
CF Detector On/Off
To turn on/off CF detector, press CF key. If “CF” appears on LCD, then it
means the detector is activated.
If a note is determined as a counterfeit, CF sign will be lit on LCD as the
figure like below and the note will be sent to the Reject Pocket. The
machine will beep warning sound if the counting job is finished. The sign
will be cleared automatically when the Reject Pocket is emptied.

17
ADD On/Off
To turn on/off ADD function, press ADD key.
ADD function enables to do a cumulative count. For example, if ADD is on, the counting result is not cleared but
added to the next counting result. It is useful function when an operator wants to counter a lot of cash.
BATCH On/Off
To turn on/off BATCH function, press BATCH key. Once turned on, you have to input batch size using keypad
and then press START button to enter. In the batch mode, the machine stops counting when the the number of
counted bills reaches the batch setting even though the bills still remain in the Input Hopper.
To deactivate the batch mode, simply press BATCH key, confirming that the batch size displayed on LCD is
disappeared.
Changing Display Contents
The machine provides various information regarding counting results. Every time pressing DISPLAY key, the
display mode is changed sequentially. There are 5 views:
Piece Display (Simple View) in count mode or while the machine counting.
Simple View (Amount & piece Display)
Detail View (Amount & piece Display)
Piece View (Detail)
Reject Reason view.

18
Below are some examples of each Display mode.
Simple View (Amount & piece Display) Piece Display only in Count Mode
Detail View (Amount Display & piece Display) Piece View (Detail)

19
In the last example, the picture shows the reasons of the rejected
notes; the first note was rejected by the reason of NO I.D and the
second note was rejected by the reason of SUSPECT, etc.
SUMMARY of the REJECT REASONS
NO I.D. : The machine failed to identify the denomination.
NO READ : The note was not successfully read.
OVERRUN : The next note was fed too close to the first note.
CF : The note was suspected to be a counterfeit.
STAY NOTE : The note was not fit to the condition of sorting.
DOUBLE : More than two pieces of notes were fed into machine
CHAIN : Chain Error
HALF : Half Error
CAUTION
If the reject reason is Chain or Half, the number of the reject note displayed
on LCD can be different with the actual number of notes in the reject pocket.
Reject Reason View

20
Grand Total
Grand Total is a total of printed counting amount. When you start
printing the counting result by pressing PRINT key, then the value is
added to Grand total and automatically the machine displays the
number of deposit and G TOTAL. Even though a printer is not
connected, this operation will be done because SB-9 does not check
whether a printer is connected or not.
The grand total is managed separately in MIXED and SINGL mode, namely
there are two grand totals. You can see only one grand total at a time: for
example in SINGL mode the display will show only grand total for
SINGL.
If you want to check the grand total, press GT key. And you can check
detail by pressing DISPLAY key as shown below pictures. Only in this
display mode the operator can clear grand total by pressing CLEAR
key. If the grand total is cleared, the printing sequence number is
automatically reset to “1”.
To exit from the grand total display mode, just press GT or just start another counting job.
Grand Total View
Grand Total Detail View
Other manuals for SB-9
1
Table of contents
Other SBM Cash Counter manuals
Popular Cash Counter manuals by other brands

Precision Digital Corporation
Precision Digital Corporation PROVU Series quick start guide

SEMTOM
SEMTOM ST-2500 Operation manual

Trumeter
Trumeter 898 Series instruction manual

Orflo
Orflo moxi z quick start guide

Setra Systems
Setra Systems 8000 operating instructions

Keysight Technologies
Keysight Technologies 53150A operating guide