SCA 195 User manual

Assembly Instructions
Sleeping roof SCA 194 Art.-Nr.: 154385
Sleeping roof SCA 195 Art.-Nr.: 158824
Reinforcing frame SCA 194 Art.-Nr.: 156509
Reinforcing frame SCA 195 Art.-Nr.: 160310
Dächer für mobiles Leben

Stand: März 2013 C.F. Maier Europlast GmbH & Co KG Seite 2 von 16
These assembly instructions are intended for the complete sleeping roof construction.
C.F. Maier has released and verified only the complete construction set.
All statutory provisions must be observed.
Important information for the acceptance by the Technical Supervisory Association:
The vehicle is constructively modified by the roof construction resulting in the expiry of the operat-
ing licence.
When the assembly works are finished, it must be applied for a new operating licence according to
motor vehicle construction and use regulation C.U.R. in effect presenting an official expertise by an
inspector for motor traffic or an official expert.

Stand: März 2013 C.F. Maier Europlast GmbH & Co KG Seite 3 von 16
1. Preparation of the vehicle
Cover the walking area of the vehicle
with firm material (corrugated cardboard,
press board etc.).
Dismantle the inside roof lining as well
as the sun visors. Heat the sound ab-
sorbing panels (if there are any) with a
hot-air dryer and remove them with a
spatula.
Remove the lengthwise and crosswise
running electric cables carefully from
their fastening as to prevent the roof
cover from being damaged.

Stand: März 2013 C.F. Maier Europlast GmbH & Co KG Seite 4 von 16
Seal all vehicle openings of the car body
using a varnish-compatible adhesive
tape in order to prevent chips from en-
tering! It is also possible to use the foil
from the packaging.
Seal all the openings as aforemen-
tioned, particularly in the area of the
side windows, as chips can fall in here
easily from above and it is very difficult
to remove them then.
Encase the inside of the vehicle by gen-
erously sticking foil to the area of the
cut-out in order to prevent falling chips
from entering the interior.
Furthermore, the roofing sheet must be
well secured against falling down when
it has been cut out.
Important information: Please pay
attention that the electric cables are not
placed in the cut-out area!

Stand: März 2013 C.F. Maier Europlast GmbH & Co KG Seite 5 von 16
2. Cutting out the roof:
Transfer the outline of the cut-out to the
vehicle’s roof according to drawing
194/1.
.
Rebore the corners with a borer of 12
mm diameter.
194/1

Stand: März 2013 C.F. Maier Europlast GmbH & Co KG Seite 6 von 16
After that, you can saw out the roof with
a jigsaw, starting from one of the cor-
ners.
The reinforcing sheet will be cut out in
the area which is marked in red in order
to fit in the reinforcing frame from the
bottom (approx. 20mm more).
Important information: Protect the roof
from falling down!
After having removed the cut-out roof,
the lateral reinforcing clips must be
shortened according to the photograph
opposite so that the reinforcing frame
can be placed laterally.
The clips are cut with a special saw for
the car body. Please pay attention to the
wiring harness!

Stand: März 2013 C.F. Maier Europlast GmbH & Co KG Seite 7 von 16
3. Adaptation of the reinforcing frame
As soon as all reinforcing clips have
been shortened, the reinforcing frame is
fitted in with screw clamps. Please see to
it that the frame is situated centrically
and as far back as possible.
Starting from the offset to the outline of
the cut-out with 10 mm, bore holes are
placed with a distance of about 200 mm
through the roofing sheet and the upper
wall of the reinforcing frame. Start in one
corner of the cut-out and divide the bore
holes over the whole length and width of
the vehicle. Bore diameter is 5.2 mm.
After that, remove the reinforcing frame
again. The bore holes must be deburred
thoroughly as well as all cutting edges,
which have developed by cutting out the
roof cladding and its reinforcings. Re-
move the bore and saw shavings thor-
oughly with an industrial vacuum
cleaner!
Then, please prime all newly-developed
bare spots with a standard rust inhibitor.

Stand: März 2013 C.F. Maier Europlast GmbH & Co KG Seite 8 von 16
4. Bonding in the roof reinforcement
Prior to bonding the bonding surfaces at
the vehicle and at the reinforcement fra-
me must be cleaned with cleaning agent
Sika 205.
Attention: The reinforcement frame
must be bonded in dead centre.
The distance from the reinforcement
frame to the drip rail must be equal at the
lefthand and the righthand side.
After that, please apply Sika-Primer 206
G+P to all surfaces concerned lightly, but
holohedrally. Use a cloth again for apply-
ing.
The Primer should be vented for at least
15 minutes!
Apply Sika 221 to the corresponding
surfaces of the frame and align the rein-
forcing frame within the vehicle to the
roof cut-out as soon as the ventilation
has been finished. You can use one or
several rivets for orientation. Again, fix
the reinforcing frame with screw joints. In
order to avoid having to rebore the rivet
openings, it would be recommendable to
stick all rivets into the boreholes first.
Please use a blind rivet with 4.8 x 16.9
mm aluminium/steel.

Stand: März 2013 C.F. Maier Europlast GmbH & Co KG Seite 9 von 16
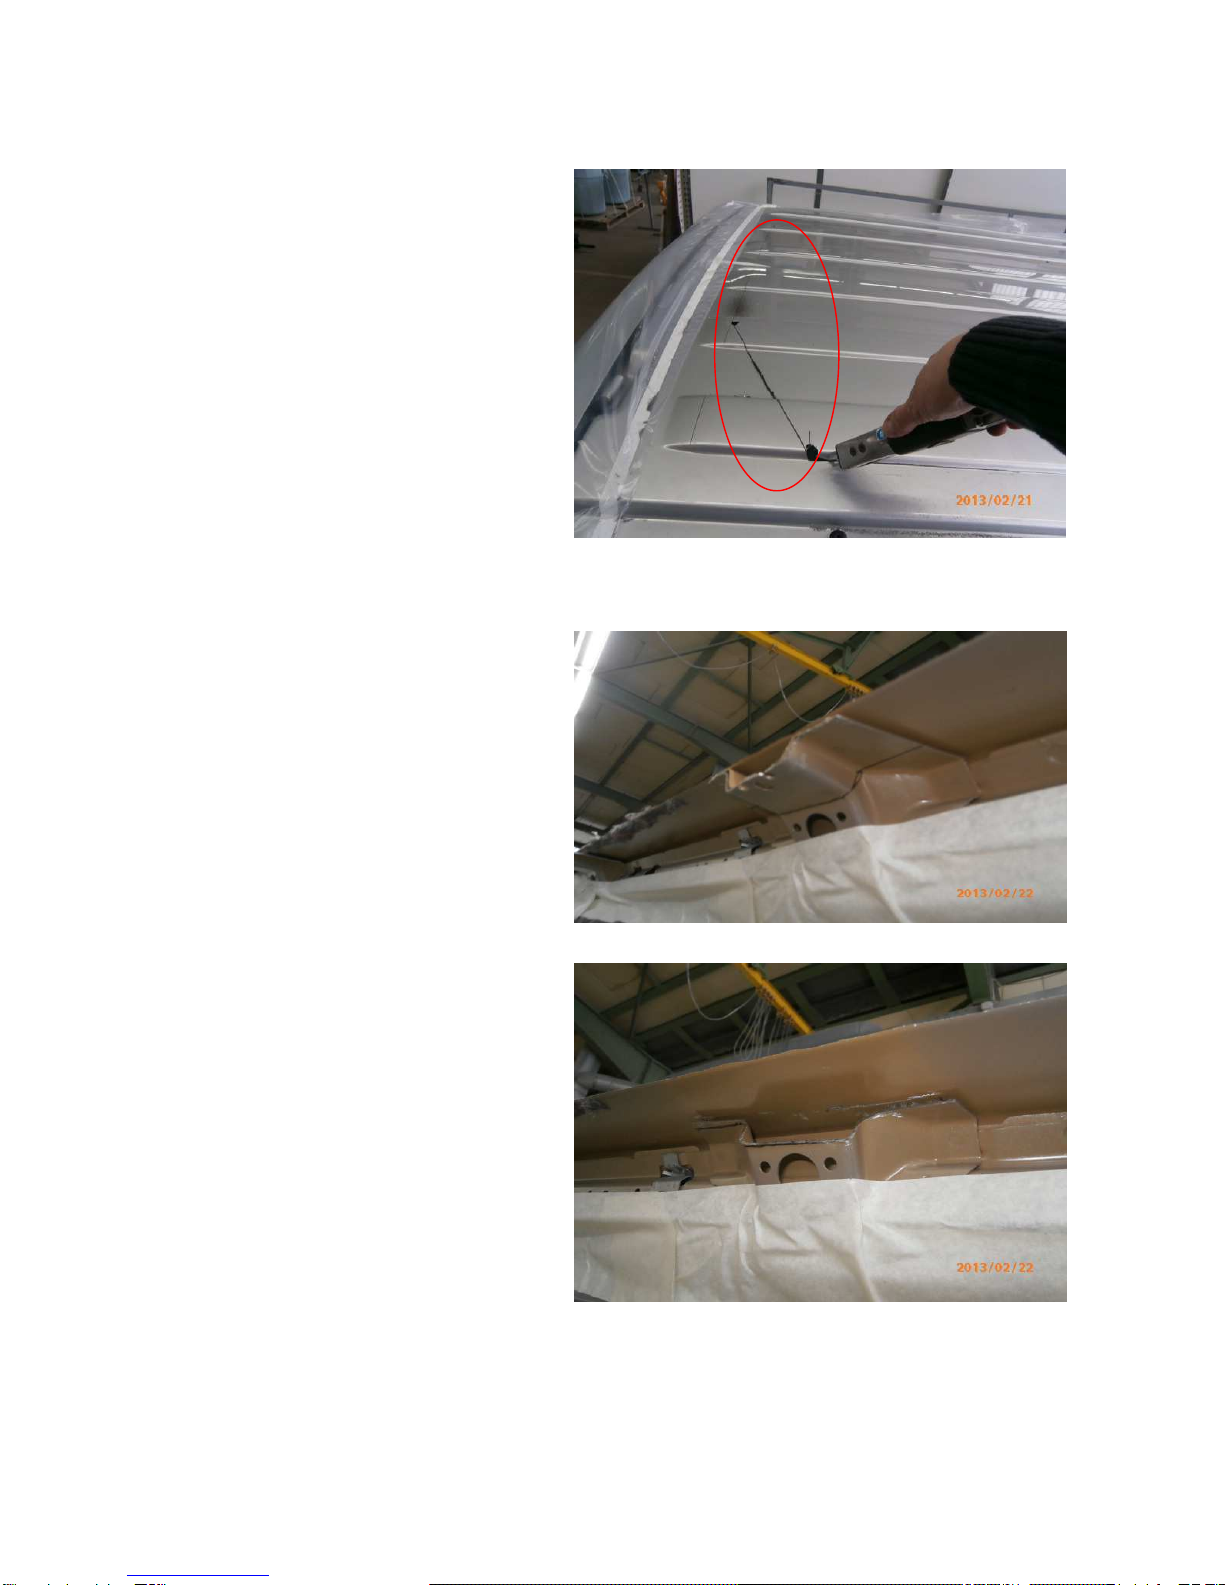
Thoroughly remove excessive Sika after
riveting by using a particular Sika remov-
ing agent and seal then the cutting
edges. Now, any fixtures used can be
removed, too.
Rivet the fixing plates (article no.
111978) laterally below the cut reinforc-
ing clips (see page 5 / image in the mid-
dle). The plates for which boreholes
have already been prepared must only
by aligned centrally to the reinforcing clip
and the drilling template must be trans-
ferred to the car body and the reinforcing
frame, bore diameter 5 mm, rivets with
4.8 x 16.9 mm aluminium/steel. The ve-
hicles with a short wheel base (SCA
194/195) have four fixing plates on the
left side, three plates on the right side
due to the sliding door..
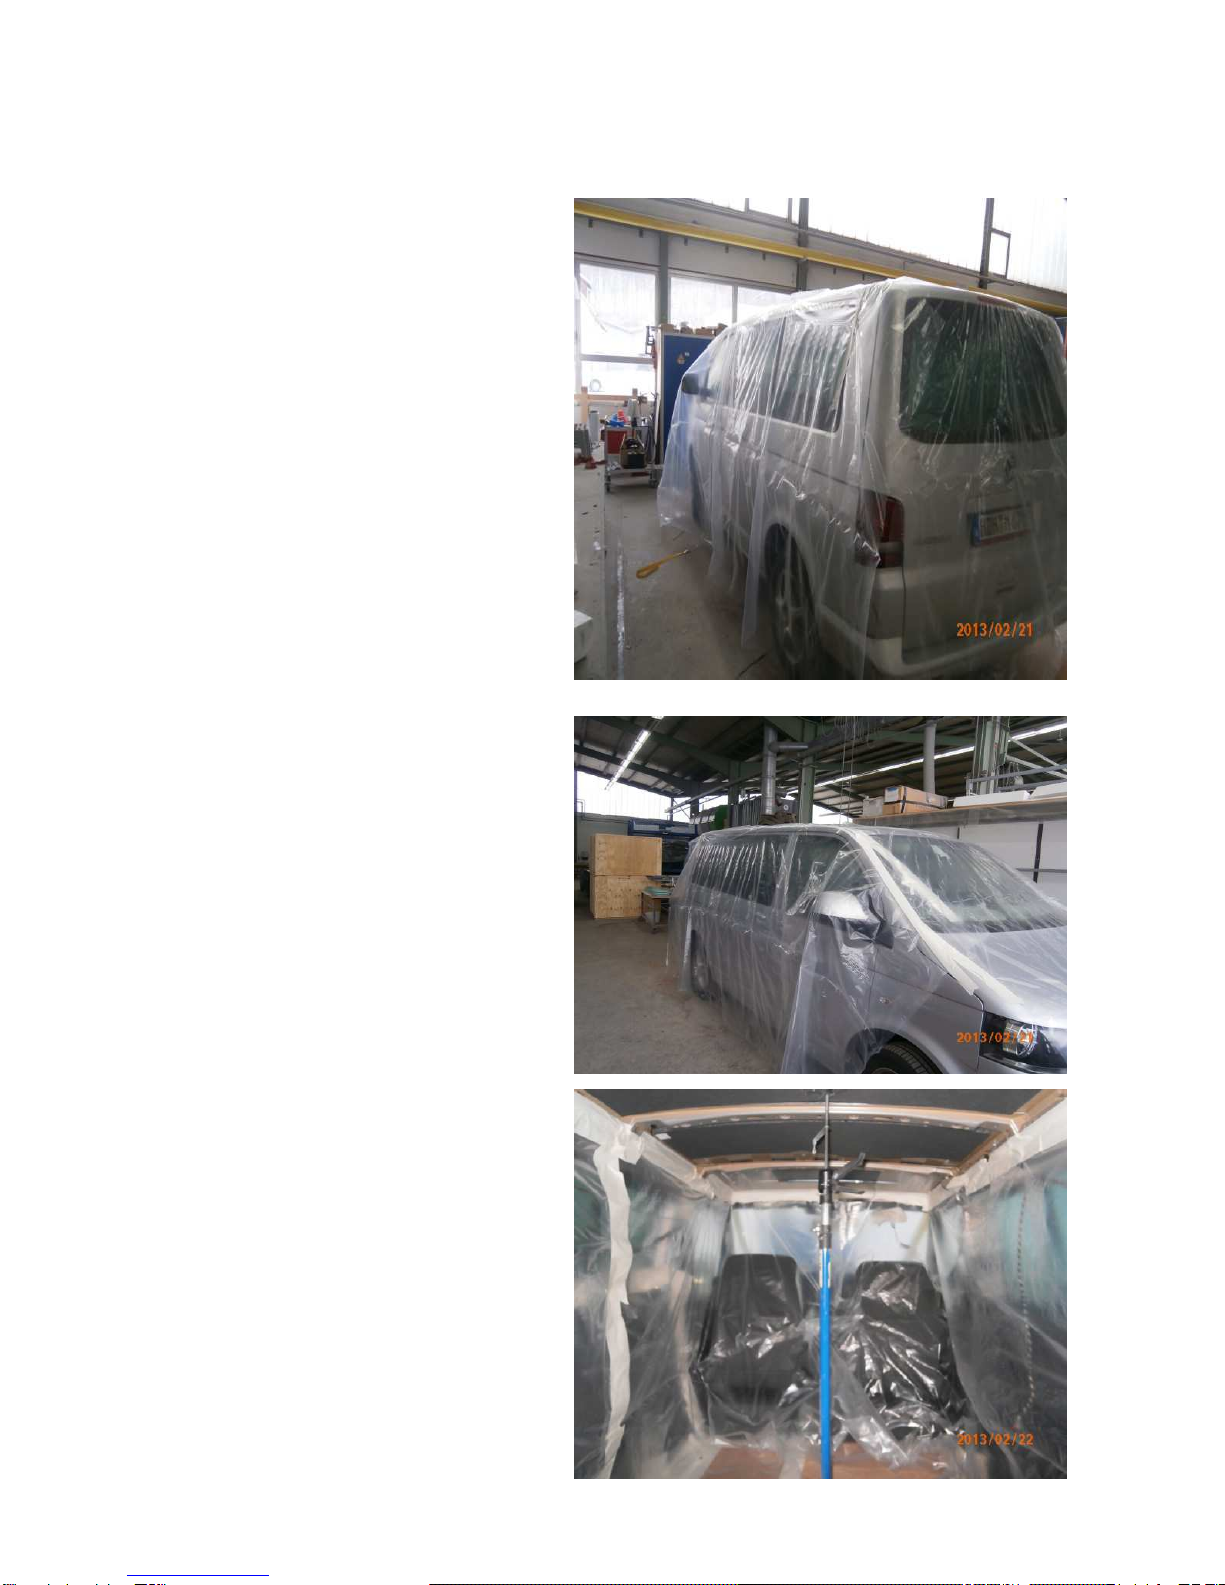
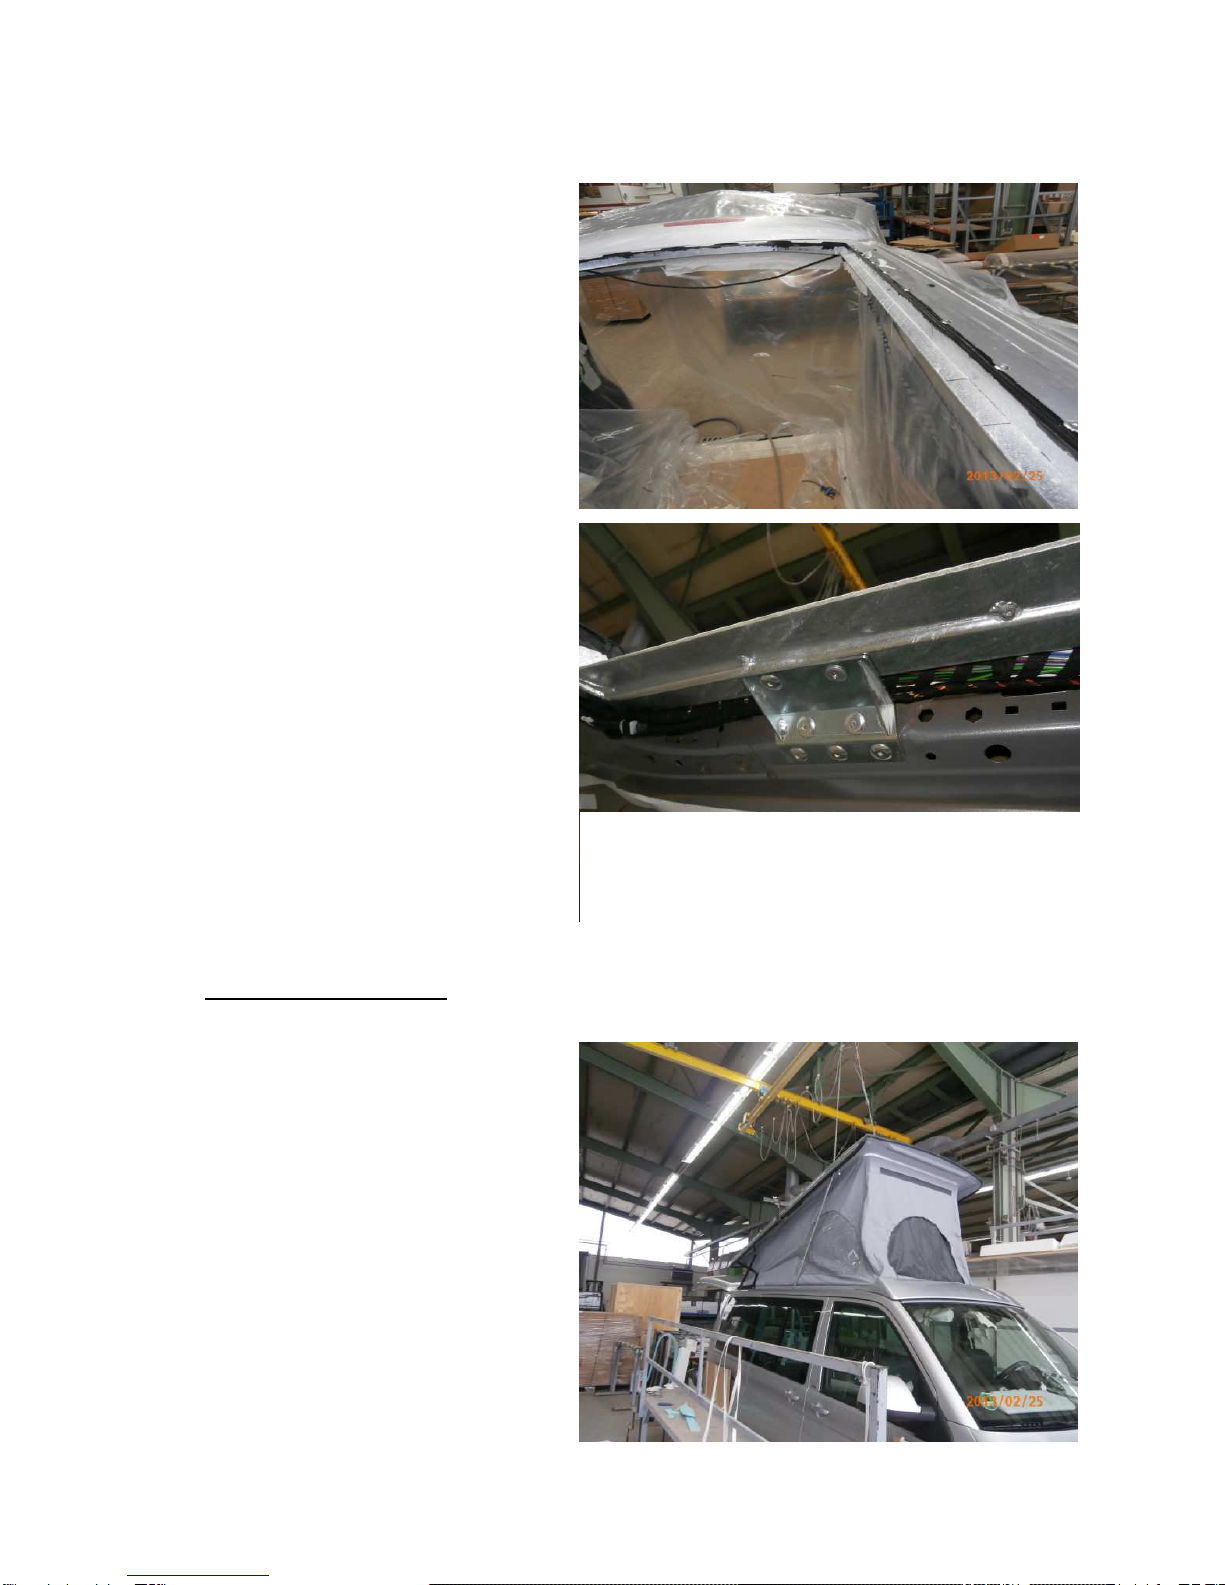
5. Sleeping Roof Assembly
Position the assembled sleeping roof
(condition at the time of delivery) onto
the vehicle and open the roof. Support
the roof shell in front. After that, align the
spoiler of the platform with the contours
of the windscreen as well as with the
lateral drip rail. Now, the sleeping roof
must be secured against shifting. Please
pay attention to fasten the screw clamps
in a way to prevent a collision with the
roof shell when closing the roof. Finally,
check the roof for proper functioning.
Achtung:
der Kabelstrang mit den Befestigungsble-
che fixieren (siehe Bild).

Stand: März 2013 C.F. Maier Europlast GmbH & Co KG Seite 10 von 16
The vehicle must be masked round and
round with adhesive tape alongside the
cutting edge in order to prevent contami-
nation of the car body when applying the
primer or by excessive adhesive. After
that, the roof can be removed again.
Neatly pre-treat the bonding surfaces
according to drawing 194/3 with cleaner
Sika 205 (bonding surface spoiler fasten-
ing in front and bonding surface support
sheets / do not forget reinforcing frame!).
Roughen the surfaces to be bonded at
the platform with abrasive paper.
194/3

Stand: März 2013 C.F. Maier Europlast GmbH & Co KG Seite 11 von 16
Then, apply Sika-Primer 206 G+P lightly
but covering the complete surface (plat-
form and car body!). Apply the primer
with a brush or a cloth!
The flash off time is at least 15 minutes.
Apply Sikaflex 252 sufficiently onto the
bonding surfaces after exhausting the air
from around the product. Additionally
add Sikaflex on the side of the area
around the three boreholes for the
hinged shears.
Then, the roof can be replaced and re-
aligned again. In the area of the spoiler,
the platform is pulled onto the roof sheet
using a strap.
Important information: Pay attention
when placing the roof on top that the
bellows has no contact with the adhesive
(contamination!).

Stand: März 2013 C.F. Maier Europlast GmbH & Co KG Seite 12 von 16
After that, the platform is clamped inside
onto the reinforcing frame with screw
clamps and left under tension for 48
hours until it is sure that the adhesive
has completely dried.
Attention: Tighten all screw clamps
equally to obtain an even platform.
The external cutting edges on the plat-
form must be neatly masked (the car
body has already been masked after
replacement and alignment).
Fill the sealing joint neatly and com-
pletely with Sikaflex. Remove excessive
Sikaflex evenly with a rubber spatula or
simply with your finger.

Stand: März 2013 C.F. Maier Europlast GmbH & Co KG Seite 13 von 16
After removal of the adhesive tape the
joint must be polished once more with a
sleeking agent in order to obtain an op-
timal result.
Then you can mount the lateral and rear
gas springs. The preloaded gas springs
must be hooked into the ball heads and
secured with the provided locking
springs. As soon as all gas springs have
been hooked, the supports can be re-
moved again.
Now, you can install the slatted frame
and mount the gas springs there as well.
Attention: The gas springs must always
be mounted with the piston rod at the
bottom when open!

Stand: März 2013 C.F. Maier Europlast GmbH & Co KG Seite 14 von 16
6. Assembly of Interlocking
Insert the provided interlocking sheets into the
slotted holes and mark the holes.
Bore two holes with 5mm and then tap M6.
Put Interlocking into dedicated notch and fit
it with delivered Screw (M6x16)
Close the roof and adjust the interlocking
by moving it to the top or bottom to achieve
that the upper interlocking engages into the
lower interlocking without exerting pres-
sure. Finally, you can tighten the screws..

Stand: März 2013 C.F. Maier Europlast GmbH & Co KG Seite 15 von 16
7. Tools used:
Den ClicLock Verschluss schließen.
Der Verschluss dient nur als Sicherung
gegen eine unbeaufsichtigte Öffnung
des Daches.
Close the ClicLock. The ClickLock only
serves as a protection for unattended
opening of the roof.

Stand: März 2013 C.F. Maier Europlast GmbH & Co KG Seite 16 von 16
C.F. Maier Europlast GmbH & Co KG
Abteilung SCA
Postfach 11 60
89548 Königsbronn
Wiesenstraße 43
89551 Königsbronn
Tel. +49 7328 81-225
Fax +49 7328 81-277
www.sca-daecher.de
www.c-f-maier.de
This manual suits for next models
1
Table of contents
Other SCA Automobile Accessories manuals