Schleifenbauer V2.62 User manual

V2.62 Schleifenbauer PDU
User manual

Table of Content
Overview 5
What’s new 5
Introduction 6
Power distribution meets intelligence 6
Interfaces 6
Accessories 6
Colored housing 7
Measurements 7
Part I - Installation of hardware 8
Safety warnings 8
Expert personnel 8
Technical installation requirements 8
Visual inspection 8
Testing 9
Cleaning 9
Contents of the package 9
Additionally needed tools for installation 9
Mounting the PDU in cabinets 9
How to mount a PDU horizontally (19 inch)? 9
How to mount a PDU vertically (= 0U)? 10
How to install on a flat surface? Table top mount 10
How to prevent hot spots in a cabinet? Sunken installation 10
How to mount a PDU without tools? 10
How to achieve maximum mounting flexibility? Mounting with profile clamps 10
Cabling the PDU: ethernet, databus and sensors 11
How to connect the PDU to LAN? 11
How to connect a databus? 11
How to connect sensors to a PDU? 11
How to connect a NO/NC contact on Classic PDU and ethernet PDU? 12
How to connect NO/NC contact on a G3 PDU? 12
Part II - User manual 13
How to maintain a PDU? 13
How to be sure the status of switchable outlets will not change during firmware upgrade or restarting of the
controller? 13
Life-Supporting Policy 13
Part IIA - Locally monitoring: device display 14
How to change settings locally via PDU display? 14
How to stop a blinking display? Local alert reset 15
Why do alerts occur? 15
How to check the load balance, the temperature / humidity or the status of the NO/NC contact? 15
How to get back to the first page? 16
How to check an outlet status locally? 16
How to check input and/or outlet measurements? 16
Page 2 of 58
V262_User manual
Schleifenbauer PDU

How to read measurements of optional sensors and what options are possible? 17
Option 1: load page 17
Option 2: sensor pages 17
How to read Branch Residual Current measurements? 18
Data center practice: Residual Current Monitoring in relation to Residual Current Devices 18
Where to measure residual current? 18
How to find the PDUs unit address, tag, name or location? 18
How to view PDU connection information? 19
How can I check in which mode and with what protocol the PDU is running? 19
How to check the installed firmware version? 20
How to check for traceability information ? 20
Part IIB - Remote operating and monitoring: Web interface 21
Introduction 21
Login 21
How to select English or German language? 21
How to enlarge a pane in L sized screens? 21
User interface 22
How to change and save settings in the web interface? 22
Dashboard – tab 23
System status 23
Load 25
Interfaces 26
Sensors – tab 27
Inputs – tab 28
Outlets – tab 29
System – tab 31
Identification 32
Configuration 33
Reset 33
Settings 34
Locate 36
Interfaces – tab 37
Part III - Administrator manual 38
Specific manuals 38
How to change SNMPv3 settings? 39
How to use the ‘device list’ section in the web interface? 40
How to add new devices on an existing ring? How to solve duplicate devices? 40
How to configure login profiles, usernames and passwords? 41
How to change factory passwords? 42
How to change the Ethernet link settings? 42
Network configurations 43
DHCP and default address 43
How to change the hostname? 43
How to configure the IP settings manually? 43
How to setup IPv6? 44
Page 3 of 58
V262_User manual
Schleifenbauer PDU

IPv6 Autoconfigure (SLAAC) 44
Static IP 44
How to configure IPv6? 45
How to set up IPv6 address filtering? 46
Configure SSL certificates 47
Key Generation 47
TLS Cipher Suites Supported: 47
Note on self-signed certificates 48
Certificate Generation 48
How to send SNMP Traps with IPv6? 49
How to stop alert signaling? (auto reset alert) 50
Firmware downgrade / upgrade 50
How to upgrade the firmware? Using SPST 50
How to upgrade the firmware? Using USB 51
Schleifenbauer databus: what is it? 52
How to prevent data losses because of cable cuts? Ring redundancy 53
How to create a databus using Schleifenbauer Gateway? 54
How to connect the databus to LAN without a Gateway? Using a PDU! 55
PART IV - Problem Solving 56
How to perform a “Software reset”? And why? 56
Remotely 56
Locally 56
How to perform a “Factory reset”? 56
How to reset peak current? And other dips or peaks 57
Recycling 58
PRODUCT SPECIFICATIONS 58
SERVICE AND SUPPORT 58
Page 4 of 58
V262_User manual
Schleifenbauer PDU

OVERVIEW
The Schleifenbauer Power Distribution Unit (PDU) is fully configurable and allows customers to connect a variety of power
appliances. Furthermore, the PDU allows remote management through a number of protocols which allow users to
monitor metered sockets and receive alarms on custom thresholds. This manual is split in four sections:
Users can focus on the section that fulfills their need when installing, operating and/or managing the PDU. The “Problem
Solving” section is meant to guide users in resolving problems. It is not necessary to read the complete manual.
WHAT’S NEW
●Added choice of DHCP hostname: serial number or sysname.
●Added locate function that blinks PDU display at request.
●Added devicetype readout (sdbDevIdDeviceType).
Part I
Installation manual
Prepare PDU for use:
●safety issues
●mounting the PDU
●cabling the PDU
Part II
User manual
Operator and user part:
●operating/read out via the PDU-display
●operating/read out via the web interface
●problem solving
Part III
Administrator manual
Admin part:
●configure via the web interface
●set up via the web interface
●problem solving
Part IV
Problem Solving
In this chapter you can find the frequently asked questions
(FAQs).
Page 5 of 58
V262_User manual
Schleifenbauer PDU

INTRODUCTION
POWER DISTRIBUTION MEETS INTELLIGENCE
The Schleifenbauer Intelligent Power Distribution Unit (PDU) is designed to distribute power for many years and without
problems. The PDU is equipped with a specially developed Schleifenbauer databus which makes it possible to read and
manage many PDUs with a single IP address. An ethernet port is added to each PDU so that next to the advantages of a
databus, a whole range of new options has become available. Schleifenbauer PDUs merges the interests between IT and
infrastructures, making it a real bridge builder. Monitoring capabilities will be described in detail within this manual in
upcoming sections.
The PDU may contain:
●metered outlets
●switched outlets
●metered and switched outlets
●passive outlets
Customers can configure the number and types of outlets of their PDU to their requirements by using Schleifenbauers
customization tool when ordering.
INTERFACES
There are several interfaces integrated in the PDU:
In the Admin section of this manual you will find information about the “Interfaces” that describe the technology to
communicate via your LAN (Local Area Network) with the Schleifenbauer databus.
ACCESSORIES
The following accessories can be purchased from Schleifenbauer:
●C14/C20 plugs if C13/C19 outputs are used (please check Outputs on www.schleifenbauer.eu)
●Different types of attachment brackets
o19” rack mounting brackets
oTabletop mounting brackets
oMounting plates for sunken installation
oProfile clamps
oToolless Mounts
●Customer Specific solutions related tools
Please check the Installation Section for more details regarding mounting brackets.
Please check www.schleifenbauer.eu for further details regarding the accessories.
●(embedded) web interface
●Modbus/TCP
●SNMP
(Simple Network Management Protocol)
●(SP)API
(Schleifenbauer Products Application Programming Interface)
Page 6 of 58
V262_User manual
Schleifenbauer PDU

COLORED HOUSING
The default enclosure color of the Schleifenbauer PDUs is black. It is also possible to anodize the enclosure in five other
colors.
MEASUREMENTS
The PDU is capable of measuring a number of quantities, either at the input, output or an optional sensor.
Measurements quantities are shown below:
01. black
02. green
03. orange
04. blue
05. red
06. yellow
Not shown but also available is enclosure color
“natural”
Note:
actual colors may vary!
Measurement
Unit
Remark
Energy
(kWh)
total & subtotal
Voltage
(V)
with voltage dip registration
Current
(A)
with peak value registration and drop detection.
Power factor
(%)
Apparent power
(VA)
Real power
(W)
Temperature
(°C)
optional sensor
Relative humidity
(%)
optional sensor
NO/NC contact
0-2
devices equipped with a USB-port can operate two NO/NC contacts
(see chapter “How to connect a NO/NC contact”)
Page 7 of 58
V262_User manual
Schleifenbauer PDU

PART I - INSTALLATION OF HARDWARE
Please use the information in this chapter to inspect, install and connect the Schleifenbauer Intelligent PDU and all
optional mentioned accessories.
SAFETY WARNINGS
This manual contains important safety instructions that should be followed during installation and operation of the PDU.
Please read this manual carefully since there may be serious or fatal personal injury and damage to the equipment if the
safety instructions, warnings and directions are not complied with. Please save this document for future use.
EXPERT PERSONNEL
Installation, maintenance and inspection of the Schleifenbauer Intelligent PDU must be carried out by adequately trained
persons according to NEN EN 50110-1, with full observance of the specifications of NEN EN 50110-1 and NEN 3140.
TECHNICAL INSTALLATION REQUIREMENTS
Before installing and using the system, check whether the characteristics of the electrical system to which connection is to
be made correspond to the product specifications.
●The Schleifenbauer Intelligent PDU has been designed for connection to electrical systems that comply with IEC
60364 or in the Netherlands, NEN 1010.
●The voltage, maximum permitted current and the number of phases must be correct. This information is
displayed on the front side of the PDU.
●The maximum permitted power must be taken into account with regard to the maximum length and the diameter
of the connecting lead.
●The values and characteristics of the in-series protective devices must match the PDU and the protective
elements included in it.
●The environmental factors must correspond to the product specifications.
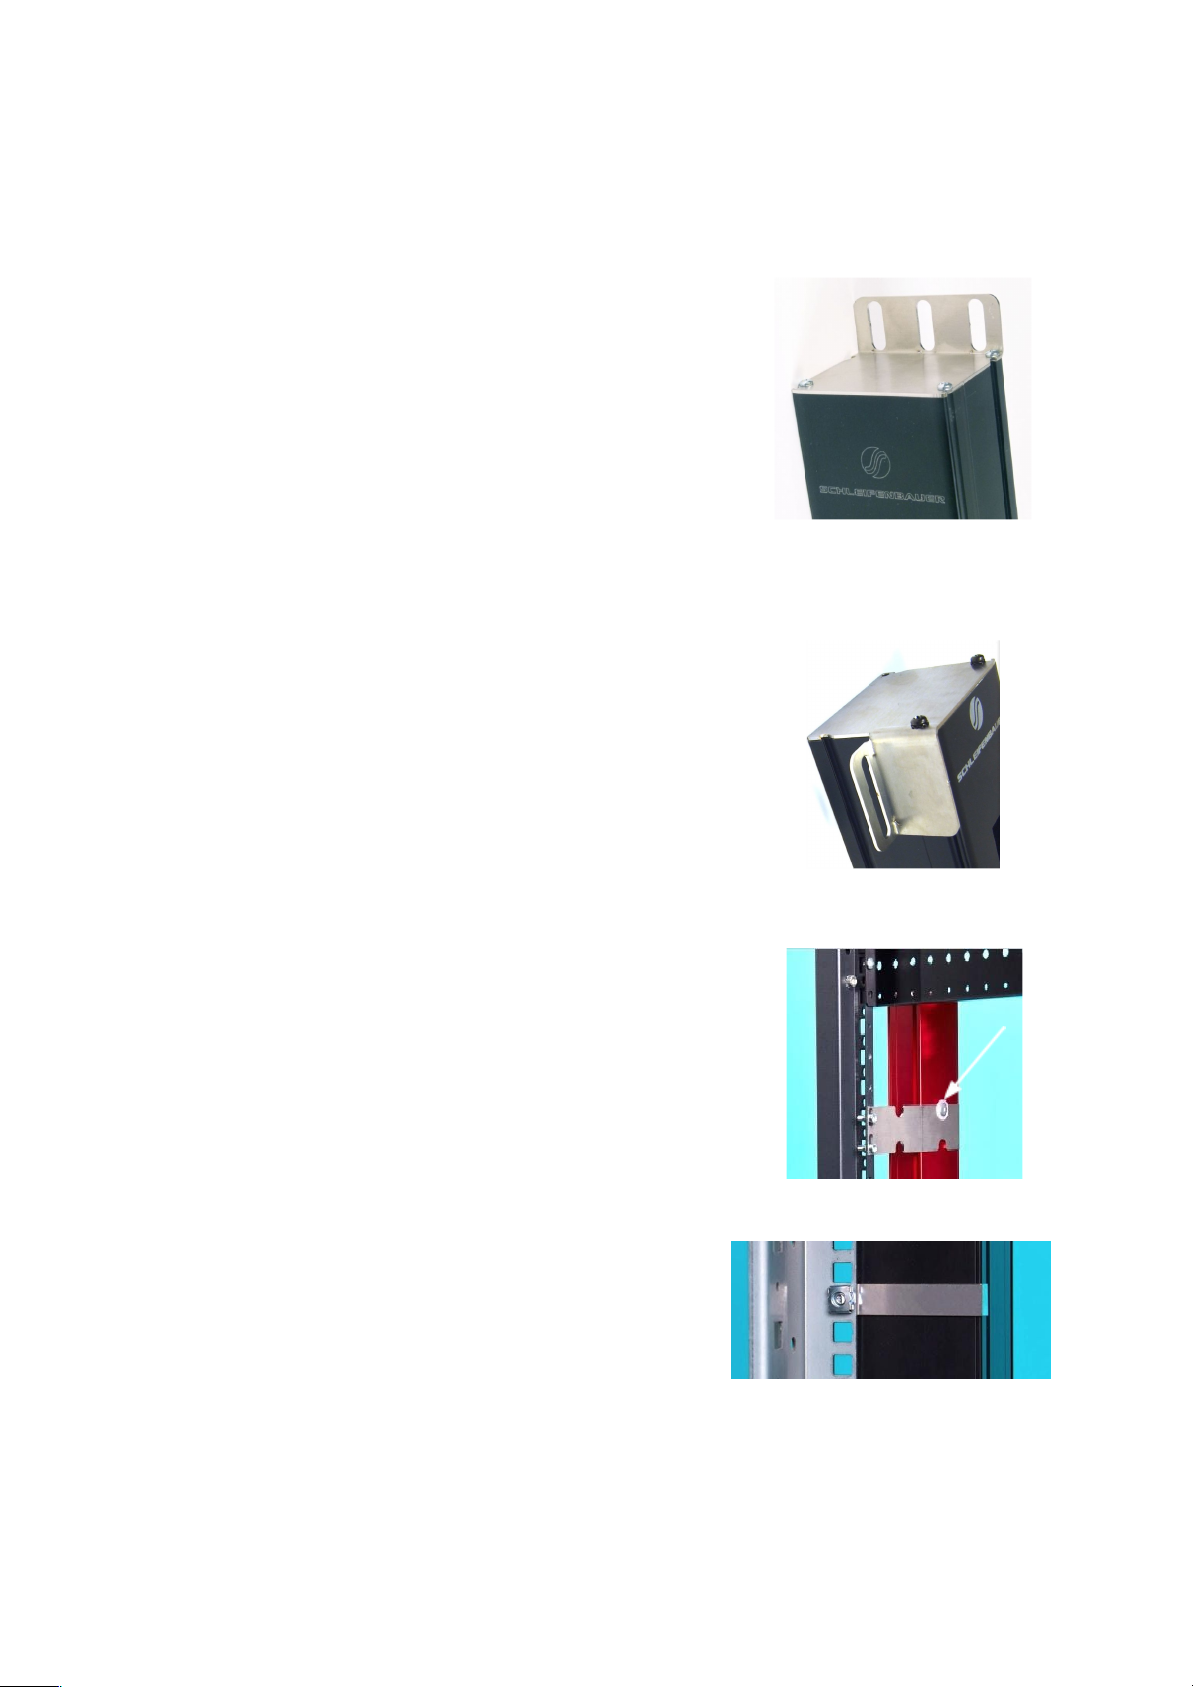
VISUAL INSPECTION
After opening the cardboard box and removing the packaging material, the PDU should be checked visually. The PDU
should not be put into operation if damage is detected in a way that safe and proper operation cannot be guaranteed. In
such cases, please contact Schleifenbauer Products BV.Note that, in the case of PDUs that are equipped with an
overvoltage protection, the overvoltage protection and the respective overcurrent protection (if applicable) must be
inspected on a regular basis.
The PDU must be installed in a restricted access location
Socket-outlet must be installed near the equipment
Socket-outlet must be easily accessible
Installation by expert personnel only
After installation: default passwords / RC4 keys MUST be changed (see: Part III - Administrator manual)
Page 8 of 58
V262_User manual
Schleifenbauer PDU

TESTING
Each Schleifenbauer PDU is individually tested according to the NEN 3140 standard. Test reports are available on request.
CLEANING
The PDU may only be cleaned by wiping off the outside with a clean dry cloth.
CONTENTS OF THE PACKAGE
The Schleifenbauer Intelligent PDUs are shipped in a cardboard box. Where applicable, dispose the packaging material in a
responsible manner, in accordance with local regulations. All of the materials used for packaging can be recycled.
Immediately after receipt, check whether you have received your order in a complete and undamaged state.
The following items are delivered for each PDU:
●fixing materials: these can be attached to the PDU (19’’ or table-mounting brackets), or are delivered separately if
they have been ordered separately;
●the installation manual (one per shipment);
Please note that the PDU User Manual can also be found online at http://schleifenbauer.eu
ADDITIONALLY NEEDED TOOLS FOR INSTALLATION
The following tools are needed to install the PDUs:
●cage-nuts with bolts and washers
●suitable screwdriver.
MOUNTING THE PDU IN CABINETS
How to mount a PDU horizontally (19 inch)?
Each 19’’ rack bracket of a PDU has holes for horizontal mounting in 19” racks. The holes are
positioned so that an appropriate fixing hole is always available for a PDU with a profile height of
1.5 U. Using one or two of the four holes allows mounting without wasting space.
For measurement of insulation resistance, the measuring voltage used must be lower than or equal to the
voltage according to the product specification.
Page 9 of 58
V262_User manual
Schleifenbauer PDU

How to mount a PDU vertically (= 0U)?
In case of a PDU for vertical mounting, the connection lead is fed through a hole in the upper, bottom or front face.
How to install on a flat surface? Table top mount
Gives the profile possibility to be mounted to a flat surface (tabletop).This
arrangement is used for:
●vertical mounting to the bracing beams in the 19” cabinet
●fixing to a mounting plate
●mounting between the 19” uprights: the profile attaches to the front
of the uprights
The holes on the brackets are located as far as possible to the outside so
that it can also fit with enough space to tighten the bolts if a swivel gland
has been placed on the short side.
How to prevent hot spots in a cabinet? Sunken
installation
When power leads might block the flow of hot exhaust air, especially in
case of a 600mm wide cabinet, it is necessary to create additional space
for airflow. This can be done by using the “sunken installation brackets”.
Because of the shape of the bracket, it is possible to ‘partially sink’ the
profile into the cabinet and save space. These mounting plates can be
used for many different cabinets.
How to mount a PDU without tools?
Toolless mounting is created by making attachment points on the rear of
the PDU housing. There is a wide range of cabinet brackets available, all in
which you can hang the PDU without using tools.
Toolless Mounting can be done as single PDU or double PDUs (see image).
Mounting brackets can be custom made by Schleifenbauer.
How to achieve maximum mounting flexibility?
Mounting with profile clamps
The clamps, made of spring steel, can be installed in the position of your
choice. The clamp fits around the PDU profile and is secured with a
fastening screw. Our advice is to use one clamp for every 50 cm of profile
length.
Page 10 of 58
V262_User manual
Schleifenbauer PDU

CABLING THE PDU: ETHERNET, DATABUS AND SENSORS
How to connect the PDU to LAN?
10/100 Mbps LAN Ethernet port
Connecting the PDU to a Local Area Network (LAN) provides
communication through an Ethernet network. Multiple PDUs can share
the same ethernet connection by using the databus (Bridge or Hybrid
mode). More about the different operating modes in the section
“Schleifenbauer databus, what is it?” The RJ45 connector for the network
cable must be plugged into the silver Ethernet port:
Connect the RJ45 Ethernet cable to the Ethernet port on the PDU and to
the Ethernet connector on the LAN device; when connected, the orange
LED – marked “lnk” - will blink
How to connect a databus?
There are three black communication ports. One is marked as sensorport,
the other two as databus ports (in and out). The left databus port is the
“incoming” databus port. The right databus port is “outgoing”. This is a
MUST HAVE for devices in bridge mode. For devices in hybrid mode it is a
NICE TO HAVE. The serial databus in the Schleifenbauer PDU uses CAT5
patch cables.
Data will be send and received by both ports but to close the
databus ring, it is recommended to follow the connection diagram to
ensure maximum performance.
How to connect sensors to a PDU?
The PDU has a RJ12 connector sensor port which can connect one of the
following:
●a digital temperature sensor
●a combined sensor for temperature/humidity
●one or multiple dry switch contacts
Plug and play
Sensors are automatically recognized by the PDU and will update the
display and menu accordingly.
Use Schleifenbauer sensors only
Page 11 of 58
V262_User manual
Schleifenbauer PDU

How to connect a NO/NC contact on Classic PDU and ethernet PDU?
The sensor port makes use of the RJ12 6P6C standard (= 6 position, 6 conductor). To connect a NO/NC contact on the PDU
sensor port, you have to make use of pin 1 and pin 6 ; as shown in the image below.
How to connect NO/NC contact on a G3 PDU?
3rd generation PDUs and DPMs are equipped with a USB-port and are able to operate two NO/NC dry switch contacts:
Note that on a PDU only 1 NO/NC contact can be connected.
Status of the contact will be displayed. The state cannot be changed locally.
Classic PDUs (= without ethernet port) do not support a NO/NC contact
Page 12 of 58
V262_User manual
Schleifenbauer PDU

PART II - USER MANUAL
How to maintain a PDU?
A Schleifenbauer Intelligent PDU may not be opened by unauthorized personnel. In the event of malfunction or faults in
the PDU, please refer to the warranty conditions. Schleifenbauer Products BV will not accept warranty claims if the PDU
has been opened or alterations have been made.
●Please pay attention to the operation conditions before installation and operation of the Schleifenbauer PDU.
●The Schleifenbauer PDU has to be protected according to the valid installation guidelines.
The rated value of the in-series protective device may not exceed the maximum value indicated on the product.
●The Schleifenbauer PDU may not be used in: a humid environment, a seriously contaminated environment or
outdoors.
●The manufacturer’s warranty on the Schleifenbauer PDU becomes invalid when the QC sticker on the side of the
profile is broken.
●Before turning on the PDU for the first time, make sure that it has been allowed to acclimatize to the ambient
temperature for at least 24 hours. Major temperature fluctuations can lead to the formation of condensation in the
PDU if this guideline is not followed.
●Please keep in mind that the maximum allowed temperature for a metal enclosure is 70 °C for installation in a
normal location and 90 °C for installation in a restricted access location.
How to be sure the status of switchable outlets will not change during firmware
upgrade or restarting of the controller?
The Schleifenbauer PDUs are designed for continuous operation with the power distribution and the control over
measuring and switching separated. This means that while updating or restarting the (controller of the) PDUs, power
distribution is not interrupted.
LIFE-SUPPORTING POLICY
The Schleifenbauer PDU has been designed for use in data centers where equipment has to meet very high demands
especially regarding reliability.
The Intelligent PDU however may not be applied in surroundings where a malfunction in the PDU can have consequences
for life support systems.
Life support systems include any devices designated as “critical” by the U.S. FDA. Such systems are found not only in
medical environments such as hospitals, but also on offshore platforms, in petrochemical plants, in air traffic control
centers, etc.
Page 13 of 58
V262_User manual
Schleifenbauer PDU

PART IIA - LOCALLY MONITORING: DEVICE DISPLAY
The intelligent PDU features a display with scroll buttons, LEDs and some ports for connecting accessories. Please keep in
mind that PDUs may differ in configuration and may or may not not have a display.
(1) PDUs without an Ethernet port are called Classic PDUs. Firmware for Classic PDUs are in the FW1xxx - range
(2) This option is called “Local alert reset” and must be activated through the interfaces
(3) USB-port on g3 (generation 3) only ; to be used for firmware up- and downgrade (from FW2.52 and newer)
How to change settings locally via PDU display?
Changing settings locally via the PDU itself is not possible! You have to use one of the interfaces.
See the Administrator part of this manual how to changes the settings
Page 14 of 58
V262_User manual
Schleifenbauer PDU

How to stop a blinking display? Local alert reset
Since FW2.50 alerts are represented on both display and web interface. For example:
The displayed text shows directly which alert has occurred.
Why do alerts occur?
Alerts are signal flags after an event occurred. For example, if the measured temperature and the environmental
conditions exceed a configured level or threshold, the PDU will generate an alert. This resolves in:
●SNMP trap (optional).
●The screen of the PDU will start blinking.
●The screen of the PDU will jump to the Alert page which provides information on what happened.
After the temperature has dropped again, the event is cleared but the alert still exists. The display will blink until you
“reset” (=clear) the alert.
The LCD display only flashes when an alert is active.
How to check the load balance, the temperature / humidity or the status of the
NO/NC contact?
Actions:
●press any button to stop blinking for a short period: blinking will stop so you can read the display
●resetting the alert can be done by pressing both scroll buttons simultaneously; when cleared the
display will stop blinking (Note: this possibility must be activated on your device; see Admin part of
this manual)
You can reset the alert but by doing so, you do not resolve the cause of the alert!
If the alert condition is still present the alert will reappear.
The image shows three phases (L1, 2 and 3). The actual information is presented in
amperes but is also graphically displayed. The higher the load, the more the bar is
filled. The graphical bar is related to the maximum PDU rating (in the image it is 32A).
In this image, there is almost zero load, only on L3 there is a small 0.1A.
DS = status of NO/NC contact [ O = open; C = closed ]
Te = temperature [degrees C] *
RH = relative humidity [%] *
*only visible when the corresponding sensor has been connected.
Page 15 of 58
V262_User manual
Schleifenbauer PDU

How to get back to the first page?
How to check an outlet status locally?
How to check input and/or outlet measurements?
If there are alerts, first clear these by pressing both scroll buttons (see: “How to stop
blinking display? Local alert reset” ).
If the alerts are resolved or there are no alerts (no blinking display), press both scroll
buttons (see arrows in image) to quickly jump to the first page.
Note: every row on the display shows the
state of nine outlets. So the first ends with
outlet nine, the second row starts with
outlet ten.
In the “outlets” display you can see how many outlets the PDU has and what their
individual state is.
An overview of the possible states:
0 = off
1 = on
s = scheduled to go off
S = scheduled to go ON
p = power cycling
Example: input page
Note: “Input x” shows the name of the
Input. This information can be configured
from the Web Interface, Inputs tab or from
the other interfaces.
Example: outlet page
The scroll buttons allow the user to scroll through the pages. The total amount of
pages varies and depends on the PDU configuration. For example: the more
outlets the higher the total amount of pages. In the “input page” example page
four of 29 is displayed. In the lower left corner of the “input page” example, the
subject of the shown information on this page is visible as "INPUT L2", which is
short for input measurements of L2. So, when you search for outlets, scroll
through the pages until the “outlet” sections are reached. An example is shown in
the "outlet page" image.
Displayed information can be:
I = current [A]
P = power [W]
U = voltage [V]
Pf = power factor [%] (= real power ÷ apparent power)
Et = energy total [kW]
Es = subtotal energy [kW]
Page 16 of 58
V262_User manual
Schleifenbauer PDU

How to read measurements of optional sensors and what options are possible?
Option 1: load page
Sensors are displayed on the "Load" screen whenever there are less than three sensors in use. When adding more sensors,
one or more pages are added to the display to show the sensor readouts (see image):
Option 2: sensor pages
The sensor measurements are displayed in the following format:
< channel number > < sensor type > = < value >
The sensor type is indicated by a letter. The letters are abbreviations for the sensor type as follows:
For all optional sensors see www.schleifenbauer.eu
DS = status of NO/NC contact [ O = open; C = closed ]
Te = temperature [degrees C]
RH = relative humidity [%]
Example: sensor page 1 of 2
Example: sensor page 2 of 2
Analog:
T = temperature [°C]
H = humidity [%]
R = residual current [mA]
See “How to read branch residual current measurements”
A = AC residual current [mA]
D = DC residual current [mA]
B = Branch residual current [mA]
Digital:
I = dry switch contact
S = error status
Y = activity
Page 17 of 58
V262_User manual
Schleifenbauer PDU

How to read Branch Residual Current measurements?
In parts of Europe, electrical installations must incorporate devices designed to protect people and prevent fires: the
residual current device, or RCD. A RCD disconnects the circuit if the total for the incoming and outgoing currents in the
monitored phases and their neutral conductor exceed a threshold, for example : L1 + L2 + L3 + N > 30 mA
Data center practice: Residual Current Monitoring in relation to Residual Current Devices
Many devices inside a datacenter operate a switching power supply. These power supplies usually leak a bit of energy to
the protective earth, so even without failing hardware some residual current will occur. In order to rule out a single
dangerous fault from a sum of harmless smaller faults, one needs to set up a network of RC-sensors and monitor them
permanently. RC-monitoring can take place in many forms. The Schleifenbauer RC-sensor offers Class B metering, thus
enabling our customers to set-up an RC-monitoring system that prevents dangerous situations inside the datacenter.
Where to measure residual current?
When monitoring residual current at a single location it is not possible to determine whether the measured value is a sum
of many small currents or a single larger (dangerous) one. For that reason it contributes to the safety of the personnel
inside a data center when residual currents are metered at several points.
How to find the PDUs unit address, tag, name or location?
L1 + L2 + L3 + N > 0 mA …. THERE MIGHT BE FAULT IN YOUR SYSTEM !
When the PDU is equipped with a Residual Current Sensor (RCS), measurements of
the residual current are shown in the sensor pages.
(See example images in the previous chapter “
Option 2: sensor pages
”
).
The device name and tag can be
changed using the WEBAPI. See
the admin manual Part IIB -
Remote operating and
monitoring: Web interface for
more details.
You will find all customer specific information about the PDU in the “Custom”
display.
●Adr = address of this unit on the databus
●Tag = vanity tag
●Nme = device name
●Loc = location of the device
Page 18 of 58
V262_User manual
Schleifenbauer PDU

How to view PDU connection information?
How can I check in which mode and with what protocol the PDU is running?
You will find all information related to the PDUs network connection in the IPv4
Link and IPv6 Link pages.
IPv4Link:
●Lnk = current Ethernet link status of the device
●St = IP status:
■DHCP: Acquiring/Bound, Static, Static fallback
■‘-‘ when there is no link
●IP = IP address of the device
●NM = subnet mask of the device
●GW = IP address of the Gateway or Router
●MAC = MAC address of the device
The IPv6 link will show up to 3 IPv6 addresses. The first one will be your link-local
address which will always start with FE80:: the second and third will be your LAN
and WAN address respectively.
In the “IP Interfaces” display you can find information about the device mode in
which the PDU is working:
●Mode = hybrid, databus , bridge, colocation, …
The display shows the status, and which protocol & port number is used for:
●HTTP
●API
●Modbus
●SNMP
●IPMode (IPv4, IPv6 or both)
See the chapter “Schleifenbauer databus: what is it?” in this manual
for explanations of the term hybrid, bridge, ….
When there is active communication with the PDU, the interface
colors will be inverted. Text is white and the background is blue.
When the interface is used, the text becomes blue and the
background white.
Page 19 of 58
V262_User manual
Schleifenbauer PDU

How to check the installed firmware version?
How to check for traceability information ?
In the “About” page you can find the firmware version that is currently installed
on the device. In this example the firmware version is FW02.50.
It is important that the most recent firmware version is installed on
all devices. This ensures correct operation of the device and databus.
Firmware and service tools can be found at “downloads” on the
Schleifenbauer website.
In the “About” page you can also find information regarding serial number,
product information and Schleifenbauer order number.
●ID = unique hardware address of this device’s controller
●SN = serial number (also found on the PDU housing)
●Prt = product identification (also found on the PDU housing)
●Ord = order number for internal Schleifenbauer uses
●Ph = number of phases of this device
●O = total number of outlets on this device
●S = number of switchable outlets on this device.
●M = number of metered outlets on this device
Page 20 of 58
V262_User manual
Schleifenbauer PDU
Table of contents
Other Schleifenbauer Power Distribution Unit manuals