6
Manuelle Suche des Codes
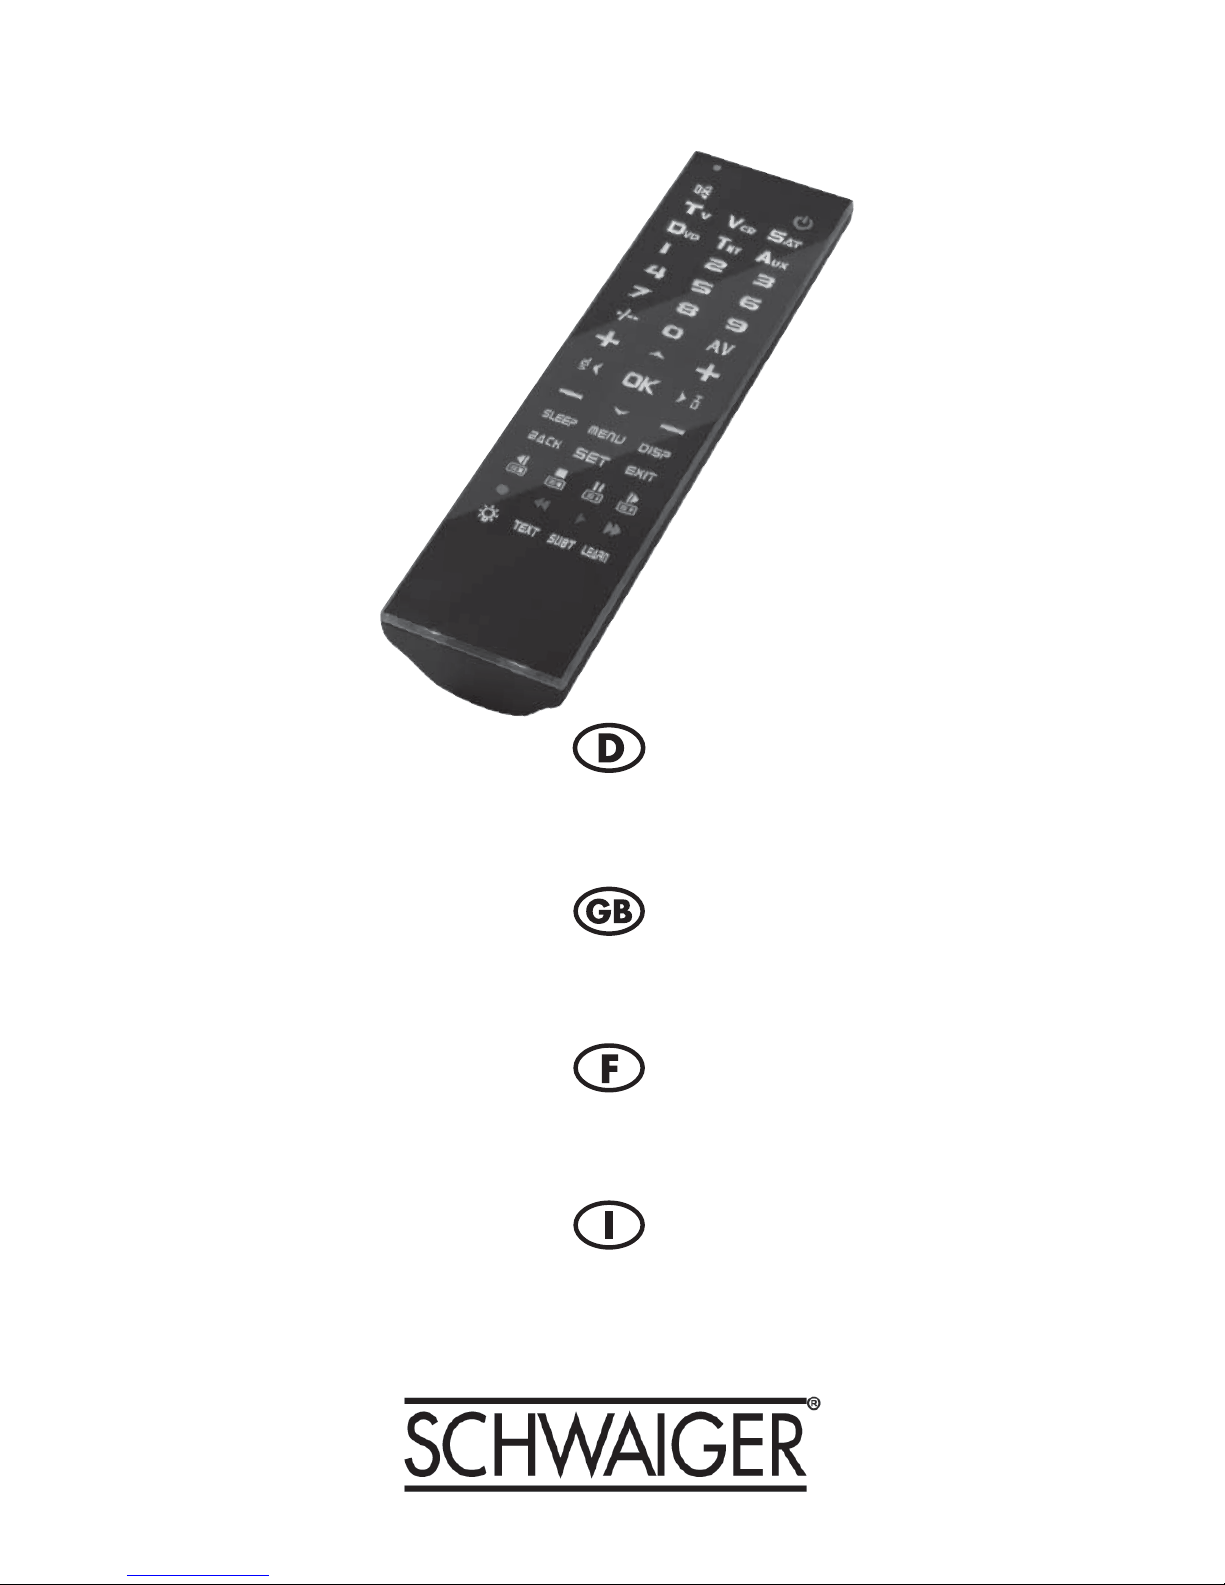
1. Schalten Sie das Gerät ein, das Sie mit der Fernbedienung bedienen
möchten und richten Sie die Fernbedienung auf das Gerät.
2. Drücken und halten Sie gleichzeitig die Tasten [SET] und [DEVICE], bis
die LED leuchtet. Lassen Sie nun beide Tasten los.
3. Drücken Sie die [SET]-Taste einmal und lassen Sie diese los, sobald die
LED leuchtet. Die LED blinkt nun alle 2 Sekunden. Dies zeigt an, dass
Sie den Code manuell suchen können.
4. Richten Sie die Fernbedienung auf das Gerät und drücken Sie wiederholt
die [POWER]-Taste. Falls sich das Gerät ausschaltet, drücken Sie sofort
die [DEVICE]-Taste, um den Code zu speichern und den Einstell-Modus
zu verlassen.
5. Überprüfen Sie, ob andere Tasten funktionieren. Ist dies nicht der Fall,
wiederholen Sie bitte ab Schritt 2.
ANMERKUNG:
Das Drücken der [SET]-Taste kann die Suchrichtung ändern.
Automatische Suche des Codes
1. Schalten Sie das Gerät ein, das Sie mit der Fernbedienung bedienen
möchten und richten Sie die Fernbedienung auf das Gerät.
2. Drücken und halten Sie gleichzeitig die Tasten [SET] und [DEVICE], bis
die LED leuchtet. Lassen Sie nun beide Tasten los.
3. Drücken Sie die [SET]-Taste einmal und lassen Sie diese los, sobald die
LED leuchtet. Die LED blinkt nun alle 2 Sekunden. Dies zeigt an, dass
Sie den Code manuell suchen können.
4. Richten Sie die Fernbedienung auf das Gerät und drücken Sie 3
Sekunden lang die [POWER]-Taste und lassen Sie diese nicht los. Die
LED blinkt nun schnell. Dies zeigt die automatische Codesuche an.
Lassen Sie nun die [POWER]-Taste los.
5. Die LED blinkt alle 3 Sekunden. Falls sich das Gerät ausschaltet, drücken
Sie sofort eine beliebige Taste, um die Suche zu stoppen und in den
manuellen Suchmodus zurückzukehren.
6. Drücken Sie die [DEVICE]-Taste, um den Code zu speichern und den
Einstell-Modus zu verlassen.
ANMERKUNG:
Das Drücken der [SET]-Taste kann die Suchrichtung nicht ändern.