SAFETY INSTRUCTIONS
Warning!
In order to avoid any risk of electrical shocks, injuries and fire, please follow the
enclosed safety instructions. Read and respect these instructions before using the
machine. Keep this document.
General safety instructions
Choice of tool
Use the appropriate tool. Do not use tools or adaptable devices of too low a power
rating to undertake heavy work. Do not use tools for other purposes than the work for
which they have been designed.
Maintenance and storage
Store your tools in a safe place. Unused tools must be stored in a dry, locked place,
out of reach of children. Maintain your tools carefully. Keep your tools clean to work
better and more safely. Follow indications relative to maintenance and indications
concerning changing accessories.
Keep handles dry and free of oil and lubricants.
Check whether the tool is damaged. Before using the tool, always carefully check that
parts are functioning perfectly. Check whether moving parts are functioning correctly,
whether they do not become stuck or if other parts are damaged. All the components
must be assembled correctly and satisfy conditions to guarantee the tool's perfect
operation. Every safety device, every switch and every other damaged or defective part
must be repaired or replaced appropriately by a qualified technician.
Coution!
Ensure that you use the tool and its accessories in accordance with the safety instructi-
ons. Also understand take account of the tool's possibilities by paying attention to the
working conditions and the task to be undertaken. Using the tool for tasks other than
those intended may be dangerous.
This tool satisfies safety rules in force. All repairs must be undertaken by qualified
professionals with original spare parts; if not, the tool may pose a danger for the user
and invalidate the guarantee.
Safety instructions for the user
Keep children away. Do not allow other people to touch the tool; keep them away from
your working area. Wear appropriate working clothes. Do not wear loose clothing or
jewels; they could be caught by moving parts. When working in the open air, it is
recommended that rubber gloves and anti-skid heeled shoes are worn. Wear a hair net
if you have long hair. Do not make the radius of your action too wide. Avoid adopting a
position which is tiring for the body; ensure that your support on the ground is firm, and
keep in balance at all times. Always be attentive. Look at your work, act in a sensible
way and do not use the tool when you are tired.
Safety instructions relative to the working area
Keep order in your working area. Disorder in the working area increases the risk of an
accident. Take account of the working area environment. Do not expose electrical tools
to rain. Do not use electrical tools in a moist or damp environment. Ensure that the
working area is well-lit. Do not use electrical tools if flammable liquids or gases are
nearby.
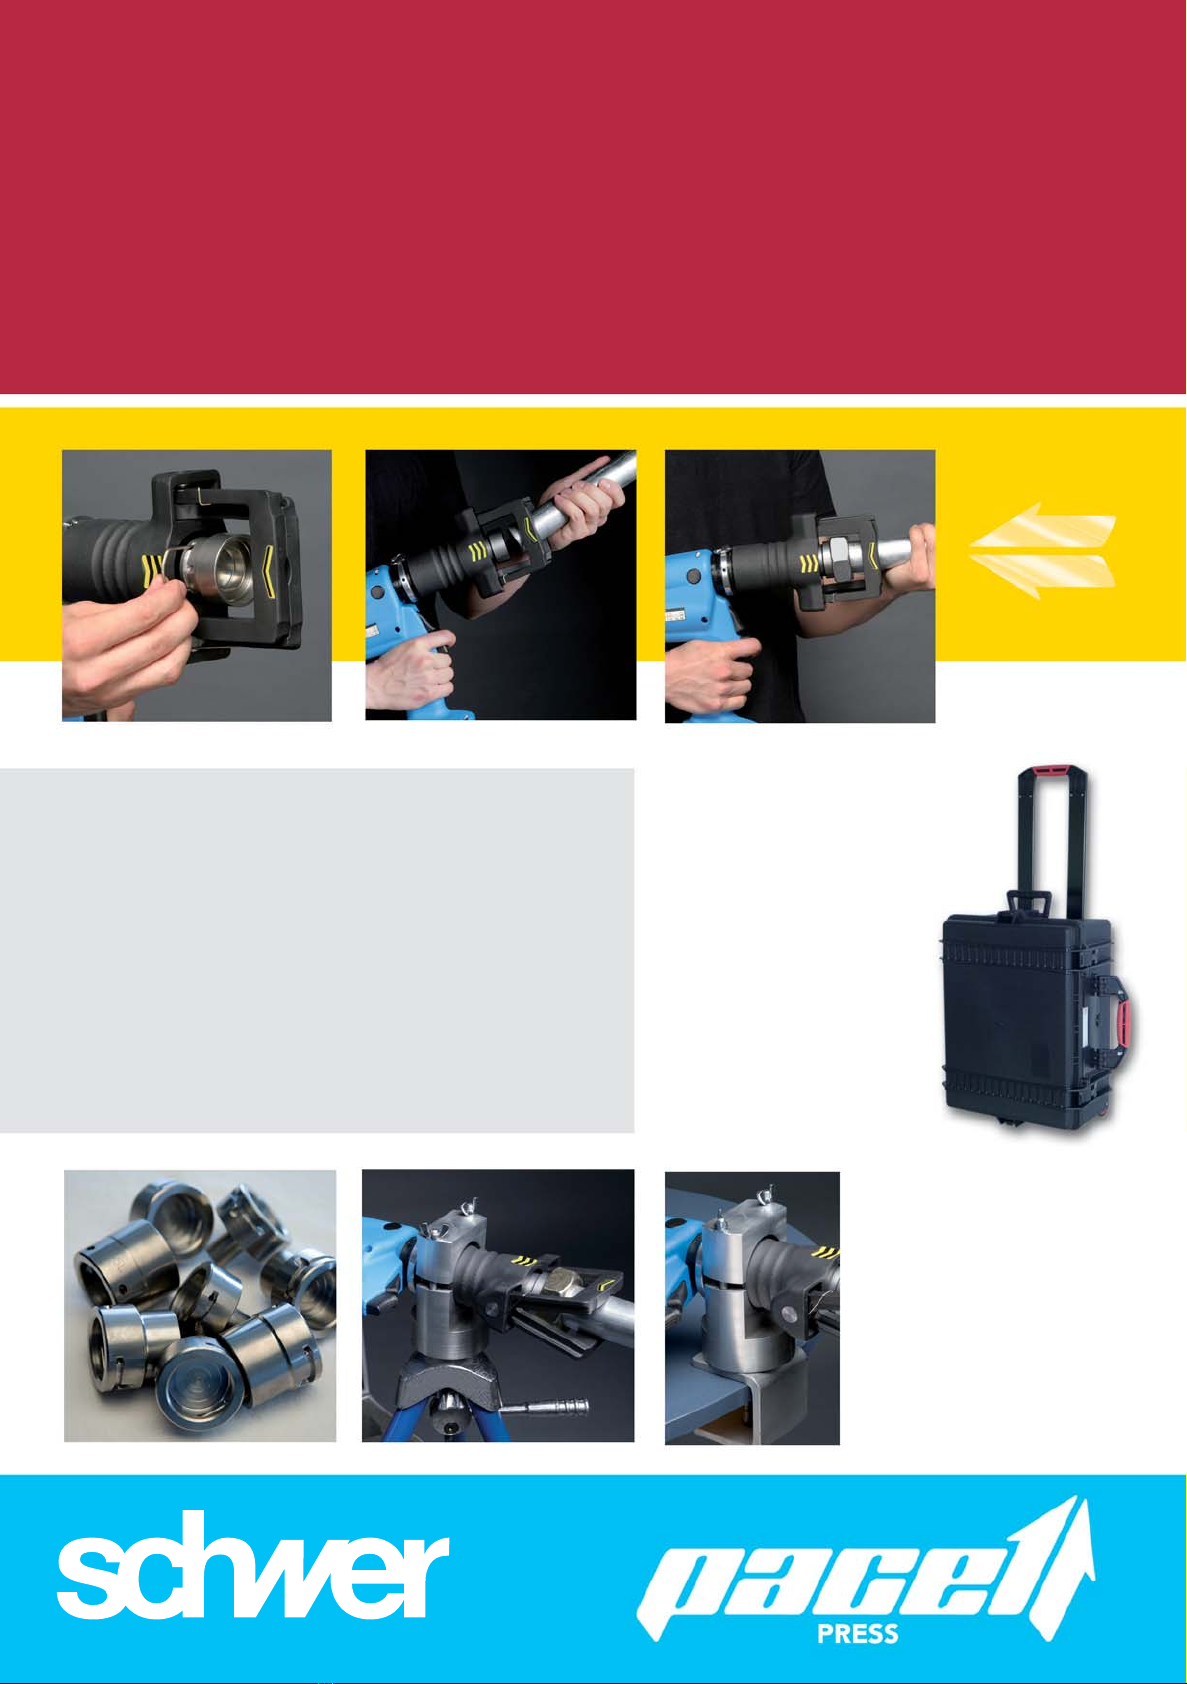
Specific safety instructions
Pre-assembly machine
Do not put your fingers between piston and clamps when operating the machine.
Risk of injury.
Disposal
If you want to dispose this product, do not mix it with general household
waste. There is a separate collection system for used electronic products
in accordance with legislation that require proper treatment, recover and
recycling.
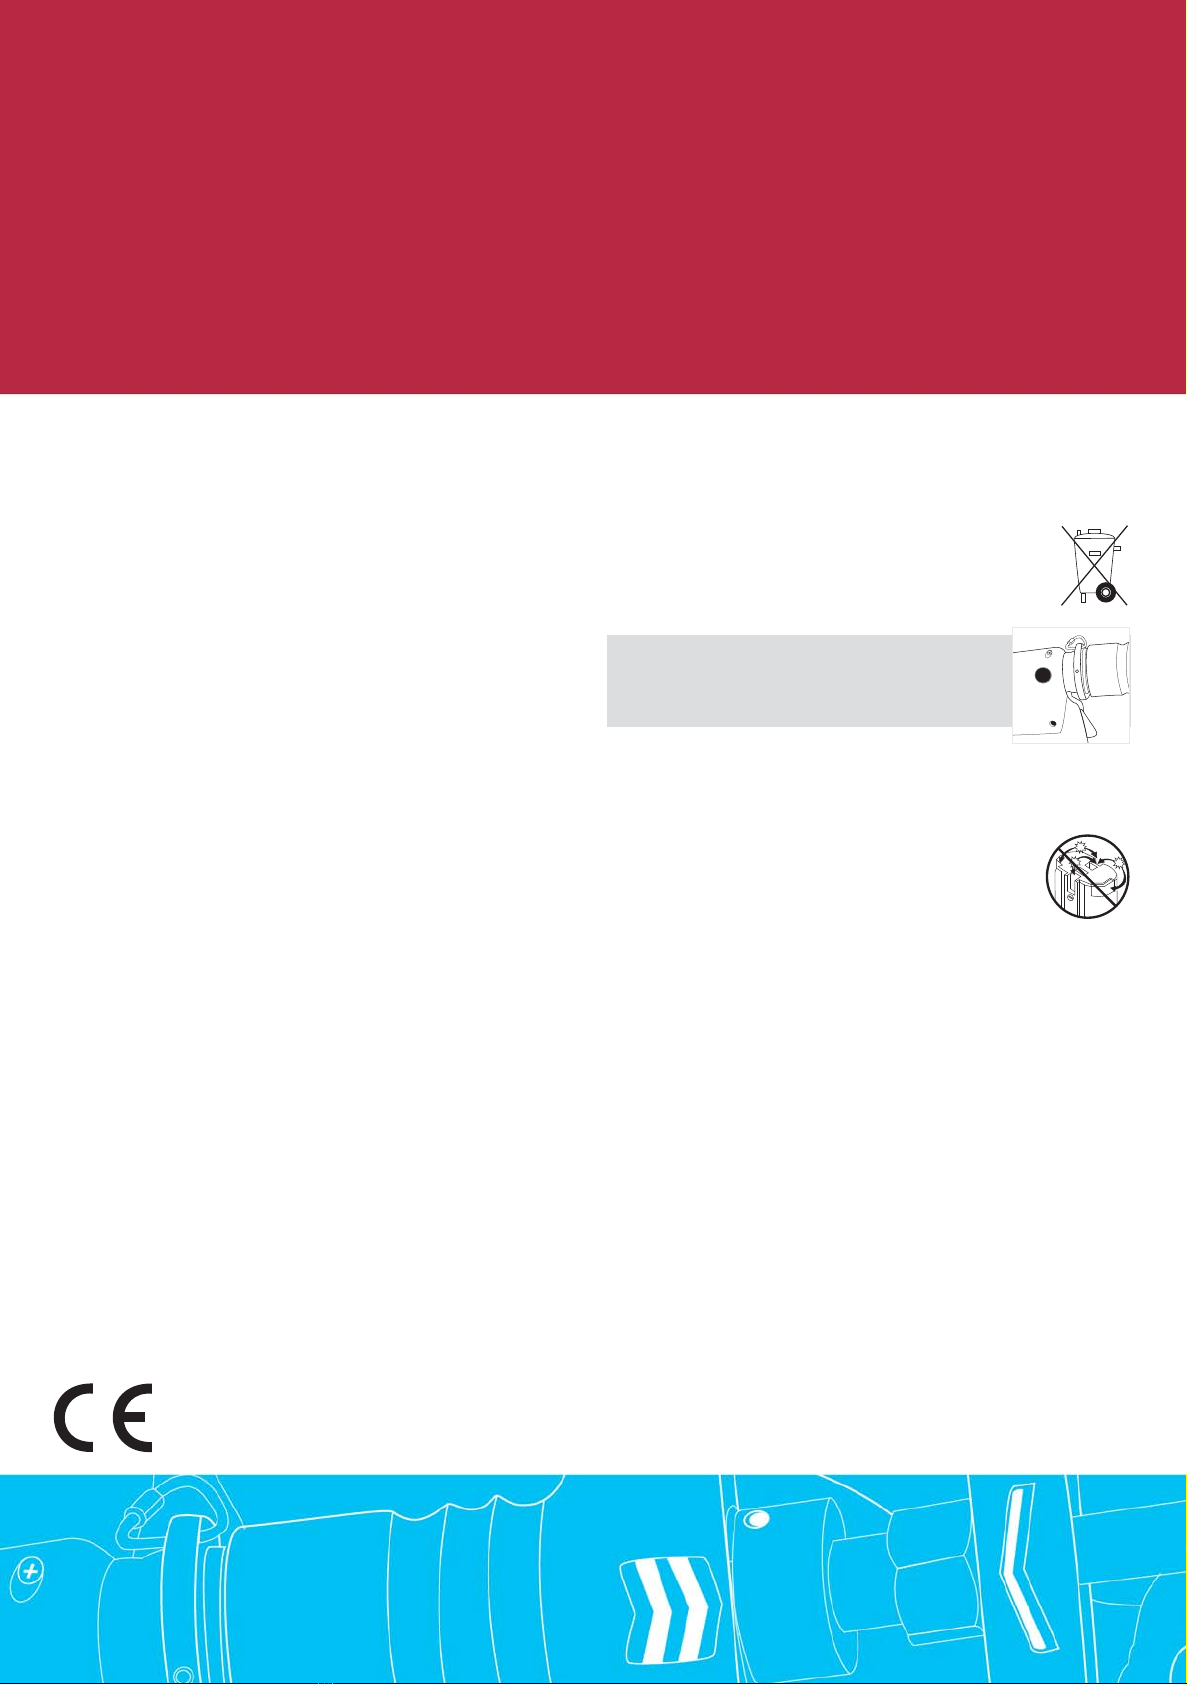
Warning
Do not remove the screw placed under the black plastic cap,
because the internal hydraulic pressure can reach 700bar during
normal use (this screw is only used by authorized technicians for
controlling the pressure)
Battery
The tool is supplied with unloaded batteries. Before using, load batteries by using the
charger supplied with the tool. Before a prolonged stocking, recharge battery.
Never short-circuit the connectors of a battery.
The battery pack contains dangerous products. Recycling of Ni-MH
rechargeable batteries must be made in conformity with dispositions
defined in the European regulation 91/157/CEE. Please, return your
used battery to any authorized distributor or to an existing collection
station to ensure its recycling.
If you want to dispose this product, do not mix it with general household waste. There
is a separate collection system for used electronic products in accordance with legisla-
tion that requires proper treatment, recover and recycling.
Charger
See battery charger instruction manual.
Advice
It is recommended to keep the tool away from dusty or rough places, in order to avoid
wrong working. Although this tool is robust, it must be handled with care. After use,
wipe the tool carefully and replace it in its case. In case of long storage, spray the me-
tallic parts of the tool with oil. Keep the tool inside, in a ventilated warehouse. Avoid fast
temperature changes, this can produce condensation.
Follow the Safety Instructions at work.
Schwer Fittings GmbH
Hans-Schwer-Platz 1
D-78588 Denkingen
Tel.: +49 (0)7424/9825-0
Fax: +49 (0)7424/9825-7900
info@schwer.com
www.schwer.com
RELIABLE
Pace1Press_GB 2016_Layout 1 12.09.16 14:21 Seite 7