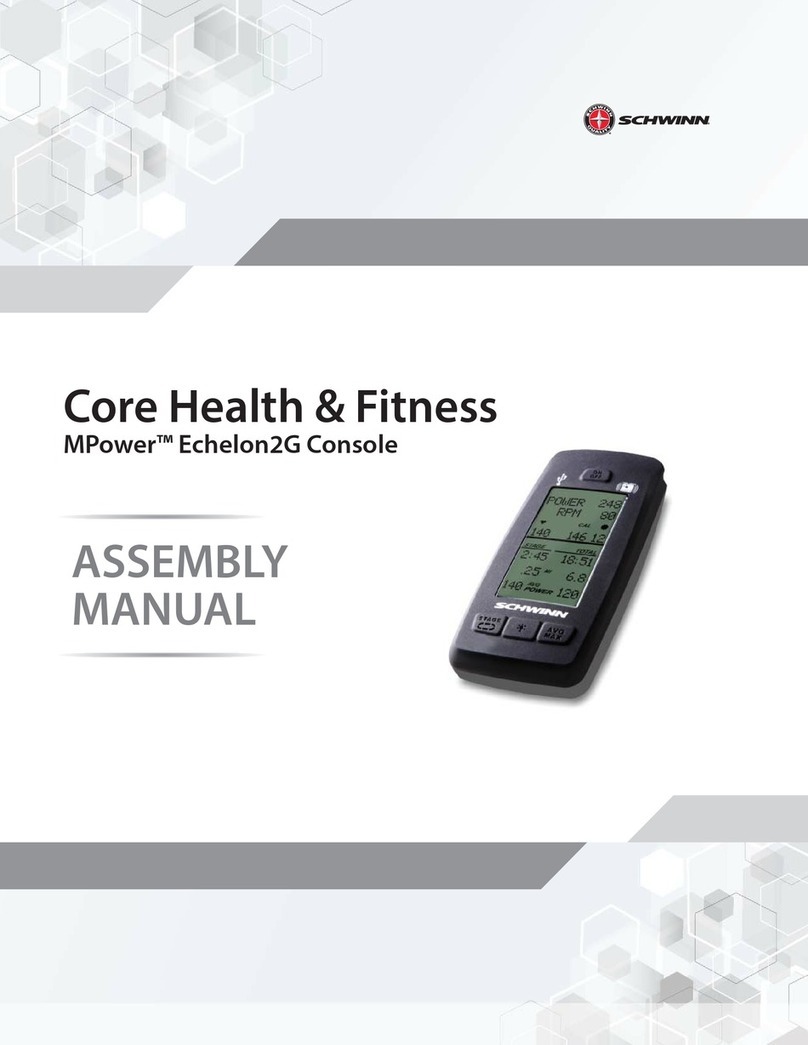
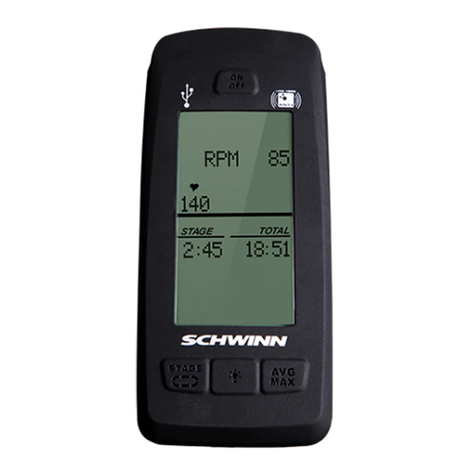
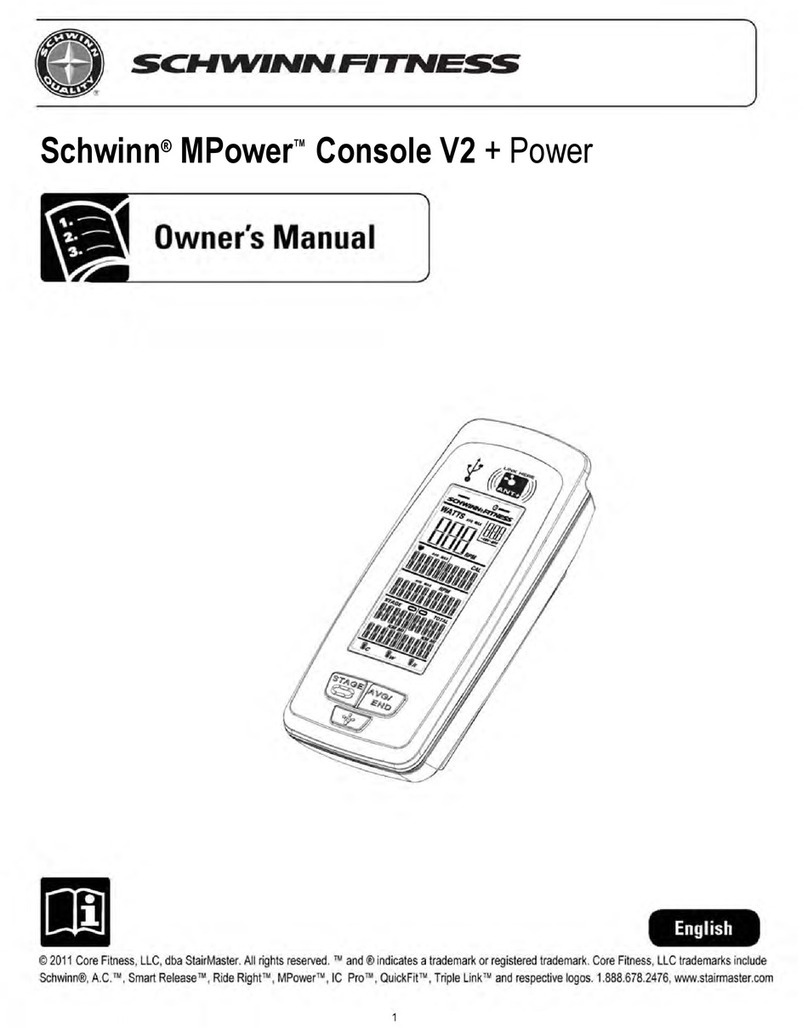
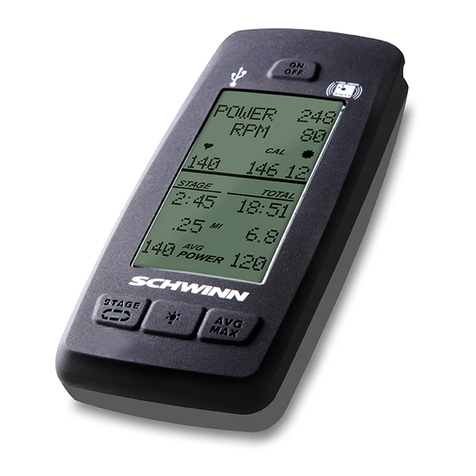
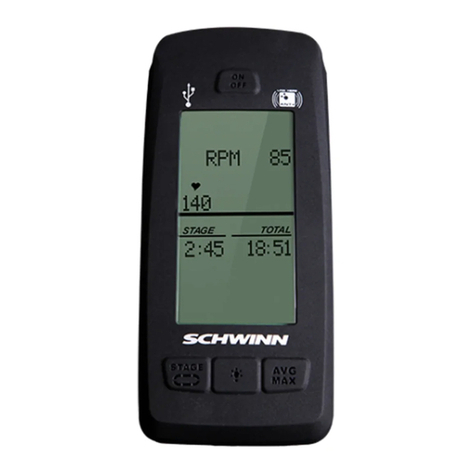
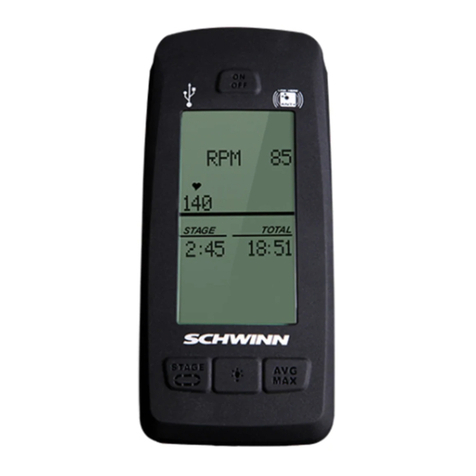
Schwinn MPower Console V2 User manual


Specifications
03RZHUCoQVROH9 6SHHG6ensor
Power Sensor Power Requirements
Patent Information:
2
5.25” (13.34 cm)
2.38” (6.03 cm)

Important Safety Instructions
Indicates a potentially hazardous situation which, if not avoided, could result in death or serious injury.
Before using this equipment, obey the following warnings:
Read and understand the complete Owner’s Manual. Keep Owner’s Manual for future reference.
Read and understand all warnings on this machine. If at any time the Warning stickers become loose, unreadable or
dislodged, contact StairMaster Customer Service for replacement stickers.
ss
sChildren must not be let on or near to this machine. Moving parts and other features of the machine can be dangerous to
children
••
•Consult a physician before you start an exercise program. Stop exercising if you feel pain or tightness in your chest, become
short of breath, or feel faint. Contact your doctor before you use the machine again. Use the values calculated or measured
by the machine’s computer for reference purposes only.
••
•If you have a pacemaker or other implanted electronic device, consult your doctor before using a wireless chest strap or
other telemetric heart rate monitor.
••
•Do not use or put the machine into service until the machine has been fully assembled and inspected for correct
performance in accordance with the Owner’s Manual.
••
•Read and understand the complete Owner’s Manual supplied with the machine before first use. Keep the Owner’s and
Assembly Manuals for future reference.
FCC Compliance
Changes or modifications to this unit not expressly approved by the party responsible for compliance could void the
user’s authority to operate the equipment.
Note: This device complies with Part 15 of the FCC Rules. Operation is subject to the following two conditions:
(1) this device may not cause harmful interference, and (2) this device must accept any interference received,
including interference that may cause undesired operation. These limits are designed to provide reasonable
protection against harmful interference in a residential installation. This equipment generates uses and can
radiate radio frequency energy and, if not installed and used in accordance with the instructions, may cause
harmful interference to radio communications. However, there is no guarantee that interference will not occur
in a particular installation. If this equipment does cause harmful interference to radio or television reception,
which can be determined by turning the equipment off and on, the user is encouraged to try to correct the
interference by one or more of the following measures:
••
•Reorient or relocate the receiving antenna.
••
•Increase the separation between the equipment and receiver.
••
•Consult the dealer or an experienced radio/TV technician for help.

A
1
A2
A
3
A
4
A
7
A
6
A
5

A1 KM / MPH (Speed)
A2 WATTS (Power)
A5 STAGE Time and Distance
A3 KCAL (Calories)
A6 RPM (Cadence)
A4 TOTAL Time and Distance
A7 Heart Rate
Note: If you need to change the measurement units to English Imperial or metric, refer to the User Setup
section of this manual.
6SHHG
The Speed display eld shows the estimated speed of the bike in kilometers per hour (KM/H) or miles per hour (MPH).
To view the average speed during Workout Mode, tap the AVG/END button.
:DWWV
The WATTS display eld shows the power that you are producing at the current resistance level (1 horsepower = 746 watts).
WATTS data only shows if there is a power sensor installed on the bike.
To see the average watts during Workout Mode, tap the AVG/END button.
+HDUW 5DWH
The Heart Rate display eld shows the heart rate in beats per minute (BPM) from the heart rate monitor (HRM). The heart icon
ashes when the console receiver senses the HRM signal. If the console receiver does not sense the HRM, the center of the
heart icon is on solid.
If the console receiver senses an Ant+ HRM signal, there is an outline around the heart icon. The outline does not ash. If the HRM
signal is a standard EM 5kHz pulse signal, there is not an outline around the icon.
To see your average heart rate during Workout Mode, tap the AVG/END button.
Consult a physician before you start an exercise program. Stop exercising if you feel pain or tightness in your chest,
become short of breath, or feel faint. Contact your doctor before you use the machine again. Use the values calculated or
measured by the machine’s computer for reference purposes only.
&DORULHV
The Calories display eld shows the estimated calories that you have burned during the exercise.
If the bike does not have a Power Sensor, the console calculates the calories from the heart rate data from the HRM.
530
The RPM display eld shows the current pedal revolutions per minute (RPM).
To see the average RPM during Workout Mode, tap the AVG/END button.
For bikes that do not have a Power Sensor installed, the RPM eld is also the user weight input eld during User Setup Mode. The
console will show error messages in this eld if an error occurs.
:RUNRXW 6WDJH
The STAGE display eld shows the time and distance in the current Stage of the workout. The display values start at zero and
count forward until the end of the Stage. At each Stage in the workout, the Stage icon shows the Stage number with the number of
segments that are on:

Workout Totals
The TOTAL display field shows the total time and distance results at the end of the workout. The Total icon is lit during Workout Mode.
LCD + and – Icons
The + and – (plus and minus) icons on the LCD flash to prompt the user to enter their weight during User Setup Mode. The
icons turn off when not in use.
Keypad
The multi-function keypad lets you set the console measurements for your workout, see and update your workout data, and
examine the console diagnostic messages. Tap any button to activate the console from Sleep Mode. The Operations section of
this manual gives the procedures for using the buttons in each Operations mode. The Backlight button sets your selections in
User Setup Mode and Service Mode.
Alerts
The Console icons and LCD display messages show the status of the console and sensor operations.
Battery Level
The Battery Level icon show the battery level for each component of the console-sensor system. All 4 segments of the icon are on when
the battery level is high. When the battery level is low, only the bottom segment is on. The bottom segment flashes when battery
level is very low.
If the battery level is too low to continue operation, the console display flashes the message "LO batt" and the console goes into Sleep Mode.
If this occurs during a workout, the workout stops and the console display shows the workout results for 10 second. Then the "LO batt" message
shows and the console goes into Sleep Mode.

Error messages tell you when there is a problem in the bike's operation:
Errors

Operations
Sleep Mode
The console automatically goes into Sleep Mode to conserve the battery:
••
•if there is no activity for 45 seconds after User Setup.
••
•after Display Results.
••
•if Workout Mode pauses and there is no activity for 5 minutes.
Push any button to activate the console from Sleep Mode.
User Setup
When the console is in Sleep Mode, push any button to go to User Setup mode.
During User Setup Mode the console collects the necessary user data to calculate and record your workout data. Proximity linking
to the user’s HRM or Ant+ watch occurs while in User Setup.
If the console does not find a USB storage device or Ant+ watch, the arrow icons on the console blink. Use the appropriate
instruction for your monitoring equipment.
••
•USB storage device—install the device in the USB port. When the console senses the device, the USB arrow indicator
stays on.
ss
sAnt+ watch—link to the console. Move the watch to 2–4" (5–10 cm) or less from the Ant+ Link Here logo on the console and
hold it there until the arrow stays on. The Ant+ arrow and watch indicators come on when proximity linking is complete.
ss
sAnt+ HRM—link to the console. Lean into the console so that the HRM is 7.5–31" (20–80 cm) from the Ant+ Link Here logo,
until the arrow stays on. The Ant+ arrow indicator comes on when proximity linking is complete. If the Ant+ indicator is not
on, the console uses EM 5kHz signal to calculate HRM.
Note: If you have an Ant+ Sport Watch and paired Ant+ HRM, it is only necessary for the the console to link
with the sport watch. However, if you have an Ant+ Sport Watch and EM 5kHz HRM, the console links to
the watch and the HRM.
When the Cadence decreases to less than 5 RPM for 3 seconds or more, the console pauses and the LCD Display shows the last workout
data values. If you stay paused for more than 5 minutes, the workout stops and the console goes to Display Results mode.
To set the STAGE time and STAGE distance back to zero for a new stage in the workout, tap the STAGE button. The TOTAL time and TOTAL
distance continue the total measurement for the workout.
To end the workout, push the AVG/END button and hold for 3 seconds. The console goes to Display Results mode.

!NT
7ATCH
(2-
For bikes that do not have a Power Sensor installed, user weight data is necessary to calculate the Calories during the workout. If
the console does not get the weight data from a device, you must manually set the weight value. The + and – icons on the LCD flash,
and the RPM field displays 170 lbs. (80 kg). Use the STAGE (–) and AVG/END (+) buttons to adjust the number to your weight.
Note: To change the weight units to English Imperial or metric:
••
•Push the STAGE and AVG/END buttons for 5 seconds to go to Service Mode.
••
•Tap the AVG/END button until you see the UN menu option, and push the Backlight button.
••
•Push the STAGE or AVG/END button to see the UN menu options—UN0 (metric) and UN1
(Imperial). Push the Backlight button to set the units measure.
••
•The console goes back to the Service Mode menu and the UN menu option appears. Tap the
STAGE or AVG/END button until you see the “– –” (exit) option in the Service Menu.
••
•Push the Backlight button to go back to User Setup Mode.
Push the Backlight button to record your weight.
During User Setup (while RPM is less than 80), it is possible to lose the proximity linking to an Ant+ watch or Ant+ HRM if you move
too far away from the Console. If this occurs for the Ant+ watch, the Ant+ watch indicator flashes. If this occurs for the Ant+ HRM,
the HR display field shows 0 (zero). You must do the proximity linking procedure again.
If Workout Mode does not start in 45 seconds, there is no keypad activity and RPM is less than 5, the console returns to Sleep Mode.
Workout Mode
After User Setup is complete, start pedaling the bike. When the Cadence RPM increases to 80 RPM or more, the console goes into
Workout Mode. The Workout STAGE and TOTAL icons come on and the workout measurements start.

Display Results
Device Pairing
2. Push the STAGE and AVG/END buttons for 5 seconds to go to Service Mode.
3. Tap the AVG/END button until you see the Power menu option, and push the Backlight button.
4. Push the STAGE or AVG/END button to see the Power submenu options—Sport (not power enabled) and Perform (power enabled).
••
•If you have a Power Sensor, go to the Perform option and push the Backlight button to set.
••
•If there is no Power Sensor, go to the Sport option and push the Backlight button to set.
5. The console goes back to the Service Mode menu and the Power menu option appears.
6. Make sure that the switch (U) on the Speed Sensor is set to S (speed).
7. Push the pairing buttons on the Console (L1), the Speed Sensor (L2) and the Power Sensor (L3), if applicable.
8. The console display shows PPP and the time display counts down from 0:35 (seconds).

A45 Process Status (Speed Sensor)
A46 Process Status (Power Sensor)
A43 Pairing A47 Countdown Timer (Power Sensor)
A44 Countdown Timer (Speed Sensor) A48 Pairing Indicator
9. The Process Status indicator(s) on the console display shows “– – –” while the Pairing operation continues.
If Pairing is completed satisfactorily, the console display shows PASS.
The circuit board inside the Power Sensor cover has 2 color LEDs — 1 green and 1 red. The 2 LEDs come on during
the Pairing operation. While the operation continues satisfactorily, the green LED is on. When Pairing is completed
satisfactorily, both LEDs turn off. If the Pairing operation is not completed satisfactorily, only the red LED stays on.
If the Pairing operation is not completed satisfactorily, the console display shows FAIL. Push the pairing button on the
console (L1). Then do the Device Pairing procedure again.
10. When the Pairing procedure is completed, push the Backlight button to go back to the Service Menu.
If the Pairing operation was not completed satisfactorily, the console display shows the P– – menu option again. Push the
pairing button on the console (L1). Then do the Device Pairing procedure again.
11. Tap the STAGE or AVG/END button until you see the “– – –” (exit) option in the Service Menu, and push the Backlight button.
12. Install the console and sensors on the bike. Refer to the MPower™ installation guides.
Device Pairing for Multiple Bikes
For Schwinn A.C.™ bikes with MPower™ Consoles in a group setting, make sure to set up Device Pairing for only one bike at a time
to prevent crosstalk between the devices on different bikes.
NOTICE: When you remove the handlebars (with console) to clean them, make sure that you install them again
on the same bike to keep the Device Pairing correct. If you install the handlebars and console on a
different bike, the console does not read data from the correct sensors.
Recommendation: You can put number labels on the bikes and handlebars to make sure that the Device Pairing stays
correct.
A
45
A
48
A
47
A
46
A
44
A
43


Battery Status Icon Console Speed Sensor Power Sensor Voltage
4 segments 80–100% 80–100% 1.5V or more
3 segments 60–80% 60–80% 1.3–1.499V
2 segments 40–60% 40–60% 1.1–1.299V
1 segment 20–40% 20–40% 0.9–1.099V
1 segment flashing less than 20% less than 20% less than 0.9V
If the battery level is low, refer to the instructions for battery replacement in this manual.
System
This option in the Service Mode menu lets you inspect maintenance data in the console and adjust settings in the EEPROM
firmware through the submenu options:
••
•Summary—Console setup summary
••
•Reset—Console “Reset” function for technician to update the firmware.
••
•Active RPM—Active speed option lets you change the 80 RPM threshold (default value) for the console to start Workout Mode.
••
•Error History—Error history
••
•Backlight—Backlight options
••
•Back—Exit
Summary
Displays usage hours, distance, and console
firmware version.
When you select the submenu option for a specific battery (AP1, AP2, or AP3), the console shows the level of that battery.

Error History
A1
A2
A3
If the battery level is low, refer to the instructions for battery replacement in this manual.
System
Error Message: The error message shows as "Exx". If there is no error (current operation is completed correctly), the display shows as "--".
Error Count: Number of times that error occurred.
Error Sequence: Sequence in error history - 1 is newest; 10 is oldest..
Error Count
A
1 Error Message A3 Error Sequence
A
2
Tap the STAGE or AVG/END button to look through the sequence of error messages in the error history.
Push and hold the AVD/END button for 3 seconds to clear the Error Count for the specified error message.

Sets the operation so that you must push the Backlight button to turn on the
backlight. The length of time the backlight stays on can be adjusted.
Sets the operation so that the backlight comes on and stays on when the
console is on.
USB
This option on the Service Mode menu sets the USB function to: ON or OFF
The Export Data option is only for the Service Technician to download system data (EP0 and EPN display data) to a USB device.
Data Export to USB Storage Device
To record the console system data on a USB storage device, connect the USB device to the console and go to the U03 option
Allows changes to Backlight
functions.
Backlight
Allows changes to Backlight functions.
Timer:
ON:

IC Class Setup
4O USE 3CHWINN !#Í BIKES WITH -0OWERÍ CONSOLES IN A GROUP SETTING MAKE SURE TO LEAVE SUFFICIENT SPACE BETWEEN THE BIKES
TO PREVENT INTERFERENCE IN THE PROXIMITY LINKING OF THE CONSOLE AND THE RIDERS (2- AND !NT 3PORT 7ATCH 2EFER TO THE )# CLASS
FLOORPLAN BELOW FOR THE DISTANCE BETWEEN BIKES
: 4HE PROXIMITY LINKING ZONE FOR THE CONSOLE AND THE (2- AND !NT 3PORT 7ATCH AND (2-
: 4HE TRACKING ZONE FOR THE CONSOLE TO SENSE THE (2- AND !NT 3PORT WATCH AFTER PROXIMITY LINKING IS COMPLETE
Note: 4HE TRACKING ZONE FOR AN %- K(Z (2- IS APPROXIMATELY CM

Maintenance
%QUIPMENT MUST BE REGULARLY EXAMINED FOR DAMAGE AND REPAIRS 4HE OWNER IS RESPONSIBLE TO MAKE SURE THAT REGULAR
MAINTENANCE IS DONE 7ORN OR DAMAGED COMPONENTS MUST BE REPLACED IMMEDIATELY OR THE EQUIPMENT REMOVED FROM
SERVICE UNTIL THE REPAIR IS MADE /NLY MANUFACTURER SUPPLIED COMPONENTS CAN BE USED TO MAINTAIN AND REPAIR THE
EQUIPMENT
4HIS PRODUCT ITS PACKAGING AND COMPONENTS CONTAIN CHEMICALS KNOWN TO THE 3TATE OF #ALIFORNIA TO CAUSE CANCER BIRTH
DEFECTS OR REPRODUCTIVE HARM 4HIS .OTICE IS PROVIDED IN ACCORDANCE WITH #ALIFORNIAS 0ROPOSITION )F YOU WOULD LIKE
ADDITIONAL INFORMATION PLEASE REFER TO OUR 7EB SITE AT WWWNAUTILUSCOMPROP
"EFORE EACH USE INSPECT THE EXERCISE MACHINE FOR LOOSE BROKEN DAMAGED OR WORN PARTS $O NOT USE IF FOUND
IN THIS CONDITION REPAIR OR REPLACE ALL PARTS AT THE FIRST SIGN OF WEAR OR DAMAGE !FTER EACH USE USE A DAMP
CLOTH TO WIPE YOUR EQUIPMENT AND COMPUTER FREE OF SWEAT
Important: 4O AVOID DAMAGING THE FINISH ON YOUR BIKE AND CONSOLE NEVER USE A PETROLEUMBASED SOLVENT
WHEN CLEANING !VOID GETTING EXCESSIVE MOISTURE ON THE CONSOLE
2EPLACE THE BATTERIES EVERY YEAR AS NECESSARY
ss
s#ONSOLE # BATTERIES ,2
ss
s3PEED 3ENSOR #2 BATTERY
ss
s0OWER 3ENSOR IF INSTALLED !! BATTERY ,2
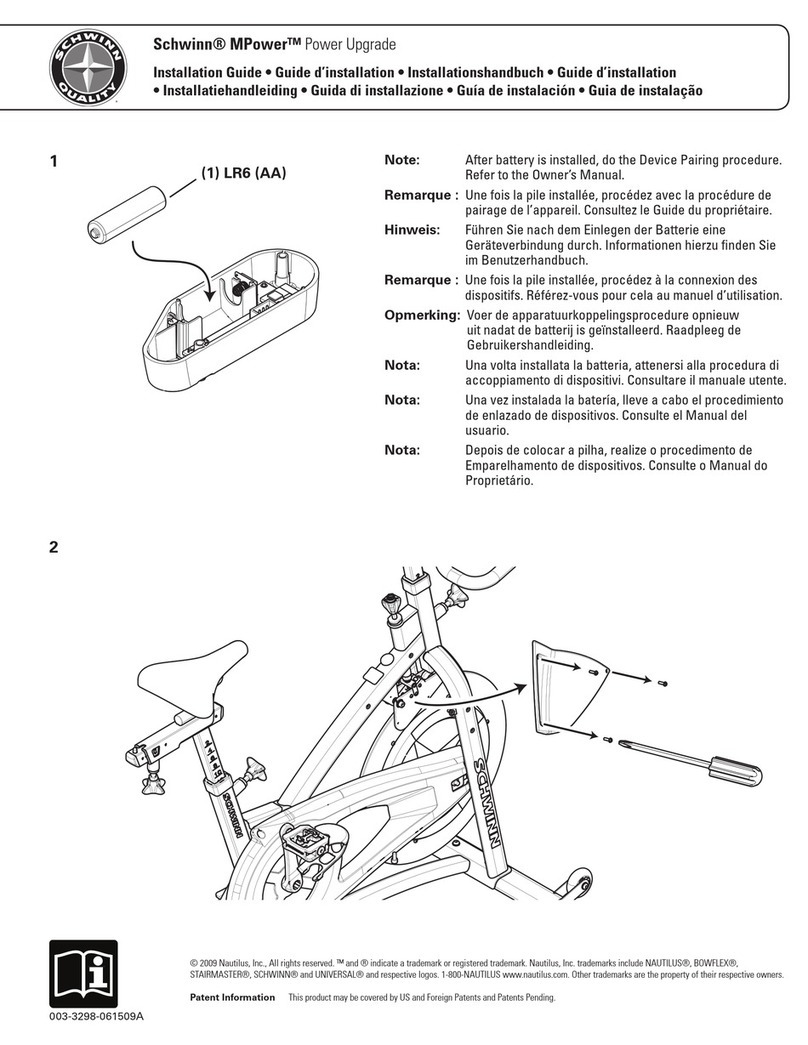
Replacing the Console Batteries
)F YOU NEED TO REPLACE THE BATTERIES IN THE CONSOLE
ss
s2EMOVE THE SCREW THAT ATTACHES THE END OF THE CONSOLE BRACKET TO THE BACK OF THE CONSOLE
ss
s-OVE THE CONSOLE UP ALONG THE CONSOLE BRACKET TO OPEN THE BATTERY BAY
ss
s2EMOVE THE OLD BATTERIES
ss
s0UT THE NEW BATTERIES IN THE CONSOLE -AKE SURE THAT THEY POINT IN THE CORRECT DIRECTION AND n
ss
s-OVE THE CONSOLE DOWN THE CONSOLE BRACKET TO CLOSE THE BATTERY BAY
ss
s!TTACH THE CONSOLE TO THE CONSOLE BRACKET WITH THE SCREW

Replacing the Speed Sensor Battery
)F YOU NEED TO REPLACE THE BATTERIES IN THE SPEED SENSOR
ss
s2EMOVE THE SCREWS THAT ATTACH THE SPEED SENSOR TO THE FRONT OF THE CHAINGUARD
ss
s2EMOVE THE SMALL SCREW THAT ATTACHES THE INNER SENSOR HOUSING TO THE OUTER HOUSING
ss
s3LIDE THE INNER HOUSING OFF THE OUTER HOUSING 4HE BATTERY HOLDER IS IN THE INNER HOUSING
ss
s#AREFULLY SLIDE THE OLD BATTERY OUT OF THE BATTERY HOLDER
ss
s#AREFULLY SLIDE THE NEW BATTERY INTO THE BATTERY HOLDER -AKE SURE THAT YOU CAN SEE THE ICON ON THE BATTERY
ss
s)NSTALL THE INNER SENSOR HOUSING TO THE OUTER HOUSING WITH THE SMALL SCREW
ss
s!TTACH THE SENSOR TO THE CHAINGUARD WITH THE SCREWS
Other manuals for MPower Console V2
1
Table of contents
Other Schwinn Fitness Electronic manuals

Schwinn
Schwinn MPower User manual

Schwinn
Schwinn MPower Echelon2G User manual

Schwinn
Schwinn Echelon Console User manual

Schwinn
Schwinn MPower Echelon2 Power Upgrade Installation guide

Schwinn
Schwinn 4IIII Manual

Schwinn
Schwinn MPower Echelon2G Reference guide

Schwinn
Schwinn MPower Echelon2 Power Upgrade User manual

Schwinn
Schwinn MPower Echelon2 Power Upgrade User manual

Schwinn
Schwinn MPower Echelon2G User manual

Schwinn
Schwinn MPower Console V2 User manual