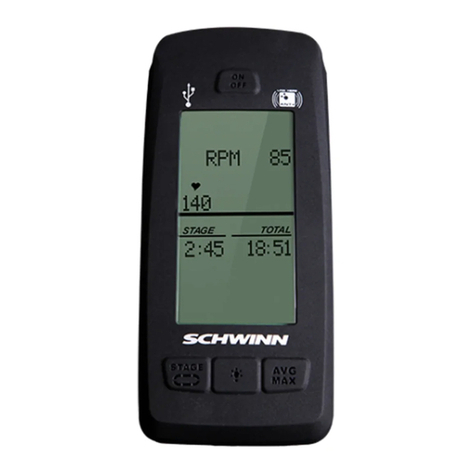
Schwinn MPower Echelon2G Reference guide
Other Schwinn Fitness Electronic manuals
Schwinn
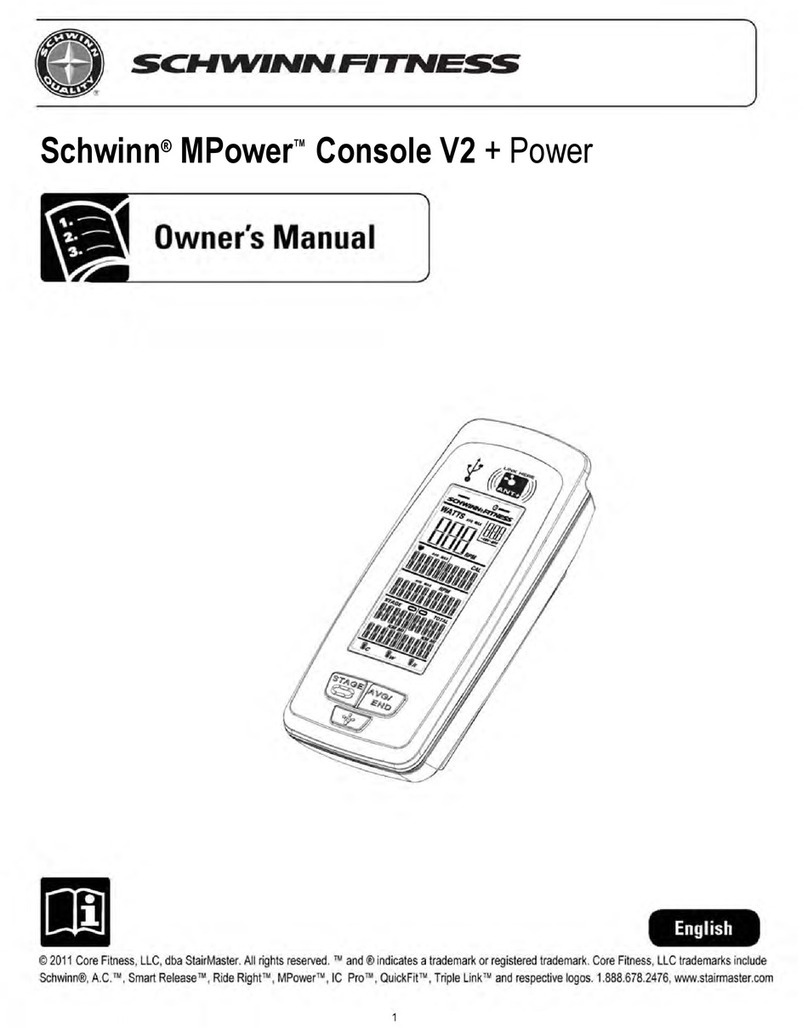
Schwinn MPower Console V2 User manual
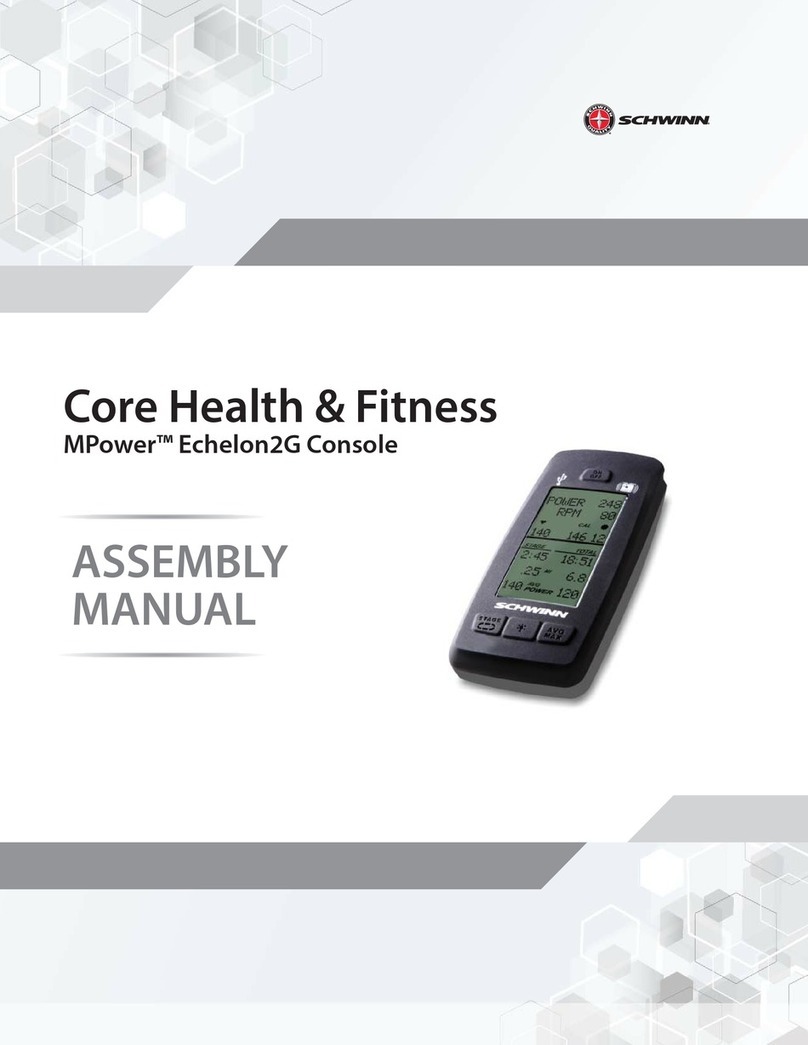
Schwinn
Schwinn MPower Echelon2G User manual

Schwinn
Schwinn MPower Console V2 User manual
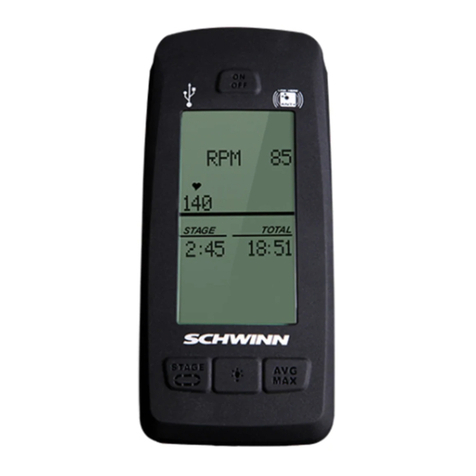
Schwinn
Schwinn MPower Echelon2 Power Upgrade User manual
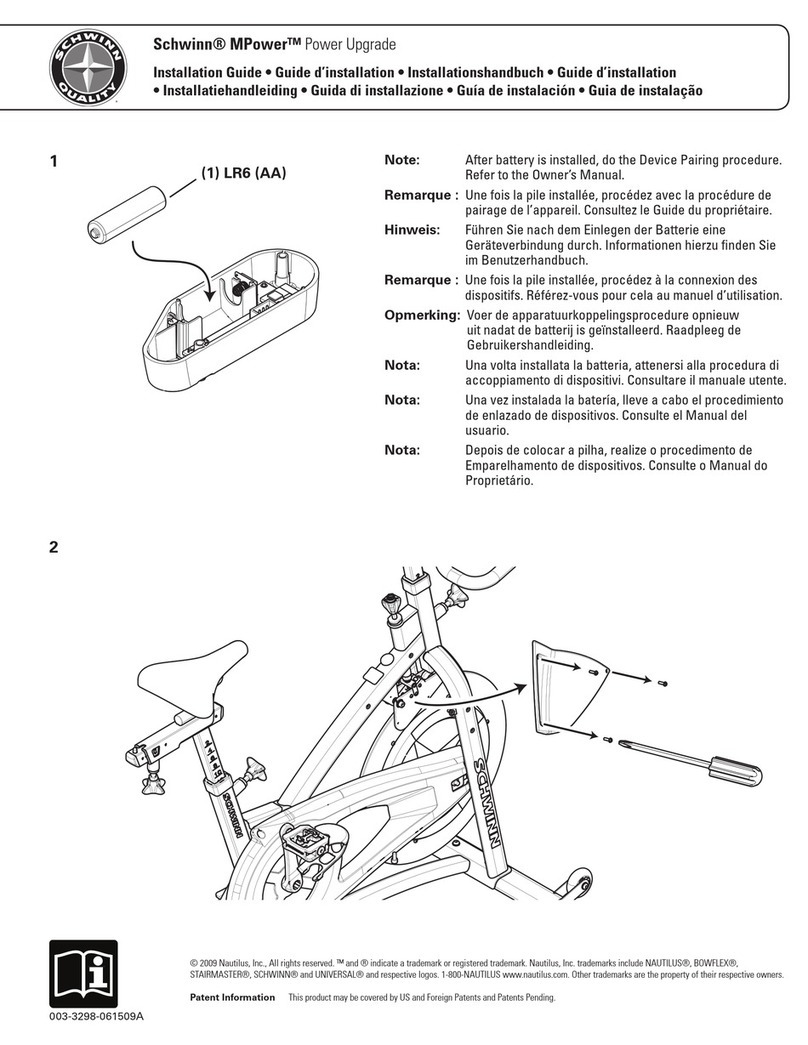
Schwinn
Schwinn MPower User manual
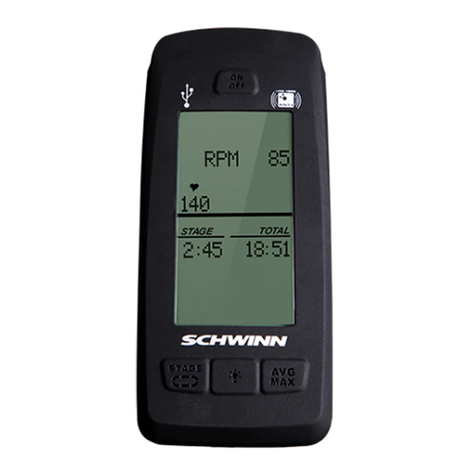
Schwinn
Schwinn Echelon Console User manual

Schwinn
Schwinn MPower Echelon2 Power Upgrade User manual
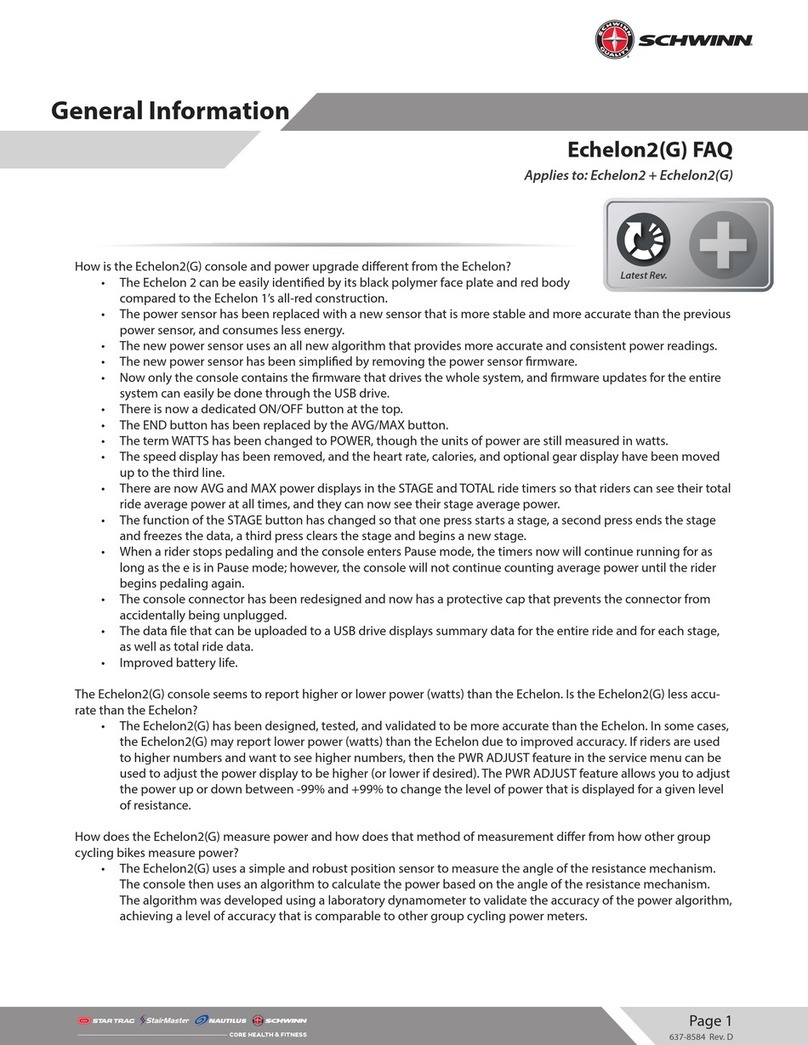
Schwinn
Schwinn MPower Echelon2 Power Upgrade Installation guide
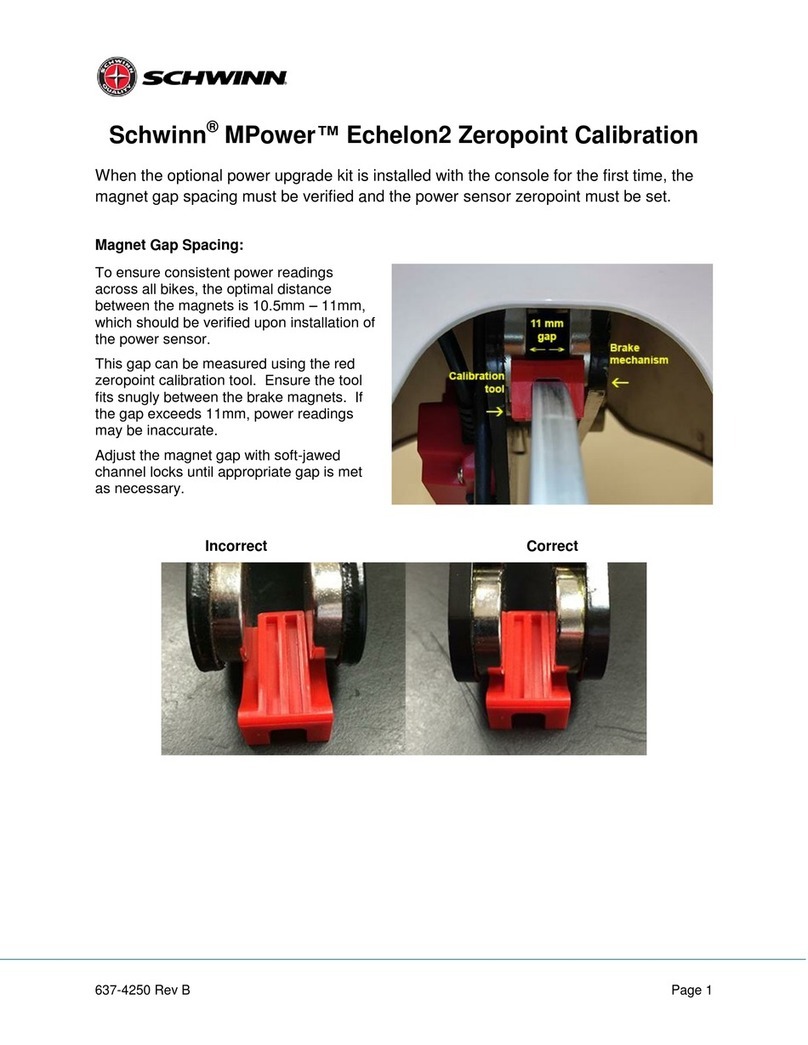
Schwinn
Schwinn MPower Echelon2 Power Upgrade Use and care manual
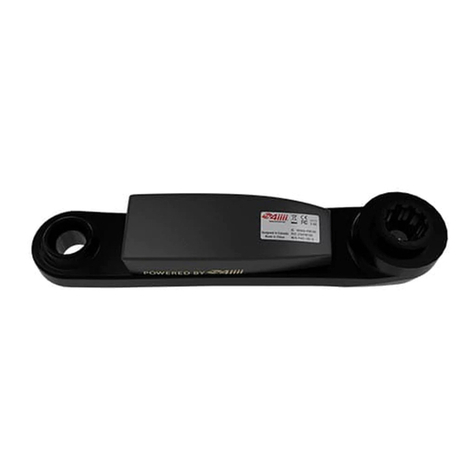
Schwinn
Schwinn 4IIII Manual
Popular Fitness Electronic manuals by other brands

Tunturi
Tunturi Platinum Pro user manual

ergoline
ergoline ergoselect 150 Operator's manual

Kettler
Kettler SM3635-68 Training and operating instructions

BH FITNESS
BH FITNESS G6424i manual

BodyMedia
BodyMedia DD100 manual

Octane Fitness
Octane Fitness ZERO RUNNER ZR7000 Console Guide & Set-Up Instructions
