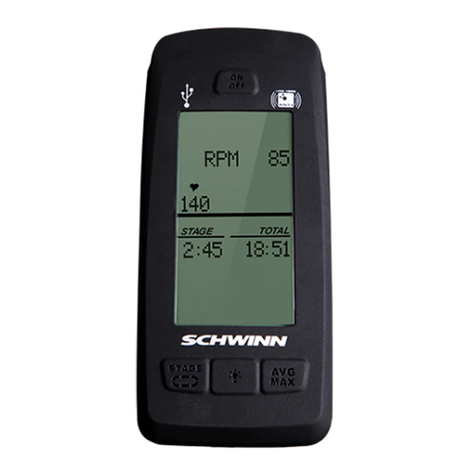
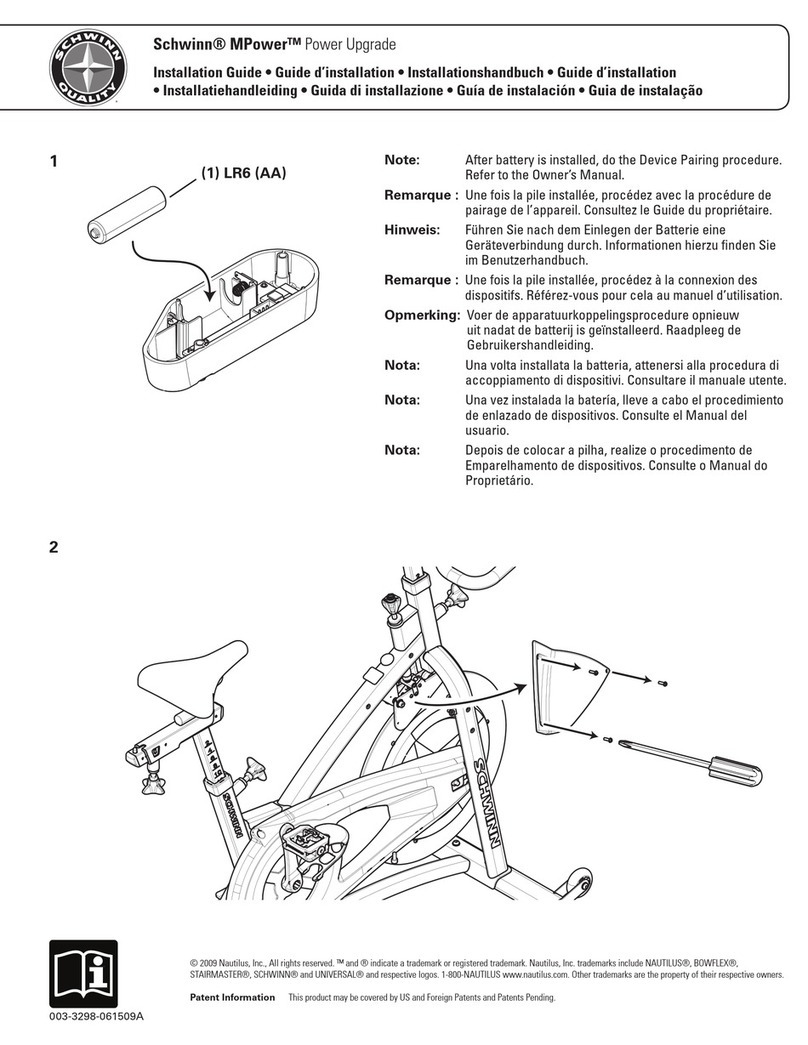
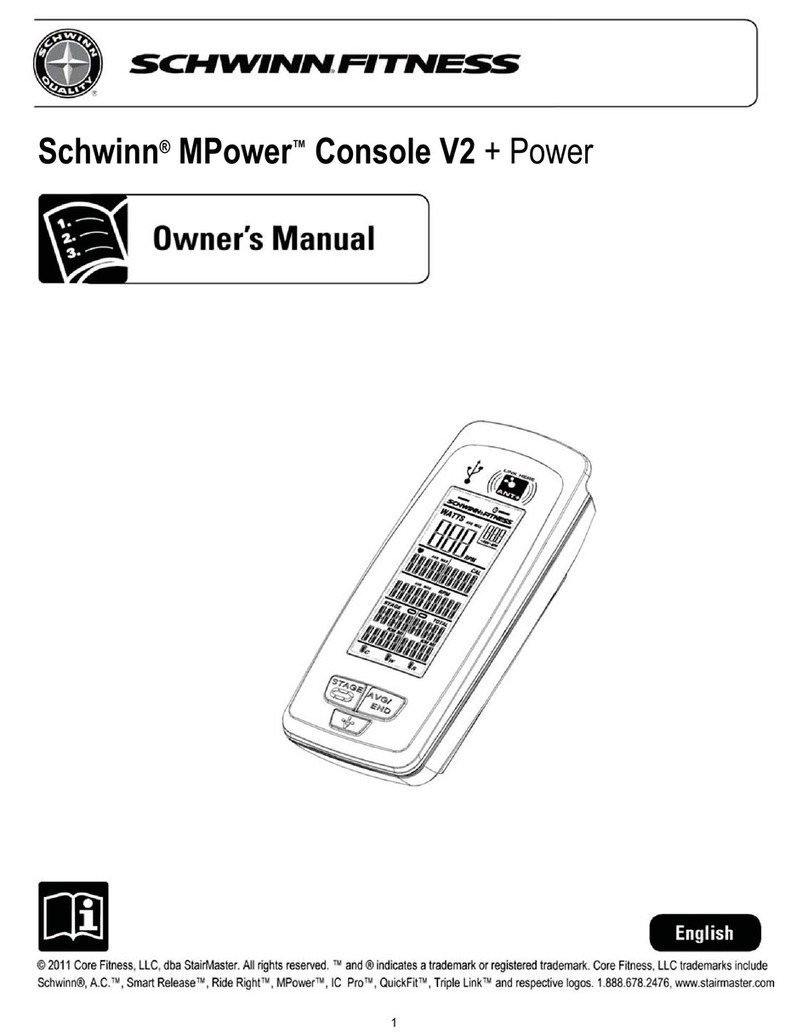
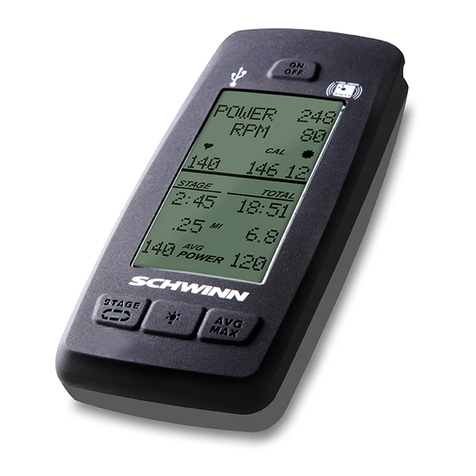
Schwinn MPower Echelon2G User manual

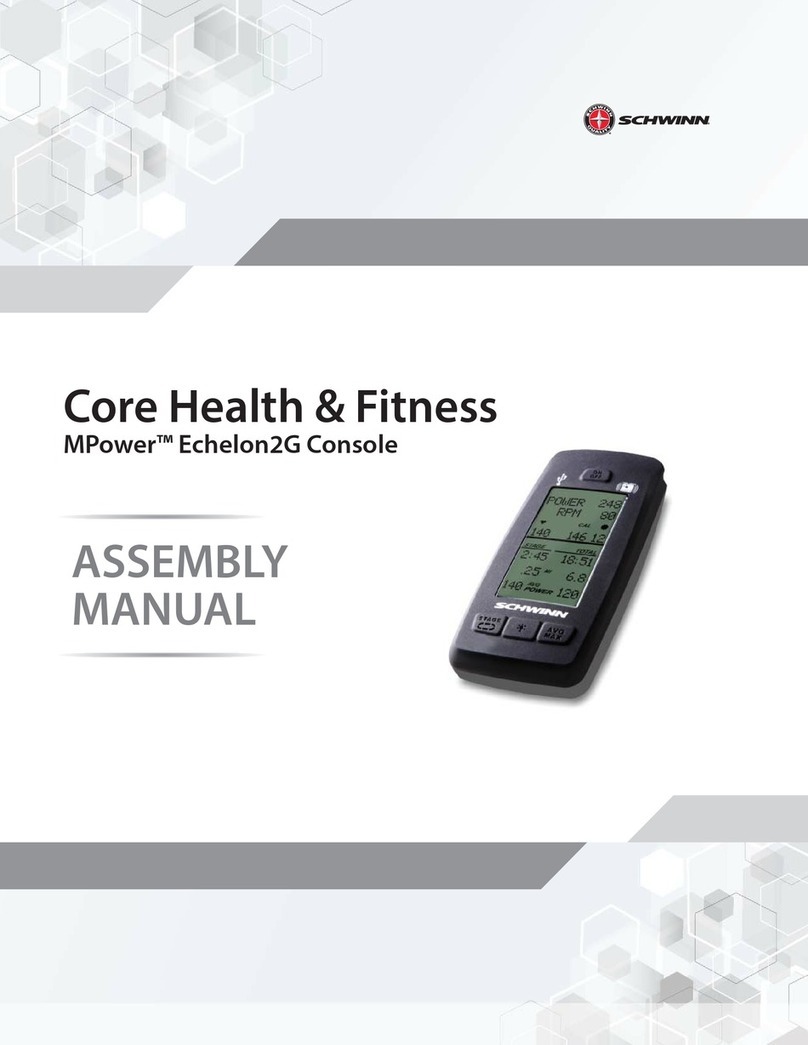
OWNER’S
MANUAL
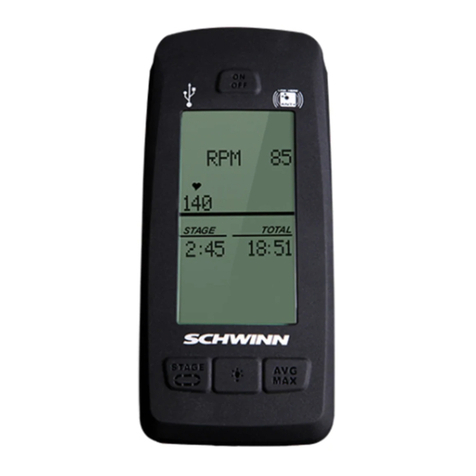
MPower™ Echelon2G Console
Core Health & Fitness

Page 2
Title Page and Table of Contents .......................................................................................... 1
INTRODUCTION ............................................................................................................................................. 3
SAFETY INSTRUCTIONS ............................................................................................................................................. 4
Compliance and Certications .......................................................................................... 5
Important Label Locations .......................................................................................... 6
SUPPORT AND SERVICE ............................................................................................................................................. 7
INSTALLATION ............................................................................................................................................. 7
CONSOLE FEATURES AND METRICS ............................................................................................................................................. 8
Console Operation ........................................................................................10
Detailed Description of Ride Metrics.......................................................................................14
Expectations for average Power, Calories, and Distance ..................................................16
SERVICE MENU ...........................................................................................................................................17
TROUBLESHOOTING ...........................................................................................................................................21
PREVENTATIVE MAINTENANCE ...........................................................................................................................................23
TABLE OF CONTENTS
Click any text to jump to section

Page 3
Congratulations on the purchase of the Schwinn MPower™ Echelon2G console! The Echelon2G con-
sole will add measurements to your Schwinn Power bike for an enhanced riding and training experi-
ence. The console is compatible with all Schwinn Power bikes.
Key features of the Echelon2G console:
Ease of use
• Press the ON/OFF button to activate the console and start riding with no minimum RPM
requirements, or need to do rider calibration.
Improved Accuracy and Reliability of Power Measurements
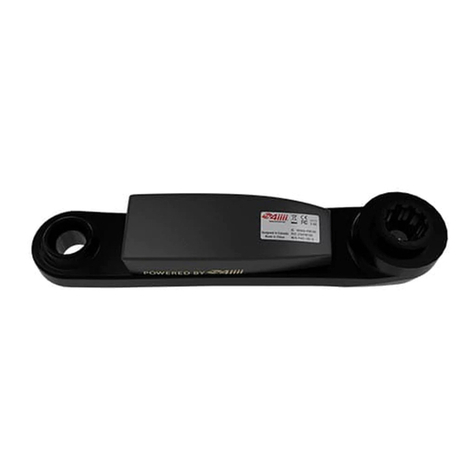
• The 4iii Powermeter gives the Echelon2G accuracy within a ±1.5% margin of error.
• Easy calibration process.
• Calibration is not aected by bike position or movement.
Data-rich Display
• Numerous ride metrics that are all displayed on one screen with no need to scroll between
multiple screens.
• Large, easy-to-read numbers.
• Multiple backlight and metric display options.
Connectivity
• Broadcasts the ANT+ Fitness Equipment prole.
• Compatible with ANT+ Bicycle power sensors.
• Compatible with ANT+ 2.4 GHz and un-coded analog 5.4 KHz heart rate monitors.
• Broadcasts metrics from the console to external group cycling display systems, and com-
patible watches via the ANT+ protocols.
• USB port that allows riders to insert a USB stick (must be formatted to FAT32) and record
ride data in Excel format.
• USB port also allows for easy uploading of new rmware.
Battery Life
• No batteries required
INTRODUCTION

Page 4
SAFETY INSTRUCTIONS
This symbol indicates a potentially hazardous situation, which, if not avoided, could result in
death or serious injury.
Read and understand the complete Owner’s Manual supplied with the device before using
the device. Keep the Owner’s Manual for future reference.

Page 5
Compliance and Certications
FCC Compliance
This equipment has been tested and found to comply with the limits for a Class B digital device,
pursuant to Part 15 of the FCC Rules. These limits are designed to provide a reasonable protection
against harmful interference in a residential installation. This equipment generates, uses and can
radiate radio frequency energy and, if not installed and used in accordance with the instructions,
may cause harmful interference to radio communications. However, there is no guarantee that inter-
ference will not occur in a particular installation. If this equipment does cause harmful interference
to radio or television reception, which can be determined by turning the equipment o and on, the
user is encouraged to try to correct the interference by one or more of the following measures:
• Reorient or relocate the receiving antenna.
• Increase the separation between the equipment and receiver.
Note: That changes or modications not expressly approved by the party responsible for compli-
ance could void the user’s authority to operate the equipment.
FCC ID: 06RFIT1
DO NOT dispose of this product as refuse. This product is to be recycled. For information on the
proper method of disposal, contact a Customer Service representative. For contact information see
page 7. For additional information, please visit: www.SchwinnEquipment.com.
• This console is for indoor use only.
• This device conforms to European safety standards
• This console is ANT+ certied.
NOTE: The users’ device must be ANT+ compatible and capable of receiving the data les broadcast
by the ANT+ chip. Users should consult with the documentation for their device, or check the ANT+
website at www.thisisant.com for compatibility.
Patent Information: This product may be covered by US and foreign patents and patents pending.

Page 6
Important Label Locations
FCC Warnings

Page 7
The Schwinn Support website provides a wealth of resources to help you get the best experience
from your Echelon2G. It is important to check the website periodically for rmware updates, updat-
ed video content, Owner’s Manual and Installation Instructions, Service Bulletins, and other informa-
tion. The resources include:
• Contact number and email for Schwinn Technical Support.
Go to https://support.corehandf.com/ for support information and information on all
Schwinn products.
• Console rmware updates. https://support.corehandf.com/Software/
• Updated Owner’s Manual, Installation Instructions, Service Bulletins, Instructional Videos,
and other information. https://support.corehandf.com/Product/?id=62
• On Facebook join the Schwinn Indoor Cycling Ocial Site for product and event updates.
Contact Information
CORE HEALTH & FITNESS
4400 NE 77th Avenue, Suite 300
Vancouver, WA 98662
Telephone: (888) 678-2476
http://www.corehandf.com
Customer Support
Contact your local distributor, or Core Health &
Fitness directly at: 1-800-503-1221
support@corehandf.com
Please supply the serial number of your Echelon2G console and the date of purchase when you call.
Use the space in the boxes below to write down this information. The serial number can be found
on the FCC warning label on the back of the console.
Serial Number
Date of Purchase
You may download the latest version of the Installation Guide, as well as view instructional videos,
by visiting the Schwinn Equipment Support website at:
INSTALLATION
You may download the latest version of the Installation Guide, as well as view instructional videos,
by visiting the Schwinn Equipment Support website at:
https://support.corehandf.com/Product/?id=62
SUPPORT AND SERVICE

Page 8
Below is a brief description of the console features and metrics. More details on each are provided in
the CONSOLE OPERATION section of this guide.
Buttons and Features Description Function
AON/OFF Button • Used to turn the console on and o, and to
reinitiate heart rate pairing.
BSTAGE Button
• In RIDE mode, used to start and stop the stage
timer.
• In SERVICE mode, used to scroll backwards
through menus.
CLIGHT Button • In RIDE mode used to operate the backlight.
• In SERVICE mode, used as the ENTER button to
select menu options.
DAVG/MAX Button
• In RIDE mode used to display average and
maximum values of ride metrics.
• In SERVICE mode used to scroll forward
through menus.
EANT+ Link • Pairing zone used to link ANT+ compatible
heart rate monitors and sport watches.
FUSB Port Indicator • Points to the location of the USB port.
GUSB Port Location
• Located on the top of the console behind the
sweat barrier, this is where a FAT32 formatted,
USB 2.0 stick or later is inserted to record ride
data or upload new console rmware.
CONSOLE FEATURES AND METRICS

Page 9
Buttons and Features Description Function
1Power • Rider’s instantaneous power measured in
watts.
2RPM • Rider’s instantaneous RPM (a.k.a. cadence), or
rotations per minute of the crank arm.
3Heart Rate
• Rider’s heart rate in beats per minute (BPM)
when paired with a compatible heart rate
monitor.
4Calories
• Optional Calorie display that can be turned
o in Service menu.
• Based only on power and not estimated from
heart rate.
5Gear Display
• Optional “Gear” or level of resistance the rider
is riding at—can be turned o in the Service
menu.
6Battery Level Indicator • Battery level that is shown for 30 seconds
when the console is rst powered on.
7Stage Timer • Stage timer that is activated with the STAGE
button.
8Stage distance • Distance traveled in a stage in miles or kilo-
meters (set in Service menu).
9Stage AVG/MAX Power
• Average power for the stage only —MAX
power can be seen by pressing the AVG/MAX
button twice.
10 Total Ride Timer
• Timer starts timing the ride as soon as the
rider begins pedaling, and will continue timing
until console enters SUMMARY mode.
11 Total Ride Distance • Distance traveled in in the ride in miles or
kilometers (set in Service menu).
12 Total Ride Average Power
• Average power for the ride —MAX power
can be seen by pressing the AVG/MAX button
twice.

Page 10
Console Operation
Before Beginning a Ride
• If you want to record ride data onto a USB stick, insert a FAT32 formatted USB 2.0 or later stick into the USB drive
before powering up the console.
NOTE: If the USB stick is not 2.0 or later and formatted with the FAT32 format, it may not record data.
• If you want to connect a compatible heart rate monitor to the console, ensure that your heart rate monitor has
good batteries and is snugly in place before powering on the console.
• Heart rate electrodes must be moistened in order to make contact.
• Most 2.4 GHz Ant+ enable heart rate straps (e.g. Garmin heart rate straps) and un-coded 5 KHz analog heart rate
straps (e.g. Polar H7) are compatible.
• Check the product directory at www.thisisant.com to verify if your heart rate monitor is compatible with the
Echelon2G console.
• If you want to connect a compatible sport watch to record ride data, ensure the watch is turned on and is in
pairing mode.
• Each watch is dierent so consult the instructions of the watch manufacturer to properly place the watch in
pairing mode.
• Check the product directory at www.thisisant.com to verify if your device is compatible with the Echelon2G con-
sole.
Beginning a Ride
• To start a ride, press and release the ON/OFF button. The console will power up.
• Begin pedaling and the ride will begin in RIDE mode.
• Once you begin pedaling, the ride timer will start timing—there are no minimum RPM requirements to activate
the console measurement.
Pairing a Compatible Heart Rate Monitor
• When the ride begins, the console will automatically begin searching for a compatible heart rate monitor. This
will be indicated by the ashing heart rate symbol in the third line of the console at the far left.
• To connect a heart rate monitor, you must be within 31 in (80 cm) of the ANT+ symbol on the console to estab-
lish the connection. See the gure below.
• The console will search for a signal for 30 seconds and then stop searching, indicated by the heart rate icon
disappearing from the console.
• In this event, in order to reinitiate the paring process, lean closer to the console, and press and release the ON/
OFF button. This will reinitiate the paring process.
• Once paired, your heart rate will display.
• Heart rate monitors must be 2.4 GHz ANT+ or 5.3 KHz non-coded analog (e.g. Polar H7).
• To determine if your ANT+ heart rate monitor is compatible, check the product directory at https://www.thisi-
sant.com/directory/mpower-Echelon2G-cosole/ .
Page 11
Pairing Heart Rate Monitor.
Pairing a Compatible Sport Watch
• Some versions of sport watches can be paired to the Echelon2G console to record and store data.
• To determine if your device is compatible, check the product directory at https://www.thisisant.com/directory/
mpower-Echelon2G-cosole/ to verify your device is compatible.
• Consult the instructions from the manufacturer of your device to determine how to activate pairing mode.
• To pair your compatible watch or other device, you must hold the device near the ANT+ symbol on the console
to establish the pairing (See gure below).
• Once the connection is established, you may assume a normal riding position.
Pairing ANT+ device.
Riding in RIDE Mode
• When you begin a ride, the console will be in what’s known as RIDE mode.
• In RIDE mode, with the optional power sensor installed, the console will display the following metrics:
- Power (measured in watts)
- RPM
- Heart rate (If the console is paired with a compatible heart rate monitor)
- Calories (If Calories are turned on in the service menu)
- Gear (If gear is turned on in the service menu)
- Total ride time

Page 12
- Total ride distance (Can be set to miles or kilometers)
- Total ride average power
- Max power, RPM, and heart rate can also be displayed by pressing the AVG/MAX button twice
• In RIDE mode, without the optional power sensor installed, the console will display the following metrics:
- RPM
- Heart rate (If the console is paired with a compatible heart rate monitor)
- Total ride time
- Max RPM and heart rate can also be displayed by pressing the AVG/MAX button twice
• The console will remain in RIDE mode as long as you continue pedaling.
• If you stop pedaling, the RIDE mode will continue for 10 seconds, at which point it will go into PAUSE MODE.
• You will know the console is in PAUSE mode when the numbers start ashing on the screen.
Using the Stage Timer
• While in RIDE mode, you may use the Stage timer at any point to do timed stages (a.k.a. intervals).
• To activate the Stage timer, press and release the button.
• When the Stage timer is activated it will do the following:
- Measure the stage time
- Measure the stage distance (with optional power sensor installed)
- Measure the stage average power (with the optional power sensor installed)
• To stop timing a stage, press and release the button.
• At this point the stage timer will stop timing and the stage metrics will be displayed until a new stage is started.
• To clear the metrics for the previous stage and begin a new stage, press and release the button again to
begin a new stage.
Using the Light Button
• During a ride, the rider can activate the light by pressing and releasing the button.
• The light will stay on for 10 seconds, which is the default setting.
• There are multiple optional settings for the backlight that can be set in the Service menu (see the section on
Service menu operation for details):
- Stay on for 10 seconds
- Stay on for 15 seconds
- Stay on for 20 seconds
- Stay on for the entire ride
- Stay on indenitely by pressing and holding the button for 3-5 seconds. The light will remain on until
the rider presses and holds the button again for 3-5 seconds.
- Light can be turned o so that riders cannot turn on the light. This is a good feature for studios that have
good illumination or that do not want riders using the backlight.
Going into PAUSE Mode
• If during the ride, you stop pedaling, and/or get o the bike, the following will happen:
• The console will enter PAUSE mode after 10 seconds.
• The numbers on the screen will ash.
• The timers will continue timing—including the Total and Stage timers—for 5 minutes. Schwinn added this
functionality to allow instructors to get o the bike and coach o the bike while trusting their timers will remain
in sync with all the riders in the room. It also allows a rider to stop for a brief point of time and begin riding
again without losing sync with the class. GOOD NEWS: While your timers continue timing, your average power
calculation will pause while you are not pedaling so that you will not get penalized for brief moments of not
pedaling.
• To exit PAUSE mode and return to RIDE mode, just begin pedaling before 5 minutes have elapsed.

Page 13
Going into SUMMARY Mode
• SUMMARY mode signals the end of the ride. There are a couple ways to enter SUMMARY mode:
• Stop pedaling and enter PAUSE mode.
• After 5 minutes have elapsed without you pedaling, the console will enter SUMMARY mode.
• After the console enters PAUSE mode, press and hold the AVG/MAX button for 3-5 seconds and the console will
enter summary mode.
• Once the console enters SUMMARY you cannot return to RIDE mode. When in SUMMARY mode, the console
will do the following:
• Display your AVERAGE and MAXIMUM ride metrics.
• Upload data form the console to your USB drive1.
• You will know the console is transferring data because a USB symbol will ash next to the RPM display on the
console.
• Once the USB symbol stops ashing, your data upload has been completed and you may remove your USB
drive.
• The console will display SUMMARY mode for 2 minutes, and the console will power o.
Ending a Ride
• There are 2 ways to end a ride and power o the console:
• Stop pedaling, and allow the console to go into PAUSE MODE.
• From here you may allow to the console to power itself o—it will power o in 7 minutes if you do nothing else.
• While in either PAUSE mode or SUMMARY mode, press and hold the ON/OFF button for 3-5 seconds to shut o
the console.
Uploading data to the USB drive
• The ride data le is a great tool for people to track their rides and see their
progress.
• At the end of the ride, once the console goes into PAUSE mode, press and
hold the AVG/MAX button for 3-5 seconds to end the ride and go into
SUMMARY mode.
• Once in SUMMARY mode the console will upload the data.
• The console will display the USB symbol to the left of the RPM label while
the data is uploading—do not remove the USB stick until the USB symbol
stops ashing.
• Once the data upload is complete, the stick may be removed.
• To retrieve the data from the USB stick, plug the stick into a USB drive on a
computer, then open the USB folder.
• There will be a le called“MPowerQ.csv.”
• Double click the le to open the le in Excel.
• Save the le in Excel format.
• A snapshot of the ride le is shown below with total ride and stage sum-
mary data.
• The ride data le will display the following:
- Summary data for the entire ride
- Summary data for each stage
- Total ride data recorded every three seconds
1 If the USB stick is not 2.0 or later and formatted with the FAT32 format, it may not record data.
Sample ride le

Page 14
Detailed Description of Ride Metrics
Power
• Power is the energy per second that the rider produces. It is measured in watts just as on outdoor bike power
meters.
• Power can be displayed in up to 4 digits.
• Power is a direct measurement from the 4iii Powermeter.
• Schwinn validated the power accuracy using an in-house, calibrated dynamometer; margin of error is generally
±1.5%.
• Proper calibration of the power sensor is crucial to achieving a high level of accuracy.
• Schwinn does not validate the accuracy of the Echelon2G against commercial road bike power meters since all
power meters measure power dierently. Therefore, it is possible that the power reported by the Echelon2G will
not match the power reported by commercial power meters for road bikes.
• Given the dierences between outdoor and indoor bikes, and dierences in riding conditions, it is common for
a rider to have a dierent power output on an indoor bike than on an outdoor bike.
• The accuracy of power output and consistency of power between bikes can be adjusted using a feature in the
CALIBRATION menu called POWER ADJUST.
• The POWER ADJUST feature can also be used in cases where a studio wants to match the reported power of the
Echelon2G to any specic outdoor power meter.
RPM
• RPM measures the rotations per minute of the crank arm and is transmitted from the 4iii Power Sensor
• There is no minimum RPM requirement for starting the ride timer.
Gear
• Expresses level of resistance. The gear number increases as the resistance knob is turned clockwise.
• Gears cover a range of POWER values.
• Gear display can be turned o in the settings menu if desired.
Calories (CAL)
• Calories on the Echelon2G are calculated directly from the power assuming the rider has an average tness
level. Calories are a measure of energy expended while on the bike.
• The Echelon2G Calories do not take into account any biological factors such as age, weight, and gender.
• The Echelon2G Calories also do not take into account Calories burned due to a person’s normal metabolic rate.
• Heart rate monitors use heart rate, age, gender, and weight to estimate how many calories a person burns.
• Since there is not a direct correlation between heart rate and Caloric burn, heart rate monitors do not as accu-
rately estimate Caloric burn compared to the Echelon2G.
• Heart rate monitor manufacturers use their own algorithms to estimate heart rate, and so the Caloric burn will
vary from brand to brand. Heart rate monitors that measure heart rate at the wrist do not measure heart rate as
accurately or consistently as heart rate chest straps.
• Tests done using dierent heart rate monitors (i.e. MYZONE, Polar A360, Polar H7 and Garmin) have shown some
estimate Calories higher than the Echelon2G, and some estimated Calories lower than the Echelon2G.
• The CAL display can be turned OFF in the Service Menu if desired.

Page 15
Heart Rate
• Heart rate will only display when the rider is wearing a compatible heart rate strap and follows the instructions
in the section above titled “Pairing a compatible heart rate monitor.”
Total Ride Time, Distance, and Average Power
• The total ride timer will start timing once the rider turns on the console and begins pedaling.
• The timer will continue timing in Pause mode.
• The timer will stop timing once the console goes into Summary mode.
• Total ride distance can be set to display miles or kilometers. See the section below on Echelon2G Service Menu
Navigation and Operation.
• Distance is calculated using an algorithm that is based on power and not based on revolutions of the ywheel.
• The user must use resistance and actually put power into the pedals.
• Starting with rmware version 1.7, the algorithm is based upon a 165 lb rider riding a 20 lb bike on a at rode
with no head wind and tail wind. Typical values for wind resistance and rolling resistance are incorporated into
the algorithm, so distance will not increase linearly with an increase in power.
• Since distance in the Echelon2G console accounts for only one typical case of outdoor riding, it should be used
solely as a performance indicator for an indoor workout.
• Total average ride power is the average power the rider rides at for the entire ride.
• Average power is updated every second.
• At any point if the rider wants to see the maximum power she/he has reached during the rider she/he can press
the AVG/MAX button twice to see their maximum ride power.
Stage Ride Time, Distance, and Average Power
• The stage ride timer will start timing once the rider hits the STAGE button.
• The timer will continue timing in Pause mode.
• The timer will stop timing once the rider hits the STAGE button a second time.
• Stage ride distance can be set to display miles or kilometers. See the section below on Echelon2G Service Menu
Navigation and Operation.
• Distance is calculated for the stage only using the same algorithm that is used for total ride distance.
• Stage average ride power is the average power the rider rides at for that stage.
• Average power is updated every second.
• At any point if the rider wants to see the maximum power she/he can press the AVG/MAX button twice to see
their maximum ride power

Page 16
Expectations for average Power, Calories, and Distance
• Indoor cycling participants have a wide range of experience and abilities; therefore, values
for AVERAGE POWER achieved, Calories accrued, and distance accrued in a class will vary
widely among participants.
• Riding an indoor cycling bike with a xed gear and no outside environmental inuences
is not the same as riding a bicycle outdoors that moves under the rider. Therefore, values
for AVERAGE POWER and distance should not be compared to outdoor riding; rather they
should be used as standalone performance parameters for training on a Schwinn indoor
bike equipped with an Echelon2G console and power sensor.
• Calories accrued on the Echelon2G are an accurate measure of the amount of the total
energy a participant puts into the cranks during an indoor cycling class, regardless of their
gender, height, weight, resting metabolic rate (RMR), and level of tness. The Echelon2G
Calorie tally is not the same as the Calorie tally obtained from a heart rate monitor because
the Echelon2G only reports work done on the bike.
• Indoor cycling participants that want to track the Calories they burn during a workout on
the bike are encouraged to use a reputable, commercial heart rate monitor with a watch
and/or smart phone app to determine and track Caloric expenditure. Most top brands of
heart rate monitors and smart phone apps allow users to enter personal data that enables
the heart rate monitor to more accurately estimate their Calories burned.
• Participants that are interested in using the Echelon2G for serious cycling training are
encouraged to establish their functional threshold power (FTP) with the Echelon2G, and
establish training zones based on their Echelon2G FTP, just as outdoor riders would estab-
lish their FTP and training zones for dierent power meters. Indoor training zones with
the Echelon2G will typically be dierent than outdoor training zones in terms of ranges of
power; however, the adaptations of training in the indoor training zones will be the same
as training outdoors in outdoor training zones.
• POWER ADJUST can be used to boost the amount of power displayed on the console by
the percentage entered into the POWER ADJUST settings.
• While the Echelon2G’s metrics are most accurate at 0%, there may cases where studios
wish to boost the amount of power their riders see.
• POWER ADJUST settings will also boost the Calorie and distance accrued by the same per-
centage as power.
• It is normal that a level of power that is very dicult for some participants to maintain is
very easy for other participants.
• Calories and distance on the Echelon2G are calculated from power, and since it is normal to
have a widely varying range of average power values in a class, it is also normal that values
for Calories and distance accrued will also vary widely.

Page 17
In the Service menu, the following actions can be performed:
• The following system settings can be changed:
- CARBON BLUE1: ON/OFF
- UNITS: MI/KM
- GEAR: ON/OFF
- OPEN ANT: ON/OFF2
- 3 SEC AVG: ON/OFF
- BACKLIGHT: Multiple options
- CALORIES: ON/OFF
- PASSCODE: ON/OFF
- SENSOR TYPE: 4 IIII/Echelon2
• Power sensor can be calibrated
• Power levels can be adjusted up or down
• External battery level can be checked
• New rmware can be loaded
• Console ID can be checked or changed
• Console can be reset
NOTE: Only club maintenance sta and other club sta that are properly trained on how to
navigate the Service menu, change settings, and calibrate the sensor should ever be allowed
to enter the Service Menu and make any changes.
Detailed instructions on changing settings and performing actions in the Service menu appear
below.
To access and navigate the Service menu:
1. The console must be in either power up mode (just after power up and before pedaling) or Pause mode in
order to enter the service menu.
2. In power up or Pause mode, press and hold the and AVG/MAX buttons together for 3 to 5 seconds.
3. If the passcode is set, enter the passcode to access. The passcode is a 3-digit number assigned by Schwinn and
cannot be changed. Contact Schwinn support to obtain the passcode. To enter the passcode, use the
or AVG/MAX buttons to scroll to the desired number, then press the button to accept the number and
advance to the next number. After the third number has been entered the service menu will open.
4. The rst menu option that will appear is CARBON BLUE. See the diagram below for all top-level menus options.
5. To scroll through the menus, use the AVG/MAX button to scroll forward and the button to scroll back-
wards.
6. To select a menu option press the button to enter the menu. For system settings, use the AVG/MAX or
buttons to select the desired option and exit the menu. Diagrams for each menu are illustrated below.
7. To exit the Service menu, get to the top menu level, scroll to EXIT and press the button.
1 Does not aect power calculations on Schwinn Power bikes.
2 Must be turned on when console is used to broadcast to an external leaderboard system.
SERVICE MENU

Page 18
The menu maps shown below apply to rmware version 1.7 or later. If your console has an
older version of rmware, Schwinn recommends upgrading to the latest version of rmware.
The latest version can be downloaded from the Schwinn Support website at
https://support.corehandf.com/Software/
Instructions for updating rmware are shown below or can be viewed on Schwinn’s YouTube video
at https://www.youtube.com/watch?v=7w2LlexQgAQ.
Top Level Service Menu
Default values are bold:
• Carbon Blue: ON / OFF
• Units: MI / KM
• Gear: ON / OFF
• Open ANT: ON / OFF
• 3 Sec Avg: ON / OFF
• Backlight (See menu below)
• Calories: ON / OFF
• Passcode: ON / OFF
Select to set
• Sensor Type Echelon2 / 4iiii
(see Pairing, p. 20)
• Calibrate (see menus below)
• Batteries
• System (see menus below)
• Exit
Passcode Screen if Set
Backlight Menu
Default values are bold:
• Timer Set: 10 / 15 / 20
• Backlight Hold: ON / OFF

Page 19
Calibration Menu - Echelon2
• Set Zero Point: 1.0
- Set tool on wheel then push
- Knob right to stop
- Push to set
• Power Adjust: 0%
Calibration Menu - 4iiii
• Zero Reset: 1.0
- Spin crank then push
- Left crank to 6 O’Clock
- Push to set
• Power Adjust: 0%
System Menu
• System Summary
- Software Revision
- Hours
• System Reset
• System Load FW
• System Serial Number

Page 20
Pairing and Calibrating the 4iiii Powermeter:
1. Press and hold STAGE and “AVG/MAX”for 3-5 seconds to access the service menu.
2. Use AVG/MAX to scroll until SENSOR TYPE is displayed then push the back-light button to access the sen-
sor menu. Ensure that“4iiii” is displayed as the sensor type.
3. If the sensor type is set to “Echelon 2”press the back-light button to select the sensor type, use the AVG/
MAX button to select “4iiii” then press the back-light button again.
4. Once “4iiii” is selected the console will enter the pairing process, check the side of the power sensor for a 4 OR3
5-digit ANT+ ID code. Enter this code on the“ENTER ANT ID” screen using AVG/MAX to scroll and the back-light
button to enter the ANT+ ID.
5. Once the ANT+ ID has been entered, pedal the bike, then select “PAIRING SPIN CRANK” but pushing the back-
light button . If pairing does not pass, check to ensure the ANT+ ID is correct and try the pairing process
again. It may take 2-3 attempts to pair successfully.
6. After successfully pairing the 4iiii crank, the power sensor must be calibrated BEFORE riding the bike. Press and
hold STAGE and AVG/MAX for 3-5 seconds to access the service menu then use AVG/MAX to scroll until
“CALIBRATE” is displayed and push the back-light button . “ZERO RESET” will be displayed, press the back-
light button once more and ensure that the left crank arm is in the 6 o’clock position, follow the on-screen
directions to calibrate the sensor.
3 Please note that the ANT+ ID could be either a 4-digit OR 5-digit number. If the 4-digit code is present, the rst number of the ANT+ ID Code is zero (0).
Example of 4 digit number Example of 5 digit number
Other manuals for MPower Echelon2G
2
Table of contents
Other Schwinn Fitness Electronic manuals

Schwinn
Schwinn 4IIII Manual

Schwinn
Schwinn MPower Echelon2 Power Upgrade Installation guide

Schwinn
Schwinn MPower Console V2 User manual

Schwinn
Schwinn MPower Echelon2 Power Upgrade User manual

Schwinn
Schwinn MPower Echelon2 Power Upgrade Use and care manual

Schwinn
Schwinn MPower Echelon2G Reference guide

Schwinn
Schwinn MPower User manual

Schwinn
Schwinn MPower Echelon2G User manual

Schwinn
Schwinn Echelon Console User manual

Schwinn
Schwinn MPower Echelon2 Power Upgrade User manual