Scion SC05.3100 User manual

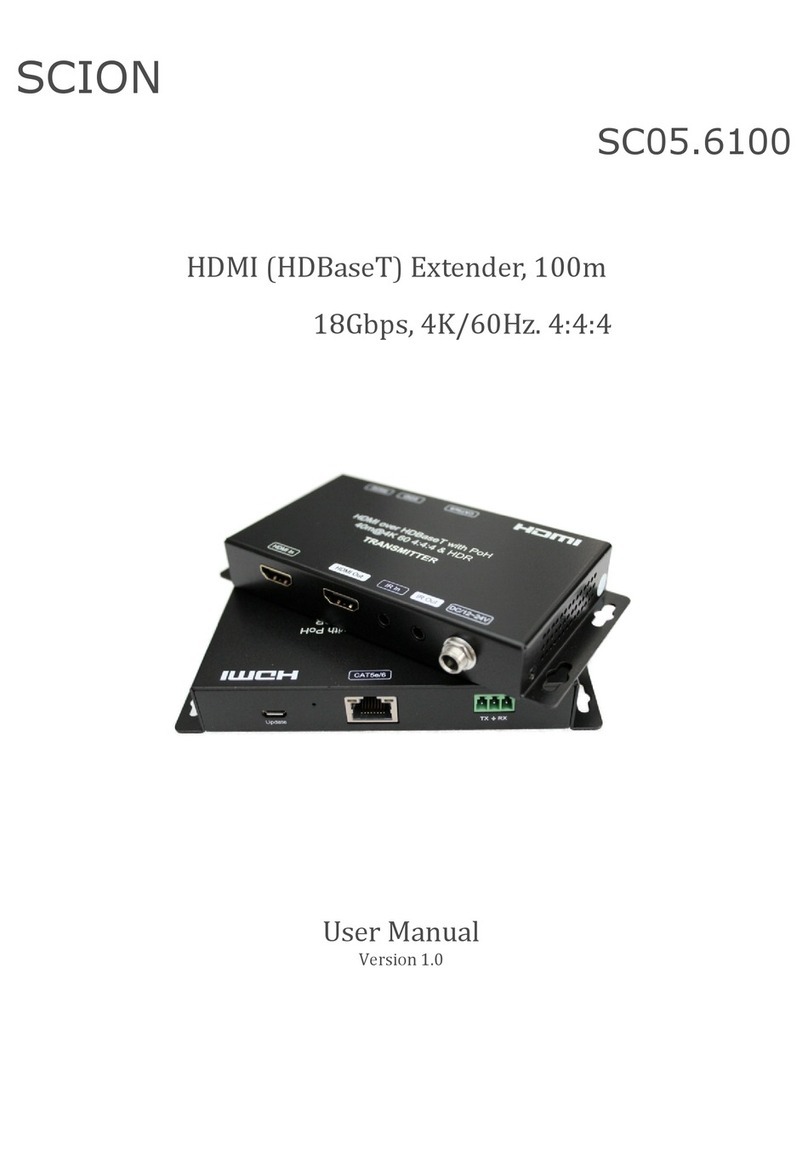
SC05.3100
HDMI (HDBaseT) Extender, 100m
4K/60Hz. 4:4:4
User Manual
Version 1.0
SCION

User Manual
Scion Tech SC05.3100
Thank you for purchasing this product
For optimum performance and safety, please read these instructions carefully before connecting, operating or
adjusting this product. Please keep this manual for future reference.
Surge protection device recommended
This product contains sensitive electrical components that may be damaged by electrical spikes, surges, electric
shock, lighting strikes, etc. Use of surge protection systems is highly recommended in order to protect and
extend the life of your equipment.
Table of Contents
1. Introduction…………………………………………………….…………………………….…….…………….……………………….
2. Features……………………………………………………………………………………………………….……….…………….……..
3. Package Contents…………………………………….……………………………………………………………….……….………..
4. Specifications…………………………………………………………………….………………………………………………….……
5. Panel Description………………………………………………….….………….…………………………………………….……….
6. Connecting…………………………………………………………….…….…………….…………….…………………………………
7. LED Indicators………………………………………………………………….…………………….………………………….………
8. Application Drawing………………………………………………….….…….…….…………………….………………………….
9. Maintenance…………………………………………………………….….……….……………………………….……………………
9.1. Servicing………………………………………………….…….…………………………………………….……….…….……….
9.2. Warranty………………………………………………………………….……………………….…….………….……………….
9.3. Returning a Product………………………………………..….…………………………….…….…………………………….
9.4. Warranty Limits and Exclusions………………………………………….………………….….….……………………..
2
2
2
3
4
5
5
6
7
7
7
7
8
Page 1

User Manual
Scion Tech SC05.3100
1. Introduction
The SC05.3100 extends the distance between the HDMI source and display using a single CAT5e/6 cable by up to
100m. Uncompressed Ultra HD 4K signals are transmitted without signal loss and automatically adjusts for
CAT5e/6 cable lengths. Bi-Directional Infra-Red provides control for both the source and screen. The extenders
use HDBaseT Class A technology to achieve Ultra HD 4K@60Hz.
The SC05.3100 is supplied as a pair and contains Tx/Rx infra-red cables and PSU . These units are ideal for home,
office and general retail display screens.
2. Features
●Extends HDMI up to 100m@1080p/60Hz and 70m@4K/60Hz
●Resolution: 4K/60Hz, YUV 4:2:0
●Standards: HDMI 2.0, HDCP 2.2, CEC, 3D
●Uncompressed zero delay video
●Audio: LPCM, Dolby Digital™, DTS Surround Sound
●Full Duplex RS232 pass-through
●Bi-Directional IR
●PoC (power over cable) receiver is powered by the transmitter
3. Package contents
1. 1 x Transmitter SC05.3100-TX
2. 1 x Receiver SC05.3100-RX
3. 2 x Infra-Red Sender Cable
4. 2 x Infra-Red Receiver Cable
5. 2 x 3-Pin Phoenix Terminal
6. 1 x User Manual
Page 2

User Manual
Scion Tech SC05.3100
Connectivity
Signal input: 1 x HDMI Type A, 19-Pin Female
Signal output: 1 x RJ45 Data Socket
Infra-Red: 2 x 3.5mm Jack Socket
RS232: 1 x 3-Pin Phoenix Terminal
Power: 1 x DC Jack Socket 2.1mm
Signal
Input: HDMI
Output: HDBaseT
Standards: HDMI 2.0, HDCP 2.2
Bandwidth: 10.2Gbps
Video resolution: Up to 4K/60Hz
Colour space: YUV 4:2:0
Colour depth: 8/10/12-bit
Audio: DTS-HD™, Dolby-HD™
Infra-Red: 30KHz to 56KHz (940nm)
RS232: Full Duplex
Power
Type: AC to DC Mains Adaptor
Input: 100 ~ 240V AC 50/60Hz
Output: DC 12V / 2A
Consumption: 5 Watts
Environment
Storage temperature: -20° to 60°C
Operating temperature: -0° to 40°C
Operating humidity: 20% to 90% RH (no
condensation)
Dimensions: (W) 105 x (D) 71 x (H) 25mm
Weight: 700g
ESD: Human body +/-8Kv, (air gap discharge) and
+/-4Kv (contact discharge)
Safety and Emissions: CE, FCC, RoHS
4. Specifications
Connectivity
Signal input: 1 x RJ45 Data Socket
Signal output: 1 x HDMI Type A, 19-Pin Female
Infra-Red: 2 x 3.5mm Jack Socket
RS232: 1 x 3-Pin Phoenix Terminal
Signal
Input: HDBaseT
Output: HDMI
Standards: HDMI 2.0, HDCP 2.2
Bandwidth: 10.2Gbps
Video resolution: Up to 4K/60Hz
Colour space: YUV 4:2:0
Colour depth: 8/10/12-bit
Audio: DTS-HD™, Dolby-HD™
Infra-Red: 30KHz to 56KHz (940nm)
RS232: Full Duplex
Power
Type: Receives power from the transmitter
Environment
Storage temperature: -20° to 60°C
Operating temperature: -0° to 40°C
Operating humidity: 20% to 90% RH (no
condensation)
Dimensions: (W) 105 x (D) 71 x (H) 25mm
Weight: 700g
ESD: Human body +/-8Kv, (air gap discharge) and
+/-4Kv (contact discharge)
Safety and Emissions: CE, FCC, RoHS
TRANSMITTER RECEIVER
Page 3

Page 4
User Manual
Scion Tech SC05.3100
8. Panel Description
Normal Program
Operation
CAT5e/6
Link
TX GND RX
RS232
Normal Program
Operation
CAT5e/6
Link
TX GND RX
RS232
1 2 3 4 5 6 7 8 9 10
HDMI In DC 12V
IR-In IR-Out
Power
Status
SC05.3100 Transmitter
HDMI Out IR-In IR-Out
Power
Status
SC05.3100 Receiver
1 2 3 4 5 6 7 8 9
1. Status LED for HDMI Input
2. HDMI Input
3. Connect IR RX cable to IR-In port
4. Connect IR TX cable to IR-Out port
5. Power LED
6. Power DC 12V Input
7. Operation switch for RS232 pass-through
8. HDBaseT output CAT5e/6
9. HDBaseT Link LED indicator
10. RS232
1. Status LED for HDMI Output
2. HDMI Output
3. Connect IR RX cable to IR-In port
4. Connect IR TX cable to IR-Out port
5. Power LED
6. Operation switch for RS232 pass-through
7. HDBaseT output CAT5e/6
8. HDBaseT Link LED indicator
9. RS232
Transmitter Front Panel Transmitter Rear Panel
Receiver Front Panel Receiver Rear Panel

Page 5
User Manual
Scion Tech SC05.3100
6. Connecting
Important:
These extenders are designed to work over a point to point connection using Category 5e or greater twisted pair
cable, under no circumstances should they be used with third party equipment including network switches,
modems or another manufacturers similar product.
1. Connect a HDMI cable to your source device and the transmitters input using a premium quality HDMI cable.
2. Connect a HDMI cable to the display or sink device and the receivers output using a premium quality HDMI
cable.
3. Transmitter IR connections: The “IR TX” cable connects to the “IR-Out” port for transferring IR to your source
device IR sensor window. The “IR TX” emitter LED should be attached to IR sensor window using the 3M™
sticker provided. The “IR RX” cable connects to the “IR-In” port for sending IR to the receiver for controlling
devices at the remote end.
4. Receiver IR connections: The “IR RX” cable connects to the “IR-In” port for sending IR to the transmitter for
controlling the source devices. The “IR TX” cable connects to the “IR-Out” port for transferring IR to the
remote end device. The “IR TX” emitter LED should be attached to IR sensor window using the 3M™ sticker
provided.
5. Using the 3-pin Phoenix terminals provided, connect the “Tx, Rx & Ground” cables to the transmitter and
receiver taking care to follow the correct polarisation.
6. Connect one end of the CAT5e patch cable to the transmitter and the other end to your wall outlet or patch
panel.
7. Connect one end of the CAT5e patch cable to the receiver an the other end to your wall outlet.
8. The default setting for the “operating”switch is “Normal”, check to make sure this hasn’t moved in transit.
The other setting “Program” is used for firmware updates only and should only be used with a technicians
support.
9. Connect the power supply to the transmitter and lock the DC connector for added security.
7. LED Indicators
Transmitter
●Power: Illuminates when the power supply in connected and switch on.
●Status: The LED will illuminate when a HDMI signal is detected.
●HDBaseT Link: Illuminates when a connection is made with the receiver.
Receiver
●Power: Illuminates when the transmitter is powered on and the CAT5e cable is connected to both devices.
●Status: The LED will illuminate when a HDMI signal is detected.
●HDBaseT Link: Illuminates when a connection is made with the transmitter

User Manual
Scion Tech SC05.3100
8. Application Drawing
Page 6
Normal Program
Operation
CAT5e/6
Link
TX GND RX
RS232
HDMI In DC 12V
IR-In IR-Out
Power
Status
SC05.3100 Transmitter
Normal Program
Operation
CAT5e/6
Link
TX GND RX
RS232
HDMI Out IR-In IR-Out
Power
Status
SC05.3100 Receiver
Blu-Ray Player
RS232 Controller
Audio Amplifier
RS232
RS232
CAT5e (max 100m)
Audio Amp Remote
Blu-Ray Remote
4K/60Hz Display

Page 7
User Manual
Scion Tech SC05.3100
9. Maintenance
Clean this unit with a soft, dry cloth. Never use alcohol, pint thinner of benzene to clean these devices.
9.1 Servicing
Damage requiring service: This product should be serviced by a qualified service engineer if:
●The DC power cord or AC adaptor has been damaged.
●Objects or liquids have entered the housings.
●The product has been exposed to rain.
●The product has stopped working or shows signs of significant change in operating performance or function.
●The unit has been dropped or severely damaged externally.
Servicing personnel: Do not attempt to service the product beyond that described in these instructions. Refer all
other servicing to authorised serving personnel.
Replacement parts: When parts need replacing ensure the service engineer uses parts specified by the
manufacture or parts that have the same characteristics as the original parts. Unauthorised substitutes may
result in fire, electric shock or other hazards.
Safety check: After a repair or service, ask the engineer to perform safety checks to confirm the product is in
proper working condition.
9.2 Warranty
If your product does not work properly because of a defect in materials or workmanship, our Company (referred
to as "the warrantor" ) will , for the length of the period indicated as below, (Parts and labour 2 years) which
starts with the date of original purchase ("Limited Warranty period"), at its option either (a) repair your product
with new or refurbished parts, or (b) replace it with a new of a refurbished product. The decision to repair or
replace will be made by the warrantor.
During the "Labour" Limited Warranty period there will be no charge for labour. During the "Parts" warranty
period, there will be no charge for parts. You must mail-in your product during the warranty period. This Limited
Warranty is extended only to the original purchaser and only covers product purchased as new. A purchase
receipt or other proof of original purchase date is required for Limited Warranty service.
9.3 Returning a Product
When shipping the unit carefully pack and send it prepaid, adequately insured and preferably in the original
carton. Include a letter detailing the complaint and provide a day time phone number and/or email address
where you can be reached.

User Manual
Scion Tech SC05.3100
Page 8
9.4 Limited warranty limits and exclusions
This Limited Warranty ONLY COVERS failures due to defects in materials or workmanship, and DOES NOT
COVER normal wear and tear or cosmetic damage. The Limited Warranty ALSO DOES NOT COVER damages
which occurred in shipment, or failures which are caused by products not supplied by warrantor, or failures
which result from accidents, misuse, abuse, neglect, mishandling, misapplication, alteration, faulty installation,
set-up adjustments, maladjustment of consumer controls, improper maintenance, power line surge, lightning
damage, modification, or service by anyone other than a Factory Service centre or other authorized service
engineer, or damage that is attributable to acts of God.
THERE ARE NO EXPRESS WARRANTIES EXCEPT AS LISTED UNDER "LIMITED WARRANTY COVERAGE".THE
WARRANTOR IS NOT LIABLE FOR INCIDENTAL OR CONSEQUENTIAL DAMAGES RESULTING FROM THE USE OF
THIS PRODUCT, OR ARISING OUT OF ANY BREACH OF THIS WARRANTY. (As examples, this excludes damages
for lost time, cost of having someone remove or re-install an installed unit if applicable, travel to and from the
service, loss of or damage to media or images, data or other recorded content. The items listed are not exclusive,
but are for illustration only).
PARTS AND SERVICE, WHICH ARE NOT COVERED BY THIS LIMITED WARRANTY, ARE YOUR RESPONSIBILITY.
This returns policy does not affect your legal rights. Details of your legal rights are available from Trading
Standards or Citizens Advice Consumer Service.
Scion Tech Limited
Thatcham, Berkshire, United Kingdom
Table of contents
Other Scion Extender manuals
Popular Extender manuals by other brands

ADTRAN
ADTRAN 239 HR Installation and Maintenance

StarTech.com
StarTech.com USBthere USB120EXT Specifications
Vision
Vision HDIP01_02 operating instructions
Appsys ProAudio
Appsys ProAudio ADX-32B user manual

ANTIFERENCE
ANTIFERENCE HDMIE55 user guide
Lucent Technologies
Lucent Technologies 2300EU System administrator guide
