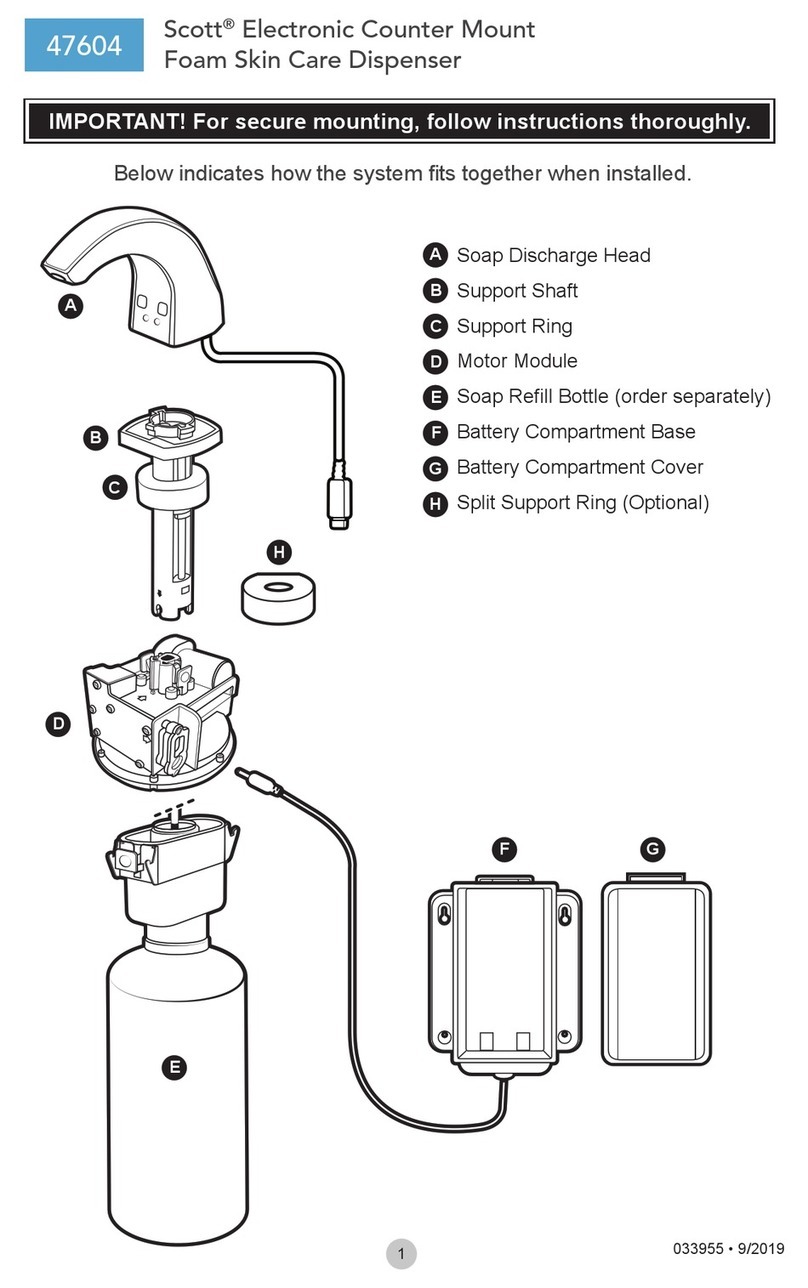
Scott PURELL ONVATION CXR Manual

© 2019
GOJO Industries, Inc. All Rights Reserved
PURELL
®
ONVATION CXR
Objectives
You
will learn how to perform the following
•
Recording required MAC ID of PURELL PAN Module
•
Installing PAN Module into CXR Dispenser
•
Provisioning the PAN Module to the ONVATION Hub
•
Validating PAN Module connectivity
•Troubleshooting setup issues
Equipment
•
PURELL ONVATION CXR PAN Modules
•Recording device for MAC ID
•ONVATION Installer App
Module
MAC ID Identification and Recording
Step
1.
Open module static bag and record MAC ID onto
recorder with association to dispenser location
2.
Record Dispenser location on the static bag
3.
Using recorded MAC ID’s enter them into the
ONVATION Installer App.
4.
Install the Dispenser per the Dispenser
Installation Guidelines.
5. Plug the PAN
Module into the SMARTLINK
GOJO Industries, Inc. All Rights Reserved
ONVATION CXR
PAN Module Setup
and Validation
will learn how to perform the following
system setup procedures:
Recording required MAC ID of PURELL PAN Module
Installing PAN Module into CXR Dispenser
Provisioning the PAN Module to the ONVATION Hub
Validating PAN Module connectivity
PURELL ONVATION CXR PAN Modules
MAC ID Identification and Recording
Illustration
Open module static bag and record MAC ID onto
recorder with association to dispenser location
.
Record Dispenser location on the static bag
.
Using recorded MAC ID’s enter them into the
Install the Dispenser per the Dispenser
Module into the SMARTLINK
Page 1of 7
and Validation

© 2019 GOJO Industries, Inc. All Rights Reserved Page 2of 7
Step Illustration
Connector on the dispenser.
6. Verify that the pins have connected correctly and
that the connector is fully seated. The flat side of
the module connector end should align with the
flat edge of the CXR Connector end. If it is fully
seated, the blue light will be blinking on the
module, indicating it is ready to be setup if the
CXR is connected to a power source.
7. If space is available, attach the PAN module to
the CXR pumphouse by the module mount. If
space is not available, the module can be affixed
via screw to the wall.
8. Once the module is installed, and power is
connected, the module should blink 3 LEDs at
the same time, Red, Green, and Blue. Please
reference the PAN Module Light Patterns section
on page 4 for an explanation of all light patterns.
9. Confirm on the ONVATION Installer App that the
module has ‘checked-in” with the ONVATION
Hub.
10. Install the Refill into the Reservoir by inserting
the key into the hole in the top of the spout and
sliding the spout forward.

© 2019 GOJO Industries, Inc. All Rights Reserved Page 3of 7
Step Illustration
11. Remove the dust cap from the soap refill, then
insert the spout opening until the refill clicks into
place. An Orange light will indicate the soap is
flowing into the dispenser. If the orange light
doesn’t illuminate, adjust the position of the refill
until it comes on.
12. Depress the refill release button on the back of
the spout to release the refill and remove it.
13. Push spout door back into the locked position.
14. Pass your hand under the spout to dispense. 4
activations are required at startup to dispense
foam soap.
Wi-Fi/BLE Provisioning Exceptions
Issue Code
Module Not Configured
All 3 LEDs on module will blink until a dispense has occurred.
If you’ve performed a dispense and the LEDs are continuing to
blink, then perform 1 more dispense. If the 3 LEDs are still
blinking, then replace the module.
Dispenser Not Communicating with
Onvation
If the dispenser is not communicating with Onvation, then try
the following steps:
1. Hold a magnet near the {Special Location} on the
module. The Red and Green LEDs will turn on.
Remove the magnet immediately when the LEDs turn
on.
If the magnet is held for a short period of time, the

© 2019 GOJO Industries, Inc. All Rights Reserved Page 4of 7
module will enter pairing mode. Once paired, the
module will connect to Onvation.
2. Alternately a factory reset may be performed:
If the magnet is held for a long period of time, all LEDs
will turn on. This means a factory reset of the module is
performed. All parameters are erased. The module
enters a “Dispenser Detect” state where a dispense
must be performed after a factory reset.
PAN Module Light Patterns
Status
The 2 module board options function in consistent ways.
There are 3 LEDs on installed on the board. Red, Green, and Blue. These LEDs are turned on with specific patterns
to indicate the board’s status.
State: Unconfigured – Waiting for Dispenser
In this state, the module has not yet been configured for a specific dispenser type. It will blink 1X per second until the
dispenser type is determined.
The module determines dispenser type when a dispense is performed. The Dispense (EOS) signal is toggled, and
then status is sent to the module. Once the dispenser type is determined, it is saved and is only cleared upon a
factory reset.
IMPORTANT: Once installed and powered in a dispenser, the module should not be left indefinitely in this state- as it
will consume significantly more power than if it transitions out of this mode.
State: Dispenser Type Confirmation
OR OR
At startup, the dispenser enters the dispenser type confirmation state once it determines the dispenser type
configuration for the module. The LED is turned on solid for a 1.5 second period to confirm the dispenser type. After
the module enters this state, it will query the dispenser for its state, if possible, and then will begin initially advertising.

© 2019 GOJO Industries, Inc. All Rights Reserved Page 5of 7
State: Advertising
OR
In advertising mode, either the Green and Red LED or only the Red LED blinks at a rate of 2X per second. If the
green LED is blinking, this means that the module is in pairing mode and that it will accept a new bond.
This state transitions to a new state when advertising mode times out or when the module enters a connected state
due to a connection.
On the first advertising state after a boot of the module, the timeout for advertising mode is 30 minutes. For
subsequent advertising states, it times out after 1 minute. If advertising times out, it will not advertise for 2 minutes,
and then will begin advertising again. If after 5 retries for advertising, the module will wait until the next scheduled
advertising interval before advertising again.
In Production Firmware, this LED sequence is disabled for advertising without pairing. When pairing, this LED
sequence is enabled.
State: Connected
In the connected state, the Green LED will flash at a rate of 2X per second.
In this state, parameters are sent to a hub and this normally occurs within a 10 second period. This state will timeout
after 5 minutes and will attempt to reconnect at the next scheduled advertising interval. This state transitions to the
“Synchronization Complete” state if the synchronization is completed. It reschedules advertising if the central
disconnects from the module without completing the synchronization process.
Once the Connected state is completed, the dispenser will wait until the next scheduled synchronization interval
before synchronizing again. This synchronization interval may be scheduled immediately depending on the dispenser
state.
In Production Firmware, this LED sequence is disabled.

© 2019 GOJO Industries, Inc. All Rights Reserved Page 6of 7
All Other States
In all other states, the LEDs are OFF to conserve power.
User Interface
Pairing Mode
If the magnetic switch is engaged for 500ms (1/2 second), the device will enter pairing mode. In this case, the LEDs
will confirm the selection by blinking the Blue LED and turning the Green LED ON solid.
When the button is released, the module will enter pairing mode and will attempt to make a connection to the hub.
Note: We have seen instances where on the first connect to the hub, the hub will determine that it no longer has bond
information and will automatically disconnect before parameters are sent. The module will then re-attempt a
connection attempt 1 minute later and this time, the connection will succeed.
Pairing mode will be ignored in certain modes such as the connected mode.
Factory Reset
If the button or magnetic switch is engaged for 4 seconds, the device will perform a factory reset. When a factory
reset is performed, any settings and bond information are erased from the module. In addition, the module will restart
in a mode where it attempts to detect the dispenser type.
When the button or magnetic switch is held for 4 seconds, all 3 LEDs will turn solid, letting the technician know that
when released, the module will perform a factory reset.

© 2019
GOJO Industries, Inc. All Rights Reserved
Defaults
The default settings for the mod
ule board are as follows:
Synchronization Interval: 60 minutes (may be set to any value [30
Dispense Count Threshold: 50 dispenses (may be set to any value [5
Device Compliance
Onvation Module FCC/IC Label
Please include on dispenser packagin
g or enclosure the following:
"Contains FCC ID: O76ONVATION, IC: 10391B
This equipment has been tested and found to comply with the limits for a Class A digital device, pursuant to part 15 of
the FCC rules. These limits are designed to provide re
equipment is operated in a commercial environment. This equipment generates, uses, and can radiate radio
frequency energy and, if not installed and used in accordance with the instruction manual, ma
interference to radio communications. Operation of this equipment in a residential area is likely to cause harmful
interference in which case the user will be required to correct the interference at his own expense.
This device complies wit
h Part 15 of the FCC rules. Operation is subject to the following two conditions. (1) This
device may not cause harmful interference, and (2) This device must accept any interference received, including
interference that may cause undesired operation.
Cha
nges or modifications not expressly approved by the party responsible for compliance could void the user's
authority to operate the equipment
This device complies with Industry Canada license
conditions: (1) this device may not cause interference, and (2) this device must accept any interference, including
interference that may cause undesired operation of the device.
Le présent appareil est conforme aux CNR d’Industrie Canada applicables aux
L’exploitation est autorisée aux deux conditions suivantes: (1) l’appareil ne doit pas produire de brouillage, et (2)
l’utilisateur de l’appareil doit accepter tout brouillage radioélectrique subi, même si le brouillage
compromettre le fonctionnement.
This device complies with Part 15 of the FCC rules. Operation is subject to the following two conditions. (1) This
device may not cause harmful interference, and (2) This device must accept any interfe
interference that may cause undesired operation.
GOJO Industries, Inc. All Rights Reserved
ule board are as follows:
Synchronization Interval: 60 minutes (may be set to any value [30
-720])
Dispense Count Threshold: 50 dispenses (may be set to any value [5
-255])
g or enclosure the following:
"Contains FCC ID: O76ONVATION, IC: 10391B
-ONVATION"
This equipment has been tested and found to comply with the limits for a Class A digital device, pursuant to part 15 of
the FCC rules. These limits are designed to provide re
asonable protection against harmful interference when the
equipment is operated in a commercial environment. This equipment generates, uses, and can radiate radio
frequency energy and, if not installed and used in accordance with the instruction manual, ma
interference to radio communications. Operation of this equipment in a residential area is likely to cause harmful
interference in which case the user will be required to correct the interference at his own expense.
h Part 15 of the FCC rules. Operation is subject to the following two conditions. (1) This
device may not cause harmful interference, and (2) This device must accept any interference received, including
interference that may cause undesired operation.
nges or modifications not expressly approved by the party responsible for compliance could void the user's
This device complies with Industry Canada license
-
exempt RSS standard(s). Operation is subject to the following tw
conditions: (1) this device may not cause interference, and (2) this device must accept any interference, including
interference that may cause undesired operation of the device.
Le présent appareil est conforme aux CNR d’Industrie Canada applicables aux
appareils radio exempts de licence.
L’exploitation est autorisée aux deux conditions suivantes: (1) l’appareil ne doit pas produire de brouillage, et (2)
l’utilisateur de l’appareil doit accepter tout brouillage radioélectrique subi, même si le brouillage
This device complies with Part 15 of the FCC rules. Operation is subject to the following two conditions. (1) This
device may not cause harmful interference, and (2) This device must accept any interfe
rence received, including
interference that may cause undesired operation.
Page 7of 7
This equipment has been tested and found to comply with the limits for a Class A digital device, pursuant to part 15 of
asonable protection against harmful interference when the
equipment is operated in a commercial environment. This equipment generates, uses, and can radiate radio
frequency energy and, if not installed and used in accordance with the instruction manual, ma
y cause harmful
interference to radio communications. Operation of this equipment in a residential area is likely to cause harmful
interference in which case the user will be required to correct the interference at his own expense.
h Part 15 of the FCC rules. Operation is subject to the following two conditions. (1) This
device may not cause harmful interference, and (2) This device must accept any interference received, including
nges or modifications not expressly approved by the party responsible for compliance could void the user's
exempt RSS standard(s). Operation is subject to the following tw
o
conditions: (1) this device may not cause interference, and (2) this device must accept any interference, including
appareils radio exempts de licence.
L’exploitation est autorisée aux deux conditions suivantes: (1) l’appareil ne doit pas produire de brouillage, et (2)
l’utilisateur de l’appareil doit accepter tout brouillage radioélectrique subi, même si le brouillage
est susceptible d’en
This device complies with Part 15 of the FCC rules. Operation is subject to the following two conditions. (1) This
rence received, including
Table of contents
Other Scott Dispenser manuals
Popular Dispenser manuals by other brands

Silver King
Silver King SKMAJ2 Technical manual and replacement parts list

BOWMAN
BOWMAN BD105-0012 Assembly instructions

Bennett
Bennett Horizon 2200 Series installation manual

Sanitame
Sanitame MKC-HSS-P-2020-WB-003 Assembly instructions

Tunze
Tunze Calcium Automat 3170 Instructions for use

Narvon
Narvon 378NSSM2 user manual