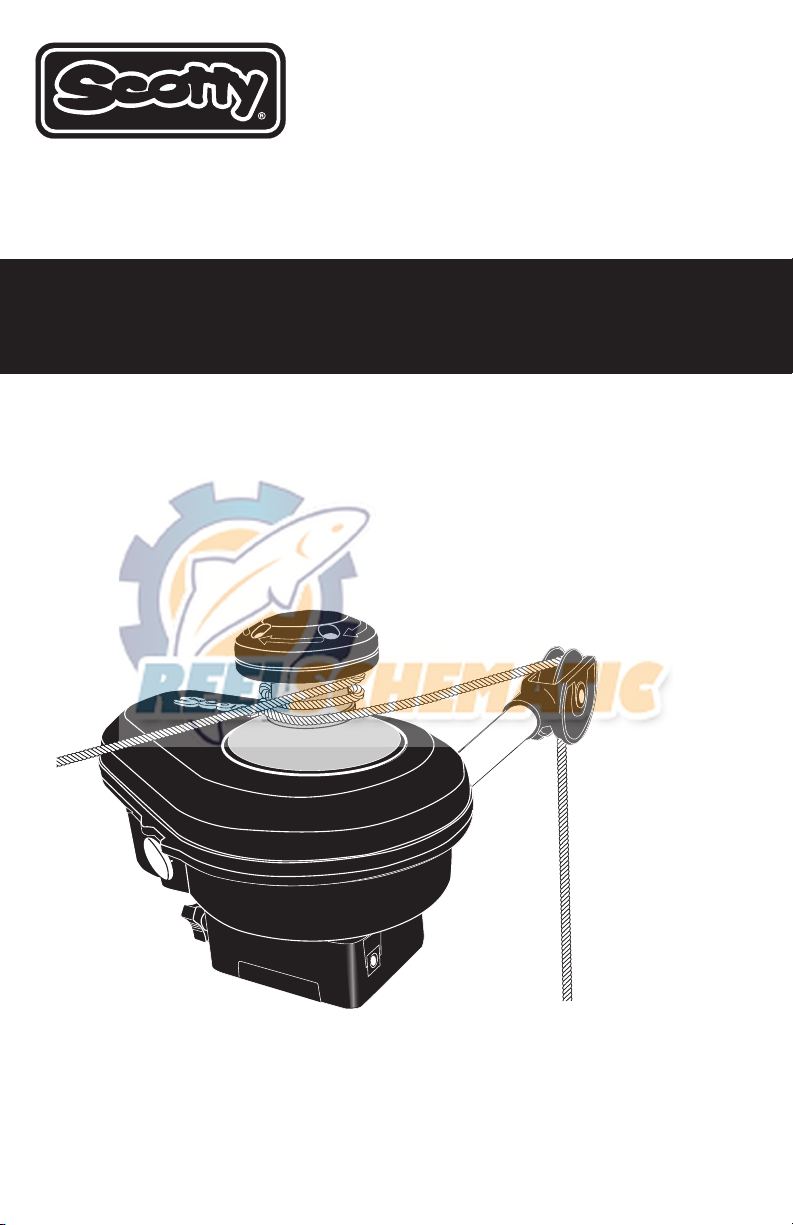
Scotty LINE PULLER User guide
The Way To Fish®
CAUTION! Read through this entire booklet before operating your
Scotty Line Puller. Improper use may damage your Line Puller and void the
warranty. You may also expose yourself to unnecessary danger and physical injury.
LINE PULLER
• Installation • Maintenance •
• Use and Safety •

2
Thank you for choosing a Scotty Line Puller.
Our goal is to manufacture a superior line puller, built to withstand the
demanding marine environment. This instruction book will give you basic
instruction on mounting and using your line puller, please read it carefully. It
will improve your results and also give you important tips on line puller safety
and care.
Warranty
Scotty is proud to warranty your line puller for a period of 2 years from the date
of purchase. For warranty inquiries, please contact Scotty Fishing, Marine and
Outdoors at 1-800-214-0141, or one of our authorized warranty repair service
depots (see www.scotty.com or call us for the depot nearest you). We will do
our best to get you back out on the water as soon as possible. Please read your
warranty agreement carefully and retain the certication section in a safe place,
along with your serial number.
Speed & Efciency
The Scotty line puller’s drive mechanism incorporates a positive drive gear
belt to turn the capstan. This highly efcient belt system is used by many
auto makers for valve timing, and the benet to the sherman is that power is
transferred from the motor at the greater efciency then worm gear drives used
in most line pullers. The result is a faster retrieval speed with less electric power
used.
Line Puller Safety
The Scotty Line Puller has been engineered to retrieve non-commercial,
sport-shing traps. Attempting to lift heavier traps may damage the unit, and may
cause personal injury to the operator. All sports have some physical hazards con-
nected with them and retrieving sport-shing traps calls for some common sense
and precaution.
• Do not attempt to lift a trap, that when fully loaded, is more weight than you
can safely handle.
• Do not attempt to use the Scotty Line Puller to lower your traps. It is not de-
signed for this purpose and may cause damage to the puller or personal harm
to the operator.
• When your trap reaches the surface, TURN THE UNIT OFF. Do not attempt to
lift a trap over the gunnel of your boat with the unit still running.
• Do not attempt to lift a snagged trap with the puller. If possible, the snagged
trap must rst be freed from the obstruction.

3
Instructions For Use
The Scotty line puller is very simple and easy to operate when used to retrieve
non-commercial, sport-shing traps for crabs, prawns, shrimp and other shellsh.
We recommend you follow these steps in order to safely retrieve your traps:
1. Do not attempt to use the Scotty Line Puller to lower your traps. It is not
designed for this purpose and may cause damage to the puller or personal
harm to the operator.
2. Ensure the Scotty Line Puller is plugged in and in the OFF position (red power
switch pushed all the way in).
3. Hook the trap line over the pulley at the end of the Puller arm.
4. Wrap two or three wraps CLOCKWISE (follow the direction of the arrows)
around the capstan, STARTING AT THE BOTTOM.
5. Ensure you are clear of the pulley and the capstan before turning the unit on.
6. Turn the unit on by pulling the red power switch out.
7. Apply light pressure to the line by pulling on the free end of the rope (this is
the end inside your boat, not the end leading into the water).
8. If you have difculty lifting a trap, release pressure on the rope. Do not
attempt to lift a snagged trap.
9. When the trap reaches the surface TURN THE UNIT OFF.
10. DO NOT ATTEMPT TO LIFT A TRAP OVER THE GUNNEL OF YOUR BOAT
WITH THE LINE PULLER STILL RUNNING.

4
Mounting
WARNING:
Batteries contain a large amount of potential electrical energy. Extreme care
must be used when working with batteries. An improper connection to a
battery can release enough energy to cause severe injury or re.
PLEASE READ THROUGH ALL ELECTRICAL INSTRUCTIONS PRIOR TO
INSTALLATION AND WIRING.
Required for Installation and NOT included with this kit:
• 30 amp fuse with fuse holder (Scotty part No. 1124)
Overcurrent Protection
The wiring between the battery and the receptacle must have proper overcur-
rent protection in the form of an inline 30-amp fuse. It is this inline fuse that may
prevent an electrical re in the event of a short circuit. Position the overcurrent
protection within 7” of the battery.
Wire Gauge
Use good quality marine grade tinned electrical wire to bring power to your line
puller. To determine the correct gauge of wire, measure the “wire run length” which
is the distance from the positive (+) power source connection, to your line puller
and back to the negative (-) power source connection. For wire run lengths up to
25 feet, use minimum 12 Ga. wire, for runs of 25– 40 feet use 10 Ga. wire. Wire
smaller than the recommended gauge will not carry sufcient power to operate
your line puller at its rated speed and power, it will run noticeably slower.
We Recommend:
Scotty premium 12 gauge, 2 Conductor Power Wire (Scotty part No. 1133) has
been designed specically for return runs of 25 feet or less. It is manufactured with
heavy duty, annealed, tinned copper which provides maximum current ow and
improved corrosion resistance.
NOTE: The Line Puller should always be unplugged when not in use.
1 1/8"
Receptacle template
Wiring Instructions and Installation

5
How to use your Line Puller
Receptacle Installation & Wiring
It is important that the receptacle is wired to match how the plug is wired. The
terminals marked “1” and “2” on the receptacle mate with the corresponding
terminals marked “1” and “2” on the plug.
1. Mounting the receptacle requires a 1 1/8” hole to be drilled. Select a
location where the boats structure will not be weakened. Also, mount
on a vertical surface to lessen the amount of water that can enter the
receptacle. Alternatively, you may want to mount the receptacle using the
Scotty L-bracket (included in your line puller kit)
2. Using the template on page 4, mark and drill the required holes.
3. Slide the rubber receptacle protection boot onto the wire.
4. Strip the wire insulation back ½” to expose clean bare wire. Do NOT solder
the ends of the wires.
5. Feed the wire from the back, through the 1 1/8” hole. Insert the negative
(-) wire into terminal “1” and the fused positive (+) wire into terminal “2”
and tighten both terminal screws. Make certain there is no wire insulation
inside the terminals and that there are no stray wire strands outside the
terminals. Do not overtighten!
6. Mount the receptacle. Ensure the drain hole is facing down.
7. Push the rubber receptacle protection boot onto the receptacle from the
backside.
Circuit Breaker
Your Scotty line puller is equipped with an automatic circuit breaker to protect
the motor from overload. If you attempt to lift a snagged trap or a trap that is
too heavy for the line puller, the circuit breaker will probably trip. Wait 5 to 10
seconds for it to automatically reset and you will have power again. However,
do not repeatedly attempt to lift a load too heavy for the line puller motor. If
possible, the snagged trap must rst be freed from the obstruction.
Note: It is also possible to trip the circuit breaker by lifting a snagged or fully
loaded trap from extreme depth. The circuit breaker is designed to trip at about
25 amps. If this happens, allow the circuit breaker to cool several seconds
before resuming lifting.
12 Volt Battery
In-Line 30 amp Fuse
6
Mounting Instructions
The Scotty electric line puller mounts on the Scotty No. 1023 mounting bracket
supplied with the line puller. This bracket can be bolted directly to your gunnel or
on top of an alternative mount (for additional mounting options see page 7). Line
pullers can be mounted on either side of the boat, on the stern or on either corner.
They will work in any location but you should be mindful of where you will be coil-
ing the trap line and how you will lift a full trap over the gunnel of the boat.
You may be handling heavy traps and long lengths of rope, ensure your mounting
location is convenient and safe for these operations. Do not mount the line puller
where you have to reach or lean a long way to lift a heavy trap over the gunnel.
Due to the heavy stresses placed on the boat gunnel by the leverage of the traps
on the line puller arm, we recommend that a wood or metal backing plate always
be installed on the underside of the mounting surface. This spreads the load and
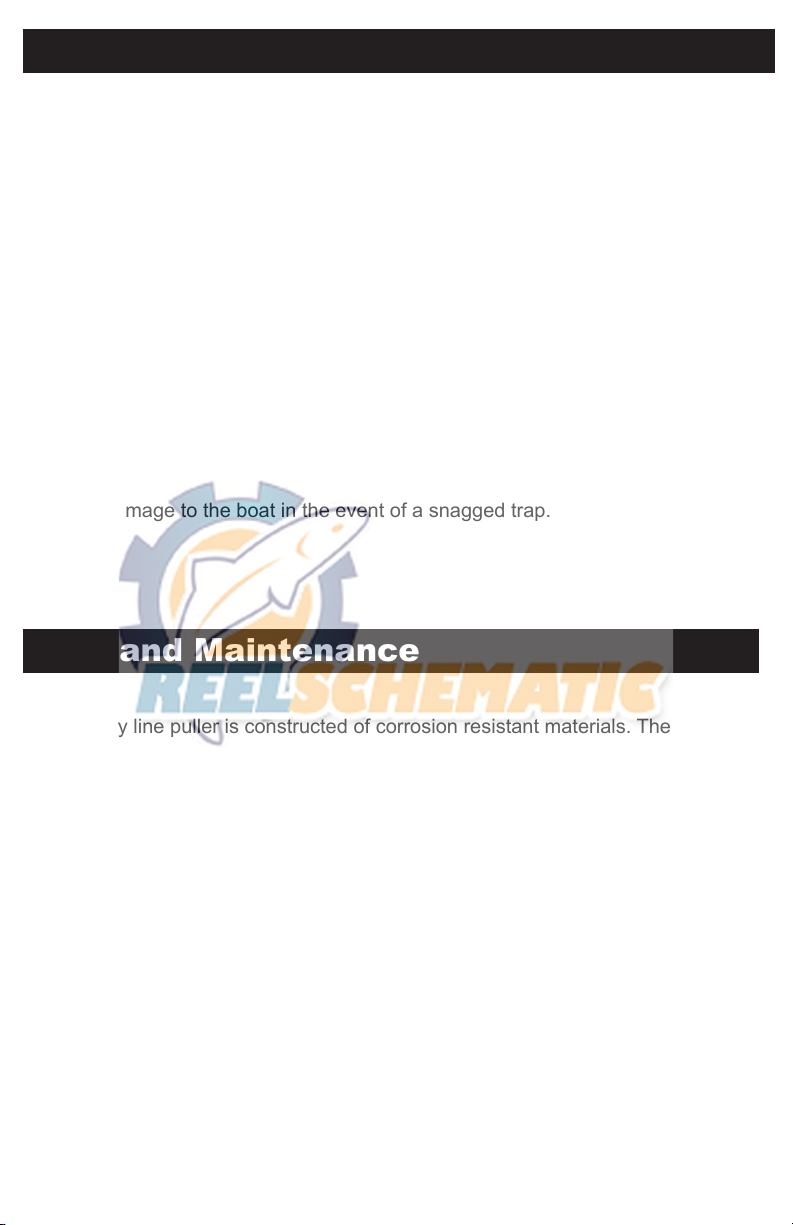
reduces damage to the boat in the event of a snagged trap.
Care and Maintenance
Your Scotty line puller is constructed of corrosion resistant materials. The following
regular maintenance checks should be performed:
1. Routinely check the stainless steel fastenings with a screwdriver to see that
they are snug and secure.
2. Check the electrical plug connectors for corrosion and clean off any corrosion
found. Failure to clean corrosion may cause electrical arcing and shorting
which may be a potential re hazard.
3. Do not use any lubricants. Lubricants will attack and damage the plastic
components.
4. Do not expose the line puller to ultraviolet light for extended periods of time.
7
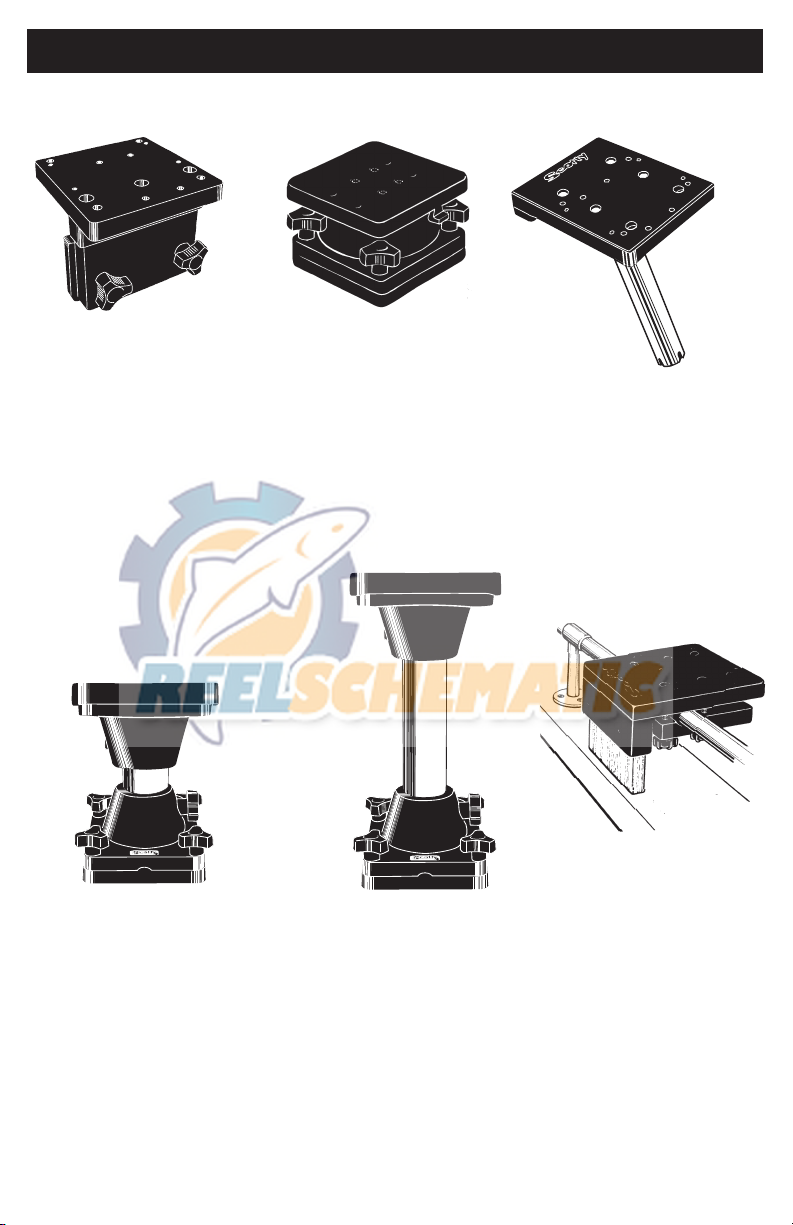
Optional Mounts for your Line puller
Right Angle Side
Gunnel Mount
No. 1025
Pedestal
Swivel Mount
No. 1026
Pedestal Riser
No. 2612 - 12”
Pedestal Riser
No. 2606 - 6”
Gimbal Mount
No. 1028 - 9”
No. 1029 - 12”
Rail Mount
No. 1027
For more information on these and other Scotty products,
go to our website at www.scotty.com

Scan the above
QR code with your
smart phone
To obtain parts, information or to locate the warranty service
depot nearest you, contact:
Scotty Fishing & Outdoor Products
2065 Henry Ave West
Sidney, BC Canada
V8L 5Z6
Tel: (250) 656-8102
Fax: (250) 656-8126
Toll Free: 1-800-214-0141
Email: scotty@scotty.com
www.scotty.com
The Way To Fish®
Although Scotty makes every effort to ensure the accuracy of speci cations at the
time of publication, speci cations for products described in this publication are
subject to change without notice.
Contact Scotty for the most current information.
Serial # ______________________
Table of contents
Other Scotty Fishing Equipment manuals


Popular Fishing Equipment manuals by other brands

Renzetti
Renzetti Presentation True Rotary 3000 Series quick start guide

Fiap
Fiap Pendulum Feeder 1550 manual

Cannon
Cannon EASI-TROLL /E owner's manual

Crivit
Crivit MULTI-X ROD COMBO SET Instructions for use

ND tackle
ND tackle Air Light Sounder user manual

UAV Electronics
UAV Electronics SkyClip operating instructions

FISHING SPECIALTIES
FISHING SPECIALTIES Bowducer installation instructions

Rush Creek Creations
Rush Creek Creations 38-6003 quick start guide

Norcross
Norcross Sonic-Laser Scale XP instruction manual

MIVARDI
MIVARDI Taurus 6000 user guide

Logan
Logan INNOVEX 70 Series manual

Jiffy
Jiffy Pro4 Lite Operating manual/parts guide


