ScoutGuard MG984G-36M User manual

Sending via:
Phone MMS
Email MMS
Email GPRS
MG984G-36M
Camera activations can be sent / transmitted instantly to you based on your preferred Send Mode settings.
They are either;
1. Molnus (default setting) - Uses DATA - Images / Videos (less than 10MP) transmitted to FREE Cloud
Service using GPRS
2. Phone MMS - Uses AIRTIME - Images transmitted to cell phones (up to 4)
3. Email MMS - Uses AIRTIME - Images transmitted to e-mail addresses (up to 4) as MMS's
4. Email GPRS - Uses DATA - Images / Videos (less than 10MP) will be transmitted to e-mail addresses
(up to 4) using GPRS
This Guide will assist you with Phone MMS, Phone Email, Email GPRS...
CAMERA TRAPS cc
+27(0)83 560 0555 | +27(0)82 422 0356
www.cameratraps.co.za
SOUTH AFRICA
MG984G-36M
1
You can either input your relevant Cellular Network Providers Parameters manually into the camera
or you can download the setup application program BMC CONFIG_CAMERA_TRAPScc.exe and save it
to your PC / laptop which has all these parameters pre-installed and you can also change the camera
settings.
This BMC CONFIG_CAMERA_TRAPScc.exe setup program creates a folder (called 'GSM') which will
need to be copied to your SD card and put back into the camera to update it (explained after MANUAL
INPUT below).
1.MANUAL INPUT (directly into the camera)
•Connect camera to correct power source before turning to SETUP
8 x Alkaline or Lithium batteries OR
8 x AA size Nickel Metal Hydride (NiMH) rechargeable batteries (min 2600 mAh) OR
1 x DC 6-Volt, 2A external SLA rechargeable battery or 6v solar panel
•Insert a clean (formatted) SD card into the camera (maximum of 32GB)
•Insert the your preferred cellular network provider's SIM card into the camera - Please disable the SIM PIN.
(Please ensure sufficient Airtime / Data has been loaded onto the SIM card)
Indicates the SIM card is recognized by the camera.
Indicates the SIM card is not recognized by the camera or the SIM card is not working due to connection/
activation issues.
Turn the camera power button to SETUP. Make sure the SIM card is recognized and signal
strength is adequate.
1. Press MENU.
2. Set your preferences (Photo / Video / Pic+Video) - please note that only vido clips (up to 10MB can be
sent via Email GPRS and Molnus.
3. Set Photo Size (this size gets saved tho the SD card - you get sent minimised versions (+/- 60kb) for fast
transmission.
4. Set Video Size / Photo Burst (images per activation required - up to 5) and Video Length (up to 180 sec)
5. Press MENU to get out of this screen and Press the right arrow to go to the next MENU option
6. Set these parameters to your preferences
7. Go to the next MENU item to select the Send Mode
Molnus (the FREE Cloud service) is default. This is explained in the Sending via Molnus document.
Select your send mode preference and fill in the correct parameters manually using the keypad buttons

MG984G-36M
2
Phone MMS:
Select 'Send To: Phone MMS' and press OK and it will ask you to fill in the relevant cell network providers'
URL / IP / Port / APN parameters that are specific to the SIM card you have inserted into the camera.
Press OK for each line item to enter the keypad to input the data (South Africa Network parameters below).
VODACOM
Email GPRS & Molnus
Phone MMS & Email MMS
http://mmsc.vodacom4me.co.za/
196.6.128.13
8080
mms.vodacom.net
(leave blank)
(leave blank)
MTN
CellC Telkom
internet
(leave blank)
(leave blank)
http://mms.mtn.co.za/mms/wapenc
196.11.240.241
8080
myMTN
mtnmms
mtnmms
Email GPRS & Molnus
APN: internet
Account: (leave blank)
Password: (leave blank)
URL:
IP:
Port:
APN:
Account:
Password:
Phone MMS & Email MMS
http://mms.cmobile.co.za/
196.031.116.250
8080
mms
(leave blank)
(leave blank)
Email GPRS & Molnus
internet
(leave blank)
(leave blank)
APN:
Account:
Password:
APN:
Account:
Password:
Phone MMS & Email MMS
URL:
IP:
Port:
APN:
Account:
Password:
URL:
IP:
Port:
APN:
Account:
Password:
http://mms.8ta.com:38090/was
41.151.254.162
8080
mms
(leave blank)
(leave blank)
Email GPRS & Molnus
internet
(leave blank)
(leave blank)
APN:
Account:
Password:
URL:
IP:
Port:
APN:
Account:
Password:
Phone MMS & Email MMS
Fill in the relevant MMS
recipients' cell phone
numbers without the
country prefix code (up to
4 numbers).
Press OK to Save.
MG984G-36M
3
Email MMS:
Select 'Send To: Email MMS' and press OK and it will ask you to fill in the relevant cell network providers'
URL / IP / Port / APN parameters that are specific to the SIM card you have inserted into the camera.
Press OK for each line item to enter the keypad to input the data (South Africa Network parameters above).
Fill in the relevant Email
recipients' addresses (up to 4
Email addresses).
Press OK to Save.
Email GPRS:
Select 'Send To: Email GPRS' and press OK and it will first ask you to fill in the relevant SENDING Email
SMTP parameters i.e. of the Email address used to SEND the footage. The same Email address can be used
to SEND and RECEIVE footage.
Note for SSL encryption:
'0' = No SSL encryption
'1' = With SSL encryption
You will then need to fill in the RECEIVING Email addresses (up to 4) as well as the cell network providers'
APN parameters that are specific to the SIM card you have inserted into the camera.
Press OK for each line item to enter the keypad to input the data (South Africa Network parameters above).
MG984G-36M
If using Gmail: You will need to log onto your Gmail account and Allow Less Secure apps to use your gmail
account for sending email. More info below...
IMPORTANT NOTICE WHEN USING
GMAIL as the SENDING EMAIL:
A standard part of internet security on the part of Google and other email processors is to keep your account safe. When you first use Gmail in your
camera, Google will typically block its access. You will receive an email stating that an application or person has tried to access your account. With
Gmail and other email services you are likely to have this problem. This is not an issue with the camera.
In order to allow the camera to use your Gmail account you will have to follow a series of steps to Allow Less Secure apps to use your gmail account for sending
email. •Log onto your Gmail account via a PC or Laptop
•Click on “My Account”
•Click on "Security” and scroll down to "Less Secure App Access" and turn it ON
•Log off and you are done…
4

5
All the relevant cell network provider / MMS / GPRS parameters AND camera settings can also be
set up on your PC and then uploaded to the camera using the setup application program BMC
CONFIG_CAMERA_TRAPScc.exe.
This program along with the basic instructions can downloaded form the CAMERA
TRAPS cc website here
www.cameratraps.co.za
Unzip / Extract the folder and Open the BMC CONFIG_CAMERA_TRAPScc.exe program software
STEP 1: Select your country and carrier (SOUTH AFRICA NETWORKS ARE PRE-INSTALLED).
STEP 2: Check WAP/Internet Parameters:
Fill out the required fields (marked with an asterisk *).
Input Email server e.g. “smtp.gmail.com”
NOTE: If your email uses encryption techniques, please select the corresponding protocol.
If using Gmail as the sending email, you should select SSL to ensure the success of sending
mail.
MG984G-36M
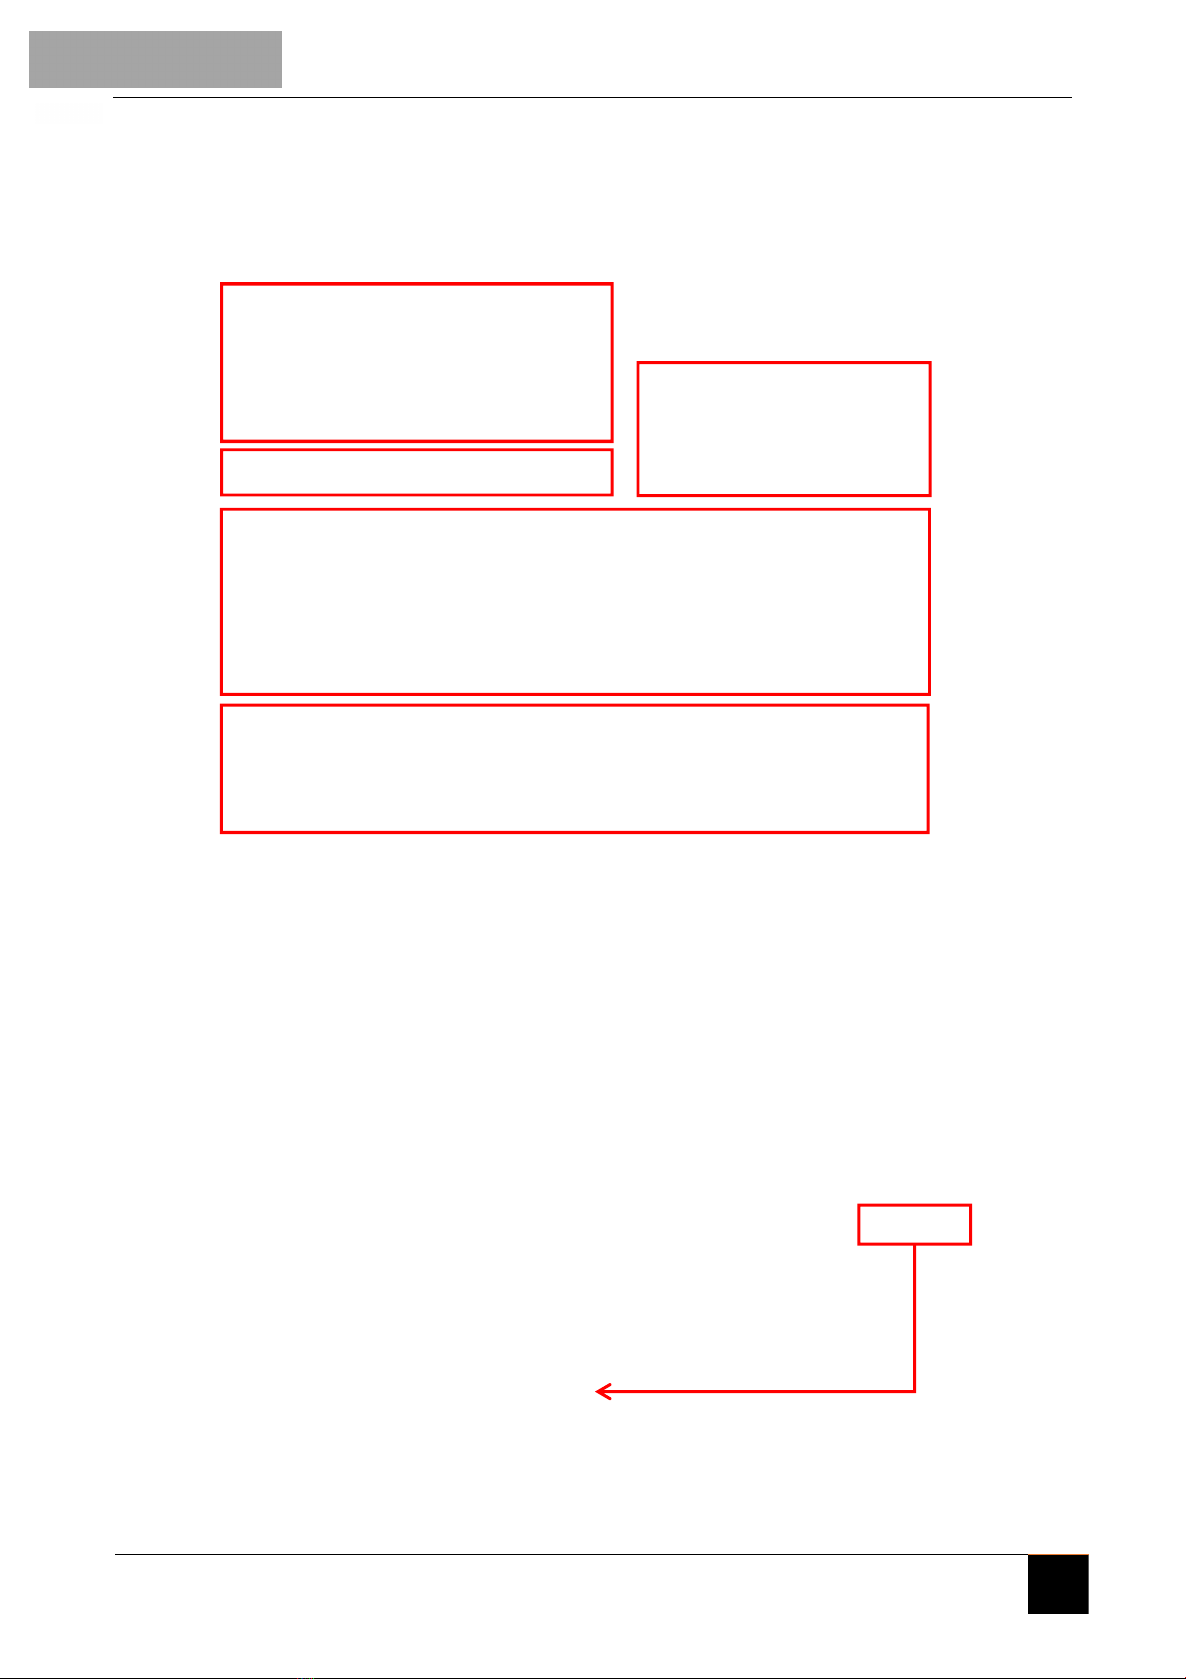
2.SETUP USING APPLICATION PROGRAM BMC CONFIG_CAMERA_TRAPScc.exe
6
Step 1
Step 3
MG984G-36M
Step 2
Step 4
Step 5

7
STEP 3: Choose between default or manual settings. For first time use, we suggest using the default
settings.
STEP 4: Input the phone number of the phone to receive images in the
“administrator number” field and email address in “Receive Email 1” field (This is
NOT the phone number of the inserted SIM card that resides in the camera). The administrator number
is also the one that can send the remote SMS commands - see later for more information on Remote
Communication - PLEASE NOTE - No country prefixes (+27 etc.) Simply insert your cell numbers as is e.g.
'0823456789'
STEP 5: Select the location to save the relevant settings then click 'Save' and a 'GSM' folder will
be created in the selected location.
If your country or SIM card provider is not listed, select “Others”. You will need
to ask the SIM card provider for their specific MMS URL, MMS APN, Port, MMS IP, Account,
Password, GPRS APN, GPRS account, GPRS password (or contact CAMERA TRAPS cc for relevant
able to provide the send email server and port settings.
STEP 6: Copy this 'GSM' folder to the SD card and after it is inserted into the camera
and the camera is turned on, these settings will automatically be updated to the camera.
MG984G-36M
You can make the cameras send and receive to the same e-mail address so now suddenly you are not limited to only 4 x recipient e-mail addresses.
For example...
Create a free Gmail address and have the camera send and receive to this new address...
The relevant trusted personnel that you want to receive the footage from the camera/s just have to have this new E-mail address and Password and all they need
to do is set this new address up in one of the above listed free Apps on their phones / tablets. They will then automatically also receive the camera/s activations...
Now your recipient list is unlimited...
Another option is to set up an 'Auto-Forward' on your G-mail address and your new g-mail address will forward whatever arrives in the inbox to the relevant e-mail
address/s that you choose... This method does require an extra verification step by having the relevant forward address being verified by clicking on a link sent via
Google..
For Proactive Security Applications and immediate responses - it’s best to NOT use the standard e-mail Apps that come with smart phones because these
standard smart phone e-mail Apps have server fetch / check limitations and the quickest you can automatically set them to fetch / check the relevant server is +/- 5
minutes. For Proactive Security applications - you want to be notified as the footage (e-mail) arrives at the relevant server…
Hence for immediate e-mail footage notification of activations on your phones / tablets, please download one of the below FREE Apps from either the Google Play
Store (for Android phones) or Apple i-Store (for i-Phone’s).
With these mentioned Free mail Apps there are no server fetch / check limitations that smart devices are forced to adhere to so when an e-mail message arrives in
the inbox (image or clip sent from the camera) you will be alerted immediately via the App on your phone / tablet - just like an MMS - but it will also be far cheaper
than sending via MMS...
THINGS TO CONSIDER...
Gmail MyMail Microsoft Outlook
8
MG984G-36M
1
2
BG Tools App - Instructions
The BG Tools APP makes it easy to communicate with the camera so you don’t need to edit the command
SMS's.
STEP 1: Open the BG Tools app and click on the icon to add a new device.
Select the model of your camera from the drop-down list - Press Next
STEP 2: Assign a name for the camera and the SIM card cell number (no country prefixes) which is inserted
in your camera - Press Next
STEP 3: Super User: Select the 'Super SIM' Number (no country prefixes) which is the cell phone number
for the App's Administrator - i.e. the one who will be controlling the camera remotely through this App)
and create a Super User Password (four numbers) that can also allow other App users with this number to
be able to also control the camera remotely). For first time users of the App - the Super User Password is
0518. This password can also always be changed remotely at a later stage if required....
Click 'Next'...
3
STEP 4: A SMS text message will automatically be created with the relevant settings to send to the camera.
Click 'Send'... and it will take you through to the next step
4
For first time users of the App - the
Super User Password is 0518
REMOTE COMMUNICATION / CONTROL OF YOUR CAMERA
Please Set "SMS control" to ON in the second tab from the right in the camera menu to allow this
feature.
When the camera is switched to the ON mode, you can change / check many of
the camera's settings remotely from anywhere in the World - without having to go directly to
the camera. There are currently Apps supported by Android and Apple devices. Charges
or fees may apply when sending relevant remote communication command messages to
the camera depending on your cellular provider.
−If sending via PhoneMMS / EmailMMS / EmailGPRS / you can search for the free BGTools App
which is available from the Google Play store or Apple App Store.
BGTools

9
STEP 6: Email Service - Here you can decide on having Boly Email or Other Email service to transmit
footage and you will have to fill in the relevant SEND MAIL parameters. A SMS text message
will again be created with the relevant settings to send to the camera. Click 'Send'...
IMPORTANT - If using Gmail - Please See Important Note Above...
MG984G-36M
6
STEP 5: Operator - Choose the country and provider that corresponds with your SIM card (which is inserted in
your camera). A SMS text message will again be created with the relevant settings to send to the
camera. Click 'Send'... and it will take you through to the next step...
5
10
MG984G-36M
CONTROLLING / CHANGING PARAMETERS REMOTELY:
•Select “Control” to remotely set / change camera / user custom settings (Work parameter).
Here you are also able to change MMS / network / Email / recipients settings / or set to back default.
•“Get Photos / Get Picture” means the camera will take a photo and send it to you. There are two
ways for it to be sent to you namely:
- Cellphone: Send MMS to phone
- Email : Send to Email address by GPRS.
•A SMS text message will again be created with the relevant settings to send to the camera. Click
'Send'...
Your camera should now be successfully loaded

11
MG984G-36M
1. Inserted the correct power source?
2. Inserted the relevant cellular network providers' activated SIM card - remembering to disable the PIN?
3. Loaded DATA onto the SIM (required for Molnus / Email [GPRS] sending)?
4. Loaded AIRTIME onto the SIM (required for Phone [MMS] / Phone [Email] sending AND some airtime is also
required for REMOTE COMMUNICATION purposes)?
5. Either manually inserted the cellular network parameters or used the Setup application program BMC
CONFIG_CAMERA_TRAPScc.exe?
6. Either manually inserted the sending e-mail parameters or used the Setup application program BMC
CONFIG_CAMERA_TRAPScc.exe? (if using Gmail - please see note on Page 4)
7. Either manually inserted the receiving e-mail addresses / cell phone numbers or used the Setup application
program BMC CONFIG_CAMERA_TRAPScc.exe? - remembering No country prefixes (+27 etc.) e.g. '0823456789'
8. If you used the setup application program BMC CONFIG_CAMERA_TRAPScc.exe - have you created the relevant
'GSM' folder and copied it to a clean / formatted and unlocked SD card to be used in the camera trap?
9. Inserted this recommended SD card into the camera?
10. Now Turn the camera to SETUP and wait for it to obtain cellular signal.
11. Check all your settings / adjust the date / time and others to your preference
12. Ensure the unit is on Instant sending
13. Mount the unit and switch to ON...
CHECKLIST
On Camera Setup Options
To view the camera settings menu, slide the power switch to TEST/SETUP mode and press
MENU button on the keypad. Use the ► or keys to toggle between the sub-menus. Use the ▲
▼keys to select the different options. Press “OK” to save the settings.
After changing EACH setting in the Setup menu, you must press OK or the camera will retain the
previous setting.
For more settings, select “Advance” to set Super user information, change the password, Format the
SD card, System Checking, Arming, or Disarming.

Version 1.3
CAMERA TRAPS cc
+27(0)83 560 0555 | +27(0)82 422 0356
www.cameratraps.co.za
SOUTH AFRICA
Other ScoutGuard Scouting Camera manuals

ScoutGuard
ScoutGuard SG880MK-8mHD User manual

ScoutGuard
ScoutGuard SG550 Series User manual

ScoutGuard
ScoutGuard SG880MK-18mHD User manual

ScoutGuard
ScoutGuard SG880MK-8M User manual

ScoutGuard
ScoutGuard SG968K-10M User manual

ScoutGuard
ScoutGuard SG880MK-8M User manual

ScoutGuard
ScoutGuard SG-660 User manual

ScoutGuard
ScoutGuard SG560-8M User manual

ScoutGuard
ScoutGuard SG550B User manual

ScoutGuard
ScoutGuard HC-SG550M User manual


