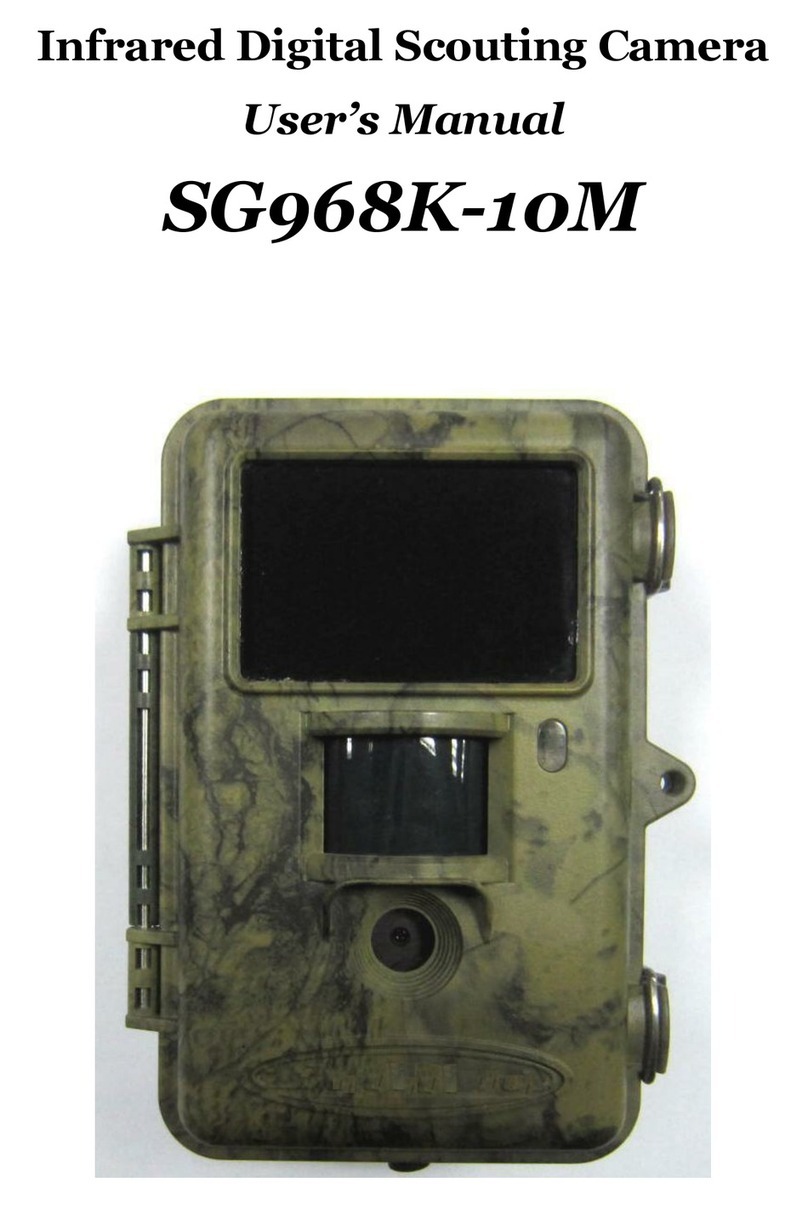
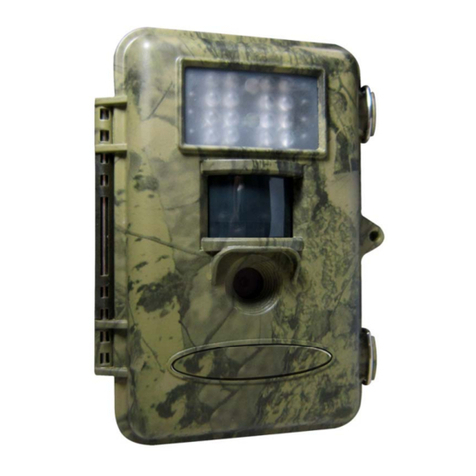
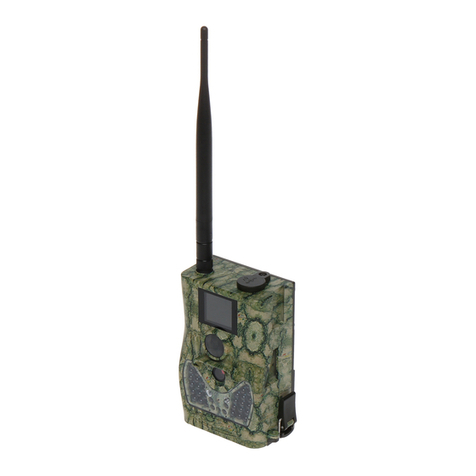
ScoutGuard SG-660 User manual

- 0 -
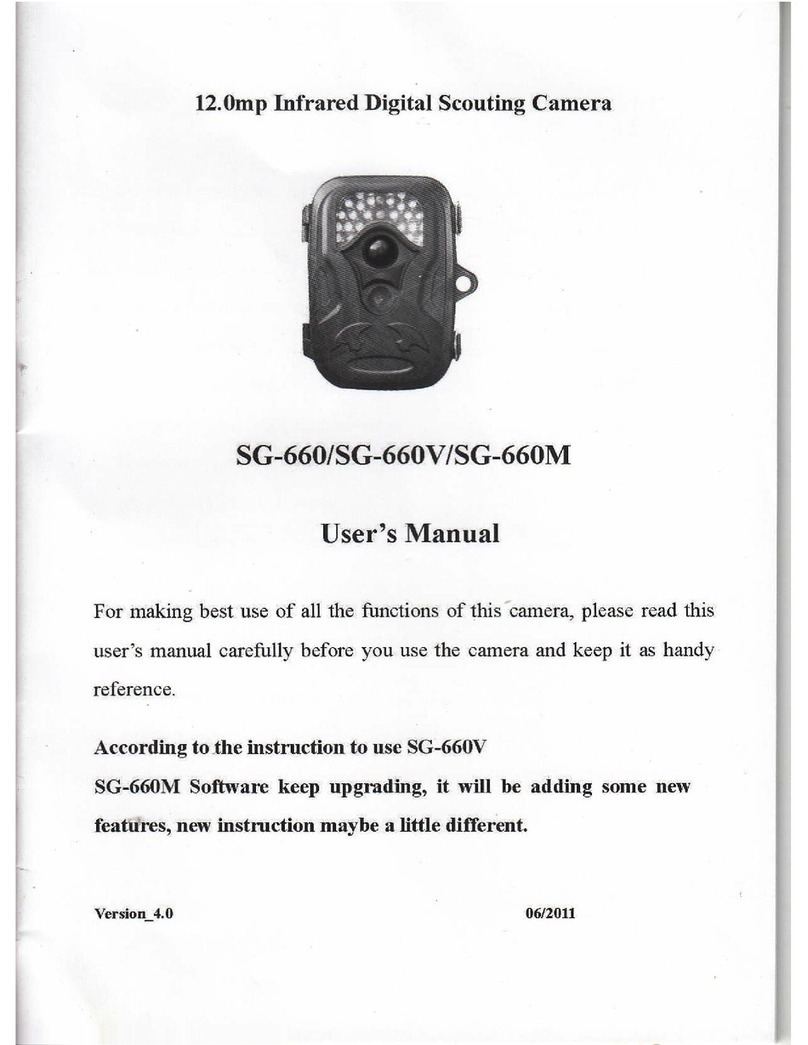
12.0mp Infrared Digital Scouting Camera
SG-660/SG-660V/SG-660M
User’s Manual
For making best use of all the functions of this camera, please read this
user’s manual carefully before you use the camera and keep it as handy
reference.
According to the instruction to use SG-660V
SG-660M Software keep upgrading, it will be adding some new
features, new instruction maybe a little different.
Version_5.0 08/2011

- 1 -
Content
1:General Description ………………………………………………..2
2:Warning …………………………………………………………….3
3:Cautions ………………………………………………………….…4
4:Camera Body Display and Parts ………………………………….5
5:Quick Overview…………………………………………………..6-9
6:Advanced Operations …………………………………………10-18
7:General Description Camera Feature …………………………...19
8:Software Upgrade …………………………………………………20
9:Mounting the SG-660 series ……………………………………...21
10:SG-660 Series Trail Camera Default Setting List ………………22
11:FAQ …………………………………………………………….23-28
12:Technical Specifications ……………………………………….….29
13:Parts List ……………………………………………………….….30
14: SG - 660M GPRS Setting……………………………………..…31-36
15: GPRS Notice ………………………………………………….…36-37

- 2 -
1. General Description
The camera SG-660 Series is designed, developed and produced in China, We have patents for it,
the patent No:200920131285.7,201030504272.8, 201030201364.9. It is a surveillance device
working automatically; it is a beautiful style, pretend color, convenient for mount, including digital
camera function. It can be triggered by any movement of human(or animals )in a certain region of
interested monitored by a highly sensitive passive Infra-Red motion sensor(PIR),and then take
high quality pictures (up to 12 mega pixels) or video clips. And the camera SG660M supports
MMS/SMS/E-mail via GPRS Network.
SG-660 Series can be used as autonomic surveillance device for guarding and recording
unexpected intrusion to homes, shops, warehouse, schools, offices, taxies, worksites etc. It can
also be used as trail camera for hunting or monitoring animals by recording the traces of wild
animals, it can be left alone for six months stand-by operation time when the device is powered
by 8 AA alkaline batteries. Once motion in the monitored area is detected, the Trail camera unit
will be triggered at once (typically with in 1s) and then automatically take photos or videos
according to previously programmed settings.
The trail camera is equipped with built-in infrared LEDS that function as a lash,
professional CMOS, so that it delivers clear photos or videos (in black &white) even in the
dark; and it can take color photos or videos under sufficient daylight and the IR LED is off.
It is resistant against water and snow for outdoor use; the height away from ground for
placing the device should vary with the object size appropriately. Generally, 1.5-2 meters are
preferred. Avoiding rainstorm, thunder, air outlet of the chimney and other heat sources,
prohibit use for swimming.

- 3 -
2. Warning
Please reading the user manual carefully, before using the device, avoid unnecessary
lose!
If your product is out of our service guarantee period, we can still provide paid service
like repairing or parts replacements and shipping costs therefore brought.
SG-660 Series is covered by one year Limited Warranty on parts and labor from the
date of original purchase, and purchases must be made through an authorized dealer.
The warranty covers defects in workmanship and materials.
The warranty does not apply to units, which have been damaged or abused
intentionally.
A purchase from individuals or unauthorized internet sites voids the warranty.
Tampering with or altering the unit will void the warranty.
For repair the camera, please contact with local distributor, only send back camera
without accessories and packing box.
As communication networks reasons we can’t guarantee 100% success by sending and
receiving MMS.
If you need any more technical supports or have problem with this product, please
give feedback to your local distributor, we want to offer best service for you.
When using this camera, please pay attention to abide by the laws and regulations, no
invasion of privacy, illegal things, manufacturer and distributor will not take any legal
responsibility for this.

- 4 -
3. Cautions
Be sure the camera’s power is switched off before inserting or removing SD card
or batteries.
It is recommended to use new high-performance alkaline AA batteries or
rechargeable batteries, for prevent the liquid rot the battery depot.
Please make sure that the battery polarity matches that on the battery cover. Make
sure the polarities are correct.
In the test mode, the camera will shut down automatically after one minute if no
key is pressed, please turn on the power again if you want to continue.
Please be sure that no power interrupt occurs during firmware upgrade, otherwise
the upgrade process could be interrupted incorrectly. If any fault occurs after
improper upgrading process and the camera stops function properly, please return
the device to the seller for repair.
When the power switch is ON, please don’t take out the SD card, battery and
remove the external DC power frequently.
When mount the product. In 3 meter region, avoiding temperature and motion
disturbances in front of device such as big leaf, strap and another heat sources to
prevent false triggering.
Avoiding temperature and motion disturbances in front of the device such as a
air-conditioner, air outlet of the chimney and other heat sources and spotlight to
prevent from false triggering and device’s life)
Battery life will vary with operating temperature and the number of images taken
over time, typically, the trail camera will be able to capture several thousand
images before the batteries die.
Indoor, if you want to get more high quality audio recording, it is recommended
to open the bottom of the Mic rubber cover. Outdoor, if have raining or wet
weather, please don’t the rubber cover. Avoid damage inside of the camera (PCB).

- 5 -
4. Camera Body Display and Parts
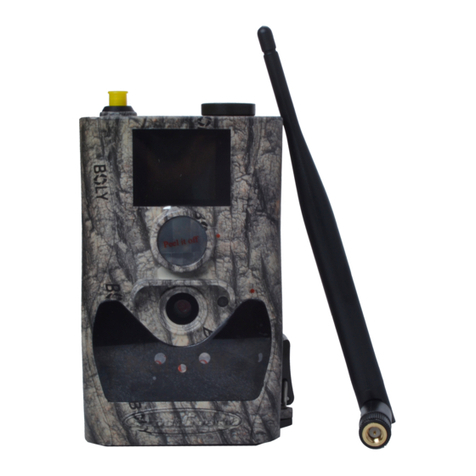
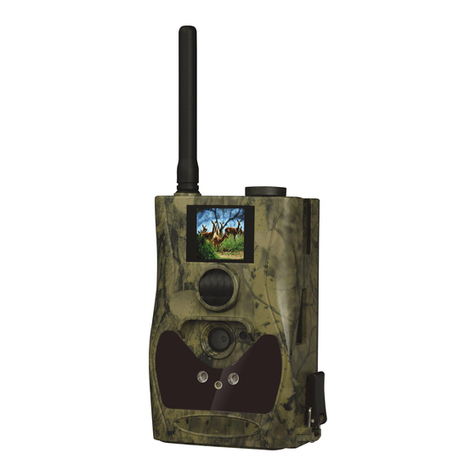
Camera Body Description
The camera SG-660 Series Provides the following connection for external devices:
LCD, Keyboard, Speaker, SD card slot, SIM card port, Mic port, USB port, TV out, AA
Battery depot, and External DC power in.
SG-660 Series Camera front as shown in fig.a; Display and keyboard as shown in
fig.b; installing the batteries as shown in fig.c, Connections as shown in fig.d; Bottom
cover as shown in fig.e

- 6 -
5、Quick Overview
The trail camera uses a standard SD (secure digital)memory card to save photo (in jpg
format) and / or videos(in .ASF format)
The supported card size of the device is from 8MB to 32GB, and the file format supported
is FAT12 and FAT16. Here are some important notices. You don’t need to concern about
the file system format of the camera unless you have problems with reading the SD-card
by your other equipments. If this happened, please format the SD-card in the camera or in
a computer at first and then reinsert the card into your camera to make a try.
It is recommended to use the SD-card with a quality-guarantee. Please insert the SD-card
when the power switch is at OFF position before testing the camera. The camera has no
internal memory for saving images or videos. If no SD-card is inserted, the camera will
shut down automatically after a continuous indication sound.
Formatting the SD card by using the trail camera’s format parameter before using it for the
first time is recommended, especially when a card has been used in other devices. The
system will delete all images or videos stored in the SD-card after formatting, make sure
that you have made a backup of important data.
Before inserting the SD card, Please make sure the sheet metal surface is down, that the
write-protect of the card is off. So that it is writable.
Please fit the SD card to the SD card slot, a slight snapping sound of the card indicates that
the card is connected successfully, by the wrong side the card will be blocked for snapping
in. Be careful, the SD card can be plugged in only one direction.
To take out the SD card, just push in the card gently, the card is released from the slot
when you hear a slight snapping sound.
5.1.) Power: Two methods to supply power
zInsert each battery with correct the polarity, recommends using alkaline AA batteries
or lithium rechargeable batteries.
zExternal DC power supply source, input 110-240v, 50/60Hz,output 6V/1A( first connect
with camera, after plug in the socket)

- 7 -
5.2.) In Test mode: The camera will shut down automatically after one minute if no key is
pressed, for saving the battery.
Indicator LED:
a、When the power switch to the ON mode/Live mode, the motion indication LED (green)
will blink for 15s then enter into live position.
b、Set mode : Red LED
5.3.) Powering on (shown in fig.1)
Once you have prepared your trail camera by properly
Installing an SD card and batteries or external DC, you
could switch on the power. The trail camera has three basic
operation modes:
OFF:Power switch at OFF position fig.1
Test:Menu setting and Test mode
ON:Power switch in the ON position/Live mode (LCD screen is off)
When you switch on the power, have the frame of starting and indicated voice,
for stable starting the camera system need 5 seconds
Test mode / Menu setting mode is moving the power switch to the Test position. In
Test mode can do following operation:
A. Parameter setting: press “Menu” key for parameter setting
B. Manually taking picture and recording the videos: press Up/Down for capture picture
and videos, and could check the picture with built-in LCD.
C. Play back the picture or videos: select Playback from camera mode, or press “OK”
key continue 5s.
Fig.2
5.4.) manually capture (shown in fig.2)
Can press the shortcut key “Up (photo)/Down (video)
Capture photo:
In Test mode, check the photo with built- in LCD,
press OK, saving the picture to the SD card automatically

- 8 -
Capture video:
In Test mode, can recording the video depend on the battery and memory capability; press OK for
stop recording, saving the video to the SD card automatically
5.5.) ON/Live mode
1. Switch OFF position to ON position/Live mode
Avoid temperature and motion disturbances in front of the camera such as big leaf,
curtain, air-conditioner, air outlet of the chimney and other heat sources to prevent
from false triggering.
2. The height from ground for placing the camera should vary with the object size
appropriately. In general, 1.5 to 2 meters are preferred.
When the power switch is moved to the top position, the camera will enter into the
ON/Live mode; the motion indicator LED will blink green for about 15 seconds.
When human or animals enter into the monitoring region, the trail camera will take photos
or videos automatically according to the default settings or previous customer settings, are
saved on the SD card. The camera has the sound recording function, so the sound will be
embedded in the video clip while capturing a video.
Once in the ON mode, no manual controls are needed or possible (control keys no have effect, the
screen is off.)
5.6.) Menu shown as right fig.3
Fig.3
Playing back/Reviewing image/Deleting the photos/videos
There are four ways to review picture, the four ways as bellow:
a.) With camera, connect the device to the PC with USB extension cable)
b.) Connect the device to the TV monitor, should be in the TEST mode)
c.) Without camera, take out SD-card; use PC with SD-card viewer)
d.) Review with camera LCD directly
Four ways for review:

- 9 -
A、USB review:
after take back the camera, switch OFF the device, connect the device to the PC with a USB
extension cable, and then run a commercial program with an image browser or an image browser built
in the operation system to view images (or video clip) saved in the SD-card under the directory of
\DCIM).
B、Use a TV monitor to review:
After take back the camera, switch the mode from OFF position to Tes t position, continued press
“OK’ 5s, then can enter into viewer, or select Playback from camera mode.
* Press Left key for the previous picture and the Right key for the next one, at any time pressing
“OK” continued 5s again will return to the Test mode.
*PressUp/Down key for blow up and shorten the image, press “OK” one time, then go back to
original image. Press Menu, and select the picture, press OK for selecting Delete one or Delete all
picture.
* When review the video clips, press Up/Down for adjust the voice, press Menu one time, after
press OK for selecting Delete one or Delete all video clips.
C、Review image directly from SD card:
Take out SD-card; use PC with SD-card viewer.
D、Review with camera LCD:
same review as connect with TV monitor
Save the images and videos in the folder by date, “.jpg” for picture ”.asf” for videos.
For undertaking more parameter, the detailed operations will be described in “Advanced
Operations” chapter. Please enter into Menu for checking all the current parameter.
5.7.) Powering Off (shown in right fig.4)
Fig.4
Slide the power switch to the OFF position to power off the camera, when you don’t
need to use it, please note that even in the OFF mode, the trail camera still consumes certain
power at UA level. Therefore, be sure to take the battery out of the battery depot if the device
will not be used for a long time.

- 10 -
6、Advanced Operations
After you are familiar with the basic operation of the trail camera, you are now ready for
advanced operation, In principle, the advanced operations in this chapter are very similar to the
basic operations, only that options and parameters of the trail camera are explained in more detail.
Parameters Setting
You may set parameter with the guide information shown on the LCD or using a TV makes
Parameter setting convenient step by step.
In order to change a parameter setting you must enter into the Test mode.
First, switch the camera to Test mode, press Menu enter into the parameter mode, in the course
of parameter setting some suggestive information will be shown on the LCD, so it is easy to do the
next step according to these information, generally speaking, certain icon, which indicates which value
is effective, will be shown on the LCD after finishing setting.
A、Powering on and test mode
In order to change a parameter setting you must enter into the Test mode.
When power switch into Test position, Shown in fig.5
Fig.5
In Test mode, the screen as shown in fig. detail as below:
(a. Camera/Video mode, b. Image/Video Size, c. Number of image/videos and available space,
d. SD card status, e. Battery Level, f. Date/Month-Day-year, time: Hour-Minute-Second.
g. Audio Recording)

- 11 -
In camera mode, On the top of Screen “0000/0000”, left “0000”digits means number of
images. Right “0000” digits mean available space. The limited digits: 9999. It affect by the
Memory Card.
In video mode, On the top of “00:00:00”digits, means available space time to take the videos.
It affect by the Memory Card.
The quantity of photos or videos, it was affected by the user’s environment and the photo
(video)’s parameter’s setting. In the market there are many kinds of quality SD card, the camera
will automatically detect and calculate the real capability of SD card.
B、Change parameter setting in Te s t mode.
Press “Menu “one time, enter into parameter setting:
1 Camera Mode
2 Digital Zoom
3 Image size
4 Capture Number
5 Video Size
6 Video Length
7 Audio Recording
8 Interval
9 Video Frames
10 Time Stamp
11 Set Clock
12 Sensor Level
13 IR LED
14 Format
15 TV out
16 Language
17 Timer Setting
18 Default Set
19 GPRS Mode
20GPRS Setting
21 Send To

- 12 -
22Frequency
SG-660M trail camera: GPRS setting on last page
C、Press MENU enter into menu setting.
(Press Up/Down select ,press OK for finishing setting,press “Exit” for cancel. please
operation as follow :
Menu= Left= OK=
⑴Setting the camera Mode
Two ways are available for setting this parameter. One is to use the shortcut key and the
other is through the Menu. With the shortcut key, you can set camera mode to “camera” by
pressing the Up key and set camera mode as “video” by pressing the Down key in Test mode.
The following shows you how to set camera mode to “video”, provided that the previous
value is “camera”:
a) In MENU state its initial state is shown. Press OK enter into camera mode, the value
of “camera” is highlighted.
b) This parameter has three values: “camera” “video” and “playback “Pressing
UP/DOWN key can switch AMONG these parameters. In this example, after pressing
DOWN key, “video” will be highlighted.
Press OK key for saving the current setting or MENU key for canceling the setting operation and
exiting to Test mode, if press Left key for back to Menu mode. Please note, you’ll quit the
parameter setting without any saving and no parameter is changed if you press the MENU key or
Left key at any time before pressing OK key. After pressing OK key, the guide information is
shown.
c) Playback: select “Playback”, then press OK key, images or videos can be viewed, press
“Left/Right” key for select last/next picture or video, Up/Down can blowup/shorter
picture, and adjust the voice.
Review picture, continue press “Up/Down” ,for blowup and shorter the image, press
“Left/Right” for moving and review part of image; press OK key return to original image,
after press “Left/Right” select next picture)
(Review videos, as shown in date and time, press “Left/Right” for select the videos, press OK
key for play, select Up/Down for adjust the voice.)
* Delete the picture/videos, when review picture/video, press”Menu” and “OK” for select

- 13 -
delete one or Delete all. Continued press OK key 5s, then return to Test mode.
(During capture picture/video, if power interrupt occurs or store issue, the file will show: file error
when you playback it.)
⑵ Digital Zoom : (2X/3X/4X)
Default setting: “NO”
In Digital Zoom mode:
a) press Up/Down to select Ye s ,
b) press “OK ”key enter, Up/Down for select ((2X / 3X / 4X),
c) press “OK” for finishing setting or Press Left key for cancel setting operation
without any saving and return to last step.
If no need digital zoom function, press “NO”, press OK key for finishing setting.
⑶Image Size
This parameter has three values: 12 mega pixels (12M Pixel or 12MP), 8 mega pixels (8M
Pixel or 8MP) and 5 mega pixels (5M Pixel or 5MP). The default value is 12 mega pixels.
In Image Size mode:
a) Press Up or Down to select Photo Size “. 12M/8M/5M”
b) Press OK to save the current setting
c) Press Left for cancel setting operation without any saving and return to
last step.
d) Press Menu return to Test mode.
⑷ Capture Number
The following shows how to set photo burst to 3 Photo,
In Capture Number mode:
a) Press Up or Down to select 1/2/3
b) Press OK to save the current setting
c) Press Left for cancel setting operation without any saving and return to last step.
d) Press Menu return to Test mode
⑸Video Size
This parameter also has three values: VGA (720×480)VGA (640×480)and QVGA
(320×240). The default value is “720x480” (VGA).
In Video Size mode:
a) Press Up or Down to select Video Size “. “720/640/320”
b) Press OK to save the current setting
c) Press Left for cancel setting operation without any saving and return to
last step.
d) Press Menu return to Test mode.

- 14 -
⑹Video Length: 5s-60s.
This parameter is effective and can adjusted only when the device in the video mode for
the Live mode.
Default setting: 5s
In Video Length mode:
a) Press Up or Down to select 5-60s
b) Press OK to save the current setting
c) Press Left for cancel setting operation without any saving and return to last step.
d) Press Menu return to Test mode
⑺ Audio Recording : “Yes/No”, the icon / indicated “Yes/No”
Default setting: “Yes”
In Audio Recording mode:
a) Press Up or Down to select Yes/No
b) Press OK to save the current setting
c) Press Left for cancel setting operation without any saving and return to last step.
d) Press Menu return toTest mode
⑻ Interval : 00s-60mins,
This parameter is only effective in the ON/Live mode; it means that how long PIR of the
device will be disabled after each triggering in the ON/Live mode. During this time the PIR
of the device will not react to the motion of human (or animals).
For example: after setting interval is 3mins, turn ON the camera to be Monitored condition,
when any movement of human (or animals) in a certain region of interested monitored, then the
PIR of the device will be disable about 3mins after each triggering. During this time the PIR will
not react to the motion of human(animals),even the human (animals) is moving in A and B picture
area.。
The below three pictures for reference (PIR 100°,camera view 62°):

- 15 -
A. When the human (or animals) move to PIR area (PIR 100°),but they didn’t enter into
Camera view area (62°), the camera start taking photos ,SG-660series have been increased
the PIR and camera lens angle. The camera range is more width. Maybe the image looks like
empty same as false triggering.
B. When the human (or animals) move to Camera view area, the camera start regular taking
photos with high quality.
C. The camera will not react to the motion of human (or animals) after they leave the PIR area.
Notice: when the human or animals enter into A or B area ,maybe they are moving very
fast.From the PIR detect the moving , till the camera lens start to take the pictures, it
need few seconds to start the camera system. It is recommended to setup capture
number 2 or 3 photos.
Default setting: 0s
In Interval mode:
a) Press Up or Down to select 0-60mins
b) Press OK to save the current setting
c) Press Left for cancel setting operation without any saving and return to last step.
d) Press Menu return to Test mode
⑼ Video Frames : 30/15 fps
Default setting: 30 fps
In Video Frames mode:
a) Press Up or Down to select 30/15 fps
b) Press OK to save the current setting
c) Press Left for cancel setting operation without any saving and return to last step.

- 16 -
d) Press Menu return toTest mode
⑽ Time stamp : ON/OFF
This parameter defines whether the time should be stamped in the pictures and videos clips or
not.
Default setting: “ON”
In Time Stamp mode:
a) Press Up or Down to select ON/OFF
b) Press OK to save the current setting
c) Press Left for cancel setting operation without any saving and return to last step.
d) Press Menu return toTest mode
⑾ Set Clock : (month/date/year) the valid year from 2010-2030, time: hour/minute)
Default setting: as “01:01:2011 12:01”
In Set Clock mode:
a) Press Left or Right to select month/date/year—hour: mins
b) press Up or Down to change the value.
c) Press OK to save all current setting
d) Press Menu return to Test mode
⑿ Sensor Level : High/Normal/Low
This parameter defines the sensitivity of the PIR, the higher degree indicates that the camera
is more easily to be triggered by motion, taking more pictures or recording more videos, it is
recommended to use high sensitivity degree in room or environment with little interference, and to
use lower sensitivity for outdoor or environment with lots of interference like hot wind, smoke,
near window etc. Furthermore, the sensitivity of the PIR is strongly related to the temperature.
Higher temperature leads t lower sensitivity. Therefore it is suggested to set a higher sensitivity for
high temperature environment.
Default setting: Normal
In Sensor Level mode:
a) Press Up or Down to select High/Normal/Low
b) Press OK to save the current setting
c) Press Left for cancel setting operation without any saving and return to last step.
d) Press Menu return to Test mode
⒀ IR LED : ON/OFF
“ON” means IR LED is enable, the camera will work with IR LED when the light is not enough,
for capture the high quality picture; off means IR LED is disable, no working in the night time.

- 17 -
Default setting: “ON ”
In IR LED mode:
a) Press Up or Down to select ON/OFF
b) Press OK to save the current setting
c) Press Left for cancel setting operation without any saving and return to last step.
d) Press Menu return to Test mode
⒁Format :Yes/No
Be carefully when you setting this parameter, when you select Ye s .
The entire file stored on the card will be deleting, make sure you have downloaded and
backed up any files you want to preserve first.
Default setting: “No”
In Format mode:
a) Press Up or Down to select Yes/No
b) Press OK to save the current setting
c) Press Left for cancel setting operation without any saving and return to
last step.
d) Press Menu return to Test mode
If you select “Yes”, after press OK, Then display will shown in “Format Success”
⒂TV Out : NTSC/PAL.
The user should select the video standard follow their area.
The Default setting: NTSC
In TV Out mode:
a) Press Up or Down to select NTSC/PAL
b) Press OK to save the current setting
c) Press Left for cancel setting operation without any saving and return to last
step.
d) Press Menu return to Test mode
⒃ Language : English
The Default setting: English
⒄Timer Setting : disable and enable:
Please note that the start and stop time can only be effective when the timer is set as enable.
The steps are as following:
Default setting: disable
In Timer Setting mode:
a) First select “Enable”, press Left or Right to select start/stop :hour: minute
b) press Up or Down to change the value.
c) Press OK to save all current setting
d) Press Menu return to Test mode

- 18 -
⒅Default Set : No/Yes
Default set is the trail camera original factory default setting.
Default setting: “No”
In Default set mode:
a) Press Up or Down to select no/yes
b) Press OK to save all current setting
c) Press Left for cancel setting operation without any saving and return to last
step.
d) Press Menu return to Test mode
(Following three parameter setting is only effective in SG-660M camera
(19) GPRS mode—ON/OFF
Default setting: OFF
(20)GPRS Setting
Default setting:
URL Setting: mmsc.monternet.com
APN Setting: cmwap
IP Setting: 10.0.0.172
Port Setting:80
(21)Send To
Default setting: Phone
(22)Frequency : 50/60Hz
Default setting: 50Hz
In Frequency mode:
a) Press Up or Down to select 50/60Hz
b) Press OK to save all current setting
c) Press Left for cancel setting operation without any saving and return to last
step.
d) Press Menu return to Test mode

- 19 -
7. General Description the camera Feature
7.1.) IR Live mode, enter into Live mode, before entering into the Live mode, the motion
indication LED(green) will blink about 15s,this time let you make preparation for monitoring,
for example, you can mount and lock the cover, fix up the trail camera and then walk away.
In this waiting time, the PIR indication light (green) will blink for 15s continuously, after
the light is put off, the PIR starts to work. When fix up the product. In 3 meter region, avoid
temperature and motion disturbances in front of device such as big leaf, strap and another heat
sources to prevent false triggering.
Please note the PIR is strongly sensitive to the temperature, when the temperature
difference between environment and object goes lager, the sensible distance is farther.
The farthest distance what the PIR can monitor can reach 15m, while it can only reach to 6m
at 32℃.
When human or animals enter into the monitoring region, it will take the picture or videos
automatically according to the previous programmed setting.
7.2.) File system---This camera support two kinds of file system format: FAT12 and FAT16,the
default value is FAT16 to save the pictures and videos.
7.3.) File format---This camera uses a SD card to save the images and videos in the pre-named
\DCIM. Each new image or video will be numbered incrementally by shooting time. The saving
name likes SY000001.jpg or SY000001.asf.
Other manuals for SG-660
1
This manual suits for next models
2
Table of contents
Other ScoutGuard Scouting Camera manuals
ScoutGuard
ScoutGuard SG880MK-18mHD User manual

ScoutGuard
ScoutGuard G560P-8M User manual
ScoutGuard
ScoutGuard SG880MK-8M User manual

ScoutGuard
ScoutGuard SG880MK-8M User manual
ScoutGuard
ScoutGuard SG880MK-8mHD User manual
ScoutGuard
ScoutGuard MG984G-36M User manual
ScoutGuard
ScoutGuard SG-660 User manual
ScoutGuard
ScoutGuard SG880MK-12mHD User manual
ScoutGuard
ScoutGuard SG550-12mHD User manual
ScoutGuard
ScoutGuard SG550B User manual
