manuals.online logo
Brands
  1. Home
  2. •
  3. Brands
  4. •
  5. SEA
  6. •
  7. Controllers
  8. •
  9. SEA GATE 2 Operating instructions

SEA GATE 2 Operating instructions

PROGRAMMING A PAIR OF GATES WITHOUT A REBATE/SLAMMING BAR
1
12
ON
Switch-on the mains supply to the control box and check you have 7 Leds lit
1 12
ON
1 12
RV3 – O
p
en Pause
RV2 – Brake Timer
RV1 – Motor Torque
LED 16
LED 16
P1
P2
Carry out the programming cycle as previously described for gates with rebate
with the exception of the presses shown in red used to set leaf delay times.
It will take a total of 7 presses of the button to complete this programming cycle
PROGRAMMING A SINGLE LEAF GATE
Connect the Gate Motor to the Motor 1 terminals
Do not wire-link out the Limit Switch 2 input (terms. 5 & 6 - CN2)
This programming cycle will only require a total of 4 Presses to complete.
Start with the gate at 45° as previously shown, give Button P a long (10 sec.)
press to enter the programming mode. Then give the button a short press every
time the gate hits a stop.
Fault Indication Chart
If the Gate 2 control unit is not functioning, make the following check:-
Give a ‘Start’ input - If the Programme led (LedP) gives a sequence of flashes,
this may be of assistance in providing an indication of where a fault may be
located. The sequence of Led flashes will last approx. 20 seconds.
Seq. of flashes Fault type Seq. of flashes Fault type
1 Test Photocell 4 Stop
2 Safety Edge 5 Photocell self-test
3 Encoder 6 Triac
More detailed information can be found in the enclosed booklet.
SEA GATE 2 CONTROL BOX
STEP BY STEP PROGRAMMING GUIDE FOR SWING GATES
Before you start the programming phase check all your wiring connections.
Check that all ‘Normally Closed - N.C.’ inputs are either wire-linked out or
connected to a device i.e. Photocells.
PROGRAMMING A PAIR OF GATES WITH A REBATE OR SLAMMING BAR
Place the gates at 45° and check the emergency releases are reconnected
Set logic DIP switches 1 to 3 ON
If you do not have the correct
number of Leds lit – Switch-off
the mains supply to the control
box and check all ‘normally
closed’ (N.C.) inputs.
Gate 1
Set logic DIP switches 1 to 4 ON
ON
Set logic DIP switches 1 to 3 ON
Gate 2
Contact details:-
SEA
(
UK
)
Ltd.
–
Tel: 0121 706 9629 – Fax: 0121 764 5603 -
email: sales
@
seaukltd.co.uk
LED P
LED 1
LED 13
TRIMMER DIALS
Press P1 again when Gate 1 hits the centre stop.
Gate 1 will stop running towards close - pause and then start to open.
When Gate 1 has opened a few degrees –
Press P1 a
g
ain to set the ‘Leaf Dela
y
’ in o
p
enin
g
.
Gate 2
Press P1 again when Gate 2 hits the closed stop – Gate 2 stops running and
Gate 1 starts closing.
Press P 1 again when Gate 1 hits the centre stop – LED P will go out and you
have now completed the programming cycle.
Gate 2
Gate 1
ON
Gate 1 Gate 2
1 2
Operating Logic
Aux. Input Configuration
Leaf Dela
y
Pr
e
-Fl
as
h
Automatic Closing
Photocell Auto-Test
Encoder Activation
Soft Start
Slowdown Ad
j
ustment
H
y
draulic Lock Boost
Reversing Stroke
Press P1 again when Gate 2 hits the open stop – Gate 2 stops running
towards open, pauses and then starts closing – When Gate 2 has closed a
few de
g
rees
(
sufficientl
y
)
–
Press P1 a
g
ain to set the ‘Leaf Dela
y
’ in closin
g
.
Gate 2
Next Step - SETTING THE MOTOR RUN TIMES
Press Button P1 (for approx. 10 sec.) until Motor/Gate 2 starts closing and
LED P lights, now release the button - You are in Programming Mode. It will now take
a further 8 short (1 sec.) presses of the button to complete this programming cycle.
TIP: Programme-in a radio transmitter. After the initial 10 second press of button P1,
all the subsequent (Programming) presses can be given by the transmitter.
TIP: If the gate(s) initially start running toward open instead of close when starting the
Programming Mode – Switch-off & invert the Motor direction wires (black & brown).
Press & release (approx. 1 sec.) P1 again when Gate 2 hits the centre stop
– Gate 2 will stop running & Gate 1 will start to close.
Gate 1
Press P1 again when Gate 1 hits the open stop – Gate 2 will start to open
Gate 2
Gate 1
Test-run system for a complete cycle to check timings are satisfactory. To make
changes: Repeat the programming cycle from the start (10 sec. press).
When timings are satisfactory, adjust Dip Switch settings and Trimmer Dials.
Gate 1
Gate 1
Gate 2
Dip Switch
Functions

Other manuals for GATE 2

2

Other SEA Controllers manuals

SEA 245 User manual

SEA

SEA 245 User manual

SEA 157S User manual

SEA

SEA 157S User manual

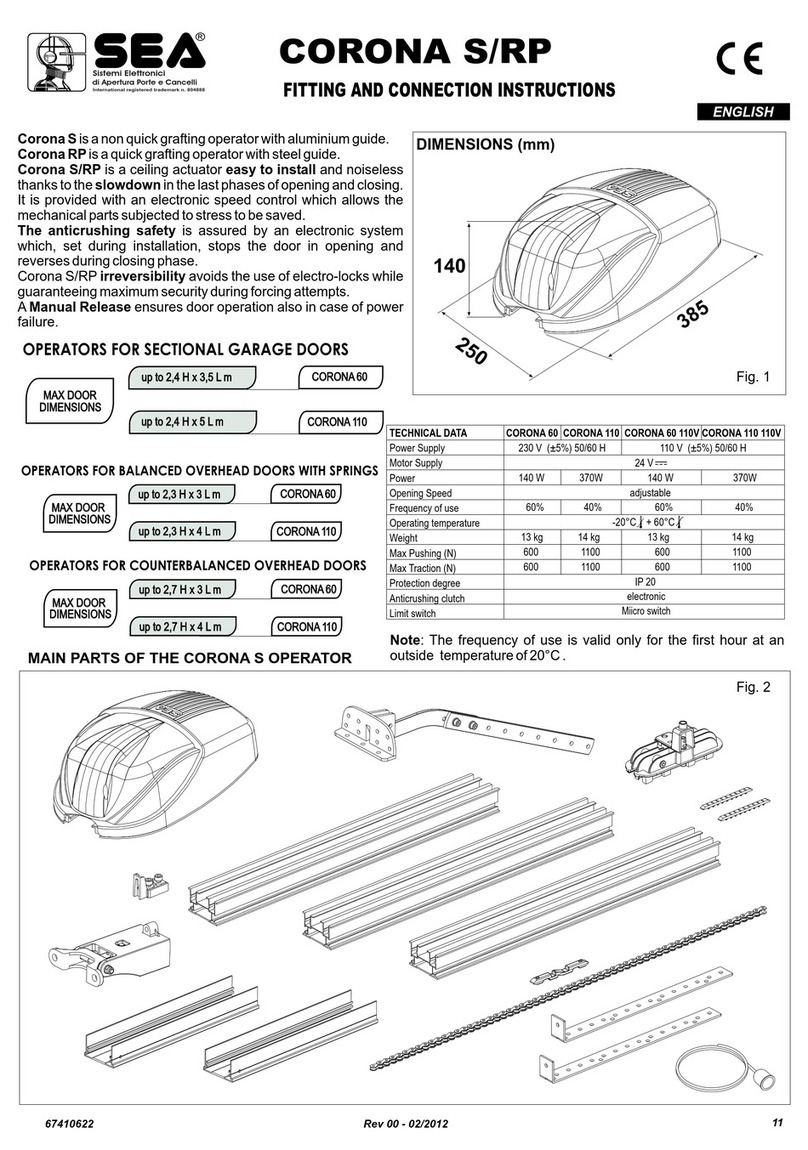
SEA CORONA S Instruction manual

SEA

SEA CORONA S Instruction manual

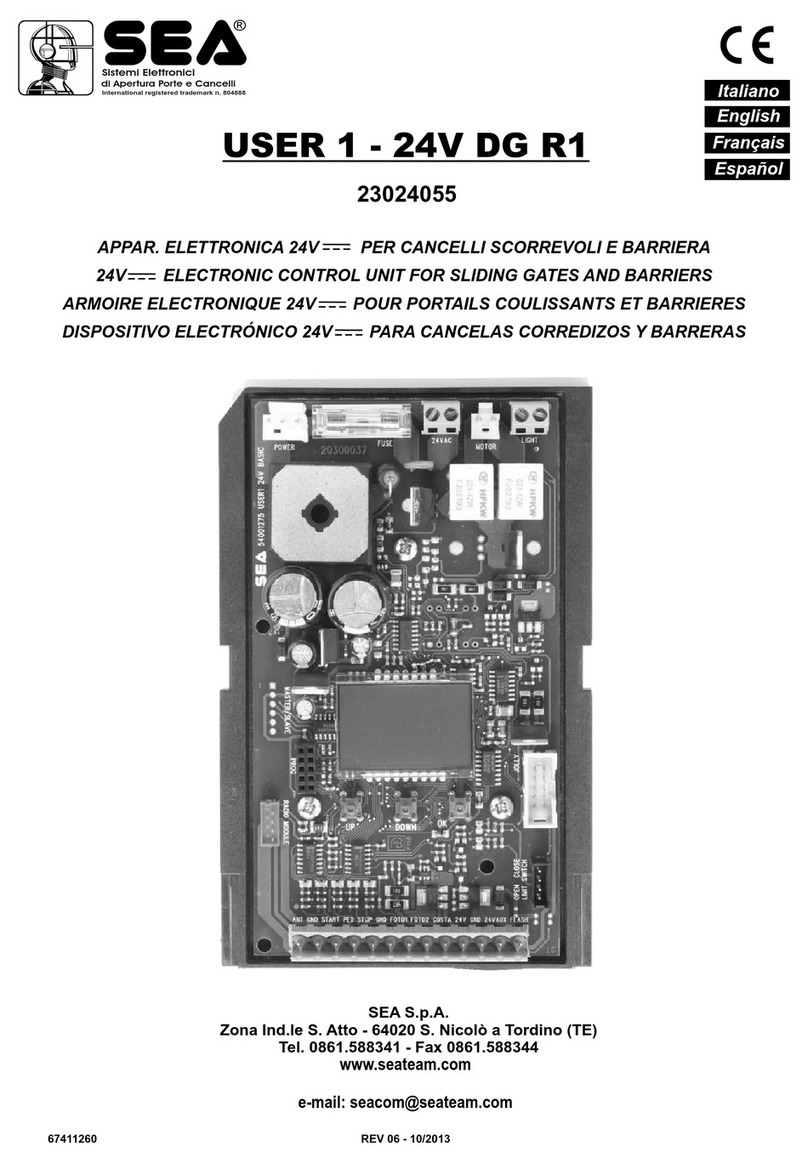
SEA USER 1 - 24v DG R1 User manual

SEA

SEA USER 1 - 24v DG R1 User manual

SEA CORONA S Series User manual

SEA

SEA CORONA S Series User manual

SEA 245 User manual

SEA

SEA 245 User manual

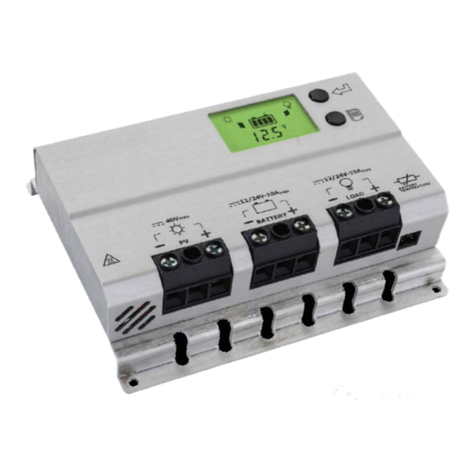
SEA E-SUN PLUS BOOST User manual

SEA

SEA E-SUN PLUS BOOST User manual

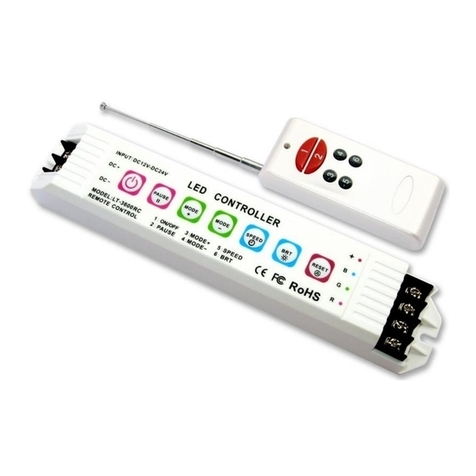
SEA LT-3600RF User manual

SEA

SEA LT-3600RF User manual

Popular Controllers manuals by other brands

Johnson Controls G76 Series Installation Sheets Manual

Johnson Controls

Johnson Controls G76 Series Installation Sheets Manual

fakro ZWK10 user manual

fakro

fakro ZWK10 user manual

Teufel Raumfeld Base Setup guide

Teufel

Teufel Raumfeld Base Setup guide

Watts Lync AEGIS user manual

Watts

Watts Lync AEGIS user manual

Scolmore Click Smart Series Installation & Control Manual

Scolmore

Scolmore Click Smart Series Installation & Control Manual

Siemens SIPART DR19 Assembly and installation guide

Siemens

Siemens SIPART DR19 Assembly and installation guide

Lavo LavoDose Series instruction manual

Lavo

Lavo LavoDose Series instruction manual

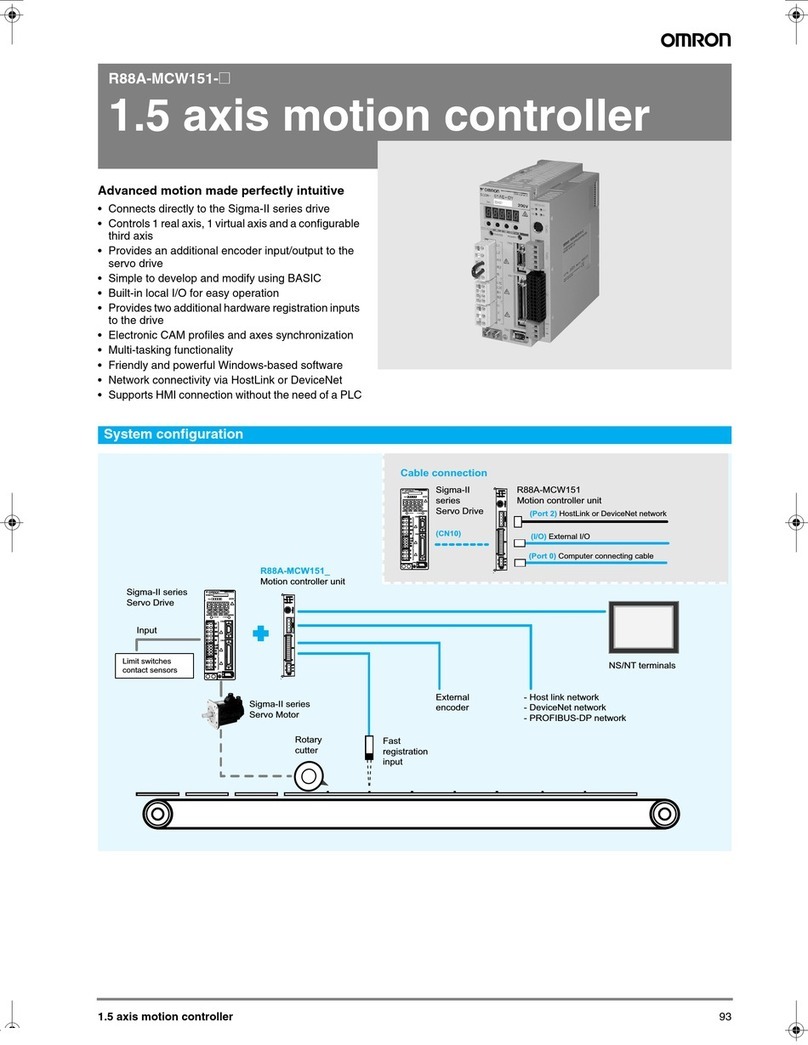
Omron R88A-MCW151 Series datasheet

Omron

Omron R88A-MCW151 Series datasheet

Pasco Scientific SF-9216 instruction manual

Pasco Scientific

Pasco Scientific SF-9216 instruction manual

Despatch MIC 1162 Reference manual

Despatch

Despatch MIC 1162 Reference manual

Heathrow Scientific Rota-Filler 3000 instruction manual

Heathrow Scientific

Heathrow Scientific Rota-Filler 3000 instruction manual

Mitsubishi MELSEC-F FX3U-4AD-TC-ADP user manual

Mitsubishi

Mitsubishi MELSEC-F FX3U-4AD-TC-ADP user manual

Wunda WundaSmart user guide

Wunda

Wunda WundaSmart user guide

Rinnai MC-601 Installation & operation instructions

Rinnai

Rinnai MC-601 Installation & operation instructions

Nibe SMO 20 Installer manual

Nibe

Nibe SMO 20 Installer manual

IAI SCON-CA instruction manual

IAI

IAI SCON-CA instruction manual

Tivoli Audio TivoCUE10 quick start guide

Tivoli Audio

Tivoli Audio TivoCUE10 quick start guide

National Instruments cRIO-9031 Getting started guide

National Instruments

National Instruments cRIO-9031 Getting started guide

manuals.online logo
manuals.online logoBrands
  • About & Mission
  • Contact us
  • Privacy Policy
  • Terms and Conditions

Copyright 2025 Manuals.Online. All Rights Reserved.