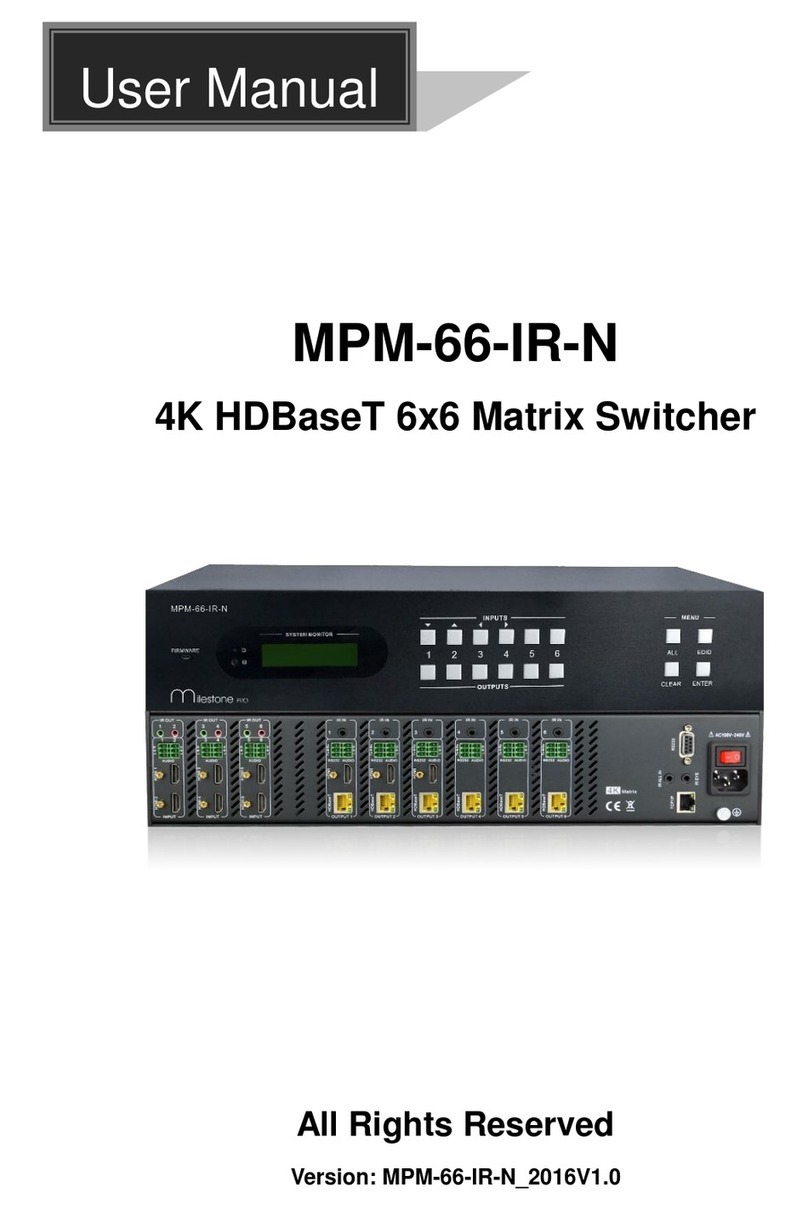
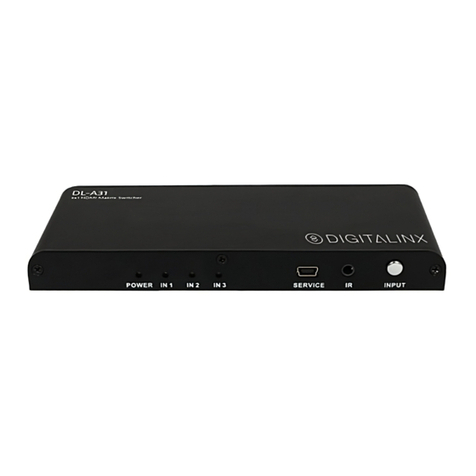
Seada SWMP User manual

SWMP 4K Seamless Modular
Video Wall Matrix Switchers
User Guide
Document No. SD-MA-039
Document Version: 01

SWMP Matrix Switcher User Guide
1
Table of Contents
1. Product Introduction...................................................................................................................2
1.1. Product profile........................................................................................................................2
1.2. Product capability...................................................................................................................2
1.3. Specification & Parameters....................................................................................................3
2. Hardware Overview (2U)............................................................................................................4
2.1. Front Panel .............................................................................................................................4
2.2. Rear Panel (2U).......................................................................................................................4
3. Connection Set up........................................................................................................................5
3.1. RS232 connection...................................................................................................................5
3.2. Ethernet Connection ..............................................................................................................5
4. SWMP Software User Guide......................................................................................................5
4.1. Matrix Switch .........................................................................................................................7
4.2. Signal setting ..........................................................................................................................9
4.3. PQ & Position........................................................................................................................10
4.4. OSD Control ..........................................................................................................................11
4.5. Video Wall ............................................................................................................................12
4.6. Network Setting ...................................................................................................................14
5. Remote Control..........................................................................................................................15
5.1. Output/Input Buttons..........................................................................................................15
5.2. Function Buttons ..................................................................................................................15
6. SWMP ASCII Command Lines ..................................................................................................16
6.1. Video switching ....................................................................................................................16
6.2. Save Video Wall/Matrix Preset Layout ...............................................................................16
6.3. Load Video Wall/Matrix Preset Layout ...............................................................................16

SWMP Matrix Switcher User Guide
2
1. Product Introduction
1.1. Product profile
•SWMP multi format 4K Seamless Modular Video Wall Matrix Switcher is a high-
performance video signal switching equipment, can support up to 80 inputs, 80
outputs, with inserting plate structure. This product supports multiple video formats
input and output, switching, without disturbing the other output, high performance
output.
•Multi format matrix using the insert plate structure, flexible and convenient
installation. Support UHD-HDMI, 4K HDBaseT, 4K Fiber Optica, HDMI, DVI-U, SDI and
VGA input/output daughter cards. At the same time, with the Ethernet and RS232
communication interface, through the special control software to control the matrix
signal switching, monitoring the working state of the matrix, set the signal resolution,
etc.
•DVI-U daughter card support HDMI/DVI/VGA/YPbPr/CVBS signal with different
terminal adapters
So, for an HDMI signal, we can use HDMI card directly or DVI-U card, for VGA
signal, we can use VGA (DB15 interface) card directly or DVI-U card
•Seamless switching available.
•Video wall function available.
•OSD function: Font / colour / size control available
1.2. Product capability
•Support HDBaseT, HDMI, DVI-U, SDI, VGA, UHD-HDMI, Fiber Optic cards.
•Support a maximum resolution of 1600 x 1200@60hz with normal card.
•Support a maximum resolution of 3840 x 2160@60hz with 4K card.
•Provide a variety of control interface: RS232, Ethernet, WebUI.
•Provide control software to facilitate remote control, real-time display the input and
output status.
•Scalar inside, output resolution control available.
•Support Seamless switching, Character overlay, Video Wall function.

SWMP Matrix Switcher User Guide
3
1.3. Specification & Parameters
1080P Input & Output cards
Input
Interface type
Signal
Format
DVI-U
HDMI
DVI
VGA
YPbPr
CVBS
HDMI / DVI / VGA:
800x600,1024x768,1280x768,1280x800,1280x1024,1360x768,1400x1050,1600
x1200,1920x1080
YPbPr: 576i50,720p50,720p60,1080i50,1080i60, 1080p50,1080p60
CVBS: PAL, NTSC
HDMI
HDMI
Same as DVI-U (HDMI input)
VGA
VGA
Same as DVI-U (VGA input)
BNC
SDI
480i60,576i50,1080i60,1080i50,720p60,720p50,1080p24/25/30/50/60
RJ45
HDbaseT
Same as DVI-U (HDMI input)
LC
Fiber
Single mode single Fiber, 1920x1080, up to 1.4Km or 20Km
Output
Interface type
Signal
Format
DVI-U
HDMI
DVI
VGA
YPbPr
CVBS
HDMI / DVI / VGA:
1024x768, 1280x1024, 1360x768, 1280x720, 1600x1200 ,1680x1050,
1920x1080
YPbPr: 1080p60, 720p60
CVBS: PAL, NTSC
HDMI
HDMI
Same as DVI-U (HDMI output)
VGA
VGA
Same as DVI-U (VGA output)
BNC
SDI
576i50,480i59,720p50,720p60,1080i50,1080i59,1080i60,1080p24/25/29/30/50
/60
RJ45
HDbaseT
Same as DVI-U (HDMI output)
LC
Fiber
Single mode single Fiber, 1920x1080, up to 1.4Km or 20Km
4K Input & Output Cards
Input
Interface type
Signal
Format
HDMI
HDMI
Up to HDMI 2.0 4K 444@60Hz
RJ45
HDbaseT
4K@60Hz, works with HDbaseT seamless transmitter box.
Each card needs 24V external power supply to PoC up to 2 x HDBaseT TX
LC
Fiber
4K@60Hz, works with Fiber seamless transmitter box.
Output
Interface type
Signal
Format
HDMI
HDMI
Up to HDMI 2.0 4K 444@60Hz
RJ45
HDbaseT
4K@60Hz, works with HDbaseT seamless receiver box.
Each card needs 24V external power supply to PoC up to 2 x HDBaseT RX
LC
Fiber
4K@60Hz, works with Fiber seamless receiver box.
Note: OSD function is not available on 4K cards.
Control -RS232
RS-232 Straight
D-sub-9
Baud rate:9600
Control -LAN
Static IP, Automatic IP
Power supply
AC100 - 240V 50/60Hz
Working temperature
32 - 104°F / 0 - 40°C
Storage temperature
-4 - 140°F / -20 - 60°C
Humidity
20 - 90% RH (no condensation)
8x8, 2U
16x16, 4U
36x36, 8U
80x80, 16U
Dimension
W*D*H
483x365x89mm
483x365x178mm
483x365x356mm
483x365x712mm
Gross weight
9Kg
13Kg
23Kg
44Kg
Power
Supply
100W * 2 (Redundant)
200W * 2(Redundant)
350W * 2(Redundant)
350W * 4(Redundant)

SWMP Matrix Switcher User Guide
4
2. Hardware Overview (2U)
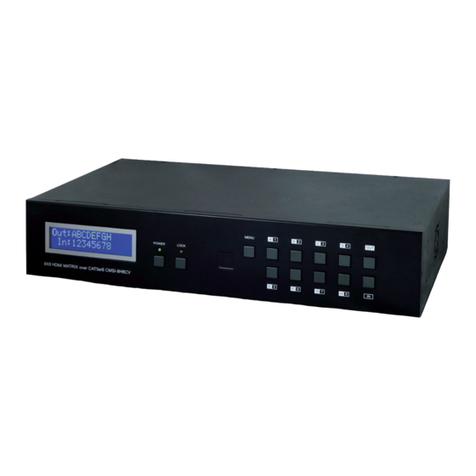
2.1. Front Panel
•OUTPUT/INPUT Buttons
Press buttons OUTPUT x+ INPUT y+ ENTER in order, switch input xto output y.
•MENU Buttons
➢Press buttons ALL + INPUT x+ ENTER in order, to switch input xto all the outputs, users
can use this combination to switch between different inputs to the video wall
➢Press buttons SAVE + OUTPUT y+ ENTER to save current matrix/video wall layout as
layout y (Save up to 8 preset layouts using panel buttons)
➢Press buttons RECALL + OUTPUT y + ENTER in order, to recall layout y(Recall up to 8
preset layouts using panel buttons)
➢Press RESET button to cancel the current command function
➢Press LOCK button to lock all front panel buttons
➢ENTER button is an executive key
2.2. Rear Panel (2U)
•LAN(10M/100M/1000M) and RS232 Port are for PC control
•Input Ports
Up to 80 inputs (16U) of different formats (DVI, HDMI, SDI, HDBaseT and Fiber) with resolution up
to 4K@60
•Out Ports
Up to 80 inputs (16U) of different formats (DVI, HDMI, SDI, HDBaseT and Fiber) with resolution up
to 4K@60
•Power Supply Socket
110 ~ 240 VAC redundant power supplies

SWMP Matrix Switcher User Guide
5
3. Connection Set up
3.1. RS232 connection
RS-232 control, baud rate 9600, DB9 connector
3.2. Ethernet Connection
Connect the SWMP unit with the control PC using either CAT cable. Make sure the PC is in the same
group of static IP address as SWMP.
Left is the default IP setting of SWMP. Users can change the IP
address once connected.
4. SWMP Software User Guide
Users can run the SWMP.exe software directly without installation. Software is on the disk in the
package, or you can download it from the SEADA website. Double click the SWMP software to get the
Dialog box as below
Default password for Administrator:111111
Default password for User: 000000
Users can change the password here as well
1. Click drop-down list to select account: Administrator or User
2. Input current password, then click the ‘modify’ button to open the Modify password window

SWMP Matrix Switcher User Guide
6
Type in new password, then click the ‘modify’
button to change to the new password
Once log in, the following user interface will be shown on screen. The system will remember the last
connection setup and automatically try to connect the SWMP system. If not, please check 4.1.1 and
4.1.2 for how to connect the unit with control PC.
There are 6main tabs in this software to help users set up and control the SWMP matrix switcher.

SWMP Matrix Switcher User Guide
7
4.1. Matrix Switch
Users can connect the SWMP device to control PC and set up the device as matrix switcher in this
section.
4.1.1. Connect to the SWMP via RJ45 for RS232
Connect the SWMP to the control PC with a serial cable (a RS232 to USB cable is included in the
package)
If the software was connected via UART (RS232) last
time, software will connect to the SWMP
automatically vis RS232. If it was used at Network
last time, a ‘Network Timeout’ error message will be shown on screen and users need to set up as
below for RS232 connection in the software
•Choose ‘UART’ instead of ‘Network’
•Select the COM port from the Port dropdown menu
•Press ‘Disconnected’ button to connect
The software will check all the parts of the device. A ‘Read data succeeded’ dialog box will be shown
on screen when finished.
4.1.2. Connect to the SWMP via Network
The default IP address for SWMP matrix switcher is 192.168.0.247,Users need to change the IP
address of the control PC to the same network segment as the SWMP.
•Change the ‘Obtain an IP address automatically’ to ‘Use the following IP address’ to set up
a static IP address of TCP/IPv4 in Ethernet Properties
➢IP address: any address between 192.168.0.2 and 192.168.0.254 except the address which has
been taken by the SWMP
➢Subnet mask: 255.255.255.0, Default Gateway: 192.168.0.1
Connect the SWMP with a CAT cable to the
control PC (cable included in the package)
If the software was connected via Network
last time, software will connect to the SWMP
automatically via network. If it was used at
serial port last time, a ‘Please select COM
port’ error message will be shown on screen and users need to set up as below for Network connection
in the software
•Choose ‘Network’ instead of ‘UART’
•Press ‘Search Device’ button to find the SWMP on the network
•Highlight the device Press ‘Disconnected’ button to connect
4.1.3. Matrix Switch Routing
Users can switch and assign different inputs to the
selected outputs in the matrix. The name of the
input/output can also be changed by selecting the
default name –Input1/Output1 and replacing it
with the chosen name. Users need to disable the
video wall mode (Cancel the splicing, see 4.5.2) to
enable the matrix switcher mode.

SWMP Matrix Switcher User Guide
8
4.1.4. Allset, Recall, Save As, Reset, EDID and Switch UI
•The Allset dropdown menu helps the users select a single input to be displayed on all the
screens
•Recall: Recall a matrix switching preset layout. The device supports maximum 25 layouts.
•SaveAs: Save up to 25 preset layouts for matrix switching (same as video wall layouts, 4.5.3)
•Reset: Reset the unit to default factory configuration.
•EDID: Users can read the EDID from the output (from the receive device, such as screen) and
apply it to the input port
✓Read: read the EDID of the selected output
✓Save: save the displayed EDID after ‘Read’
✓Open: open an EDID from previous saved EDID
✓Write: write the current displayed EDID onto selected input
to customized input EDID
•Switch UI: users can switch UI style in this section to choose the best suitable UI for themselves.

SWMP Matrix Switcher User Guide
9
4.2. Signal setting
In the Signal Settings tab, users can use the ‘Read All’function button to recognize the type and
resolution automatically. Additionally, you can also manually read one Input/output at a time –
pressing the Read button next to the selected input will only read that input alone.
I. Input Type Shows the input video sources type (HDMI or DVI)
II. Input Format Shows the resolution of the input video sources
III. Audio Select
Auto: HDMI output embedded audio and analog audio output will get the
audio from the embedded audio of the HDMI input to be displayed on the
output channel. If the input source is DVI, the output system will get the
audio from the input analog audio
External: HDMI output embedded audio and analog audio output will get
the audio from the corresponding analog audio of the HDMI input to be displayed on the output
channel
IV. Output Type
Users can choose different output formats for certain output cards (e.g.,
HDMI output card can be used as DVI or HDMI, DVI output card can be used
as both digital and analog)
V. Output Format
Users can manually change the output resolution here to match the
requirement of the receiving side

SWMP Matrix Switcher User Guide
10
4.3. PQ & Position
This section allows the user to fine-tune the settings of each output signal from the SWMP software.
•PQ Fine Tune
The dropdown menu at the top of the section allows the user to select which screen to apply the
settings to and Adjust the Brightness, Contrast, Saturation and Sharpness sliders to the selected
output to adjust the image quality of that output.
The read option reads the settings of the monitor/screen that are already in place and adjusts the
values in the software, while the reset button will reset the settings to their default after they have
been manually adjusted.
•Position Fine Tune
This feature is only valid on CVBS, Component or VGA analog video source. Users can adjust the
video source screen position in this section to match the monitor requirement.

SWMP Matrix Switcher User Guide
11
4.4. OSD Control
This page is used to control the on-screen display function. User can set the font overlay on/off, the
background colour, transparency, colour, and other information.
4.4.1. OSD Set up
Board Address: To choose which output channel having OSD on
Display: To switch on/off the OSD function
Transparent: To switch on/off the OSD background
Alpha: To set up the OSD transparency level
Text Colour: To set up the OSD text colour
BKGD Colour: To set up the OSD background colour
Position: To set up the OSD position on monitor
Font: To set up the OSD text font and size
Current Date: To apply the current PC time to the SWMP device
4.4.2. OSD Content Set up
Text Content: To enter OSD content
Text Mode: To choose the mode between Normal, 3x3 and 3x4
Set: To apply the OSD change
Read: To read the OSD from the unit
Import: To import the OSD from OSD files
Export: To export the OSD file as back up
Self-Clocking: To display the Date/Time on screen
OSD Save: To save a OSD mode
OSD Load: To load a OSD mode

SWMP Matrix Switcher User Guide
12
4.5. Video Wall
4.5.1. Video Wall Layout Setup
Users can set up the layout of the video wall in
‘VideoWall Setting’ by simply choosing how rows and
columns in the video wall.
4.5.2. Creative the video wall
Left click to select the screen, then drag &
select the screens needed to form the video
wall.
Right-click, and choose ‘Screen splicing’to
form a video wall
Users can create more than one video wall
on SWMP. (e.g., they can create two 2x2
video walls instead of one 2x4 video wall or
3, 4 independent video walls)

SWMP Matrix Switcher User Guide
13
•Screen Splicing - This combines the selected screens into
one and displays the selected input across all the splicing
screens. For example, in the setup 2x4 at left, if all of them
are spliced, then the input selected by the user will be
displayed across all the 8 screens (See image left).
•Cancel Splicing –This will cancel the video wall and revert to
the matrix switching mode
•Screen –Cancel Splicing–This will cancel the very screen
and revert only that screen to the matrix switching mode to
form a Picture in Picture effect (See image bottom left)
•Input Select –This allows the user to control which input is
displayed on video wall
•Output Select –The user can control which screen should
be mapped to which output (only available in matrix mode)
•Output Type –Allows the user to adjust the type of the
output (only available in matrix mode)
•Output Format –Controls the resolution of the output (only
available in matrix mode)
•Horizontal adjust –Bezel compensation on horizontal
direction
•Vertical adjust –Bezel compensation on vertical direction
•Sync lock–to form sync between different screens in the
same video wall
4.5.3. Save and Load Pre-set Layout
The user can save the video wall preset layouts and load it later via
the Save Layout and Load Layout dropdown menu. Users can save
up to 25 preset layouts here. (Same as matrix switch layouts, 4.1.4)

SWMP Matrix Switcher User Guide
14
4.6. Network Setting
Users can find all the device network information in this section and do the modification if needed.
Users can find the lost IP address using ‘Find via UART’ which only requires RS232 connection.

SWMP Matrix Switcher User Guide
15
5. Remote Control
5.1. Output/Input Buttons
Press buttons OUTPUT x+ INPUT y+ ENTER in order, switch input xto
output y.
•PTP Button
To display all the inputs to all outputs respectively
•All Button
Press buttons All + Input x + ENTER in order, to switch input xto all the
outputs, users can use this combination to switch between different
inputs to the video wall
5.2. Function Buttons
•SAVE Button
Press buttons SAVE + OUTPUT y+ ENTER to save current matrix/video
wall layout as layout y (Save up to 8 preset layouts)
•RECALL Button
Press buttons RECALL + OUTPUT y + ENTER in order, to recall layout y
(Recall up to 8 preset layouts)
•ENTER Button
To enable all the actions

SWMP Matrix Switcher User Guide
16
6. SWMP ASCII Command Lines
•Baud Rate: 9600
•Data bits: 8
•Parity: None
•Stop bits: 1
•TCP/IP port: 23
Note:
•All spaces shown in the command are required.
•All commands in this section are always terminated with the ASCII carriage-return character,
0x0d. This is represented by the symbol in each command.
6.1. Video switching
Operation
type(3Byte)
Spacer (1B)
Target (3B/4B/5B)
Spacer
(1B)
Command type
(5B)
Command Parameters
(4B/5B/6B)
Command Tail (1B)
SET
Space
INx/INxx/INXXX
X: Input Number
Space
VIDEO
OUTa/OUTaa/OUTaaa
or ALL
This is ASCII carriage return
0x0d
For example: Switch input 1 to output 1
Send: SET IN1 VIDEO OUT1Receive: IN1 VIDEO OUT1
For example: Switch input 1 to all outputs
Send: SET IN1 VIDEO ALLReceive: IN1 VIDEO ALL
6.2. Save Video Wall/Matrix Preset Layout
Operation type
(3B)
Spacer(1B)
Target
(NB)
Spacer
(1B)
Command type
(10B)
Spacer
(1B)
Command
parameters
(1/2/3B)
Command tail
(1B)
SET
Space
SYS
Space
TVWALL-MODE
Space
x/xx/xxx
x is the layout
number
This is ASCII carriage return
0x0d
For example, Save the current route to layout 1
Send: SET SYS TVWALL-MODE 1Receive: SYS TVWALL-MODE 1
6.3. Load Video Wall/Matrix Preset Layout
Operation type
(3B)
Spacer
(1B)
Target
(NB)
Spacer
(1B)
Command type
(10B)
Spacer
(1B)
Command
parameters
(1/2/3B)
Command tail
(1B)
GET
Space
SYS
Space
TVWALL-MODE
Space
x/xx/xxx
x is the layout
number
This is ASCII carriage return
0x0d
For example, Load the preset layout 1
Send: GET SYS TVWALL-MODE 1Receive: SYS TVWALL-MODE 1
Other manuals for SWMP
1
Table of contents
Other Seada Matrix Switcher manuals

