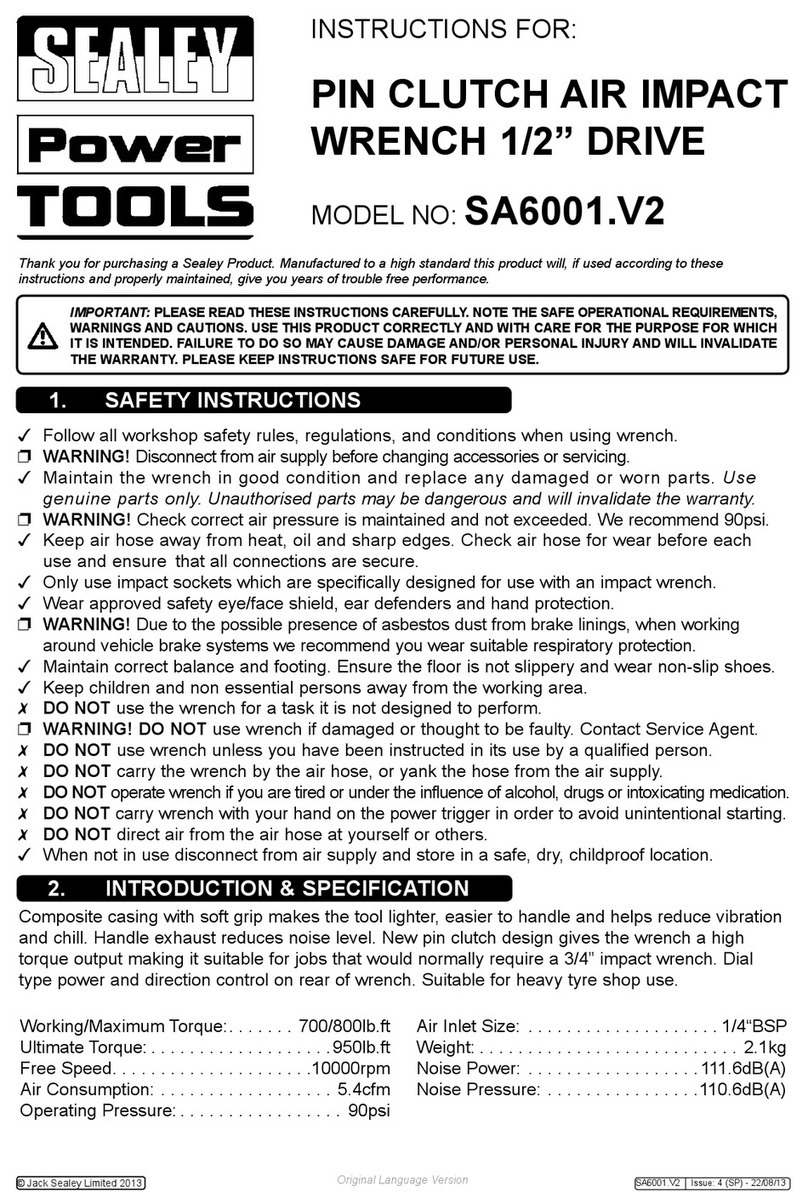
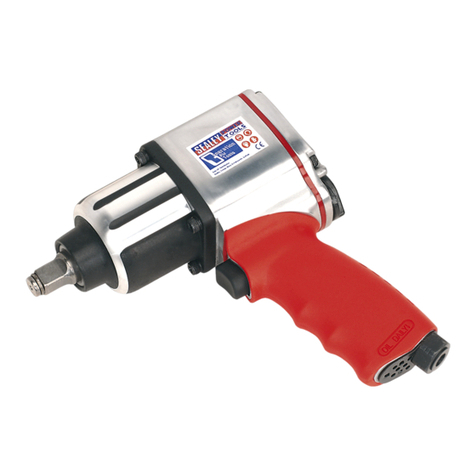
Sealey SA6001 User manual

1. SAFETY INSTRUCTIONS
3Follow all workshop safety rules, regulations, and conditions when using wrench.
pWARNING! Disconnect from air supply before changing accessories or servicing.
3Maintain the wrench in good condition and replace any damaged or worn parts. Use
genuine partsonly. Unauthorised parts may be dangerous and will invalidate the warranty.
pWARNING! Check correct air pressure is maintained and not exceeded. We recommend 90psi.
3Keep air hose away from heat, oil and sharp edges. Check air hose for wear before each
use and ensure that all connections are secure.
3Only use impact sockets which are specifically designed for use with an impact wrench.
3Wear approved safety eye/face shield, ear defenders and hand protection.
pWARNING! Due to the possible presence of asbestos dust from brake linings, when working
around vehicle brake systems we recommend you wear suitable respiratory protection.
3Maintain correct balance and footing. Ensure the floor is not slippery and wear non-slip shoes.
3Keep children and non essential persons away from the working area.
7DO NOT use the wrench for a task it is not designed to perform.
p
p
WARNING! DO NOT use wrench if damaged or thought to be faulty. Contact Service Agent.
7DO NOT use wrench unless you have been instructed in its use by a qualified person.
7DO NOT carry the wrench by the air hose, or yank the hose from the air supply.
7DO NOT operate wrench if you are tired or under the influence of alcohol, drugs or intoxicating medication.
7DO NOT carry wrench with your hand on the power trigger in order to avoid unintentional starting.
7DO NOT direct air from the air hose at yourself or others.
3When not in use disconnect from air supply and store in a safe, dry, childproof location.
2. INTRODUCTION & SPECIFICATION
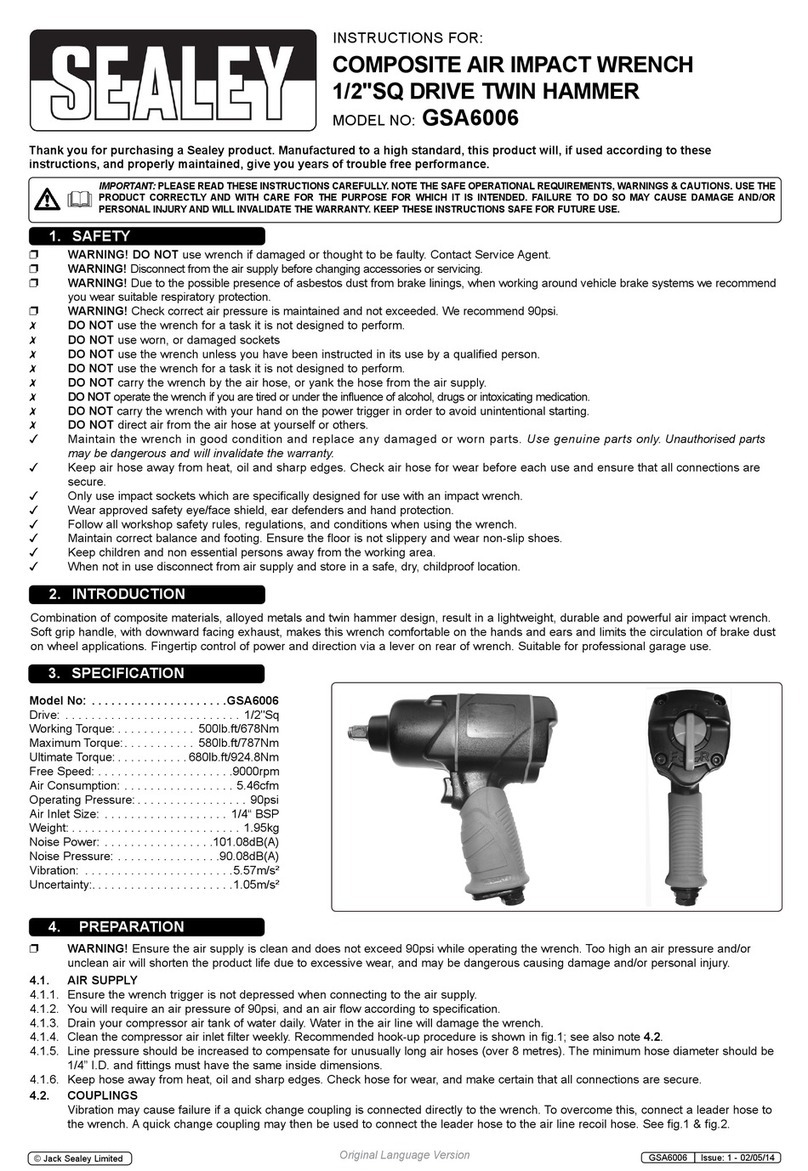
Composite casing with soft grip makes the tool lighter, easier to handle and helps reduce vibration
and chill. Handle exhaust reduces noise level. New pin clutch design gives the wrench a high
torque output making it suitable for jobs that would normally require a 3/4 impact wrench. Dial
type power and direction control on rear of wrench. Suitable for heavy tyre shop use.
SA6001 - 1 - 120705
Thank you for purchasing a Sealey Product. Manufactured to a high standard this product will, if used according to these
instructions and properly maintained, give you years of trouble free performance.
IMPORTANT:PLEASE READ THESE INSTRUCTIONS CAREFULLY. NOTE THE SAFE OPERATIONAL REQUIREMENTS,
WARNINGS AND CAUTIONS. USE THIS PRODUCT CORRECTLYAND WITH CARE FOR THE PURPOSE FOR WHICH
IT IS INTENDED. FAILURE TO DO SO MAYCAUSE DAMAGE AND/OR PERSONAL INJURYAND WILL INVALIDATE
THE WARRANTY. PLEASE KEEP INSTRUCTIONS SAFE FOR FUTURE USE.
INSTRUCTIONS FOR:
PIN CLUTCH AIR IMPACT
WRENCH 1/2 DRIVE
MODEL NO: SA6001
Working/Maximum T
orque: . . . . . .700/800lb.ft
Ultimate Torque: . . . . . . . . . . . . . . . . . .950lb.ft
Air Consumption: . . . . . . . . . . . . . . . . . .13cfm
Operating Pressure: . . . . . . . . . . . . . . . .90psi
Air Inlet Size: . . . . . . . . . . . . . . . . . . .1/4BSP
Weight: . . . . . . . . . . . . . . . . . . . . . . . . . .2.1kg
NOTE: It is our policy to continually improve products and as such we reserve the right to alter data, specifications and component
parts without prior notice. IMPORTANT: No liability is accepted for incorrect use of this equipment. WARRANTY: Guarantee is 12
months from purchase date, proof of which will be required for any claim. INFORMATION: For a copy of our latest catalogue and
promotions call us on 01284 757525 and leave your full name and address, including postcode.
01284 757500 E-mail: sales@sealey.co.uk
Web: www.sealey.co.uk
01284 703534
Sole UK Distributor, Sealey Group, Bury St. Edmunds, Suffolk.
PARTS LIST FOR:
PIN CLUTCH AIR IMPACT
WRENCH 1/2 DRIVE
MODEL NO: SA6001
ITEM PART NO. DESCRIPTION
01. SA6001.01 OIL SEAL
02. SA6001.02 HAMMER CASE
03. SA6001.03 BUSHING
04. SA6001.04 FRONT GASKET
05. SA6001.05 MOTOR HOUSING
06. SA6001.06 WASHER
07. SA6001.07 O-RING
08. SA6001.08 ANVIL COLLAR
09. SA6001.09 ANVIL
10. SA6001.10 SPRING
11. SA6001.11HAMMER PIN
12. SA6001.12 BALL
13. SA6001.13 HAMMER CAGE
14. SA6001.14 TRIGGER
15. SA6001.15 O-RING
16. SA6001.16 SPRING PIN
17. SA6001.17 RUBBER
18. SA6001.18 HAMMER CAM
19. SA6001.19 SPINDLE GUIDE
20. SA6001.20 RETAINER
21. SA6001.21 VALVE STEM
22. SA6001.22 SPRING
ITEM PART NO. DESCRIPTION
23. SA6001.23 EXHAUST DEFLECTOR
24. SA6001.24 O-RING
25. SA6001.25 HOSE ADAPTOR
26. SA6001.26 BALL BEARING
27. SA6001.27 O-RING
28. SA6001.28 OIL SEAL
29. SA6001.29 CYLINDER
30. SA6001.30 SPRING PIN
31. SA6001.31 ROTOR
32. SA6001.32 ROTOR BLADE
33. SA6001.33 REAR PLATE
34. SA6001.34 BALL BEARING
35. SA6001.35 PIN
36. SA6001.36 SPRING
37. SA6001.37 O-RING
38. SA6001.38 REAR GASKET
39. SA6001.39 REAR COVER
40. SA6001.40 O-RING
41. SA6001.41 SCREW & WASHER
42. SA6001.42 REVERSE LEVER
43. SA6001.43 O-RING
44. SA6001.44 WASHER
Issue: . . . . . . . . . . . .1
Issue Date: . . .120705

pWARNING! Disconnect wrench from air supply before changing accessories, servicing or
performing maintenance. Replace or repair damaged parts. Use genuine parts only.
Unauthorised parts may be dangerous and will invalidate the warranty.
5.1. If the air system does not have an oiler lubricate the air wrench daily with a few drops of
Sealey air tool oil dripped into the air inlet
5.2. Check and top up the gearbox by removing grub screw located under the
impact head.
5.3. Clean the wrench after use. DO NOT use worn, or
damaged sockets.
5.4. Loss of power or erratic action may be due
to the following:
a) Excessive drain on the air line.
Moisture or restriction in the air
pipe. Incorrect size or type of
hose connectors. To remedy
check the air supply and follow
instructions in chapter 3.
b)Grit or gum deposits in the wrench may also reduce
performance. If your model has an air strainer (located in the
area of the air inlet), remove the strainer and clean it. Flush the
wrench out with gum solvent oil or an equal mixture of SAE No 10 oil
and paraffin. Allow to dry before use.
5.5. For a full service contact your local Sealey service agent.
5.6. When not in use, disconnect from air supply, clean wrench and store in a
safe, dry, childproof location.
4. OPERATING INSTRUCTIONS
5. MAINTENANCE
p
p
WARNING! Ensure you read, understand and apply safety instructions before use.
4.1 Only use impact sockets which are specifically designed for use with a impact wrench.
4.2 Connect the wrench to the air hose as in chapter 3.
4.3 Place the socket over the subject nut and depress the trigger to operate the wrench.
4.4 To change direction use the dial located on the rear, this also controls the power of the
wrench.
7DO NOT use any additional force upon the wrench in order to remove a nut.
7DO NOT allow wrench to free run for an extended period of time as this will reduce bearing life.
SA6001 - 1 - 120705
NOTE: It is our policy to continually improve products and as such we reserve the right to alter data, specifications and component
parts without prior notice. IMPORTANT: No liability is accepted for incorrect use of this equipment. WARRANTY: Guarantee is 12
months from purchase date, proof of which will be required for any claim. INFORMATION: For a copy of our latest catalogue and
promotions call us on 01284 757525 and leave your full name and address, including postcode.
01284 757500 E-mail: sales@sealey.co.uk
Web: www.sealey.co.uk
01284 703534
Sole UK Distributor, Sealey Group, Bury St. Edmunds, Suffolk.
We, the sole importer into the UK, declare that the product listed here is in conformity with the
following standards and directives. The construction file for this product is held by the
Manufacturer and may be inspected, by a national authority, upon request to Jack Sealey Ltd.
For Jack Sealey Ltd. Sole
importer into the UK of
Sealey Power Tools.
Declaration of Conformity
Signed by Mark Sweetman
Air Impact Wrench Model: SA6001
98/37/EC Machinery Directive
93/68/EEC Marking Directive 12th July 2005
pWARNING! Ensure the air supply is clean and does not exceed
90 psi while operating the wrench. Too high an air pressure and/or
unclean air will shorten the product life due to excessive wear, and
may be dangerous causing damage and/or personal injury.
3.1 AIR SUPPLY
3.1.1 Ensure wrench air valve (or trigger) is in the "off" position before
connecting to the air supply.
3.1.2 You will require an air pressure of 90psi, and an air flow according to specification.
3.1.3 Drain the compressor air tank daily. Water in the air line will damage the wrench.
3.1.4 Clean compressor air inlet filter weekly. Recommended hook-up procedure is shown in fig 1.
3.1.5 Line pressure should be increased to compensate for unusually long air hoses (over 8
metres). The minimum hose diameter should be 1/4 I.D. and fittings must have the same
inside dimensions.
3.1.6 Keep hose away from heat, oil and sharp edges. Check hose for wear, and make certain
that all connections are secure.
3.2 COUPLINGS
Vibration may cause failure if a quick change coupling is connected directly to the wrench.
To overcome this, connect a leader hose to the wrench. Aquick change coupling may then
be used to connect the leader hose to the air line recoil hose. See fig 1 & 2.
3. PREPARING WRENCH FOR USE
fig 1
Risk of Hand Arm Vibration Injury.
The SA6001 Air Impact Wrench, when operated in accordance with these instructions and tested in accordance with EN 28662-2:
1994 results in the following vibration emission declared in accordance with BS EN12096: 1996.
Measured vibration emission value:........................5.4m/s2 Uncertainty: ............................................3.16m/s2
These values are suitable for comparison with emission levels of other tools that have been subject to the same test.
This tool may cause hand-arm vibration syndrome if its use is inadequately managed.
Recommended Measures to reduce risk of hand-arm vibration syndrome:
This tool should not be used by an individual regularly for more than 209 minutes in any 8 hour period.
This duration of use should be reduced if the individual is exposed to hand-arm vibration from other sources.
fig 2
Other Sealey Impact Driver manuals

Sealey
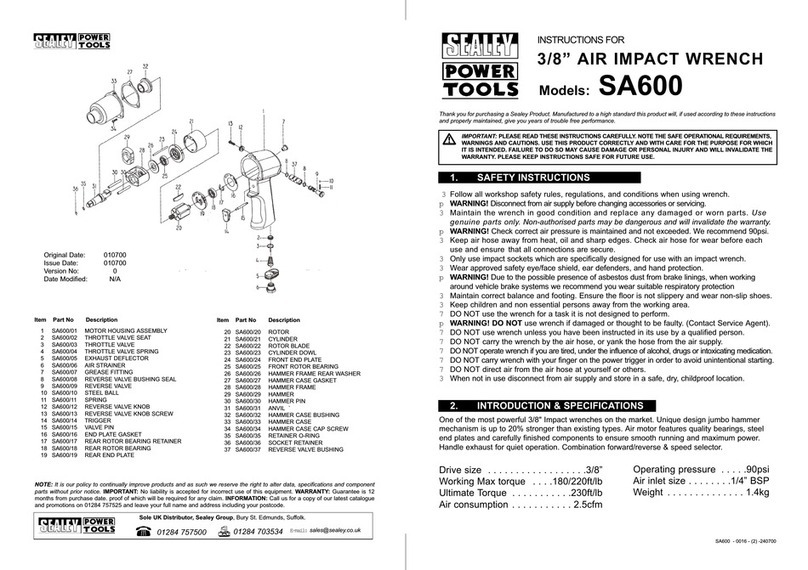
Sealey SA600 User manual

Sealey
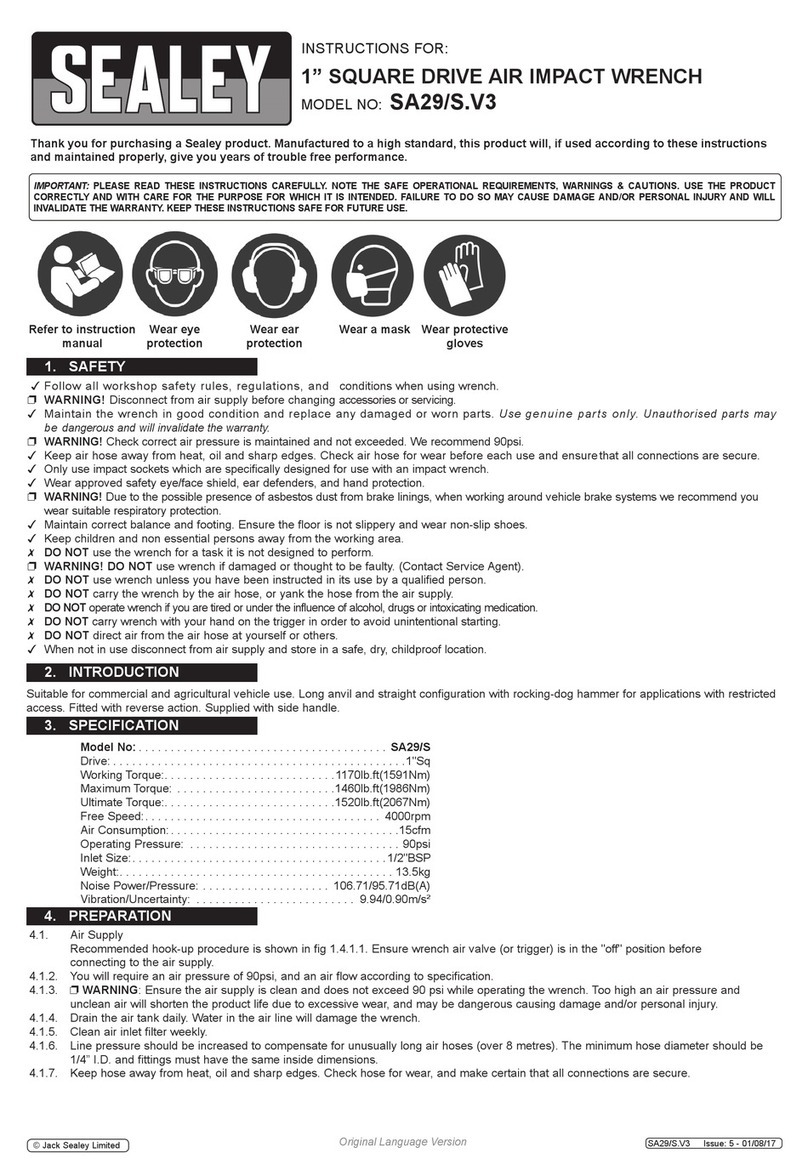
Sealey SA29/S.V2 User manual
Sealey
Sealey SV20 Series User manual

Sealey
Sealey GSA6002 User manual

Sealey
Sealey CP20VIWX User manual

Sealey
Sealey CP20VIDX User manual

Sealey
Sealey CP108VMTBO User manual

Sealey
Sealey CP108VCIDBO User manual

Sealey
Sealey SA299.V2 User manual

Sealey
Sealey CP1211 User manual

Sealey
Sealey CP2600 User manual

Sealey
Sealey SA604 User manual

Sealey
Sealey CP2450.V2 User manual

Sealey
Sealey SA681.V2 User manual

Sealey
Sealey SA141 User manual

Sealey
Sealey GSA6000.V2 User manual

Sealey
Sealey SA602L User manual

Sealey
Sealey CP2450MH User manual

Sealey
Sealey CP108VCIWBO User manual

Sealey
Sealey SA682.V2 User manual