THINNERS PUMP FOR 25L DRUM
MODEL NO: TP99.V3
Thank you for purchasing a Sealey product. Manufactured to a high standard, this product will, if used according to these instructions,
and properly maintained, give you years of trouble free performance.
IMPORTANT: PLEASE READ THESE INSTRUCTIONS CAREFULLY. NOTE THE SAFE OPERATIONAL REQUIREMENTS, WARNINGS & CAUTIONS. USE
THE PRODUCT CORRECTLY AND WITH CARE FOR THE PURPOSE FOR WHICH IT IS INTENDED. FAILURE TO DO SO MAY CAUSE DAMAGE AND/OR
PERSONAL INJURYAND WILL INVALIDATE THE WARRANTY. KEEP THESE INSTRUCTIONS SAFE FOR FUTURE USE.
1. SAFETY
WARNING! DO NOT operate using flammable liquids in a confined space, the area should have
adequate ventilation. If pumping flammable liquids, avoid proximity to naked flames or welding
operations.
9Wear appropriate protective clothing when pumping solvents. We recommend eye/face and hand
protection, available from your authorised Sealey dealer.
Ensure Health & Safety, local authority, and general workshop practice regulations are adhered to
when using this equipment.
9Ensure any spillages are dealt with immediately. Failure to do so could lead to injury.
9Keep children away from areas where solvents are being used.
2. INTRODUCTION
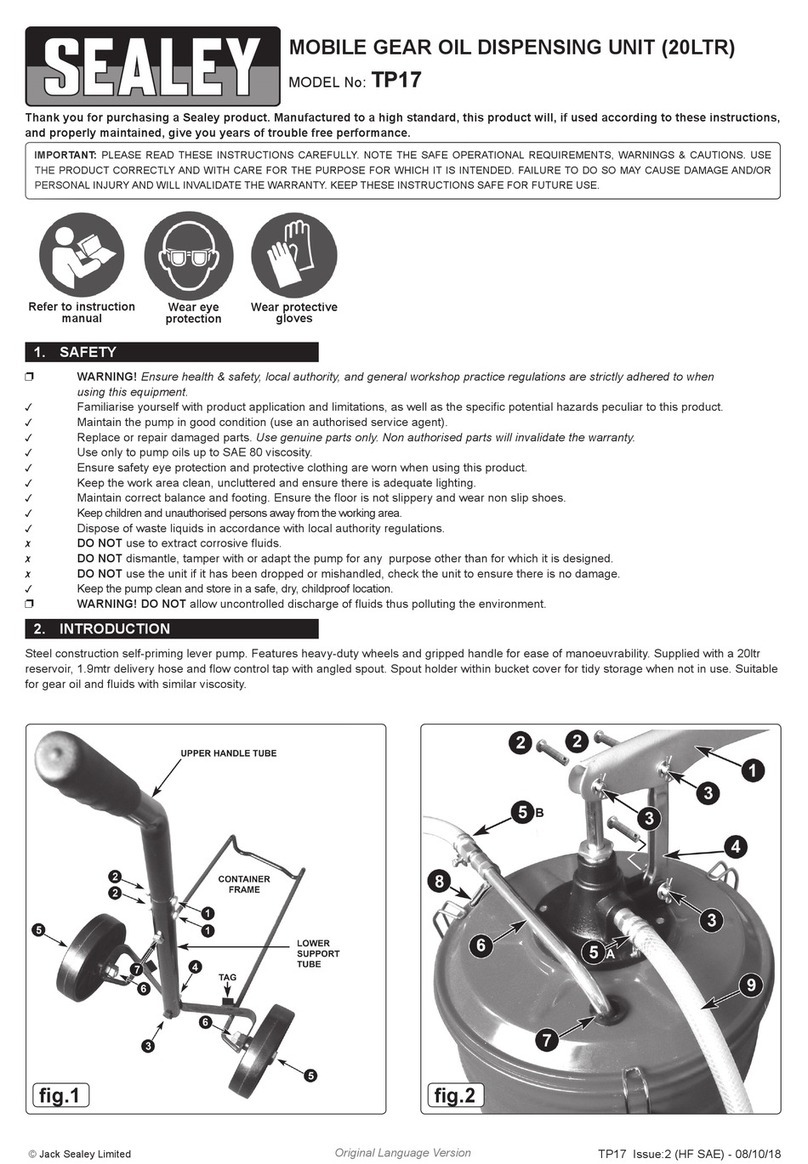
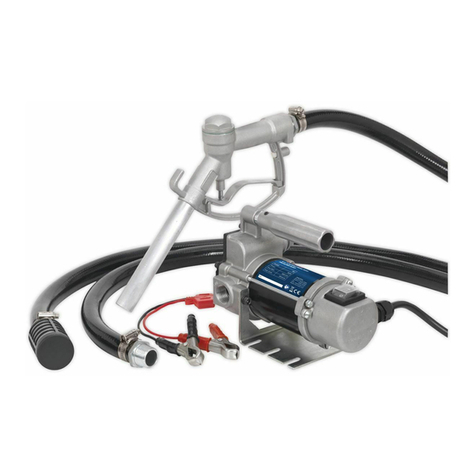
Manufactured from nylon and polypropylene with PTFE seals and features a
stainless steel plunger rod. Ready-to-go self-priming pump makes the unit
quick and easy-to-use. Suitable for use with cellulose thinners, antifreeze,
AdBlue®, brake cleaner, detergents, mild acids and gun wash.
Universal adaptor (Model No. TP99/1) is available for drums fitted with a
plastic pouring spout.
3. SPECIFICATION
Model No: ................................................................TP99.V3
Delivery:.............................................................400ml/stroke
Drum Suitability:...............................................................25L
Optional Accessories:TP99/1 - Universal Drum Closure Adaptor
4. OPERATION
4.1. Insert the spout ‘A’ into the head of the pump and tighten the associated ring
nut.
4.2. If the drum neck has a male (external) thread, keep the adaptors together and
screw female adaptor ‘E’ onto the main thread as shown on the right.
4.3. If the drum neck has a female (internal) thread, use adaptor ‘D’ on its own
and screw it into position. See lower right.
4.4. Where the tank neck has no thread at all, universal adaptor ‘F’ can be used.
This is not supplied and must be ordered separately (Part no: TP99/1).
Remove adaptors D & E. Drop the legs ‘I’ into the tank neck and rotate the
larger ring ‘H’ clockwise to get the legs to grip the neck internally.
4.5. When the adaptor is securely in place insert the main body of the pump and adjust it’s height and rotation. To secure the pump tighten the
thumbscrew ‘D1’ or ring ‘G’ as appropriate.
4.6. Operate the plunger ‘B’ through its full stroke until the desired amount of liquid has been dispensed.
5. MAINTENANCE
5.1. The pump requires very little maintenance. Keep the pump clean and flush with clean water each time before fitting to a fresh barrel.
Note: Nut ‘C’ should be tight enough to effect a seal on the plunger shaft but not so tight that it locks the shaft.
Refer to
instruction
manual
Wear eye
protection Wear protective
clothing Wear protective
gloves
TP99.V3 Issue:2 (H,F) 09/11/22
Original Language Version
© Jack Sealey Limited

