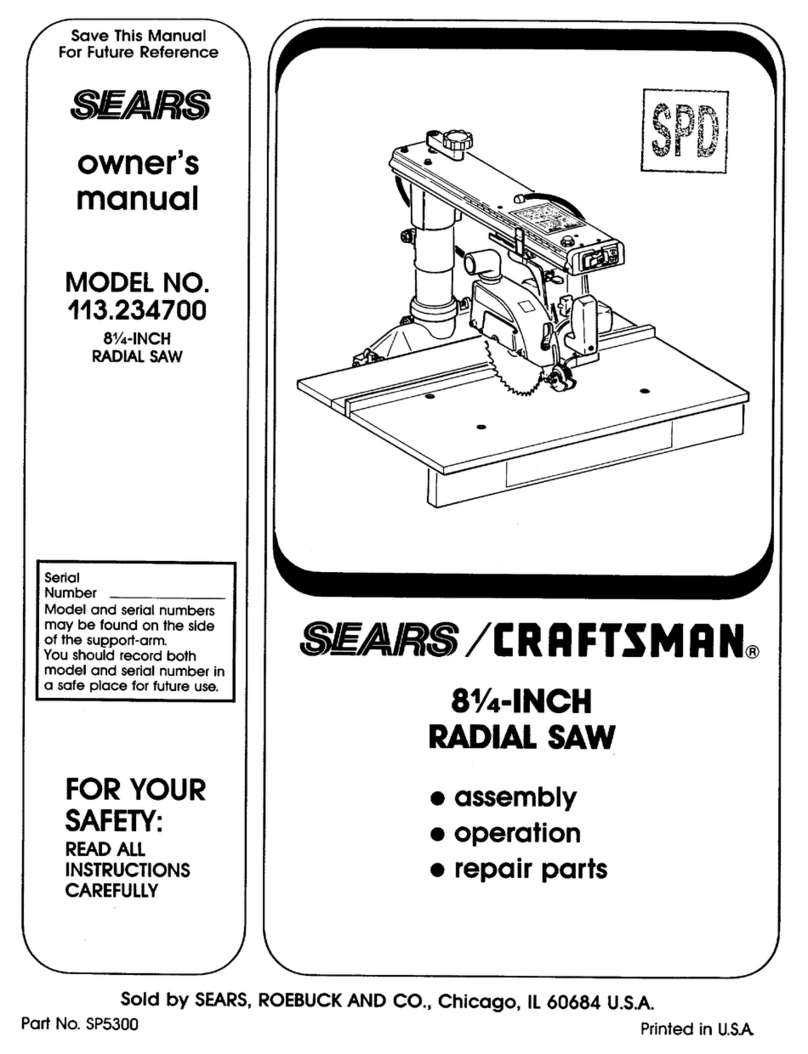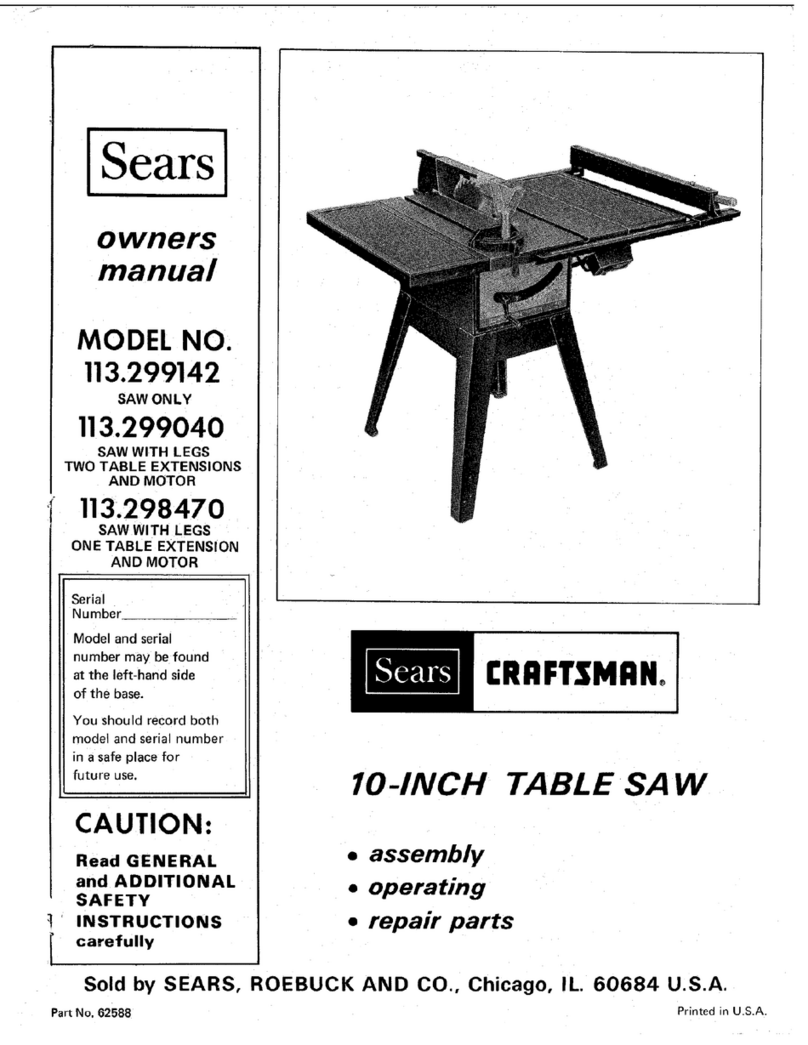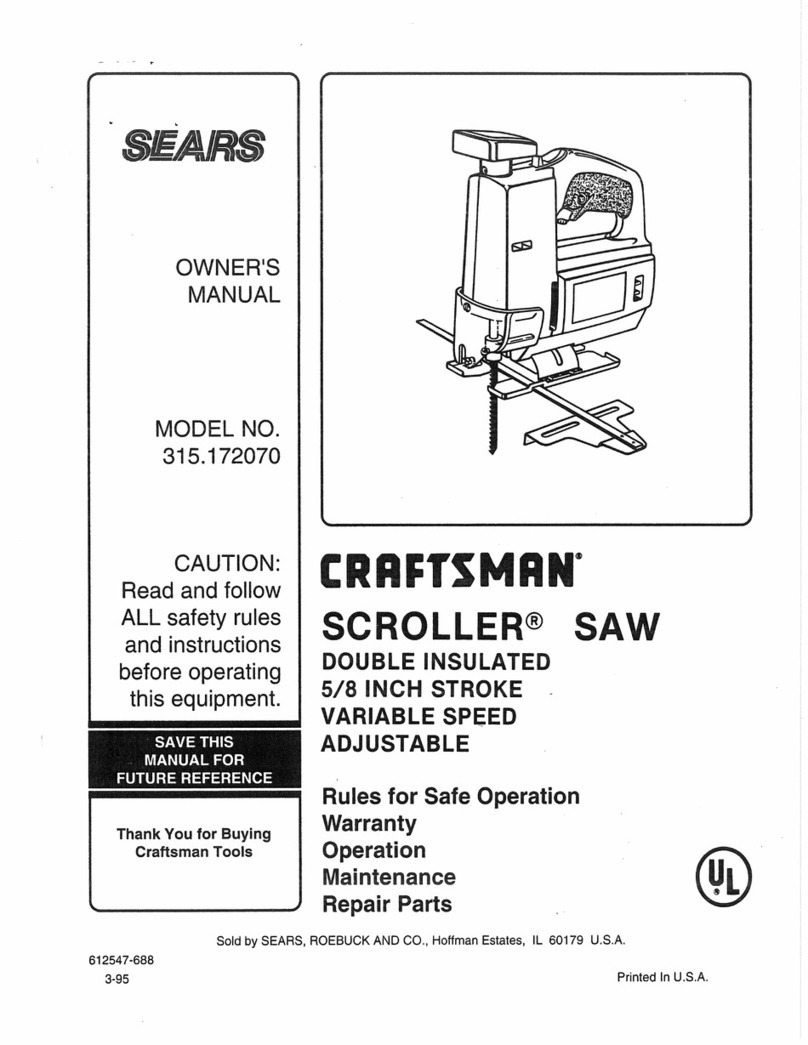
table of contents
Paae
General Safety Instructions for Power Tools . . . . . . . '’2
Additional Safety Instructions for Band Saw . . . . . . . 3
Before Using the Saw . . . . , . . . . . . . . . . . . . . . . . . . 3
When Installing or Moving the Saw . . , . . . . . . . . . 3
Before Each Use . . . . . . . . . . . . . . . . . . . . . , . . . . . . 3
Before Sanding . . . . . . . . . . . . . . . . . . . . . . . . . , , . , 4
Whenever Saw is Running . . . . . . . . . . . . . . . . . . . . 4
Accessories . . . . . . . . . . . . . . . . . . . . . . . . . . . . . . . . 4
Glossary of Terms for Woodworking . . . . . . . . . . . . . 5
ElectricalConnections . . . . . . . . . . . . . . . . . . . . . . . . . 6
Power Supply . . . . . . . . . . . . . . . . . . . . . . . . . . . . . . . 6
Motor Safety Protection. . . , . . . . . . . . . . . . . . . . . . . 6
Wire Sizes . . . . . . . . . . . . . . . . , . . . . . . . . . . . . . . . . 7
Unpacking and Checking Contents . , . . . . . . . . . . . . 7
Tools Needed . . . . . . . . . . . . . . . . . . . . . . . . . . . . . . 7
Table of Loose Parts . . . . . . . . . . . . . . . . . . . . . . . . . 8
Assembly and Alignment . . . . . , . . . . , . . . . . . . . . . . . 10
Assembling Cabinet . . . . . . . . . . . . . . . . . . . . . . . . . lo
Mounting the Motor . . . . . . . . . . . . . . . . . . . . . . . . . . 12
Selecting Blade Speed . . . . . . . . . . . . . . . . . . . . . . . 14
Recommended Speed Settings . . . . . . . . . . . . . . . 14
Mounting the Saw to the Cabinet . . . . . . . . . . . . . . 15
Mounting Door . . . . . . . . . . . . . . . . . . . . . . . . . . . . . . 15
AttachingTrim Caps and Trim Ledge . . . . . . . . . . . 16
Attaching Handwheel . . . . . . . . . . . . . . . . . . . . , . , . 16
glossary of terms
Bevellng
An anglecutting operationthrough the faceof the
board ,
,\
Cro$§eut
A cutting operation made across the width of the
workpiece.
CompoundCutting
A simultaneousbevel and miter cutting operation.
FPM
Feet per minute. Used in reference to surface speed
of blade.
Freehand (as used for band 8aw)
Performing a cut without the workpiece properly
supported on the work table.
Gum
A sticky, sap based residue from wood products.
KerI
The material removedby the blade in a through cut
or theslot produced by the blade in a non-through or
partial Cut.
LeadIngEnd
The end of the workpiece wh,ich is pushed into the
cutting tool first.
in\
Miterlng
An angle cutting operation madeacross the width of
the workpiece.
Page
Getting to Know Your Band Saw . . . . . . . . . . . . . . . . i7
Location and Function of the Electronic ' '
Indicator System , . . . . . . . . . . . . . . . . . . . . . . . . . , . . . 18
Digital Readout Display . . . . . . . . . . . . . . . . . . . . . . 18
Function Keys . . . . . . . . . . . . . . . . . . . . . . . . . . , . . . 18
Battery Cover . . . . . . . . . . . . . . . . . . . . . . . . . . . . . . . 18
Using the Electronic Indicator System . . . . . . . . . . 19
Installing the Blade . . . . . . . . . . . . . . . . . . . . . . . . . . 20
Aligning the Blade and Blade Guides . . . . . . . . . . . 21
Mounting the Front Table . . . . . . . . . . . . . . . . , . . . . 23
Squaring the Blade to the Table , . . . . . . . . . . . . , . 28
Location and Function of Controls . . . . . . . . . . . . . . . 26
g)n-OffSwitch ....,,,.,,,................... 26
Tilting Head for BevelCut . . . . . . . . . . . . . . . . . . . . ii
BasiJuBsIIg sl:FEES StEP?. : : : : : : : : : : : : : : : : : : : iS
Circle Cutting . . . . . . . . . . . . . . . . , . . . . . . . . . . . . . . jy
Sawdust Collection . . . . . . . . . . . . . . . . . . . . . . . . . . 28
Installing Sanding Attachment . . . . . . . . . . . . . . . . .. :i
Installing the Sanding Belt . . . . . . . . , . . . . . . . . . . . 26
Final Assembly of Front Table,
Front Cover . . . . . . . . . . . . . . . . . . . . . . . . . . . 29
Maintenance . . . . . . . . . . . . . . . . . . . . . . . . . . . . . . . . . 29
Adjusting Band Saw Bevel Travel . . . . . . . .-. . . . . . 29
Ac:iVstjrg Upper Blade Guide Travel . . . . . . . . . . . 29
Trouble Shooting . . . . . . . . . . . . . . , . . . . . . . . . . . . . . . ia
Repair Parts . . . , . . . . . . . . . . . . . . . . . . . . . . . . . . . . . , ii
for woodworking
PushStIck
A device used to feed the workpiecethrough the saw
during narrow ripping type operations so the opera-
tor’shands are keptwell away fromthe blade.
Resaw
A cutting operation to reduce the thickness of the
workpieceto make thinner pieces.
Resin
A sticky, sap based substance that has dried.
RIpping
A cutting operation along the length of the work-
piece.
SawbladePath
The areaof the worktable or workpiecedirectly in
line with the saw blade.
Set
The distance the tip of the saw bladetooth is bent
outward from the faceof the blade.
TraiIIngEnd
The workpiece end last cut by the saw blade.
Workpiece
The itemon which the cutting operation is being
performed. The surfaces of a workpieceor commonly
referred to as faces,ends, and edges.
Worktable
The surface on which the workpiece rests while
performing a cutting or sanding operation.
5
