Seaward Rigel SafeTest 99 User manual

!Important, follow the documentation!Warning of electrical danger!
SafeTest 99
Manual

Limited Warranty & Limitation of Liability
Rigel Medical, part of the SEAWARD GROUP guarantees this product for a period of two
years. The period of warranty will be effective at the day of delivery.
To activate your 2 year warranty, register your product at the below link. Terms and
conditions apply.
www.rigelmedical.com/register
Calibration Statement
The Rigel SafeTest 99 hand-held electrical safety analyzer is fully calibrated and found to be
within the specified performance and accuracy at the time of production. The Seaward Group
provides its products through a variety of channels, therefore it may be possible that the
calibration date on the provided certificate may not represent the actual date of first use.
Experience has indicated that the calibration of this instrument in not effected by storage
prior to receipt by the user. We therefore recommend that the recalibration period be based
on a 12 month interval from the first date the unit is placed in to service.
For information on service or calibration please go to the link below.
www.rigelmedical.com/calibration
© Copyright 2017
All rights reserved. Nothing from this edition may be reproduced, or made public in any form,
either electronically, mechanically, by photocopying, recording, or in any manner, without
prior written consent from the SEAWARD GROUP. This also applies to accompanying
drawings and diagrams.
Due to a policy of continuous development the SEAWARD GROUP reserves the right to alter
the equipment specification and description outlined in this publication without prior notice
and no part of this publication shall be deemed to be part of any contract for the equipment
unless specifically referred to as an inclusion within such contract.

SafeTest 99 Instruction Manual – Revision 1.0 2
Disposal of old product
!
!
The Rigel SafeTest 99 has been designed and manufactured with high quality materials and
components, which can be recycled and reused.
When this symbol is attached to a product it means the product is covered by the European
Directive 2012/19/EC.
Please familiarize yourself with the appropriate local separate collection system for electrical
and electronic products or contact your local supplier for further information.
Please dispose of this product according to local regulations. Do not dispose of this product
along with normal waste material. By offering your old products for recycling, you will help
prevent potential negative consequences for the environment and human health.
User Notes
The following symbols are used throughout this Instruction Manual.
Warning of electrical danger!
Indicates instructions must be followed to avoid danger to persons.
Important, follow the documentation! This symbol indicates that the operating instructions
must be adhered to in order to avoid danger.

SafeTest 99 Instruction Manual – Revision 1.0 3
Index
!
1!Introduction!________________________________________________! 5!
1.1!Key!Features!______________________________________________________!5!
1.2!Getting!to!Know!Your!SafeTest!99:!____________________________________!6!
1.3!In!the!Box!________________________________________________________!7!
1.4!Optional!Accessories!and!Replacement!Spare!Parts! ______________________!7!
1.5!Icons!used!on!the!SafeTest!99!________________________________________!8!
2!Getting!Started!__________________________________________!-!10!-!
2.1!Setting!your!Language!___________________________________________!-!10!-!
2.2!Displaying!the!SafeTest!99!Device!Information!_______________________!-!11!-!
2.3!Accessing!the!SafeTest!99!Functions!________________________________!-!12!-!
3!Ground!Continuity!Measurement!____________________________!-!13!-!
4!NFPA-99!Ground!Leakage!Measurement!______________________!-!15!-!
5!NFPA-99!Chassis!Leakage!(Touch!Current)!Measurement!________!-!17!-!
6!NFPA-99!Patient!Lead!Leakage!Measurement!_________________!-!19!-!
7!Displaying!Line!Voltage!Supply!Characteristics!_________________!-!21!-!
8!Point!to!Point!Measurement!_______________________________!-!22!-!
9!Warning!Messages!_______________________________________!-!24!-!
10!Maintaining!the!SafeTest!99!________________________________!-!25!-!
10.1!Cleaning!the!Analyzer! ___________________________________________!-!25!-!
10.2!User!Maintenance!______________________________________________!-!25!-!
10.3!Calibration!or!Repair.!____________________________________________!-!25!-!
11!Technical!Specifications!___________________________________!-!26!-!
Appendix!A!!Pass!/!Fail!Limits!__________________________________!-!27!-!
Appendix!B!NFPA99-2015!Body!Model!__________________________!-!28!-!
!
SafeTest 99 Instruction Manual – Revision 1.0 4
Warnings and Cautions
These operating instructions are intended for the use by adequately trained
personnel.
Environmental Conditions
The SafeTest 99 has been designed to be operated in a dry environment, at a temperature
of 32 to 104 degrees F without moisture condensation, and at an operating altitude 0 –
2000m. The SafeTest 99 has a protection rating of IP40 and is rated for operation at pollution
degree 2 according to IEC 60529.
Safety Notes
If the SafeTest 99 is used in a manner not specified by these operating instructions then the
protection provided may be impaired.
Only accessories recommended or approved by the manufacturer should be used with the
SafeTest 99.
Do not connect the SafeTest 99 to electrical circuits with nominal voltage greater than CAT
II 300 V AC/DC.
Do not touch test probes beyond the hand barrier on the test probe.
The SafeTest 99 may apply high voltage or mains power to the appliance under test. Do not
touch conductive parts of the appliance while tests are active.
Do not open the SafeTest 99, no user serviceable parts.
Do not operate the SafeTest 99 in an explosive gas or dust environment.
The SafeTest 99 and all associated cables and leads must be checked for signs of damage
before equipment is operated. Do not use if there are signs of damage.
Where safe operation of the SafeTest 99 is no longer possible it should be immediately shut
down and secured to prevent accidental operation.
It must be assumed that safe operation is no longer possible:
- if the instrument or leads show visible signs of damage or
- the instrument does not function or
- after long periods of storage under adverse environmental conditions.
To verify the correct operation of the unit, perform test functions using a known appliance or
checkbox or return the unit to an approved agent for service.
When testing multiple applied parts, only the SafeTest 99 Applied Parts Connection Box
should be used.
This symbol is also used for tips and guidance notes in the manual.

SafeTest 99 Instruction Manual – Revision 1.0 5
1 Introduction
The SafeTest 99 is a dedicated medical safety analyzer, ideal for testing high volumes of
basic medical and laboratory equipment. A robust and reliable design ensures that the
SafeTest 99 can withstand a busy schedule of testing medical equipment.
With a large color display and a color coded user interface, it’s easy to select the required
tests with a single key press, while a fast step-through of the test routine makes the testing
process speedy and dependable. Though physically small, the SafeTest 99 includes a range
of safety tests to enable compliance to the NFPA 99-2015 safety standard, including leakage
and ground continuity testing.
Full manual control offers the benefit of executing only those specific tests that are required
and provide the user with full control of the power cycles, making testing simple, easy and
fast. An automatic warning of secondary ground paths ensures users are made aware when
invalid readings are made, thus ensuring correct and accurate test results first time, every
time.
1.1 Key Features
• Compact, robust and portable design
• Fast step-through of test routines with minimized power cycles
• Manual control of fault conditions
• Tests to standard NFPA 99-2015.
• Large, highly visible color display.
• Secondary ground warnings to ensure valid test setup
• Accurate high current, low energy ground continuity testing
• Supplied with free, protective carry case
• Multi-voltage - operates on any mains supply between 90-264V / 48-64Hz

SafeTest 99 Instruction Manual – Revision 1.0 6
1.2 Getting to Know Your SafeTest 99:
1, Start key
2, Stop key
3, Reversed key
4, Function keys F1-F5
5, Open ground key
6, Open neutral key
7, EUT socket, 90-264VAC, 48-64Hz
8, Point to point auxiliary probe.
9, Ground continuity and leakage probe (Applied Parts Connector Box)
10, Line inlet 90-264VAC 48-64Hz

SafeTest 99 Instruction Manual – Revision 1.0 7
1.3 In the Box
Carefully unpack all items from the box and ensure the following items are included:
AC Power Supply
Ground Continuity Test Probe with Clip
ECG Snap Adapters (pack of 10)
Calibration Certificate
Applied Parts Connector Box
SafeTest 99 Carry Case
SafeTest 99 Instrument
SafeTest 99 Quick Start Guide
Applied parts Connection Box Quick Start Guide
1.4 Optional Accessories and Replacement Spare Parts
Ground continuity cable 44B154
Mains lead 48531
Replacement Carry Case 410A950
Applied Parts Connector Box 417A911
Applied Part Adaptors 404A951

SafeTest 99 Instruction Manual – Revision 1.0 8
1.5 Icons used on the SafeTest 99
The SafeTest 99 features a high resolution color graphic back lit display that provides a
unique user experience and to help guide the user through the different test steps.
Below are of some of the icons used in the SafeTest 99:
Select Ground Continuity testing
Select Leakage testing
Select Point to point testing (Ground Continuity and Leakage)
Select Setting menu (change Language and display information)
Change to the required language
Product information (serial number, hardware, firmware, calibration
date)
Go to Home screen
Ground Leakage selection
Chassis Leakage (Touch Current) selection
Patient Lead Leakage selection
Display Line voltage, frequency and load current
Point to point Ground continuity test selection
Point to point Leakage test selection
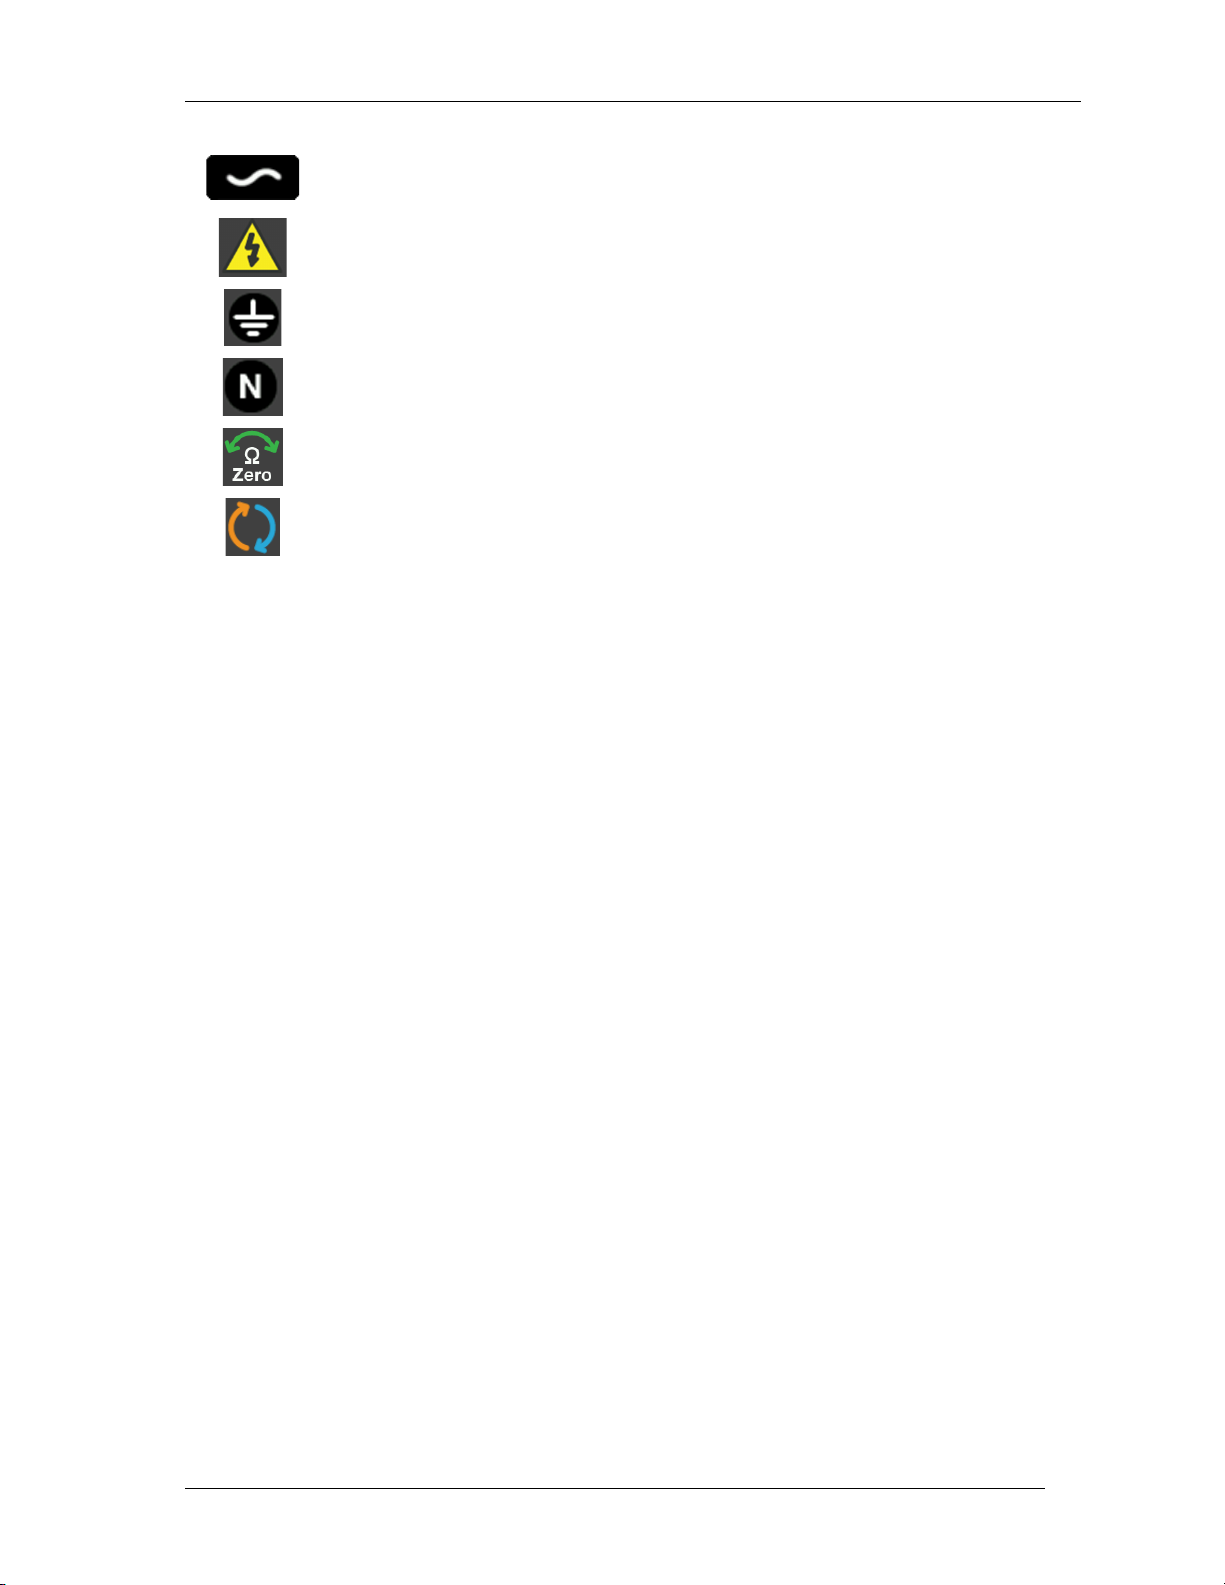
Applies normal mains to EUT
Stops / Interrupts mains to EUT
SafeTest 99 Instruction Manual – Revision 1.0 9
Applies reversed mains to the EUT
Warning, EUT socket live
Open Ground single fault condition key
Open Neutral single fault condition key
Ground continuity test lead compensated
Test running (note; not used on all tests)

SafeTest 99 Instruction Manual – Revision 1.0 - 10 -
2 Getting Started
The SafeTest 99 can perform electrical safety tests in accordance with NFPA 99-2015. To
get started, simply follow these instructions;
Switch ON:
To switch on the SafeTest 99, please insert the mains cable to the power inlet, the
SafeTest 99 will automatically power up to the Home screen.
2.1 Setting your Language
From the Home screen, select (F5) to enter the settings menu.
Select (F1) to change the language
SafeTest 99 Instruction Manual – Revision 1.0 - 11 -
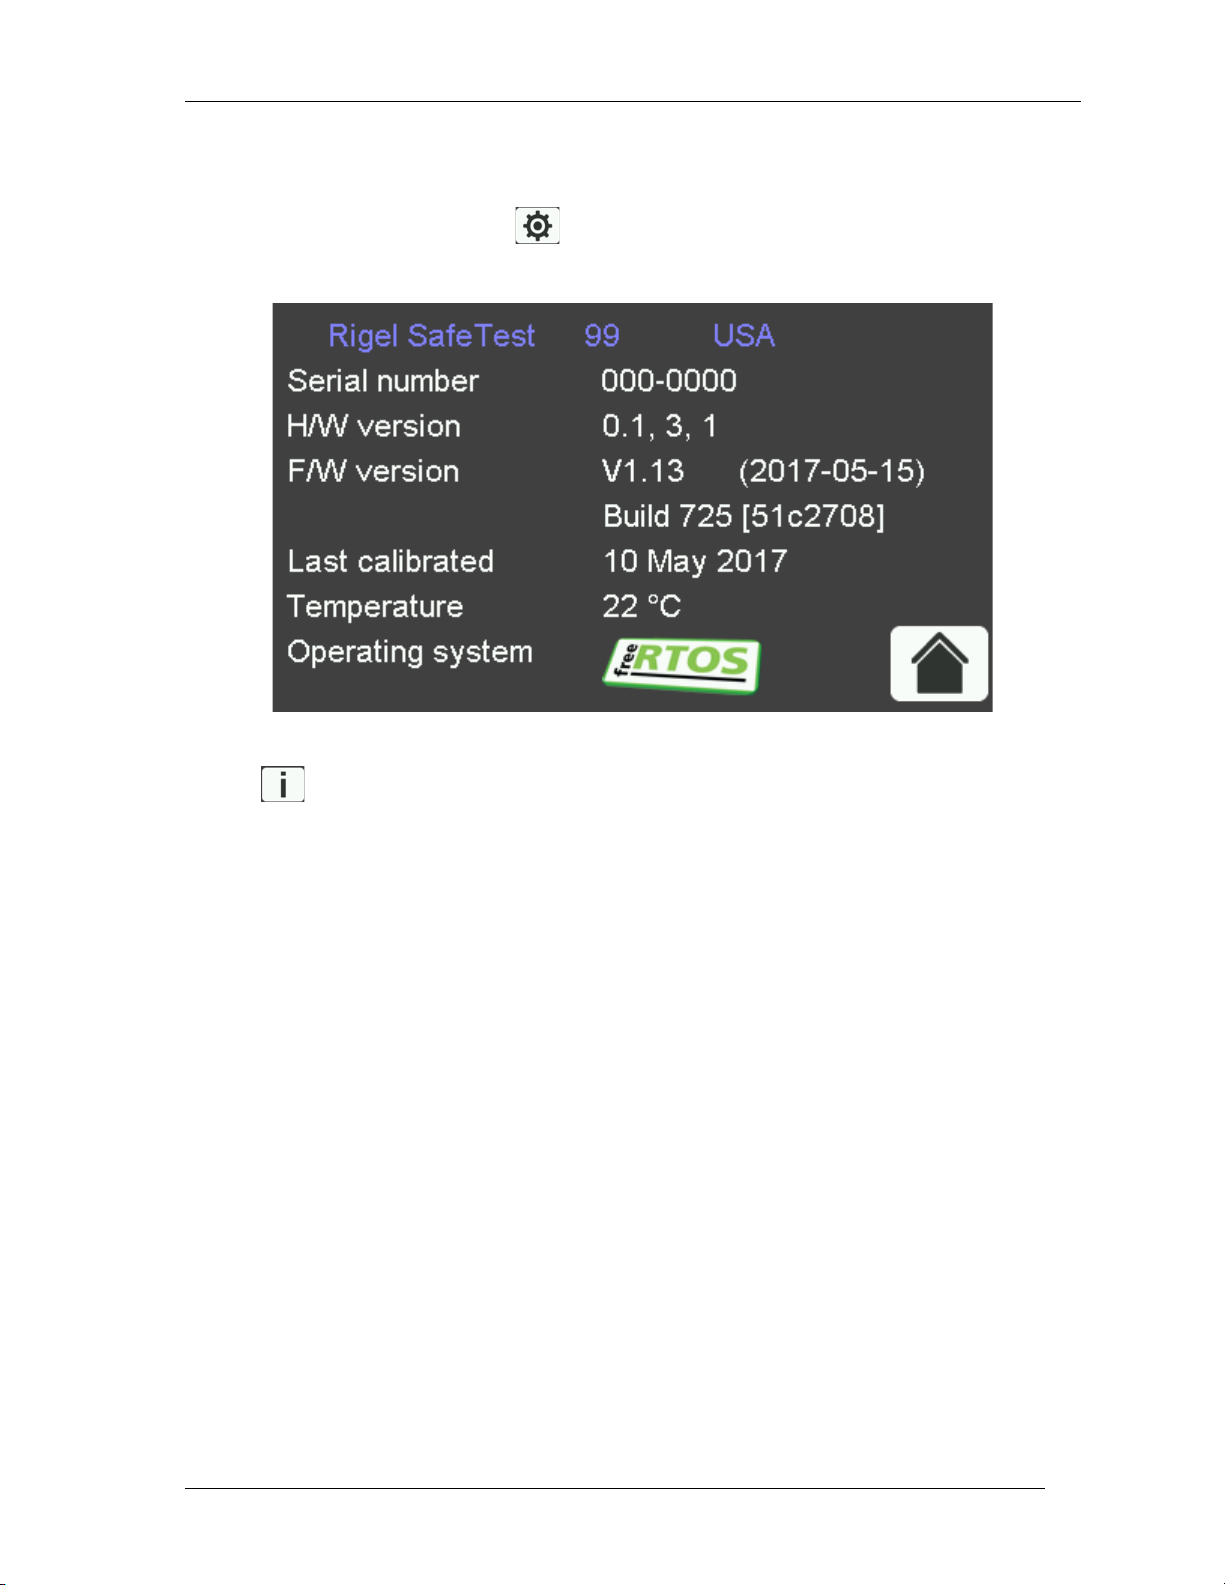
2.2 Displaying the SafeTest 99 Device Information
From the Home screen, select (F5) to enter the settings menu.
Select (F2) to view the SafeTest 99 information
• Serial Number
• Hardware version
• Firmware version
• Last calibration date

SafeTest 99 Instruction Manual – Revision 1.0 - 12 -
2.3 Accessing the SafeTest 99 Functions
From the SafeTest 99 Home screen, select the required test;
Select (F1) to enter the Ground Continuity test menu.
Please see section 3.0 for further information on performing a Ground Continuity test.
Select (F2) to enter the Leakage test menu.
Please see section 4.0 to 7.0 for further information on performing Ground, Chassis (Touch
Current) and Patient Leakage test, and also displaying mains voltage.
Select (F3) to enter the Point to point test menu.
Please see section 8.0 for further information on point to point Ground Continuity and point
to point Leakage testing.
Select (F5) to enter the Settings menu.
Please see section 2.0 for product information such as serial number, hardware, firmware
and calibration date.
In any of the above test menus, use (F5) to return to the Home screen.

SafeTest 99 Instruction Manual – Revision 1.0 - 13 -
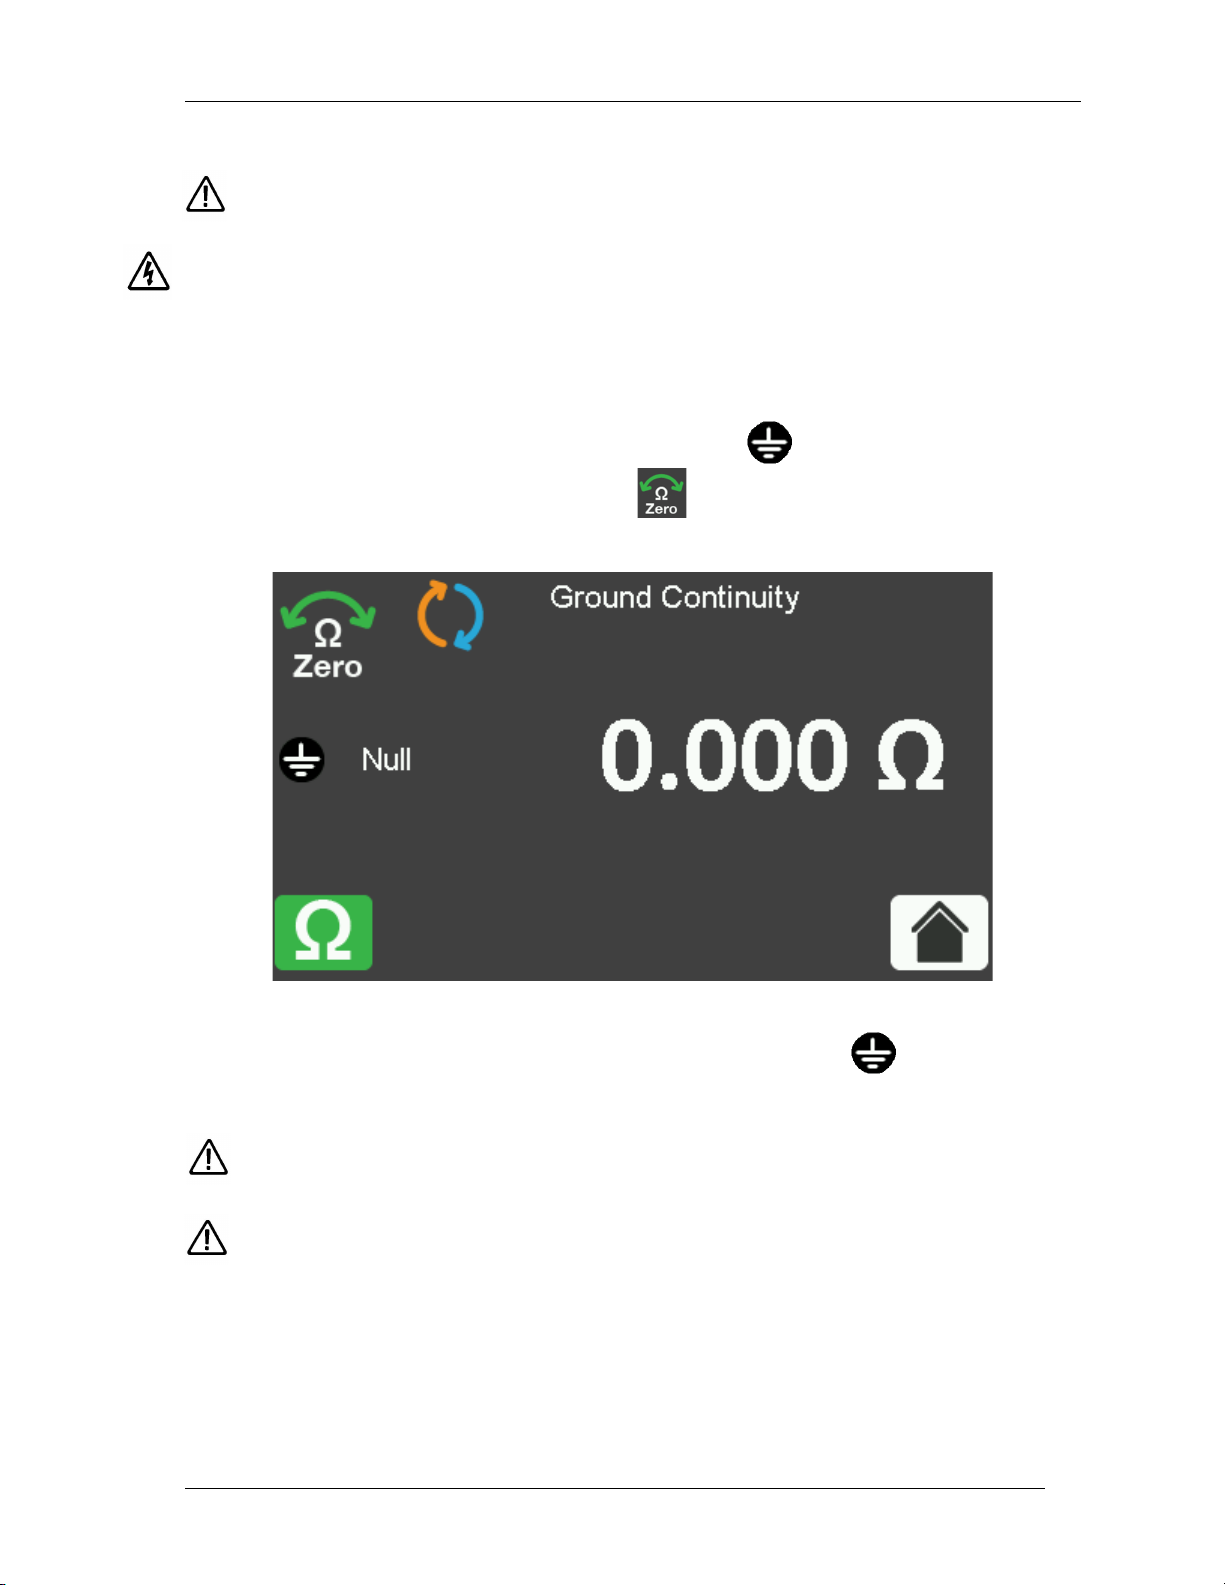
3 Ground Continuity Measurement
To perform a Ground continuity test, select the (F1) icon from Home screen.
The SafeTest 99 will automatically start measuring when the Ground continuity test,
(F1), is selected from the Home screen. When testing the Test running icon, , is
displayed.
The test will run until either (F1) or the stop button is selected.
If Home (F5) is selected then the test is stopped and the instrument returns to the
Home screen.
Connection between EUT and SafeTest 99;
Ground Continuity Testing
M
M
SafeTest 99 Instruction Manual – Revision 1.0 - 14 -
Each time the ground bond probe is placed on a new test point, the zap circuit
will be reactivated, ensuring accurate readings at every measurement point.
Do not exceed the maximum permitted voltage of 30 V AC/DC with respect to ground
potential! Electric Shock danger!
To compensate for the test cable resistance, connect the test cable between the black
ground bond socket and the EUT ground, then select the button on the front panel.
When the lead compensation is activated, the icon will appear on the screen.
To remove the lead compensation, remove the cable and select the button.
When different ground bond cables are used, the NULL function must be
repeated for each different cable.
Switching off the SafeTest 99 will not cancel the ‘probe zero’.

SafeTest 99 Instruction Manual – Revision 1.0 - 15 -
4 NFPA-99 Ground Leakage Measurement
To perform a NFPA 99-2015 Ground leakage test, select (F2) from the Home screen,
to enter the Leakage test menu.
Use (F1), to select the Ground Leakage test menu. Note in the Leakage menu, you
can switch between Leakage tests and the SafeTest 99 will alter internal settings
accordingly.
Connection between EUT and SafeTest 99;
Ground Leakage NFPA 99-2015
M
M

SafeTest 99 Instruction Manual – Revision 1.0 - 16 -
To apply mains voltage in normal polarity, and start the test, select the button on
the front panel. The test will run until the button is pressed.
To apply mains voltage in reversed polarity, and start the test, select the button
on the front panel. The test will run until the button is pressed.
The EUT socket live icon, , will appear on the screen when the DUT socket is
activated.
To activate single fault conditions, use the button on the front panel, this opens the
neutral fault condition relay. Note: Opening the Neutral will cause the Device under Test to
power off.
The leakage screen will indicate the current state of the selected fault conditions;

SafeTest 99 Instruction Manual – Revision 1.0 - 17 -
5 NFPA-99 Chassis Leakage (Touch Current)
Measurement
To perform a NFPA 99-2015 Chassis leakage (Touch Current) test, select (F2) from
the Home screen, to enter the Leakage test menu.
Use (F2), to select the Chassis Leakage (Touch Current) test menu. Note in the
Leakage menu, you can switch between Leakage tests and the SafeTest 99 will alter
internal settings accordingly.
Connection between EUT and SafeTest 99;
Chassis Leakage (Touch Current) NFPA 99-2015
M
M

SafeTest 99 Instruction Manual – Revision 1.0 - 18 -
To apply mains voltage in normal polarity, and start the test, select the button on
the front panel. The test will run until the button is pressed.
To apply mains voltage in reversed polarity, and start the test, select the button
on the front panel. The test will run until the button is pressed.
The EUT socket live icon , , will appear on the screen when the DUT socket is
activated.
To activate single fault conditions, use the and buttons on the front panel.
opens the ground fault condition relay while the opens the neutral fault condition
relay.
The leakage screen will indicate the current state of the selected fault conditions;
SafeTest 99 Instruction Manual – Revision 1.0 - 19 -
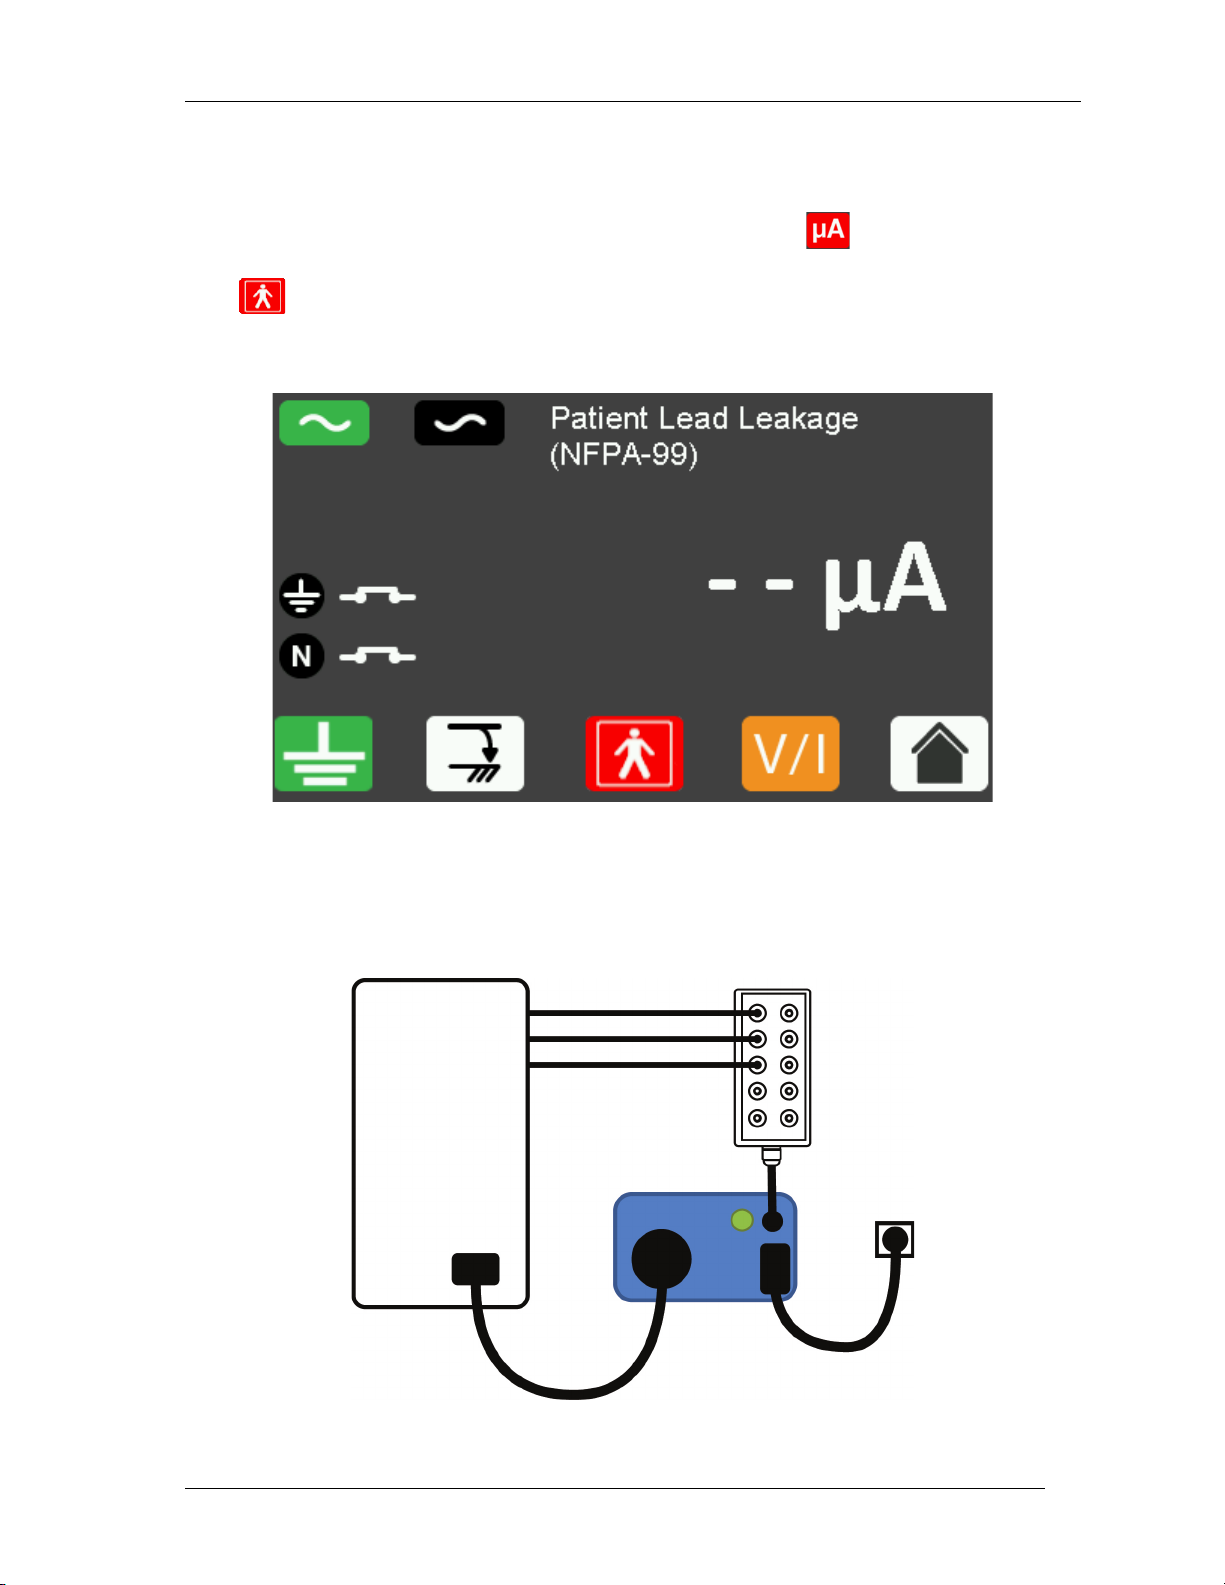
6 NFPA-99 Patient Lead Leakage Measurement
To perform a NFPA 99-2015 Patient Lead leakage test, select (F2) from the Home
screen, to enter the Leakage test menu.
Use (F3), to select the Patient Lead Leakage test menu. Note in the Leakage menu,
you can switch between Leakage tests and the SafeTest 99 will alter internal settings
accordingly.
Connection between EUT and SafeTest 99;
Patient Lead Leakage NFPA 99-2015
Table of contents
Other Seaward Medical Equipment manuals

Popular Medical Equipment manuals by other brands


Getinge
Getinge Arjohuntleigh Nimbus 3 Professional Instructions for use

Mettler Electronics
Mettler Electronics Sonicator 730 Maintenance manual

Pressalit Care
Pressalit Care R1100 Mounting instruction

Denas MS
Denas MS DENAS-T operating manual

bort medical
bort medical ActiveColor quick guide

AccuVein
AccuVein AV400 user manual


