manuals.online logo
Brands
  1. Home
  2. •
  3. Brands
  4. •
  5. Sebo
  6. •
  7. Sander
  8. •
  9. Sebo Disco User manual

Sebo Disco User manual

OWNER’S MAN AL
TABLE OF CONTENTS
TECHNICAL DETAILS
Motor 200 watts
Body weight 8.5 lbs
Motor protection electronic cut-out
Working width 12 in.
Revolution speed 2,000 rpm
Floor height adjustment automatic sensor control
Technical Details 2
Important Safety Instructions 3
Special SEBO Product Features 4
Automatic Pad Height Adjustment 4
Rotating Swivel Neck 4
Bumper Guards and Rolling Castors 4
Stationary Use Protection 4
Bag Full or Clog Warning – Auto Shut-Off 4
Identification of Parts 5
Assembly 5
Operating Instructions 6
Preparing the Floor 6
Floor Suitability 6
Starting the Machine 7
Operating the Machine 7
The LED Display 7
Maintenance 8
Changing the Floor Pad 8
Changing the Sealing Strip 8
Clog Removal 8
Clogs in the Floor Pad 8
Clogs in the Suction Duct 8
Clogs in the Swivel Neck 8
Trouble-Shooting Guide 9
DISCO Polisher Head Schematic and Part Numbers 10
Warranty 11
How To Contact SEBO 11
2
1. The SEBO DISCO is for use only with SEBO C3.1, 3 or
FELIX vacuums or central vac units with adapter. Do not
use with any other manufacturer’s vacuum cleaners.
2. Do not leave machine while plugged in. Unplug from
outlet when not in use and before servicing.
3. Do not use outdoors or on inappropriate surfaces, e.g.
stone or concrete.
4. Do not use on uneven floors.
5. Do not use on soft vinyl floors which are not stuck down
as they could be sucked off the floor and damaged.
6. The SEBO DISCO is for polishing dry hard floors only.
Do not use on wet surfaces.
7. Before using the machine, vacuum the floor thoroughly.
Flooring may be damaged if particles of dirt are not
removed before polishing.
8. Do not leave machine standing in one place with polisher
turned on. Damage may occur.
9. Do not touch the floor pad or drive while the machine is
operating.
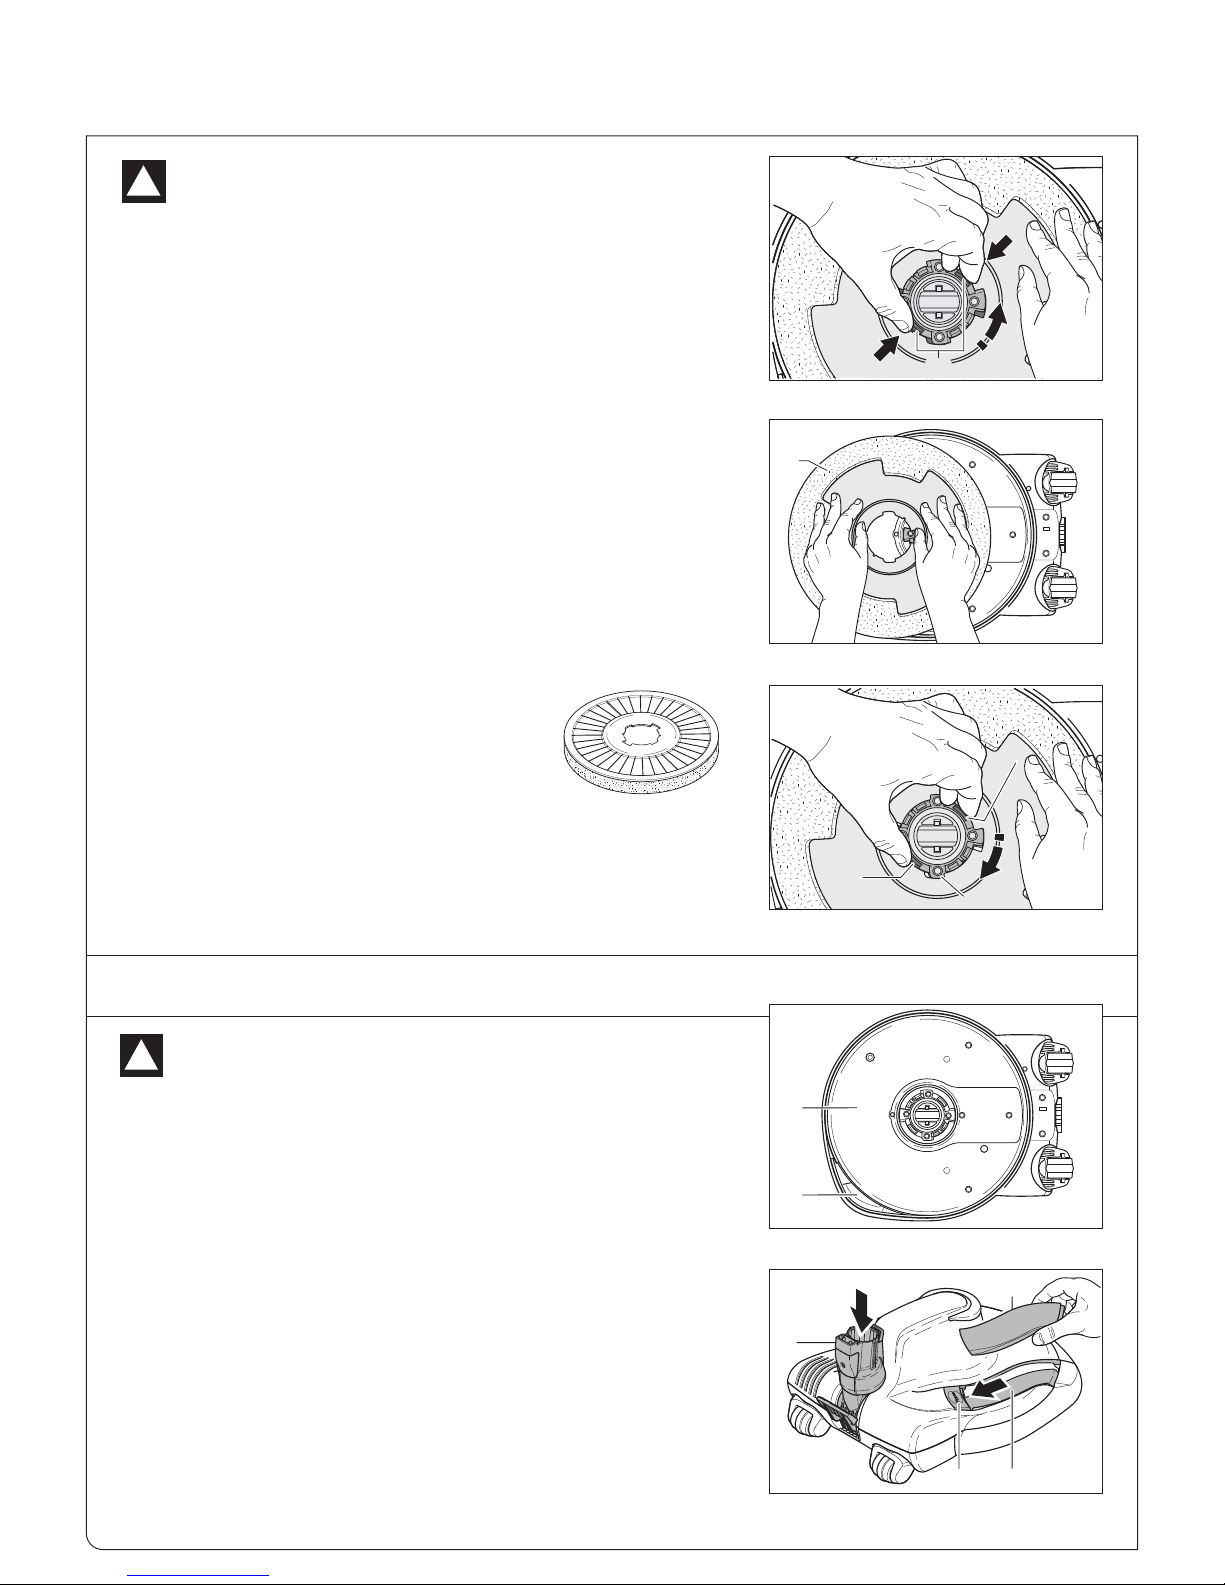
10. Do not use DISCO without floor pad. Do not use without
vacuum filter bag and/or filters in place.
11. Do not use near small children or pets. Do not allow to
be used as a toy. Use of this product by children should
always be supervised by an adult.
12. Use only as described in this manual.
13. Do not use with a damaged cord or plug. If vacuum or
head is not working as it should, has been dropped,
damaged, left outdoors, or dropped into water, take it to
a SEBO service center.
14. Do not pull or carry by cord, use cord as a handle, close
a door on cord, or pull cord around sharp edges or
corners. Do not run over cord. eep cord away from
heated surfaces.
15. Do not unplug by pulling on cord. To unplug, grasp the
plug – not the cord.
16. Do not plug in if switch is in the “I” (ON) position.
17. Do not use outlets above counters to plug in vacuum –
damage to items in the surrounding area could occur.
18. Always carry the polisher over steps and sills.
19. Do not handle plug or vacuum handle with wet hands.
20. Do not put any object into polisher openings. Do not use
machine with any openings blocked. eep openings
free of lint, hair, and anything that may reduce air flow.
21. Do not wash or reuse floor pad. Do not reuse vacuum
filter bags or wash the filters.
22. Do not remove any screws from the DISCO.
23. Do not run the DISCO over anything that is burning or
smoking, such as cigarettes, matches, or hot ashes.
24. Turn off all machine controls before unplugging.
25. Use extra care when using on stairs.
26. Do not use machine to vacuum up flammable or com-
bustible liquids such as gasoline or use in areas where
they may be present.
27. Machines can cause a fire when operated near flammable
vapors or materials. Do not operate this vacuum near
flammable fluids, dust or vapors.
28. Maintenance and repairs must be done by qualified
personnel.
29. This machine should only be operated with SEBO floor
pads and replacement parts. The use of non-genuine
parts will waive the warranty for this product and could
pose a serious safety risk.
30. Do not use DISCO head as a step.
31. eep hair, loose clothing, fingers, and all parts of body
away from vacuum openings and moving parts. Do not
place fingers or other body parts under vacuum unless it
is unplugged.
32. Do not place the DISCO head over rug or carpet edges.
Do not use on carpet.
33. The vacuum has a manual reset thermal protector. The
protector is reset by switching off the vacuum. The
thermal protector needs some time to cool down after
switching off! Check the vacuum for air blockages or
mechanical failures before switching on.
34. Store the machine in a dry place at room temperature.
When the machine is not in use, you should wrap the
cord on the cable hooks.
35. Any other servicing should be performed by an
authorized service representative.
IMPORTANT SAFETY INSTR CTIONS
READ A INSTRUCTIONS BEFORE USING THIS MACHINE
3
When using an electrical appliance, basic precautions must always be followed.
The use of the machine is
at your own risk. The manufacturer/supplier is not liable for any injury or damage caused by incorrect usage of
the machine. Always check the cleaning and maintenance instr ctions of yo r floor man fact rer.
SAVE THESE INSTRUCTIONS.
WARNING! The q ality, condition, coating, text re, age and man fact ring techniq e of all floor s rfaces vary. Therefore,
machines with rotating pads, incl ding yo r SEBO DISCO, may damage some floor s rfaces. Some types of hardwood floors, c shion
vinyl, cork and poro s stone or tile are partic larly v lnerable to damage by rotating br shes or pads. When possible, cons lt the mate-
rials s pplied by yo r floor’s man fact rer for information on proper pkeep and cleaning. To ensure that your new SEBO DISCO is
compatible with your floor, please test the polisher on each type of flooring surface in a small inconspicuous area to determine
if any damage occurs. If damage occurs, stop using the polisher immediately!
WARNING! To reduce the risk of fire, electric shock, injury or damage:
!
SPECIAL SEBO PROD CT FEAT RES
4
Your SEBO DISCO ultra-high-speed suction polisher is a high quality, reliable, innovative product that has been
developed and made in Germany with the most modern technology. The 2,000 rpm disc speed combined with an
appropriate floor maintenance product creates a protective floor coating with a high gloss finish. By using the
floor polisher at regular intervals, it will protect your hard floors against cracks, dirt and dampness and will retain
the value and beauty of the surface. An important feature is its ability to “monitor” the resistance of the floor pad
against the floor, so that the proper height is consistently maintained. In addition, the machine has warning sys-
tems and automatic shut-off capabilities that are designed to alert the user to machine problems that, if ignored,
will damage the machine or diminish performance.
Your SEBO DISCO’S five most unique features are:
1. Automatic Pad Height Adjustment. The SEBO DISCO adjusts the floor pad automatically to the
appropriate floor height. The torque of the rotating floor pad is constantly measured ensuring optimal
performance on hard floor surfaces.
2. Rotating Swivel Neck. The 90º vertical and 180º horizontal turning swivel neck allows the SEBO DISCO to
move with ease around furniture and into tight spaces
3. Bumper Guards and Rolling Castors. The SEBO DISCO has two soft bumpers to protect your furniture
and walls against scratches and scuffing. The DISCO head glides on three rubber-coated castors that will not
mark your flooring. At the rear are two 360º flexible castors which are fixed on a solid steel shaft. The castor
in the center supports and stabilizes the head. The flexible castors along with the turning swivel neck assure
smooth maneuverability.
4. Stationary Use Protection. When the machine has its handle in the upright-locked position, it is
designed to disengage from the floor by raising the height of the floor pad. The pad will stop spinning. An
operating machine should not stand stationary on the floor for inappropriate periods of time. If the floor pad
should come in contact with carpet, the pad will raise from the floor and stop spinning.
5. Bag Full or Clog Warning – Auto Shut-Off. If the polisher or vacuum’s air flow pathway becomes
restricted due to a full bag or the existence of a clog, the red LED light located on top of the DISCO will
illuminate. If the user ignores this warning for approximately 30 seconds, the machine will shut off. The user
should turn the switch off, unplug the machine and immediately insert a new bag or remove the clog (to
remove a clog, refer to the Clog Removal section on page 8). If the user restarts the machine without hav-
ing solved the problem, the red LED light will again illuminate and the machine will shut off in 30 seconds.
The floor pad automatically adjusts
up or down for different hard floor
heights.
The swivel neck rotates
90º vertically and 180º
horizontally.
The upper and lower rubber
bumpers protect furniture and
walls, and the rotating rubber
castors move smoothly across
the floor.
LED warning light
display alerts user to a
full bag or clog.
IDENTIFICATION OF PARTS
5
ASSEMBLY
1. Bumper
2. Suction duct access cover
3. Bumper
4. Release button
5. Swivel neck
6. Head release button
7. Foot pedal
8. Clog/overload warning light
9. Power indication light
10. Support castor
11. Seal
12. Castor
13. Floor pad
14. Pad retainer
Fit the floor pad (13) to the pad retainer (14), using the notches as a guide for
correct position. Press the pad down onto the pad retainer (14) until it locks
in place. See figure 1.
Press the retainer tabs (15) in using your thumb and forefinger and turn the
pad clockwise until it locks into place again. See figure 2
To attach the DISCO to your SEBO FELIX, C3.1 or K3: place the DISCO on the
floor with the swivel neck (5) upright. Hold the vacuum vertically and Insert
the suction opening of the FELIX (16) or the electric telescopic tube (17) of
your C3.1 or 3 into the swivel neck of the head. Push firmly and evenly
downward until the head release button (6) snaps into the locked position.
See figure 3.
To attach the DISCO to your central vac wand: Use the SEBO adapter
(#18, figure 4 - part # 2780 AM)
5
2
1
2
3
4
5
6
7
8
9
3
14
11
10
11
12
12
13
14
Figure 1
Figure 2
Figure 3
13
15
14
15
55
16 17
66
Figure 4
18
OPERATING INSTR CTIONS
Preparing The Floor
Remove as much furniture as possible,
and cover any left in place.
First Cleaning:
1. Vacuum the floor thoroughly before
using the SEBO DISCO for the first
time, ensuring it is completely free of
debris, such as grit.
2. Add some floor maintainer to the
water, as per the instructions, if
required, and clean the floor with a
mop. Wait for the floor to dry complete-
ly before proceeding to step 3.
3. Apply an appropriate floor mainte-
nance product* in accordance with the
instructions. Before polishing the floor,
ensure that the floor is completely dry
then proceed to step 4.
4. Move the SEBO DISCO slowly over
the floor similar to how you would use
your vacuum cleaner.
Intermediate Maintenance:
Regular polishing of the coating will maintain an even finish and will ensure a longer lasting bright appearance of the floor.
Vacuum the floor first, before using the polisher, to remove dirt and dust.
NOTE: Vacuum the floor surface THOROUGH Y before using the polisher. Grit and debris left on the floor can cause dam-
age. Always inspect the pad before use - any grit that becomes embedded in the pad can damage your floor.
WARNING! The quality, condition, coating, texture, age and manufacturing technique of all floor surfaces vary.
Therefore, machines with rotating pads, including your SEBO DISCO, may damage some floor surfaces. Some types of hard-
wood floors, cushion vinyl, cork and porous stone or tile are particularly vulnerable to damage by rotating brushes or pads. When
possible, consult the materials supplied by your floor’s manufacturer for information on proper upkeep and cleaning.
To ensure that your new SEBO DISCO is compatible with your floor, please test the polisher on each type of flooring surface
in a small inconspicuous area to determine if any damage occurs. If damage occurs, stop using the polisher immediately!
!
6
Floor Suitability
* Please refer to the maintenance guide of the manufacturers of your floors for recommended maintenance and
floor maintainers.
Suitable
Marble, Granite, Terazzo
Linoleum, Vinyl,
Thermoplastic
imited Suitability
Sealed wood floor with
water resistant finish
Wooden floor - unsealed or
oiled
Porous natural stone, e.g.
slate
Laminate with water
resistant finish
Unsuitable**
Cork
Porous tile, e.g. terracotta
Cushion vinyl
** Please note that damage may occur if used on these types of floors.
1. Vacuum the floor
thoroughly to
remove grit and
debris.
2. Mop the floor. 3. Apply floor
maintenance prod-
uct. Ensure that the
floor is completely
dry before proceed-
ing to step 4.
4. Polish the
floor.
7
Starting The Machine
- Figures 5 & 6
Before turning on your vacuum cleaner with the DISCO attached, make sure that
the vacuum handle is in its upright locked position and that you have a firm hold
on the handle grip to keep the machine from moving forward.
Make sure that the ON/OFF Switch (19) of your SEBO FELIX (figure 5) or SEBO
C3.1 or 3 (figure 6) is in the OFF position.
Switch Position
O = OFF
I = ON
Release the power cord from the cord hook or reel and plug the polarized power
cord into a 120 volt outlet located near the floor.
Press the power switch to the ON position.
Operating the Machine
- Figures 7 & 8
NOTE: The SEBO DISCO has a soft-start system, so there may be a slight delay
before it operates.
When the machine is switched on with the handle in the upright locked position,
the DISCO pad will automatically raise from the floor and will stop spinning. To
release the polisher from the upright locked position, press down on the foot
pedal (7) and lower the handle into the normal operating position. The DISCO pad
will automatically lower to the appropriate height and will start spinning.
When finished, switch the machine off and remain holding the vacuum cleaner
firmly until the floor pad stops rotating. Then, return the handle to its upright,
locked position.
19
7
5
Figure 5
Figure 7
Figure 6
19
Figure 8
5
7
Figure9
8
ED Display
- Figure 9
The green LED light (9) indicates that the floor polisher is powered on and opera-
tional.
If the air flow pathway becomes restricted due to a clog or a full bag, the red LED
light (8) will illuminate and the machine will shut off. If this occurs, turn the power
switch off, unplug the machine and immediately check for clogs in the DISCO head
(see “Clog Removal” on page 8). If no clog is found, check for clogs in the vacuum
cleaner or for a full dust bag. Refer to your vacuum cleaner owner’s manual.
9
MAINTENANCE
8
Always unplug vacuum from outlet before removing
any clogs!
!
Changing the Floor Pad - Figures 10, 11 & 12
Check the floor pad regularly for sharp and abrasive materials such as grit,
grains of sand, etc. If necessary, change the pad.
To change the floor pad, press the retainer tabs (15) inward using your thumb
and forefinger. Rotate the pad (13) counter clockwise (figure 10). Lift the floor
pad out.
To insert a new pad, fit the floor pad (13) to the pad retainer (14), using the
notches as a guide for correct position. Press the pad down onto the pad
retainer (14) until it locks in place. Next, press the retainer tabs (15) in using
your thumb and forefinger and turn the pad clockwise until it locks into place
again (figure 12).
Use only genuine SEBO replacement floor pads to ensure performance,
longevity and safety.
The underside of the machine should be cleaned regularly.
Figure 10
Always unplug machine from the outlet
before dismantling any part of the machine!
!
Floor Pad
Part # 3231 ER02
15
Figure 11
Figure 14
CLOG REMOVAL
13
Clogs in the Floor Pad - Figure 13
If a clog is indicated, check the pad area (20) first. Remove the pad (see
instructions above). Check both sides for debris.
Clogs in the Suction Duct - Figure 14
To check the suction duct (21), push the release button (4) and remove the
suction dust cover (2). Inspect the passage for debris.
Clogs in the Swivel Neck - Figure 14
To check for a clog in the swivel neck (5), remove the head by pressing the
release button (6). Pull the vacuum out of the swivel neck. Clean out pathway.
NOTE: If your SEBO vacuum cleaner has a clog, please refer to the vacuum
cleaner owner’s manual.
214
2
5
Figure 12
Figure 13
20
21
15
14
15
9
TRO BLE-SHOOTING G IDE
PROB EM
Does not turn on
Red ED light is
illuminated and machine
shuts off
Does not pick up
REASON
1. Telescopic tube not inserted
properly.
2. Not plugged into good outlet.
3. Cable worn.
4. The power control slider switch
is set to “0” (“off” position).
5. The internal switch in the
swivel neck is off because the
machine is in the upright locked
position.
1. Bag full.
2. Clog in airflow pathway, attach-
ment hose, attachment tube or
entrance to dust bag.
3. Microfilter dirty.
4. Exhaust filter dirty.
5. Clog in floor pad, suction duct or
swivel neck
1. Hose/handle assembly not
correctly inserted.
2. The power control slider is set
to no suction setting.
3. Filter bag cover not closed.
SO UTION
1. See your C3.1 or 3 owner’s
manual
2. Use another outlet.
3. Replace cable.
4. Slide the power control slider
switch to “on” position. In addition,
C3.1 and 3 users, make sure the
main power switch on the canister
is in the “on” position.
5. Release the foot pedal and
lower the handle to operating level.
See page 7.
1. Replace bag. See your vacuum
owner’s manual.
2. See Clog Removal in your vacuum
owner’s manual.
3. Replace microfilter. See your
vacuum owner’s manual.
4. Replace exhaust filter. See your
vacuum owner’s manual.
5. See page 8.
1. Reinsert hose/handle assembly
making sure that it is lined up
properly and is snapped into
place. See your vacuum owner’s
manual.
2. Slide the control to MAX setting.
See your vacuum owner’s manual.
3. See your vacuum owner’s manual.
Always unplug vacuum from outlet before dismantling any part of the machine!
!
Check your FELIX, C3.1 or 3 canister owner’s manual for more trouble-shooting problems and solutions.
10
DISCO SCHEMATIC AND PARTS LIST
White (Ice Blue) Machine
Pos. Part # Description
1 3204 GWSE Power head cover - white
23205 TG Suction duct access cover
3 3258 DG Swivel neck support
43226 DG Turning swivel neck
50876 Wiring for swivel neck
6 2947 DG Cover
72950 ER Bearing segments
8 1737 DG Release button
92952 DG Button cover, TS-neck
10 2945 DG Swivel neck slide
11 2951 DG Socket cover, TS-neck
12 01027 ER Screw F 3,9x9,5 DIN 7981
13 2954 Swivel neck bearing
14 3257 ER Swivel neck support L.H.
15 3238 Switch lever
16 2938 ER Axle
17 3252 ER Motor 120V cpl.
18 05141 S Pair of carbon brushes
19 3222 Motor pulley
20 01016 ER Screw sts 4x16-T20
21 3245 Internal cable
22 3242 ER Printed circuit board 120V
23 0107 ER Screw C 2,9x13,
24 2937 OR Foot pedal
25 3201 DG Chassis HSB
26 3254 DG Guide roll
27 0102 ER Screw F 3,9x13 DIN 7981
28 3268 ER Sealing strip
29 3221 Drive belt
30 3220 ER Center castor
31 01033 ER Screw M 10 x 25 DIN 7991
32 3202 DG Belt drive cover
33 3231 ER02 SEBO floor pad
Orange (Fun) Machine Exception
1 3204 VOSE Power head cover - orange
Black (Onyx) Machine Exception
1 3204 SWSE Power head cover - black
1
3
2
14
18
19
17
22
16
23
20
33
32
20
30
31
26
25
27
24
11
5
12
8
7
6
9
4
10
5
13
29
20
28
21
15
Power Head # 9430 AM DISCO Ice Blue (White)
# 9431 AM DISCO Fun (Orange)
# 9433 AM DISCO Onyx (Black)
SEBO DISCO WARRANTY
Five ears Non-Wear Parts - Five ears Motor - One ear Labor
1. Your authorized SEBO dealer or SEBO will provide the
original product purchaser with replacement of Non-
Wear Parts which fail due to a material or workman-
ship defect for a period of five (5) years from the orig-
inal date of purchase of new product. SEBO America
will provide a five (5) year warranty on suction motors
and brush drive motors.
2. Your authorized SEBO dealer or SEBO will repair (or will
cover labor charges associated with repair) a defective
SEBO machine at no cost to the original purchaser,
within one (1) year of original purchase of new product.
3. SEBO America or an authorized SEBO dealer must
complete all warranty repairs.
4. To locate an authorized SEBO dealer in your area, or to
register a warranty claim in the United States of
America, please visit our website at www.sebo.us.
5. To locate an authorized SEBO dealer in your area, or to
register a warranty claim in Canada, please call Floor
Care Equipment, td. at (403) 250-5005.
6. The warranties provided for above apply exclusively to
SEBO machines which are used residentially. No
warranty is provided for SEBO machines used
commercially.
7. The Wear Parts excluded from warranty coverage
include floor pads and sealing strips.
8. This warranty applies only while your SEBO Power
Head is physically located within the United States of
America and its territories or Canada.
9. The purchase receipt showing the date, price, and item
of purchase is the initial document of proof of purchase
and determines the validity of warranty. To be certain
that your warranty claim can be processed as quickly
and efficiently as possible, please retain your original
purchase receipt and mail in the warranty card provided
with your new SEBO vacuum cleaner. You may also reg-
ister on our website at www.sebo.us.
10. This warranty gives you specific legal rights. You may
also have other legal rights, which vary from
state/province to state/province.
11. SEBO America will not process nor will it accept
responsibility for warranty claims for power heads pur-
chased from dealers located in Canada. Floor Care
Equipment, Ltd. will not process nor will it accept
responsibility for warranty claims for power heads pur-
chased from dealers located in the United States.
EXC USIVE REMEDY: The remedies provided under the terms of this Warranty are the purchaser’s exclusive remedies
and are in lieu of any other remedies otherwise available.
THE WARRANTY DOES NOT COVER:
• Used or secondhand products.
• Products outside of the warranty period.
• Items not manufactured by SEBO.
• Normal maintenance service.
• Equipment damaged by improper use, accident,
other casualty or negligence.
• Machines equipped with nonauthorized
attachments or modifications.
• Machines on which the serial number has been
altered or removed.
IMITATIONS AND EXC USIONS:
SEBO MA ES NO OTHER REPRESENTATIONS OR WARRANTIES,
EXPRESSED OR IMPLIED AND SPECIFICALLY EXCLUDES THE
IMPLIED WARRANTIES OF MERCHANTABILITY AND FITNESS
FOR A PARTICULAR PURPOSE.
SEBO WILL NOT BE LIABLE FOR INCIDENTAL OR CONSEQUEN-
TIAL DAMAGES OF ANY IND OR NATURE.
THIS DISCLAIMER OF IMPLIED WARRANTIES SHALL NOT
APPLY TO THE EXTENT SAID DISCLAIMER IS NOT ALLOWED BY
APPLICABLE STATE/PROVINCIAL LAW.
To contact SEBO in the United States of America:
SEBO America, LLC
Telephone: (303) 792-9181
Fax: (303) 792-9196
Website: www.sebo.us
To contact SEBO in Canada:
Floor Care Equipment, Ltd.
Telephone: (403) 250-5005
Fax: (403) 250-5057
Website: www.sebocanada.ca
© Copyright SEBO America, LLC • All rights reserved.
11
USA
SEBO America, C
Telephone: (303) 792-9181
Fax: (303) 792-9196
Website: www.sebo.us
Canada
Floor Care Equipment, td.
Telephone: (403) 250-5005
Fax: (403) 250-5057
Website: www.sebocanada.ca
Art.-No. 06048U, 2/2008

This manual suits for next models

1

Other Sebo Sander manuals

Sebo DISCO / UHS Polisher User manual

Sebo

Sebo DISCO / UHS Polisher User manual

Sebo UHS User manual

Sebo

Sebo UHS User manual

Sebo Disco 9430 AM User manual

Sebo

Sebo Disco 9430 AM User manual

Popular Sander manuals by other brands

XTline XT106310 user manual

XTline

XTline XT106310 user manual

Makita DSL800 instruction manual

Makita

Makita DSL800 instruction manual

Bosch 0 601 387 504 Original instructions

Bosch

Bosch 0 601 387 504 Original instructions

STEELTEC XWS038 instruction manual

STEELTEC

STEELTEC XWS038 instruction manual

Chicago Pneumatic CP7268 instruction manual

Chicago Pneumatic

Chicago Pneumatic CP7268 instruction manual

husquarna PG280 Operator's manual

husquarna

husquarna PG280 Operator's manual

Makita BO5030 instruction manual

Makita

Makita BO5030 instruction manual

Flex XFE 7-12 80 instruction manual

Flex

Flex XFE 7-12 80 instruction manual

Makita 9031 instruction manual

Makita

Makita 9031 instruction manual

RIDGID R2611 Operator's manual

RIDGID

RIDGID R2611 Operator's manual

Chicago Electric 41213 Assembly and operating instructions

Chicago Electric

Chicago Electric 41213 Assembly and operating instructions

Parkside PDEXS 150 B2 user manual

Parkside

Parkside PDEXS 150 B2 user manual

Porter-Cable 371 instruction manual

Porter-Cable

Porter-Cable 371 instruction manual

PT W50087 owner's manual

PT

PT W50087 owner's manual

DeWalt D26451 user manual

DeWalt

DeWalt D26451 user manual

Ozito ROG-191 operating manual

Ozito

Ozito ROG-191 operating manual

Milwaukee 6065 Operator's manual

Milwaukee

Milwaukee 6065 Operator's manual

EINHELL TC-US 380 Original operating instructions

EINHELL

EINHELL TC-US 380 Original operating instructions

manuals.online logo
manuals.online logoBrands
  • About & Mission
  • Contact us
  • Privacy Policy
  • Terms and Conditions

Copyright 2025 Manuals.Online. All Rights Reserved.