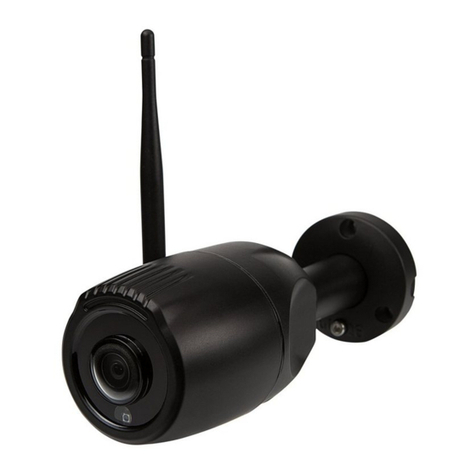
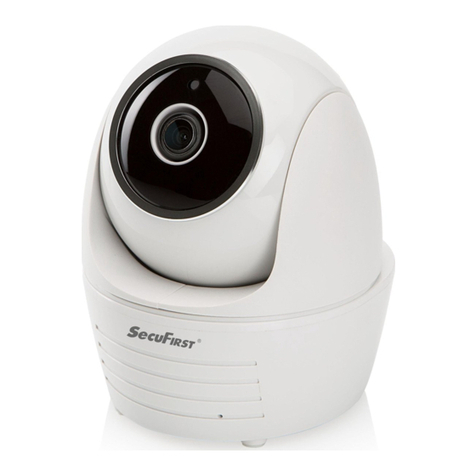
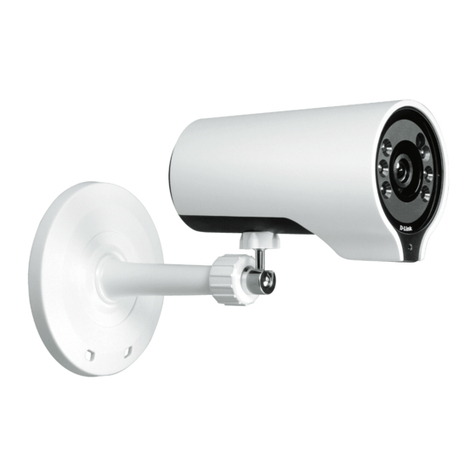
Secufirst SEC24 SensorCam User manual

QUICKSTARTGUIDE
KIT CONTENT
WirelessSensorCam
x1
Adapter DC5V/1.5
x1
QuickStart Guide
x1
x2
Battery (18650Type)
FCC Compliance Statement: This device complieswith Part
15of the FCCrules. Operation issubjected to the following
two conditions: (1)this device may not cause harmful
interference, and (2) this device must accept any
interferencereceived,including interference that may cause
undesiredoperation.
Products with CE Marking comply with EMC Directive
(2014/30/EU); Low Voltage Directive (2014/35/EU); RED
(2014/53/EU); ROHS Directive (2011/65/EU) issued by the
Commission of the European Community. Compliance
with these directives implies conformity to the following
European Norms:
EMC:EN301489
LVD:EN60950
Radio: EN300328
If the camera systemno longer functions or canno longer be repaired, it must be disposedof according to the valid statutory regulations.
Disposal of spentbatteries/accumulators:
You are requiredby law (Battery Ordinance) to return all spent batteriesand accumulators. Disposingof spentbatteries/accumulatorswith
commonhousehold waste isprohibited! Batteries/accumulators that contain hazardous substancesare markedwith the symbolson the
side.Thesesymbolsindicatethatitisprohibitedtodisposeofthesebatteries/accumulatorsinthehouseholdwaste.Theabbreviationsforthe
respective heavy metals are: Cd=cadmium,Hg=mercury,Pb=lead. You can return spent batteries and accumulators that can no longer be
charged to the designated collection points in your community, outlets or wherever batteries or accumulators are sold. Following these
instructionswill allow youtofulll thelegal requirementsandcontributetotheprotection of ourenvironment!
IMPORTANT
Please NoticeBelowBefore YouSetupTheSensorCam:
-SensorCamsupportedcloud backup function, makesurethat you have Google Drive, orDropbox
account beforeusingthis function.
-After initial setup,charge the camera for 4to 6hoursbeforegoing completely wireless.Oncethe
camera have beenfully charged,youwill receivepushnotication.
-Download and install “OMGuard HD” app fromGoogle PlayTM orthe AppStore®.
-Make sureyour device isconnecting to Wi-Fi network.
-For maximumperformance, pleaseonly useClass10rated SD card. Thecamera wonʼt work without
SD card inserted.
-Please makesureto unbindyour cloudstorage account beforetransferring ownership ofthe camera.
For iOS For Android
UP UP
SETUP THESENSORCAM
A.MicroSDCard/BatteryInstallation
(A1) Follow the stepsbelow to insertthe memorycard.
(A2) Power onthe camera by inserting2pcs18650batteriesand connect the wires.LED status
will ash red/blue(continue to Section B -Wi-FiNetworkSetup). Make surethe battery cables are
rmly connectedto thecamera, orpressand hold theresetbutton until the statusLED statusashes
red/blue.
Pushforward to
unlockthe cover
2
Flip upthe cover
3
Insertthe SDcard
and closethe cover
4
Pushforward
to lockthe cover
5
Removethe battery
compartment cover
1
Pushforward
to closethe cover
6
5VMicro USB Power Input
Wake UpButton(Short Press)
Motion Alert On/OSwitch(Long Press)
Stand Mounting(Bottom)
Stand Mounting(Rear)
Battery Compartment
(18650x2)
MemoryCard Slot
(Support up to 32GB)
ToActivate Motion Alert: Long press for5sec until RedLED blink once
ToDeactivate Motion Alert: Longpressfor 5sec until Blue LEDblinkonce
StatusLED
Light Sensor
Motion Sensor
White-Light LED
HD Camera

CAMERAINSTALLATION
Loosenupthe thumb screw
Tighten thescrewinside
the standwith screw
driver orcoin to xthe
T-boltposition if needed
Secure thecamera standona stablesurface
1
2Adjustproperview angle, then securethe joint with T-bolt.
3
90
$
Battery compartment for 18650x2
MemoryCardSlot (Pushleft to unlockthe cover,ip up&insertcard)
Factory ResetButton (Long pressfor 6sec until statusLED ashing in blue)
Connect here
Battery Compartment Cover
Note: when youinsert
batteries,pleasenotice this
sideup.
UP UP
Pleasenotethe followingbeforeyouclosethe cover:
1.Follow thearrow directionto arrange thewires.
2.Toavoid the wiresare within the borderarea.
3.TheWires heightcanʼt higherthan batteries.
12
B.Wi-FiNetworkSetup
(B1) Launchtheapp andtap the“+”icon.
(B2) Scan thebarcodelabel onthebackofthecamera tobringuptheDID
number,ormanually type inthe DID,including the dashes.
(B3) Nameyourcamera (max.20characters).
(B4) Enter default security code:123456.
(B5) Tapthe“Save” icon to saveinformation andfollow thein-app
wizard to complete the setupprocess.
(B1)
(B2)
(B3)
(B4)
(B5)
DIDExample:
COXX-123456-ABCDE
Default PW: 123456
Wi-FiPairing Mode:
SSID: SensorCam-123456
Default PW: 12345678
Barcode lable: COXX-123456-ABCDE
1 2 3 4 5
Howto install the water-resistantsiliconeskins
1.Put the camera into the bottomof water-resistantsilicone skins.
2.Drag the water-resistantsilicone skinsto coverthe topof thecamera.
3.Align the bottomof thesilicone skinsto the mini-USBport .DONOTdrag the circle areas to avoid
the silicone skinsdamage.
4.Align thesilicone skinsin front ofthe camera.
5.Plug in the holeto covermini-USBport.

Howto MaximizeBattery Power:
We suggestusingthe following setting to maximizebattery power
•Install the camera whereit can receiveexcellentWi-Finetworksignals(Weak Wi-Fisignal will force
camera to operatewith higher Wi-FiPower, which mayconsumemorepower).
•Setauto sleep timer to30seconds.
•Place the camera ina brighterlighting environmentand turnonight vision.
•Do not stay in live view or systemsetting modeunlessitʼs necessary.
Please note thiscamera supportsoperation usingboth batteries (18650rechargeabletype) and external
DCpowervia 5VUSB port;however,thereare certain function limitation when deviceisusing
batteries:
*Once thecamera is in sleepmode;the usercan no longer accessit frommobile device.
Thecamera will becomeonline when themotion detectorhas detectedan event, orpressingthe
powerbutton ofthe camera.
Device will returnto sleepmodeafter:
Thecamera cannot secureWi-Ficonnection with therouterafter trigger event. Dependingonthe sleep
timer setting(30s,60s,90s,120s),the camera will enter and still attempt to establish connection with
routerduringthecountdown. If thecamera isable toestablishconnection,thecamera will entersleep
modeafter data transfer (to cloud) completes.
Follow thestepsbelowforEvent Playback.
(1) (1)-1
(2) (3) (4)
Download
Download
Download
Download
Download
Download
Download
Download
Download
Download
Download
1.Tap and then the
2.Select thetimeinterval for theeventlist.
3.Tapto selectthe le forplayback.
4.If youwant to storethelesin mobiledevice, tap to downloadthe le (Bestwhile under
Wi-Fienviornmentdueto larger highdenation data size).
BASIC CAMERAOPERATION
CAMERALIST LIVE VIDEO
Information
Refresh
CameraSetting
AddAdditional Camera
Fromcameralist section,tap thecameraforlive video.
Snapshot
Video Record
TurnOn/OMute
Return
Video Resolution
MOTIONDETECTION/CAMERASETTING TIPS
Top View Side View
Dectection Area 90°
R=5 Meters
2m
3m 4m 5m
For optimumdetection, we suggestthe camera is to bemounted6.6feet (2meters)fromthe oor
,and:
•On a rigid vibration-free surface.
•So the expectedmovementof an intruder isacrossthe eldsof the detection pattern.
Toavoid false alerts,pleasenote thisdeviceisequippedwith a PIR Motion Sensorthat operates by
detectingtemperaturechangesin thearea in frontofthedevice; Please avoid placingthedeviceunder
the following environments:
(1) Aimingthe camera at windowsorglassdoors.
(2) Wheresmallanimals mayenterthedetectionarea.
(3) Wherea heat source(sunlight,incandescentlight, car headlights,etc) mayaect themotion
sensor.
(4) Where suddentemperaturechangesinsideoraround thedetection area causedbyhot orcold
wind (fans,air conditioners,etc.).

Log in password:
Admin password:
Wi-Fi password:
Cloud password:
Google drive password:
1. Follow the instruction below to install batteries:
2. Insert the SD card before setting up the camera to enable cloud services.
3. The recorded les have stored on your Google drive/Dropbox. All time live video is not
available under battery mode.
4. Create a Google drive or a Dropbox account before setting up the camera.
5. Please unbind your cloud storage account before transferring the camera to others.
6. Enable motion alert:Long press for 5 sec until Red LED blink once.
Disable motion alert:Long press for 5 sec until Blue LED blink once.
7. Set up the camera by using a USB power cable supplied until the camera setting is done.
UP UP
Note: when youinsertbatteries, pleasenotice thissideup.
Important: Please read following notes
Write down your password below:
ALC Electronics B.V.
Ericssonstraat 2
5121 ML Rijen | The Netherlands
sales@secufirst.eu
www.secufirst.eu
Brand
a
24
™
Table of contents
Other Secufirst Security Camera manuals

