SEEK Reveal RW series User manual
USER GUIDE
111 Castilian Drive | Santa Barbara, CA 93117 | +1.805.683.3300 | thermal.com | For Technical Support:
www.thermal.com/revealsupport
Product Model
RW-XXX
Document No.
1.0

2
Attributions
Introduction
Feedback
Product Registration
Quick Start Guide
Tips and Tricks
What’s in the Box
Charging the Battery
Turning on the System
First-Time Use
Thermal Imaging
Filters Screen
Image Capture Screen
Menu Screen
Gallery
Device Settings
Temperature Units
Overlay Settings
Power Settings
Flashlight Settings
About
Power O Thermal
Iconography
Filters
Flashlight Operation
Restore Factory Settings
Download Images
microSD Card
USB Port
Software Updates
Care Guide
Battery
Storage
Optics and Display
microSD Card and USB Port
WEEE
3
4
6
7
8
8
9
10
12
14
15
16
17
18
19
21
24
25
26
28
30
31
32
33
34
35
36
36
37
38
40
41
41
41
41
42
44
46
46
46
46
47
48
48
49
50
52
54
57
58
Troubleshooting
Appendix
Device Specications
Environmental
Thermal Camera
Flashlight
Display
Battery
Other
Conformities
Error Screens
List of Figures
List of Tables
Index
Tablet of Contents

3
All rights reserved. Under copyright laws, this manual may not be copied, in whole or in
part, without the written consent of Seek Thermal, Inc.
Seek Thermal reserves the right to change or improve its products and make changes
to the content of this manual without obligation to notify any person or organization of
such changes or improvements. It is the user’s responsibility to go to www.thermal.com
for current updates, rmware upgrades, and supplemental information concerning the
use of this product. To view product specic support, visit thermal.com/revealsupport .
Seek Thermal™, the Seek Thermal logo, Seekware™ and Seek Reveal™ are
trademarks of Seek Thermal, Inc. registered in the USA and other countries. These
trademarks may not be used without the express permission of Seek Thermal, Inc.
Mac® is a trademark of Apple, Inc., registered in the USA and other countries.
microSD™ and the microSDXC™ logos are trademarks or registered trademarks of
SD-3C, LLC in the United States, other countries, or both.
Windows® is a registered trademark of Microsoft Corporation in the USA and other
countries. Other trademarks and trade names are those of their respective owners.
01
02
03
04
ATTRIBUTIONS

4
INTRODUCTION
Built for the realities of work and play, the Seek Reveal handheld advanced thermal
imaging camera combines thermography insight and a high-performance 300 Lumen
LED light in one durable device. With a detectable temperature range of -40° to 626°F
(-40° to 330°C), Reveal lets you pinpoint and measure specic sources of heat—and
heat loss—up to 500 feet away, at just the touch of a button.
Whether you’re a plumber searching for a clog, an electrician checking for a hotspot,
a homeowner looking for peace of mind, or a hunter retrieving or nding game, Seek
Reveal delivers the thermal insight and illumination you need to nd, x, and feel safe
faster.
• See more, and know more—from the palm of your hand. With it’s ergonomic grip
and angled display, Reveal lets you focus on what’s in front of you—without losing
clear sight of what’s around you.
• State-of-the-art technology, tough enough for the toolbox. Life can get pretty dirty,
so Seek Reveal can, too. You can count on its rugged, rubberized casing and intuitive
controls to go and work where you do—no matter what conditions you face.
• See through the dark. Light optional. Reveal’s advanced infrared technology lets
you see thermal images even in the darkest night. This device does not rely on any
ambient light for viewability. And when you need it, Reveal’s powerful 300-lumen
LED light makes sure you know exactly what’s out there.
• Use Reveal to your advantage. Reveal’s customizable settings let you choose from
dozens of preferences, including image settings, light levels, power usage, and more.
• Store, transfer, and share your images: Reveal makes it simple. Reveal’s integrated
USB connectivity allows you to quickly and easily transfer the thermal images you
capture directly to your computer. Keep a record of your discoveries—and share them
with the world.

5
INTRODUCTION
WARNING
It is your responsibility to use your Seek Reveal device in a safe manner. Seek Thermal, Inc. will not be responsible for any property damage, injuries, or deaths resulting from
any use of this device in any activities.
This product contains a rechargeable polymer lithium-ion battery. To prevent the possibility of personal injury or product damage caused by battery exposure to extreme heat,
store the device out of direct sunlight and away from other extreme heat sources. Dispose of battery and device in a proper manner.
Notice
To prevent corrosion, thoroughly clean and dry the contacts of the microUSB cable and the surrounding area at the rear door of the device before charging or connecting the cable
to your Seek Reveal, the charging adapter, or your computer. Please refer to the cleaning instructions in the Care Guide below.

6
INTRODUCTION
Feedback
We have tested and veried the information in this manual to the best of our abilities. We are committed to the ongoing improvement and
development of our products, so you may nd features of your Reveal have been changed and/or updated since the time of printing. We will
continually update the document as needed and adjust the date of printing and version. Please ensure you have the latest version of this document
by visiting our website at support.thermal.com. And if you have any product suggestions or nd any errors, we want to hear them: contact us
7
PRODUCT REGISTRATION
The key to unlocking your product benets begins with Registration. Registration is
quick and easy – and provides the following benets:
• Get the most out of your warranty and receive product support alerts.
• Registering your product with Seek Thermal within the rst 90 days from purchase
receipt will make it eligible for an automatic 1 additional year of Extended Warranty
creating a total of 2 years with the same conditions and warranty terms. By
Registering, you solidify the extended 1 year on your warranty period and cut down
on confusion should you have to take advantage of any warranty services
• Simplied rmware and software upgrades – in a timely manner
• Technical support sta will have up-to-date ownership data - saving you time and
making it easier to resolve your issue.
• You can receive important information and quick access to the Seek Community
• First access and sneak peek promotional oers, coupons, and other information
• We seek your input when looking for product feedback, roadmap ideas, and new
feature sets.
• NOTE: We do not – and will not- sell any consent or contact or personal data to any
third-party.
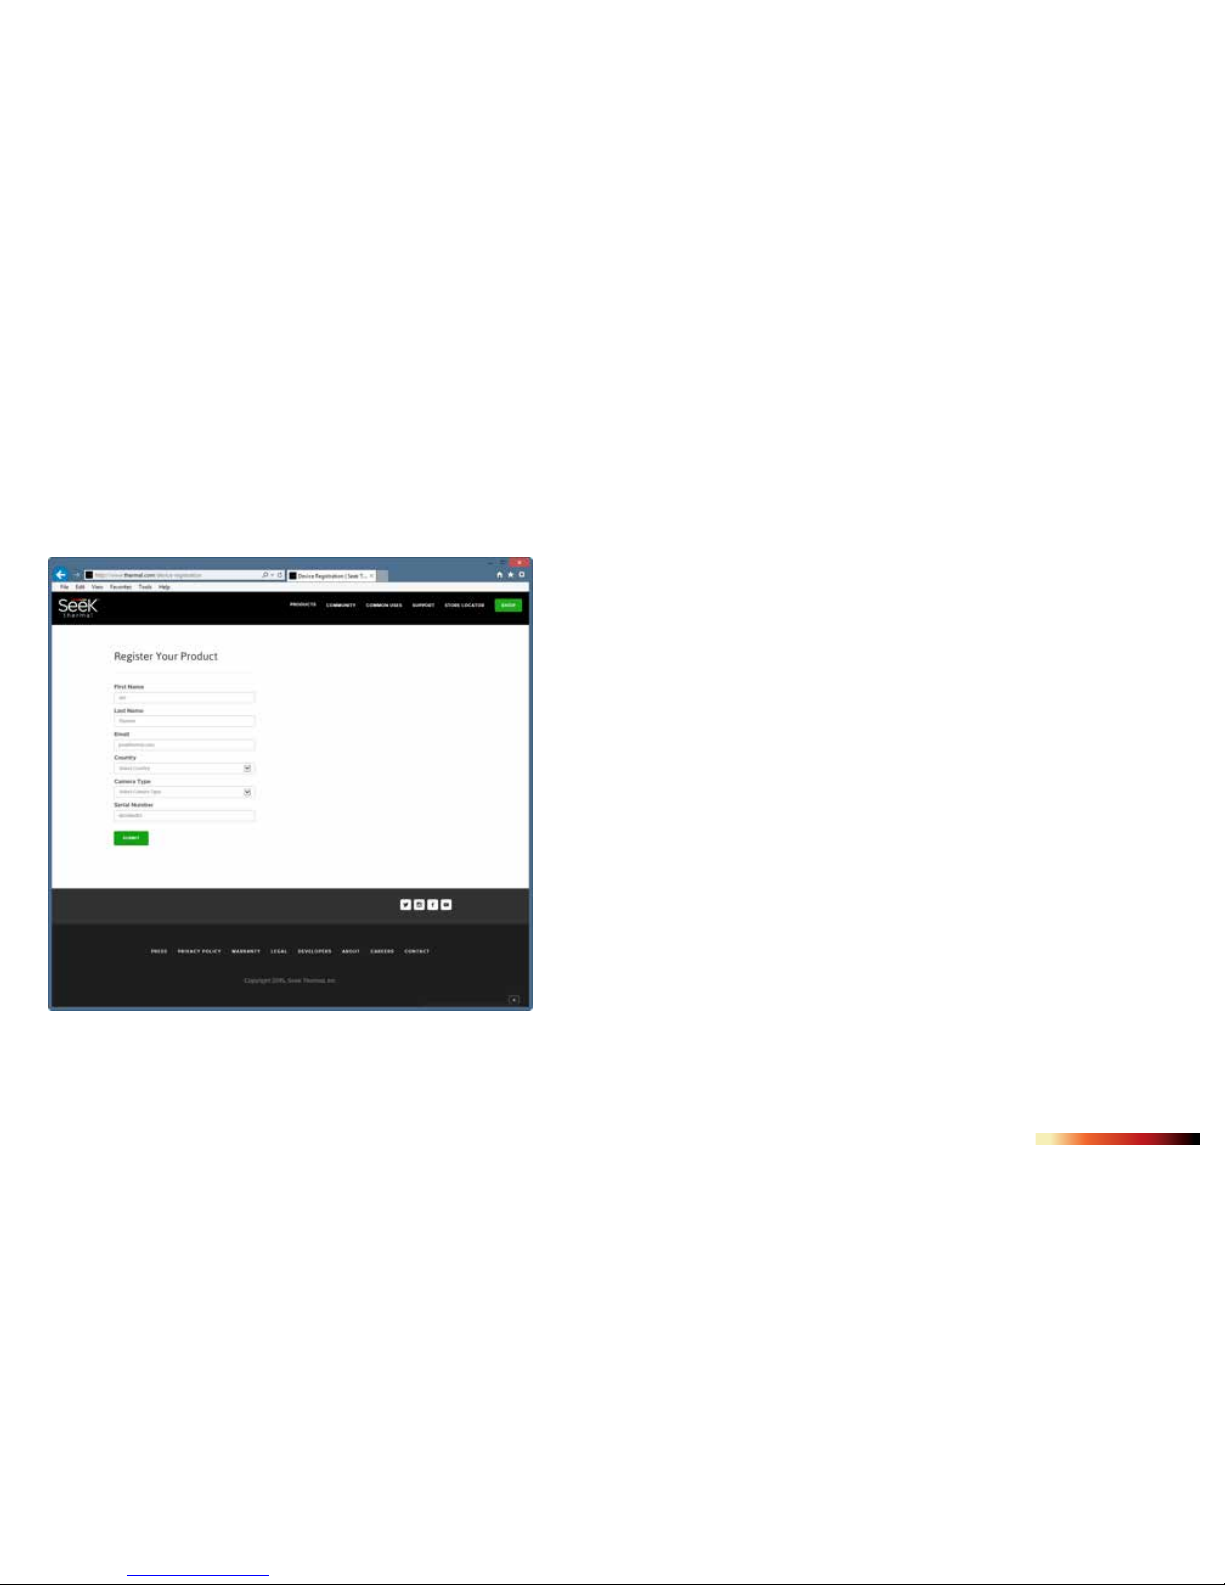
Go to thermal.com/device-registration in your Internet browser to register your Reveal.
Once your Reveal is registered, Seek Thermal will send you conrmation of registration.
Figure 1: The Registration page
8
QUICK START GUIDE
Tips and Tricks
1. Fully recharge your device before use with the included (US only) power adapter for
optimal performance. For optimal battery performance, charge your Reveal device after
prolonged periods of inactive use.
2. While recharging on the charging adapter, shut o thermal imaging to charge more quickly.
3. Menus can be navigated using the Prev / Up or Next / Down buttons. Within some Menu
selections, like for example setting a date or time, the Menu buttons will become - and + to
adjust a number value.
4. Accessing images via USB is recommended and faster than removal and replacement of the
microSD card. The microSD card has a tight t for purposes of sealing the rubber door to
keep moisture out.
5. Be sure to fully close the bottom rubber door over the USB port to keep the product water-
and dust-resistant.
6. Individual images can be easily renamed for quick identication once they have been
transferred to your PC. All temperature readings stay axed to the image on storage.
7. Organize your images on your PC by separating them into groups and creating descriptive
folders to hold them.
8. Be gentle when inserting the USB cable connectors to prevent damage.
9. Always perform an on-screen eject or dismount on your computer before disconnecting
the USB cable to physically ejecting the SD memory card from your computer to prevent
corruption of the SD memory card.
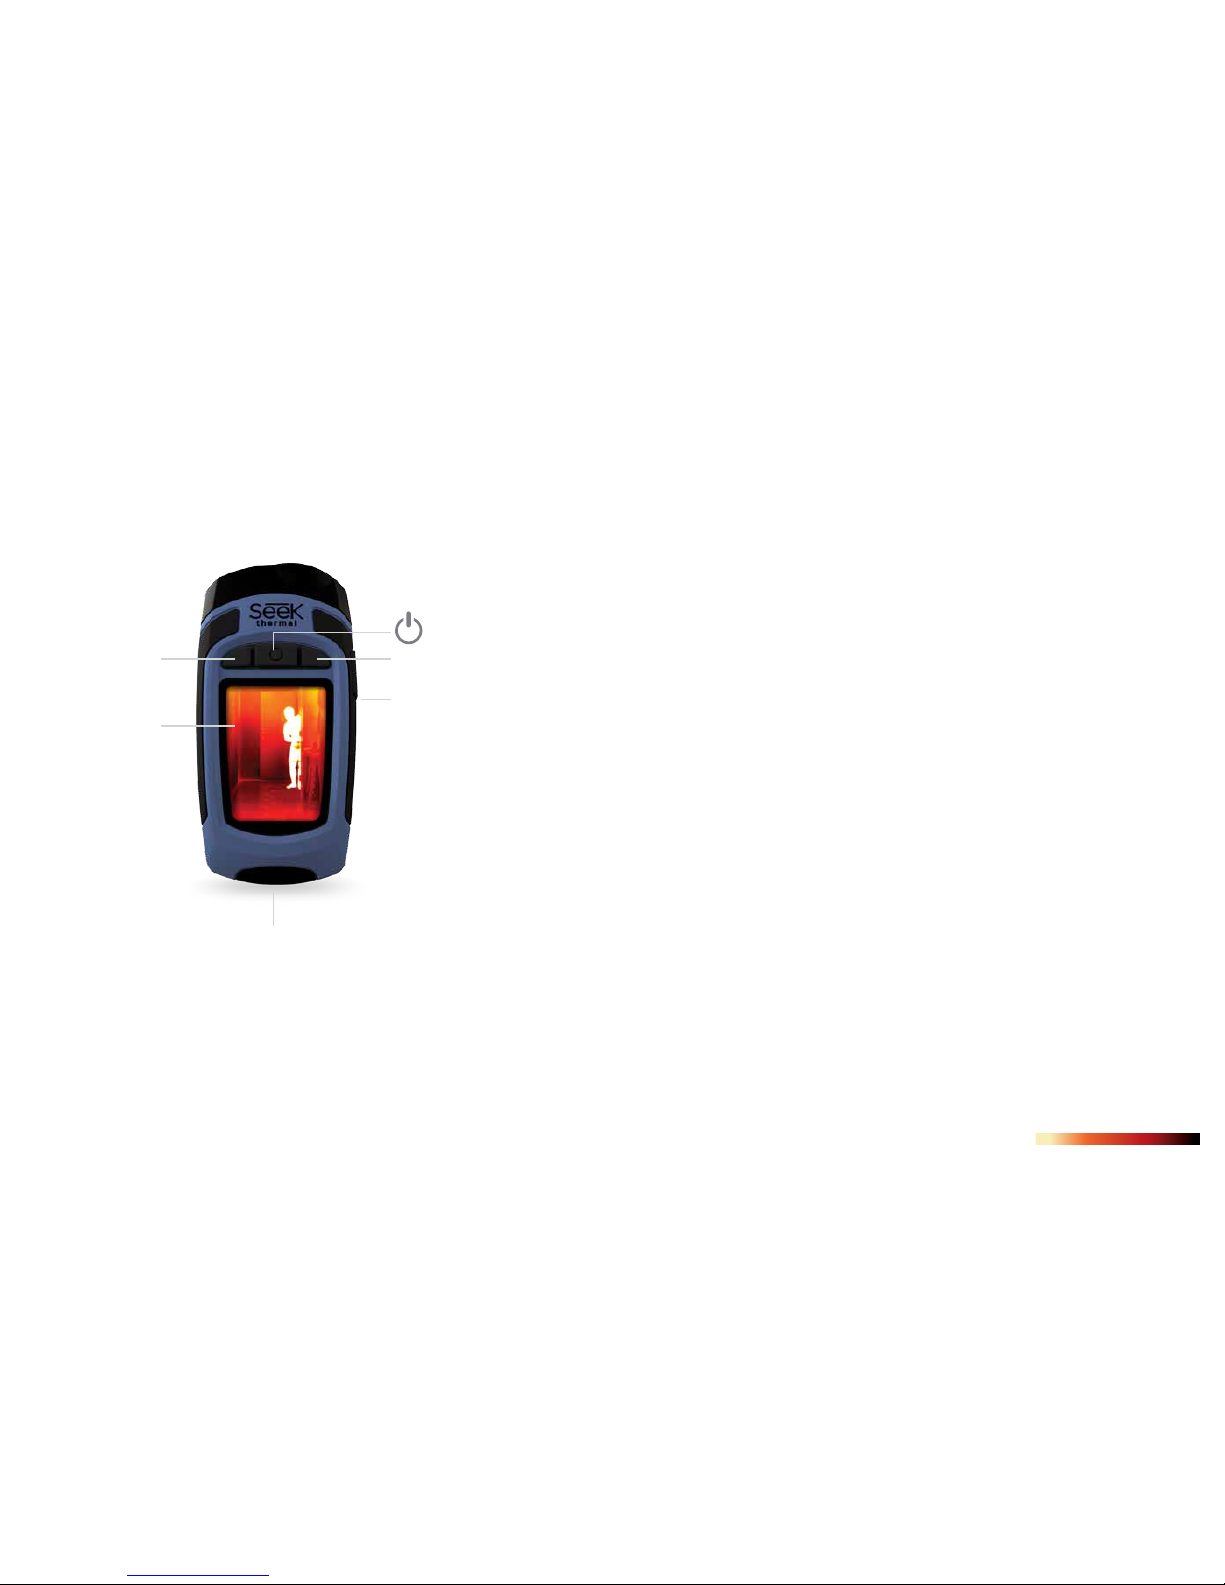
Figure 2: Parts denitions and location
Or Select
Prev / Up / - Next / Down / +
Thermal image
2.4” color display
High performance
light
USB cable & microSD
9
QUICK START GUIDE
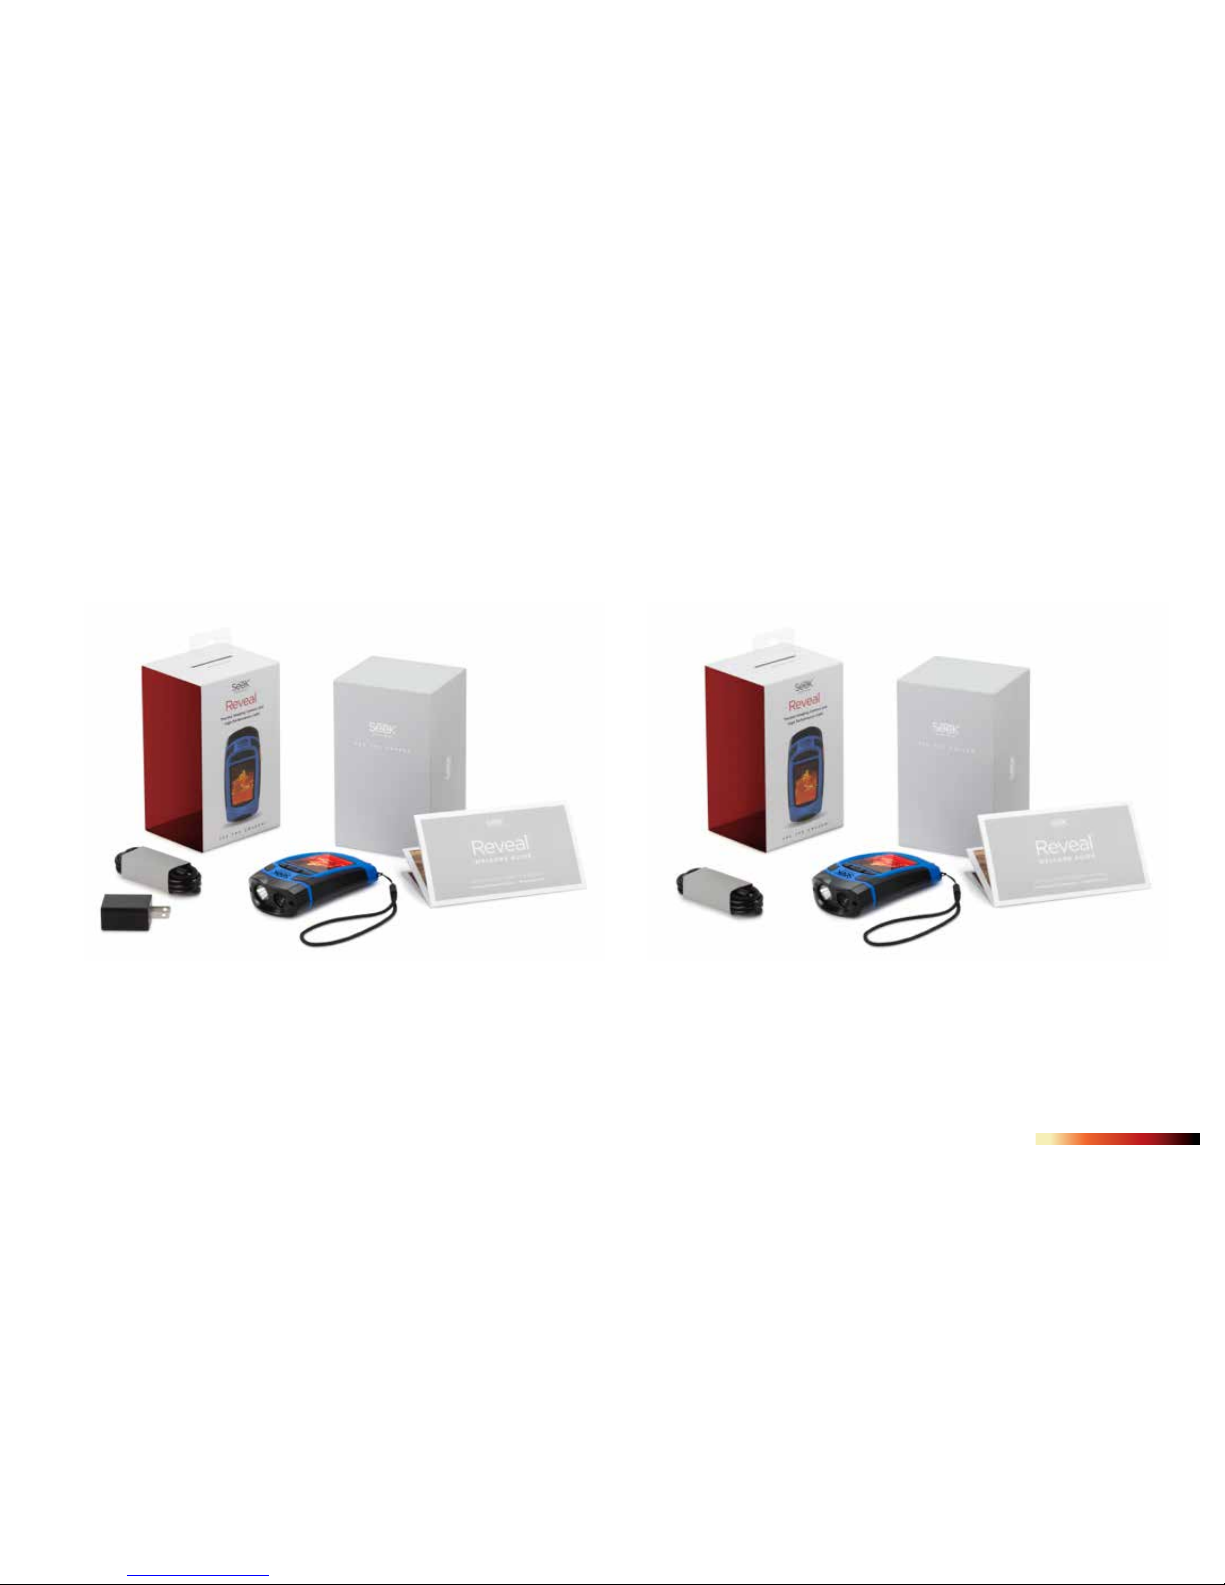
What’s in the Box
Figure 3: US Packaging Figure 4: European & Canadian Packaging

10
QUICK START GUIDE
Charging the Battery
Figure 5: Reveal showing the rear door open and the
USB port (for charging) highlighted.
Figure 6: Reveal battery charger
For best (and fastest) results, Seek Thermal recommends charging your
Reveal using the included battery charger and cable. Alternatively, the
cable can be connected to a USB port on a computer, and your Reveal will
charge, albeit more slowly. When the thermal camera is o, the Battery
Charging screen will appear.

11
QUICK START GUIDE
Charging the Battery
Figure 7: Supplied cable between charger and Reveal USB Port. Note: Not
all OTG cables are built with the same specications through all suppliers.
The cable provided in the BOX is built to our specications.
Figure 8: The Battery Charging screen
12
QUICK START GUIDE
Turning on your Reveal
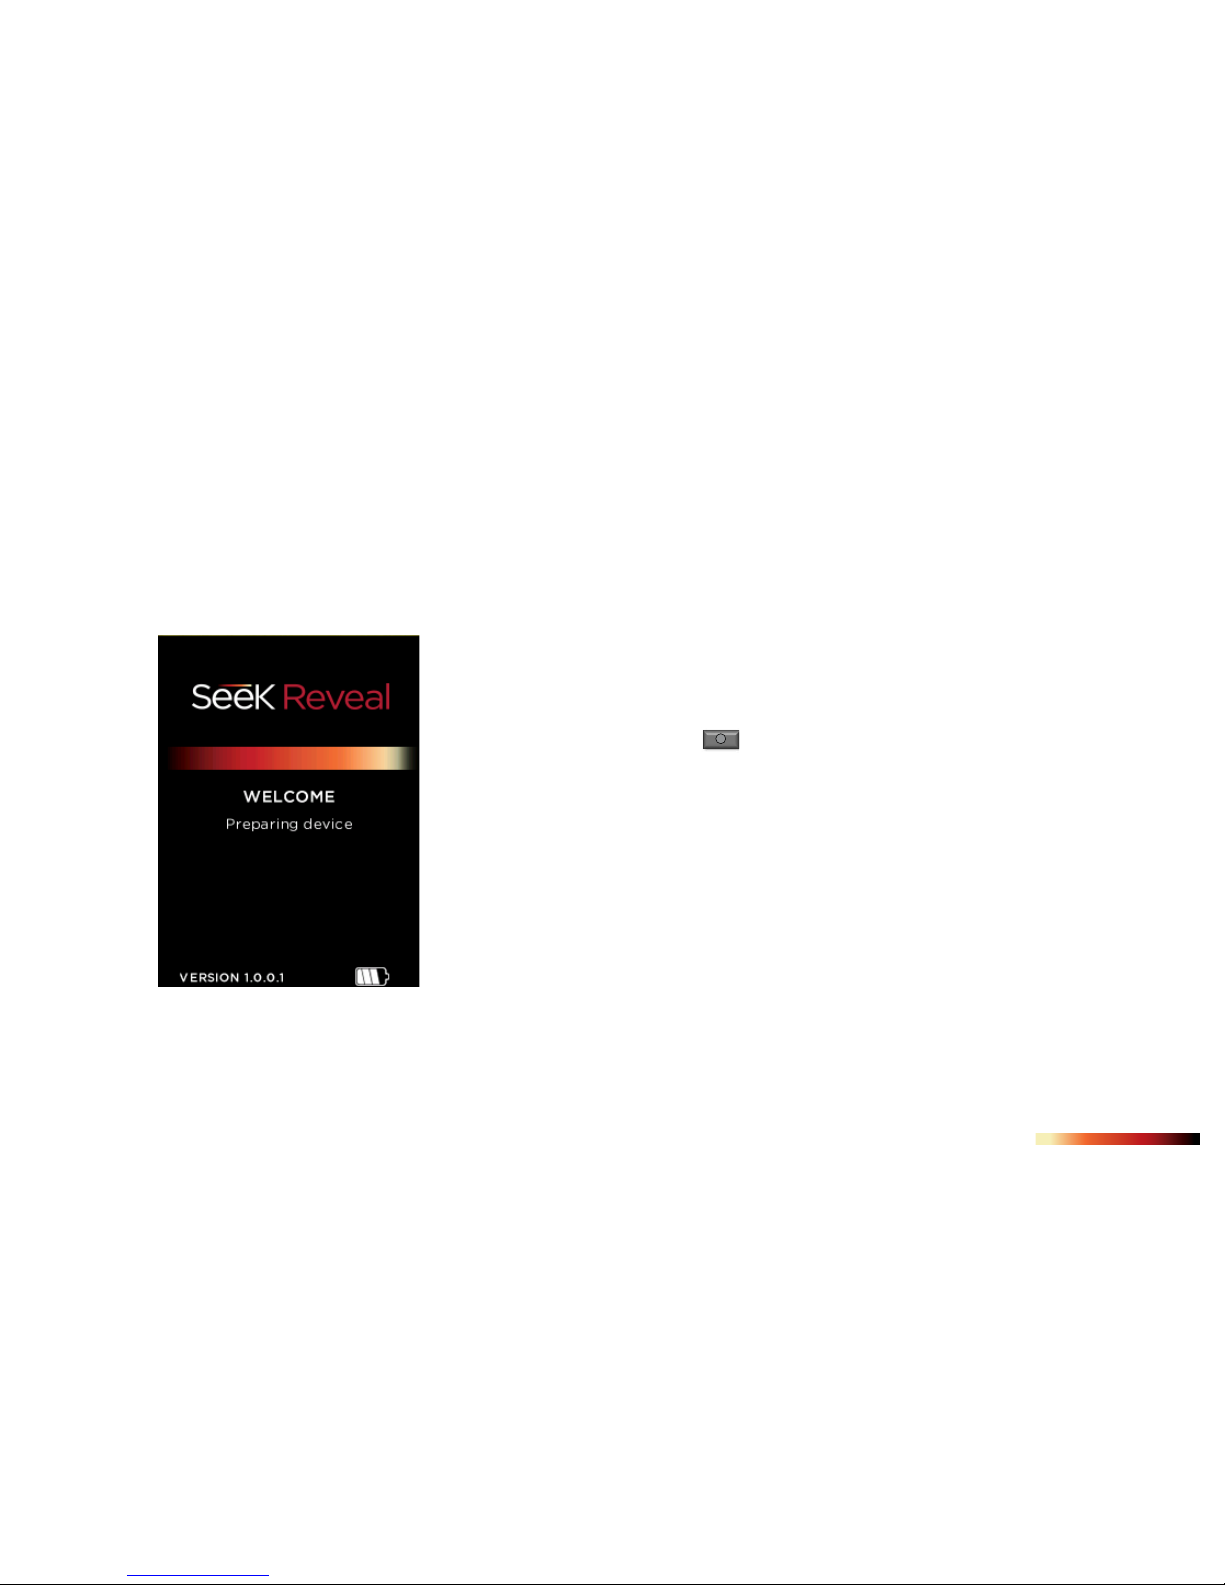
Figure 9: The Splash screen
A long press of the CENTER button will cause the device to activate and start up the software.
The splash screen will then display. Note that the version is also displayed. The startup sequence is
shown in Figure 10 on the following page.

13
QUICK START GUIDE
Setting up your Reveal
Figure 10: The starup sequence
Splash screen Select time
format
Setup Complete screen
Enter date
and time
Select your
language
Select date
format
Press the CENTER button to power on the device

14
QUICK START GUIDE
Setting up your Reveal First-Time Use
Figure 11: Setup Complete screen
When all of the setup screens have been completed,
the Setup Complete screen is displayed.
[See Figure 12] To turn on your device, press the CENTER button and hold until the
screen lights. The button-function ribbon at the top of the screen denes the meaning
of the three buttons. For each of the setup screens, use the LEFT and RIGHT buttons to
navigate, and the CENTER button as the selector. For numerical elds, the LEFT button
subtracts from the displayed value, while the RIGHT button adds to it, as the button-
function ribbon indicates.
15
QUICK START GUIDE
Thermal Imaging
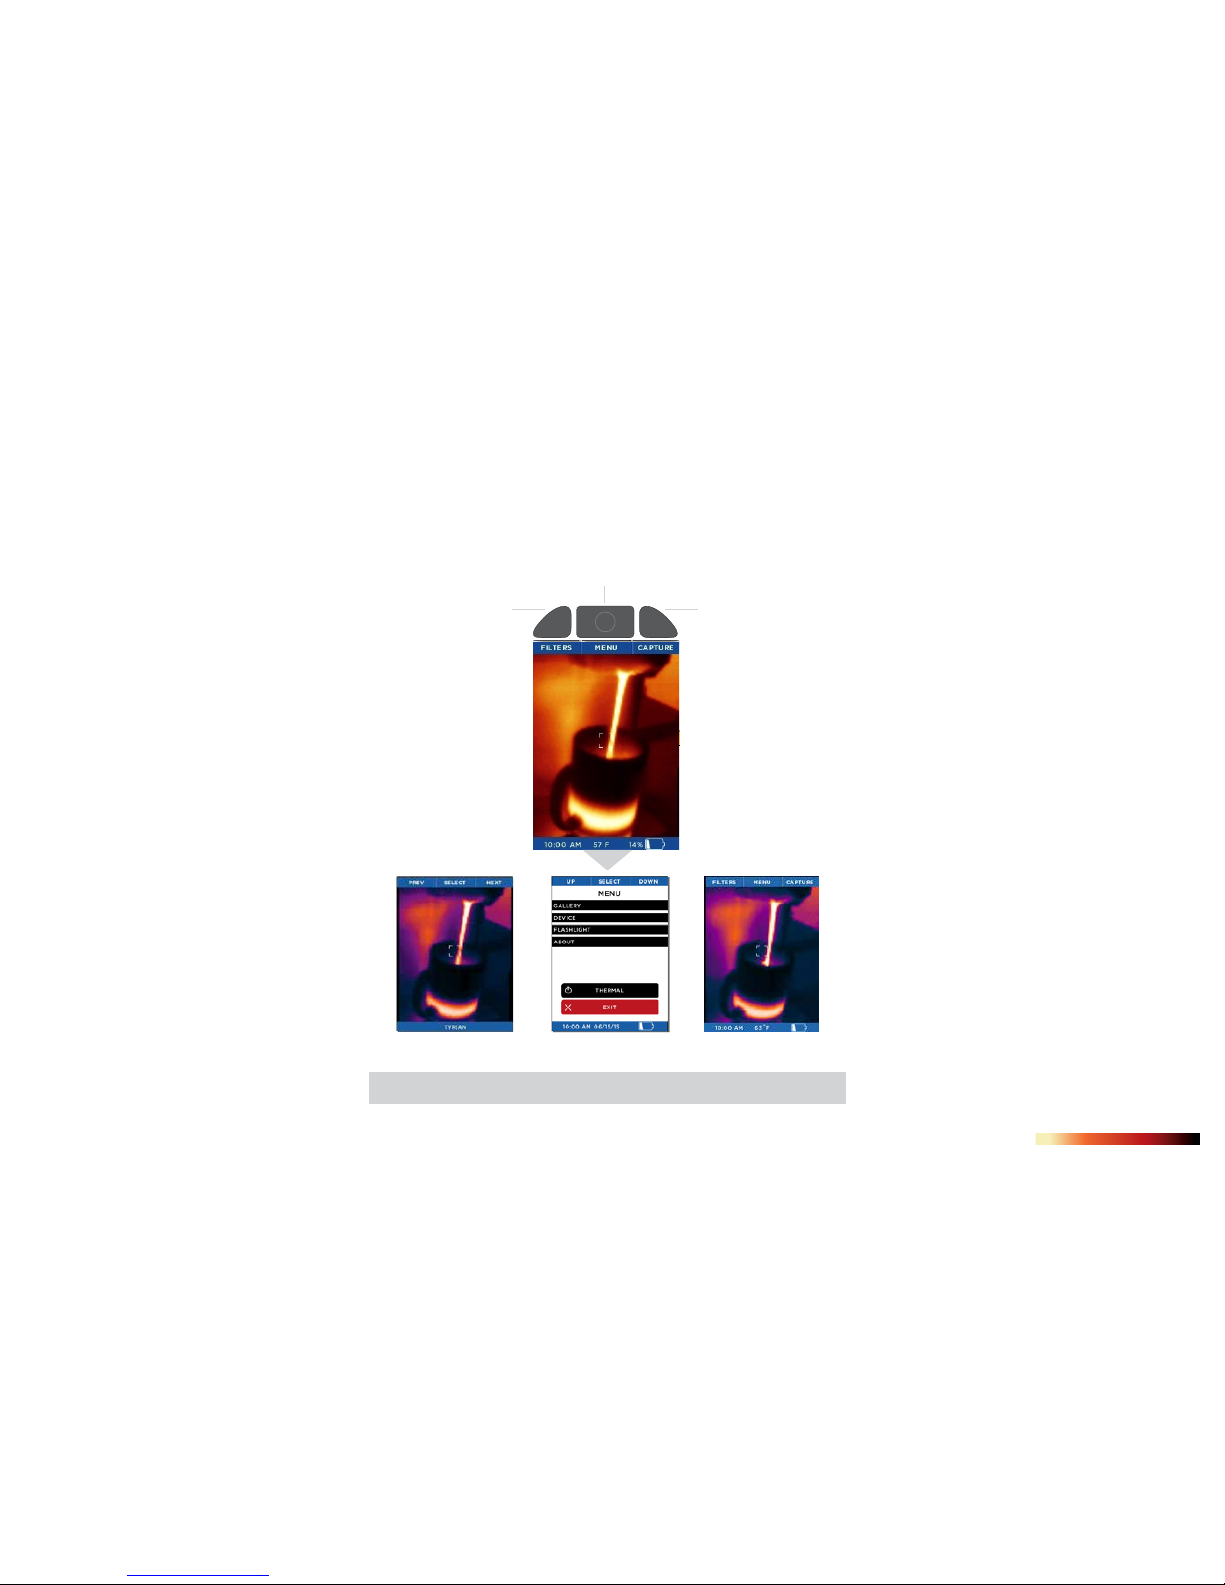
Figure 12: Imaging screen options
FILTERS MENU CAPTURE
MENU
FILTERS CAPTURE
FI LTERS
Screen
Image
CAPTURE
Screen
MENU
SETTINGS
Screen
RETURN
RETURNRETURN
Button-fu nc t io n
r ib bo n
LEFT
Button
RIGHT
Button
CENTER
Button
LEFT button RIGHT button
CENTER button
RETURN TO DEVICE
16
QUICK START GUIDE
Filters Screen
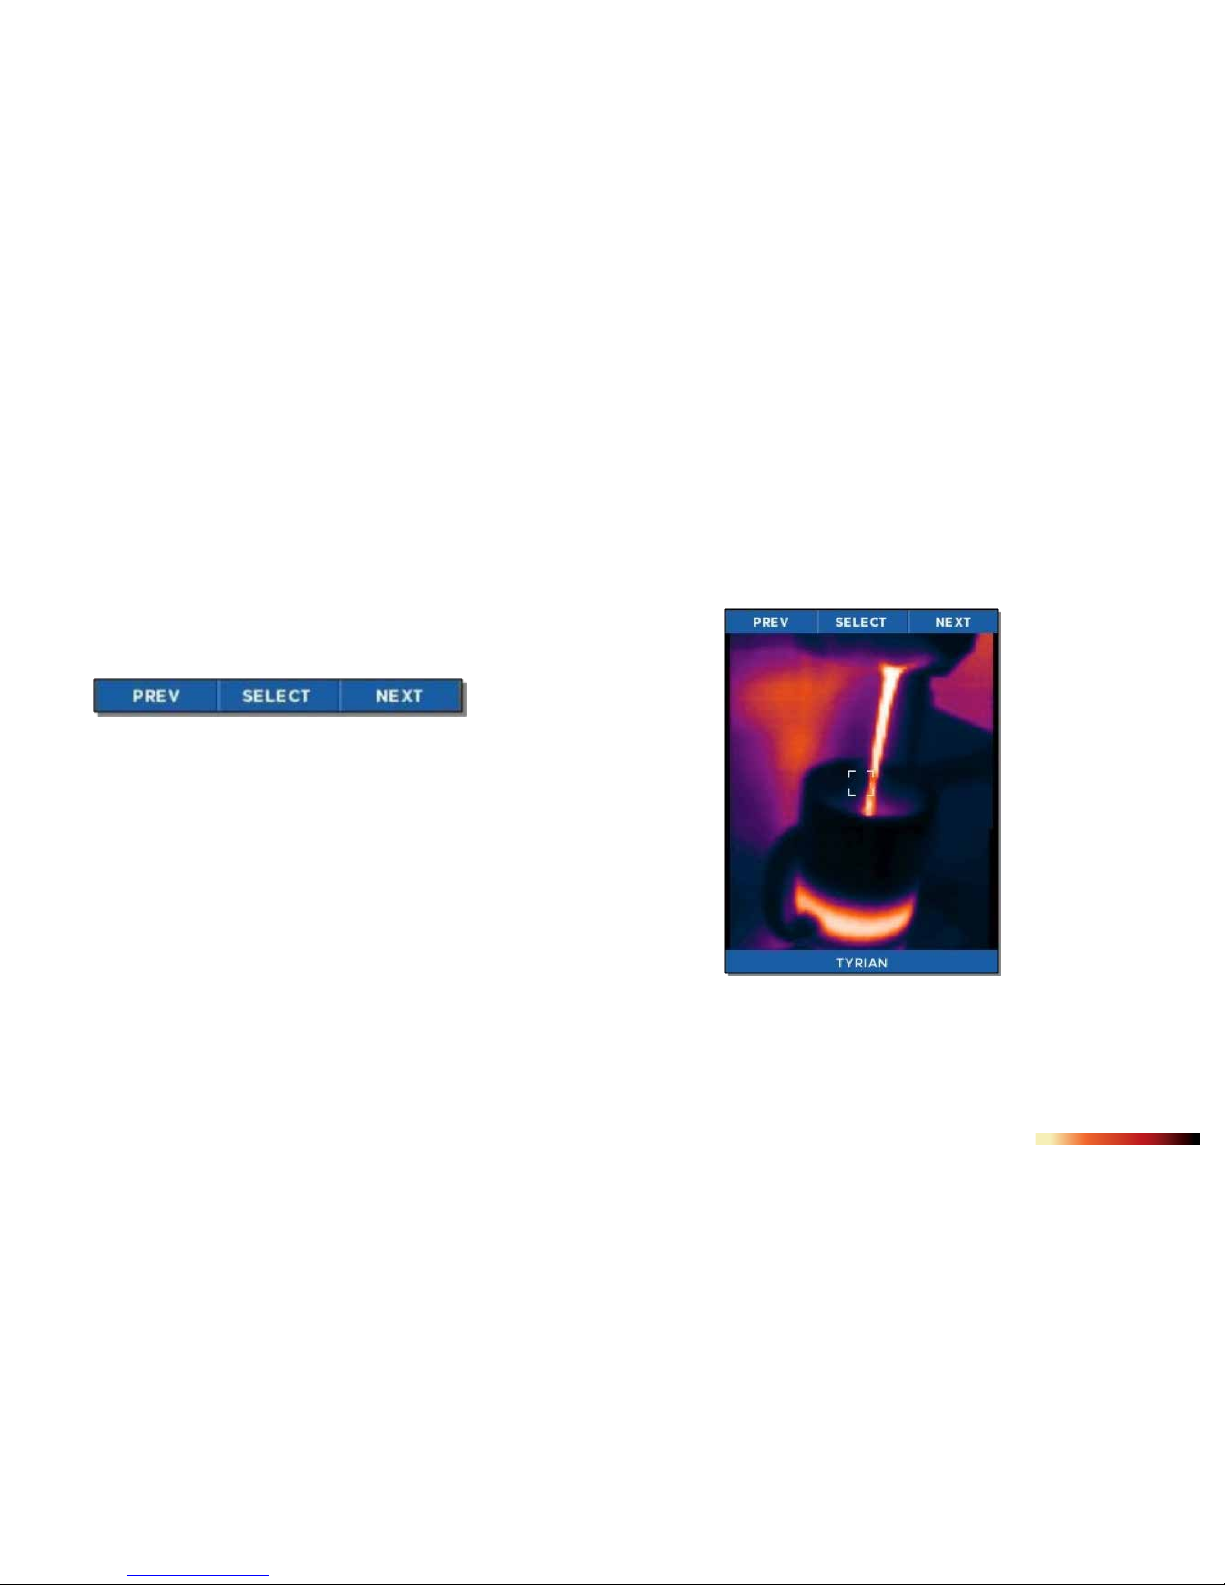
Figure 13: Button-function ribbon on the Filters screen
Figure 14: The Filters screen
By pressing the LEFT button for“previous”or the RIGHT button for
“next”, the image is cycled through the available lters (technically
known as look-up tables, or LUTs). The name of the iter currently
applied is displayed at the bottom of the image. When you have
reached your desired lter, press the CENTER button to select and
remember the lter. The device then returns to the thermal imaging
screen.
On the FILTERS Screen, the button-function ribbon changes to:

17
QUICK START GUIDE
Image Capture Screen
Figure 15: The thermal image capture screen
FPO
While the thermal imaging screen is displayed, pressing the RIGHT button
will capture and save an image to the microSD card. You can also enter the
GALLERY from this screen. The date and time of the captured image are
displayed at the bottom (center) of the screen, while the temperature (and
units) for the area within the reticle (or target) are displayed just above the
reticle.
Every time the CAPTURE button is pressed, the image being captured is
displayed along with a blue progress bar (left to right) at the bottom of the
screen as it is being saved. Holding the CAPTURE button down will capture
images in rapid succession as fast as they can be saved to the microSD
card’s memory.

18
QUICK START GUIDE
Menu Screen
Figure 16: The Menu screen
See the following sections for descriptions of the categories of settings
found on the Menu screen shown in Figure 16.

19
QUICK START GUIDE
Gallery
Figure 17: The button-function ribbon on the Gallery screen
When you enter the Gallery, the most recently captured image is displayed. Pressing the
LEFT button repeatedly will cycle through all the images in reverse chronological order,
while pressing the RIGHT button returns you to the oldest chronological image. The date
and time of the captured images are displayed at the bottom (center) of the screen,
while the temperature (and units) for the area within the reticle (or target) is displayed.
Note that the current image number and the total number of images are also displayed
at the bottom right. If the Gallery is empty, the empty screen is displayed (see Figure 19).
Pressing the CENTER button causes the OPTIONS Screen to be displayed. At this
point, you can choose to CANCEL any operations concerning this image and return to
the GALLERY, return BACK TO THERMAL imaging, or DELETE the currently displayed
image. The choice is made by using the LEFT button for the previous menu item, or the
RIGHT button for the next menu item, and then the CENTER button to make a selection.

20
QUICK START GUIDE
Gallery
Figure 18: The Gallery OPTIONS screen. Figure 19: The Empty Gallery screen
Table of contents
Other SEEK Thermal Camera manuals


