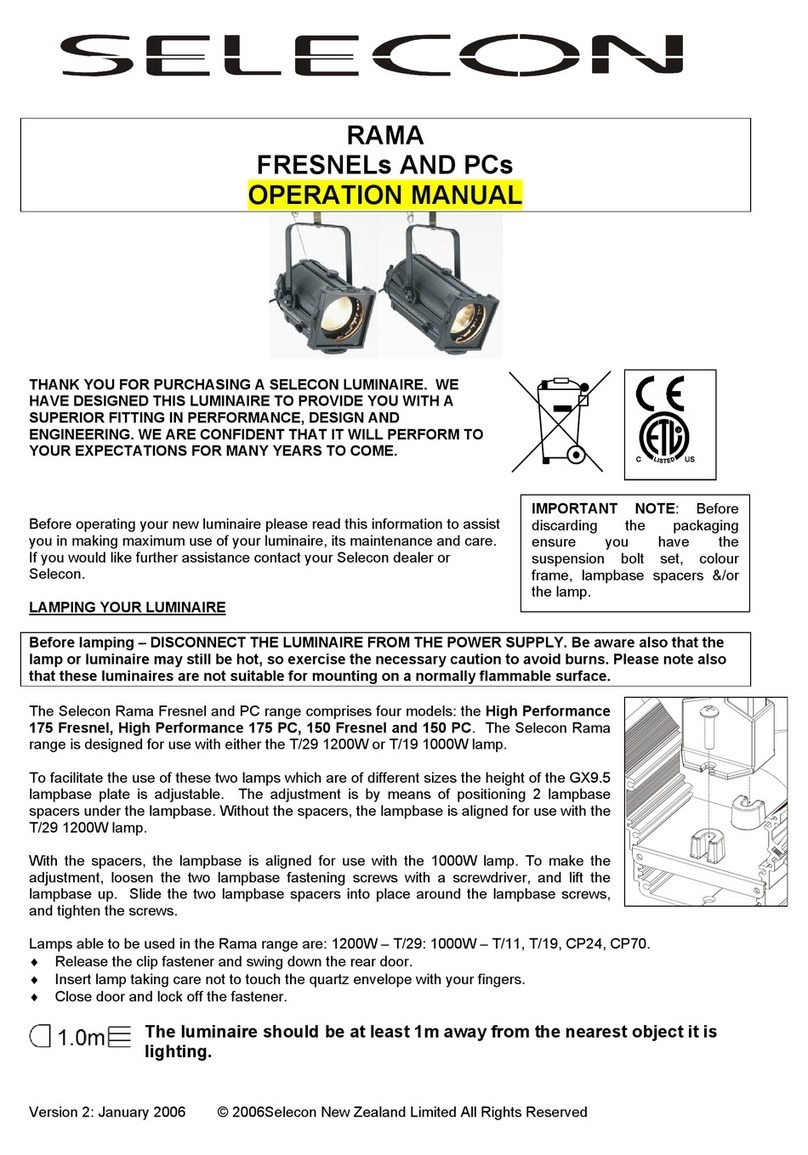
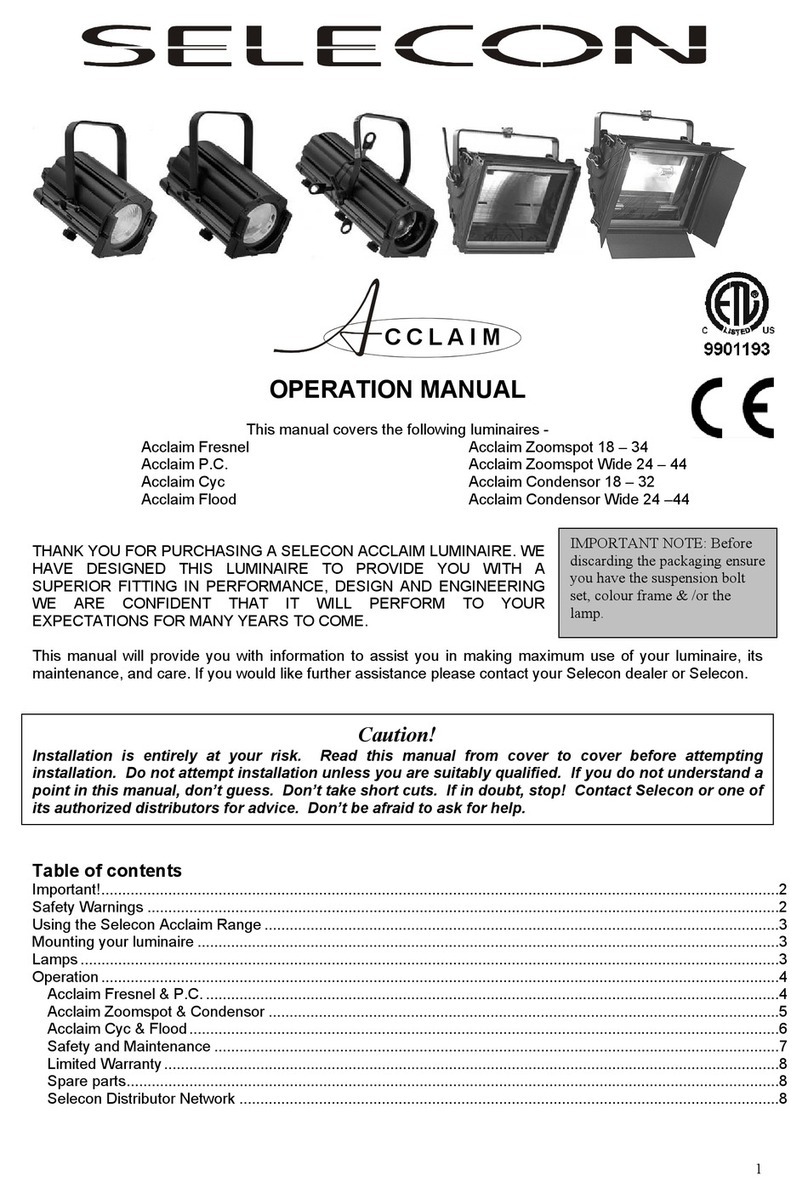
Selecon ACCLAIM 18º–34º User manual

ACCLAIM
Version 4: December 2008
1
18º–34º & 24º–44º
ZOOMSPOTS
OPERATION MANUAL
IMPORTANT
NOTE:
Before discarding the
packaging, please ensure
you have the suspension
bolt set, colour frame and
/or the lamp. The
packaging is recyclable,
please dispose of it
responsibly.
THANK YOU FOR PURCHASING A SELECON ACCLAIM ZOOMSPOT. SELECON HAS DESIGNED THIS
LUMINAIRE TO PROVIDE YOU WITH A SUPERIOR FITTING IN PERFORMANCE, DESIGN AND
ENGINEERING AND WE ARE CONFIDENT THAT IT WILL PERFORM TO YOUR EXPECTATIONS FOR
MANY YEARS TO COME.
Unpack and check your luminaire to ensure it has been received in good order. If the luminaire is damaged,
do not install and contact your dealer.
This manual will provide you with information to assist you in making maximum use of your luminaire, its
maintenance and care. If you would like further assistance please contact your Selecon dealer or Selecon.
Caution!
Installation is entirely at your risk. Read this manual from cover to cover before attempting
installation. Do not attempt installation unless you are suitably qualified. If you do not understand a
point in this manual, don’t guess. Don’t take short cuts. If in doubt, stop! Contact Selecon or one of
its authorised distributors for advice. Don’t be afraid to ask for help.
Table of Contents:
Important! 2
Safety Warnings: 2
First Time Use 3
Mounting your luminaire 3
Earth Test Point 4
Lamps and Lamping Procedure: 4
Focusing your Zoomspot: 4
Peak/Flat Light Distribution: 4
Shutter System: 5
Pattern Projection: 5
Interchangeable Lens Trays: 5
Cleaning: 5
Accessories: 5
Safety and Maintenance: 5
Limited Warranty 6
Selecon Distributor Network – www.seleconlight.com/distributors 6

Important!
Please read this manual from cover to cover before attempting to install, operate or maintain the luminaires to which it
relates. It contains important installation, operating, maintenance and safety procedures which you, the customer must
strictly comply with.
Along with such procedures mentioned in this document, the customer should also observe such other procedures
generally applicable to lighting equipment.
Please follow the instructions in this manual. Selecon accepts no responsibility if the customer fails to do so.
For each customer, operating conditions will vary, sometimes greatly. Such variations may affect the luminaires’
performance. Selecon has no control over the customer’s unique operating environment. Hence, Selecon makes no
representations or warranties concerning the luminaires’ performance under the customer’s actual operating conditions.
All operating parameters must be validated for each customer application by the customer’s technical experts.
If the customer does not follow the installation, operating, maintenance and safety procedures in this manual, as well as
those generally applicable to lighting equipment, the luminaire may not perform as expected. More seriously, it may cause
property damage, personal injury or other losses.
Selecon accepts no liability for direct, indirect, incidental, special, or consequential damages resulting from the customer’s
failure to follow the installation, operating, maintenance and safety procedures in this manual or those generally applicable
to lighting equipment. The foregoing limitation extends to damages for personal injury, property damage, loss of
operations, loss of profits, loss of product or loss of time, whether incurred by the customer, the customer’s employees or
a third party.
Selecon used all due care in preparing this manual. However, Selecon accepts no liability for errors or omissions.
Selecon reserves the right to change the specifications of its luminaires, or the information in this manual, without
necessarily giving its customers notice thereof.
Installation, operation and maintenance are entirely at the customer’s risk.
Selecon’s luminaires should be installed, operated and maintained by suitably qualified personnel. Such personnel should
have previous experience with lighting equipment as well as general electrical experience.
This manual is intended to provide general guidance to such suitably qualified personnel. For specific guidance and
technical support, contact Selecon or it’s authorized representative.
Information in this manual shall not be deemed a warranty, representation or guarantee concerning a luminaires’ suitability
or fitness for a specific purpose.
Subject to the right to use its luminaires, Selecon does not convey any right, title or interest in its intellectual property,
including, without limitation, its patents, copyrights and know-how.
Safety Warnings:
Not for residential use.
CAUTION – DANGER OF BURNS - avoid contact by persons or materials.
This Acclaim luminaire will get very hot during use. Please take care when handling to avoid burns –
we recommend the wearing of gloves for focusing when the luminaire is on.
SAFETY - Mains Power Isolation: The Acclaim range is fitted with a micro-switch that automatically
disconnects the mains power when the lamp holder is removed. However, it is also recommended
that the luminaire always be electrically isolated from mains power before re-lamping, cleaning or
servicing.
CAUTION: Risk of fire –maximum wattage lamp: 650W.
This luminaire is not suitable for outdoor use. They are rated at IP00.
The luminaire should be at least 1.5m / 5ft away from the nearest object it is lighting.
= 90
o
The Acclaim range can be operated only through a range of angles 90°either side of horizontal.
Version 4: December 2008
2

Version 4: December 2008
3
•
First Time Use:
When using your fixture for the first time, there is a “burn in” period. Light smoke caused by the evaporation of
assembly lubricants will be produced. This is a temporary effect that will cease when the lubricant has fully evaporated.
Mounting your luminaire:
A Safety Chain MUST always be used when rigging luminaires on bars, ladders etc.
The Acclaim Zoomspot will be supplied with a safety bond accessory fitted. The safety bond is passed through
the luminaire lamp-house anchor hole located at the rear of the luminaire and around the bar. This is the only
recommended safety bond anchor point for this luminaire.
Please be careful to allow sufficient slack to allow the luminaire to be focused freely.
This luminaire uses a theatre lamp with a grid filament. To avoid premature lamp failure it
is essential that the luminaire is always mounted so the yoke is horizontal and with the
lamp base down, i.e. the lamp adjustment knob is at the bottom of the rear lamp plate.
Please note also that the maximum tilt angles of the luminaire are 90º either side of
horizontal.
Fitting a suspension clamp to theatre standard (48mm / 1 29/32” O.D.) pipe
Mega Clamp
Half Coupler
Hook Clamp
Washer
Bolt
Nut
Bolt Wingnut
Bolt
Washer Washer
Your luminaire is supplied with an
M12 set screw, two washers and a
nut.
Pass the set screw through the
yoke hole from the inside, put on a
washer, then the hook clamp,
another washer and then tighten the
nut.
If you are not using the set screw, washers and nut, please dispose of them responsibly.
To mount on a telescopic stand
Reverse the yoke under the luminaire and bolt the stand's spigot onto the set screw.
Yoke Pivot Adjustment
The yoke on the Acclaim range can be positioned anywhere in the channel that runs the length of the luminaire. This is
useful to achieve the best balance if using a colour changer or other accessory mounted on the front of the luminaire, or to
fit the luminaire in space restricted positions.
The yoke balance point is factory set on the lamp house for normal applications. To move the yoke, loosen the M8 bolt at
the bottom pivot point of the yoke on the right side of the luminaire. Release the tilt locking clamp on the left side of the
luminaire, and slide the yoke to the required position. Check the yoke is evenly positioned on each side and tighten the M8
bolt, and the tilt locking clamp. To return the yoke to its original balance point, align the yoke to the balance point marked
on the focus reference scale.
1.5m/ 5 ft
0.6m /
2 ft
The luminaire should be at least 1.5m / 5ft away
from the object it is lighting.
The rear of the luminaire should be no closer
than 0.6m / 2 ft away from a surface.

Earth Test Point - located on the rear housing of the Acclaim luminaire; to test
the earth - place the test probe where indicated, and perform the earth test.
Acclaim Zoomspot
Earth test point on the rear of the luminaire.
Lamps and Lamping Procedure:
Lamp base / socket = G.Y. 9.5
220V – 240V 120V
M38 300W, 2000hrs av. life - display lamp FRE 650W, 400hrs av. life - theatre lamp
M40 500W, 2000hrs av. life - display lamp FRK 650W 200hrs av. life - studio lamp 3200K
T/25 500W, 500hrs av. Life – theatre lamp JCS120V-575WC 575W, 300hrs av. life 3200K
T/26, T/27 650W, 600hrs av. life - theatre lamp JCS120V-575WX 575W, 1500hrs av. life 3200K
CP82 500W, 180hrs av. life – studio lamp 3200K
CP 89 650W, 180hrs av. life - studio lamp 3200K
Disconnect from the mains supply before lamping. Be aware also that the lamp or fixture may still be hot, so
exercise the necessary caution to avoid burns.
Please dispose of any lamps as per the manufacturer’s instructions.
Access to the lamp is by the bottom-hinged door, which is fastened with a side clip. Push the clip to release the door. Use
the ejector to remove the failed lamp. Align the pins of the new lamp to the correct holes (they are different sizes) and
push the lamp firmly home. Do not touch the quartz envelope of the lamp with your fingers – use the sheath supplied to
insert the lamp. Close the door and reconnect the luminaire to the power supply.
•Point luminaire at blank white wall 4-8m (12–15ft) away and focus light to narrow angle – front lens forward rear lens
back. To obtain sharp focus adjusts rear lens only.
•Adjust lamp peak/flat knob – towards back for flattest field and forward for peaked position. Reconnect the luminaire
to the power supply and bring up on the dimmer.
Focusing your Zoomspot:
The variable beam of your Acclaim Zoomspot is altered by adjusting the front and rear lens in relation to one another. The
front lens defines the beam spread; the rear, the focus degree of softness or sharpness of the beam edge or shutters.
Finger tight pressure is only necessary to lock the lens off in their required positions.
To find the narrow angle of the beam range:
•
•
18º-34º – move front lens to front of luminaire, adjust rear lens to required focus
24º-44º – move rear lens back to rear of slot. Move front lens to define beam angle (24°), approximately 95mm
from front of lens tray
Peak/Flat Light Distribution:
The lamp position can be altered to peak or flatten the light output of
Zoomspots.
The peak beam gives a central hot spot falling off evenly to the beam edges.
This setting is useful for normal stage lighting purposes where beams are
overlapped to achieve an even cover.
Flat adjustment provides a visually even light beam suitable for gobo
projection. Take care to move the lamp carefully as the lamp filament is
burning hot and at its most vulnerable. Don’t over tighten the lamp tray knob;
finger tight pressure is all that is required.
Version 4: December 2008
4

Shutter System:
The shutters are used to mask a portion of the beam shaping it, masking light off scenery, curtains, etc. Your Acclaim
profile features an off-centre shutter blade system developed by Selecon. The larger section of the unequal blade can be
moved significantly around the axis of the beam providing a very wide range of masking angles.
Remember the optical system inverts all images at the gate, i.e. the top shutter on the luminaire masks the bottom part of
the light beam.
Pattern Projection:
The rotatable pattern holder comprises the holder and a spring clip to hold the pattern flat against the holder. The holder
can be rotated in the slot to align the image as required on the stage.
NOTE: The Acclaim range uses ‘M’ size patterns, with an image diameter of 50mm / 2”.
The accessory mounting slot will also house -
•An adjustable Iris
•A motorised pattern holder eg: Rosco/ DHA RTR008
To mount the accessory in the aperture slot ensure the pattern spring clip is facing to the
front of the luminaire and slide into the slots formed as part of the shutter plates.
NOTE: Do not run the luminaire with all the shutters closed, as this may cause the luminaire to over-heat.
Interchangeable Lens Trays:
The variable lens tray assemblies are interchangeable so you can change an 18º-34º luminaire to
a 24º-44º.
Open the tray, with the tray hanging down, lift up and out to free the hinge.
Cleaning:
Reflector - wipe with a soft cloth to remove accumulated dust.
Lens - the assembly can be removed out of the luminaire, clean with a soft cloth. To remove baked on dust use a window
cleaner.
Accessories:
Suspension Hookclamp (Order Code 20HC) Half Coupler
Mega Clamp Lens Safety Mesh (Order Code 15ACSM)
Rotatable pattern holder (Order Code 15ACGH) Adjustable Iris (Order Code 15ACIRIS)
18º-34º lens tray (Order Code 15ACLTS) 24º-44º lens tray (Order Code 15ACLTW)
Colour Frame – each luminaire is supplied with a 125mm (4 7/8 inch) square colour filter holder. Additional colour frames
are available (Order Code 20CFMF)
Safety and Maintenance:
Selecon has manufactured this luminaire in accordance with recognised best practices to recommended international
safety standards. It is your responsibility to maintain this luminaire in good and safe working condition.
Repairs should only be carried out by suitably qualified persons. Do not operate the luminaire with cracked lens, damaged
cable, etc. Consult your Selecon distributor for assistance. Only replace with damaged parts with authorised Selecon
spares.
N.B. Luminaire cables – your Selecon luminaire is fitted with special heat resistant flexible cable, replace with genuine
Selecon spare part cable kit only – refer to your Selecon distributor. (Replacement cables are supplied complete with
necessary terminal connectors).
Cable conductor colour codes:
ONLY FIT A PLUG IF YOU ARE A SUITABLY
QUALIFIED TECHNICIAN
Version 4: December 2008
5

Versio
n 4: December 2008
Limited Warranty
Selecon New Zealand Ltd. (“Selecon”) warrants its luminaires against defects in materials or
workmanship. The term of this warranty is based on the product usage and is from the date of
delivery.
Usage – Entertainment, Theatre Term - Three Years
Entertainment, Theatre relates to the typical conditions found in a theatre performance venue viz:
4 – 6 hrs per day, six days per week.
This warranty is void in any of the following circumstances:
(a) The luminaire has been misused, neglected, damaged or abused.
(b) The luminaire has been improperly installed, operated, repaired or maintained.
(c) The luminaire has been modified.
(d) The luminaire has been connected to other equipment with which it is not compatible.
(e) The luminaire has been used or stored in conditions outside its electrical or environmental specifications.
(f) The luminaire has been used for purposes other than for which it was designed.
(g) The luminaire has been used outside its stated specifications and operating parameters.
Correct installation of the luminaire is the owner’s responsibility.
To assert a warranty claim, complete Selecon’s return authorisation form (available from Selecon). Return the luminaire to
Selecon or its authorised agent.
If Selecon accepts the warranty claim, Selecon will provide, or arrange for, service, repair or replacement as Selecon shall
determine in its sole discretion. Selecon shall bear the cost of such service, repair or replacement. However, the owner
shall bear the cost of freight and insurance on the luminaire, both ways.
If Selecon does not wish to service, repair or replace the defective luminaire, it shall refund the purchase price.
Selecon’s sole responsibility is to repair, replace or service a luminaire subject to a valid warranty claim. Under no
circumstance will Selecon be liable for direct, indirect, incidental, special or consequential costs or damages, including
dismantling and re-installation costs, loss of operations or profits, to the maximum extent permitted by law.
Selecon accepts no liability for personal injury or property damage resulting from failure to heed relevant operating and
safety procedures specified by Selecon or imposed by law.
This is an express warranty. Selecon disclaims any other express or implied warranties, including warranties of
merchantability or fitness for purpose, to the maximum extent permitted by law.
Some jurisdictions do not allow limitations or disclaimers of implied or statutory warranties. Some jurisdictions do not
allow disclaimers or exclusions of consequential or incidental damages. Therefore, the above disclaimers, limitations and
exclusions may not apply in all jurisdictions in which Selecon sells its luminaires.
This warranty gives the owner specific legal rights. The owner may have other rights or remedies pursuant to the laws in
its territory. Nothing in this limited warranty should be construed as limiting or restricting any other statutory right or
remedy of the owner, except for such limitations or restrictions herein as may be allowed by the law of the territory.
Selecon has a policy of continual product improvement and specifications are subject to change without notice.
Selecon Distributor Network – www.seleconlight.com/distributors
Your Selecon distributor is a theatre professional with a broad knowledge and understanding of performance
requirements. Most can offer you a full service including not only stage lighting equipment but, all your theatre needs
including curtains, scenic paint, sound equipment, as well as supplies of lamps, filter, gaffer tape etc. The Selecon dealer
network is an international group of lighting professionals throughout Australasia, Asia, United Kingdom and Europe, North
and South America.
Manufactured by Selecon New Zealand
19-21 Kawana Street, Northcote, Auckland 0627, New Zealand
Ph: + 64 9 4810100 Fax: +64 9 4810101
Email: [email protected]
www.seleconlight.com
6

Version 4: December 2008
7
This manual suits for next models
2
Table of contents
Other Selecon Spotlight manuals
Popular Spotlight manuals by other brands
Robert Juliat
Robert Juliat SULLY 1156 manual
GIESSE
GIESSE S10L Use and installation manual

Black & Decker
Black & Decker 3 user manual
Larson Electronics
Larson Electronics LED10W-1SCB instruction manual
Volt
Volt VAL-2016 installation instructions
OU Lighting
OU Lighting CREE LEDs EHL6S11K quick start guide
