PRBA00010 V1
• Ensure that the power is disconnected prior to cleaning.
• To keep the nish of this product, wipe over with socloth periodically.
• Do not use harsh chemical solvents, this may dis-colour or damage the nish.
• Do not over-ghten screws on the terminal block.
Maintenance & Care
Product Overview
This illuminated LED mirror is a sleek addion to any bathroom, providing
beauful lighng with the wave of a hand.
The mirror features stylish so-edge corners, as well as an illuminated
front face, which is perfect for everyday tasks.
The built-in demister pad guarantees that the mirror will always stay
per
perfectly clear, and the infrared sensor ensures the mirror will stay clear
of any nger marks.
Infrared Sensor
To turn the mirror on/o, simply
wave your hand under the
infrared sensor located at the
boom of the mirror
Shaver Socket
Open the protecve case
to access the shaver
socket ports
Opera�on
Connect the male and female connectors for the demist-
er pad and proceed to slot the glass panel over the back
box. Finally, re-insert the screws to fasten the two parts
together.
6
Insert the Rawl plugs into the pre-drilled holes and then
secure the back box to the wall using the four screws
provided.
Note: Ensure that the infrared sensor is posioned at
the boom of the mirror when mounng.
5
Thread a 3-core mains cable through the rubber
grommet in the back box and connect it to the juncon
box.
Note: Please refer to the wiring diagram shown in the
operaon secon.
4
280mm
480mm
Carefully mark your desired posion for the mirror
using the dimensions shown above. Then proceed to
drill the holes for the Rawl plugs and screws.
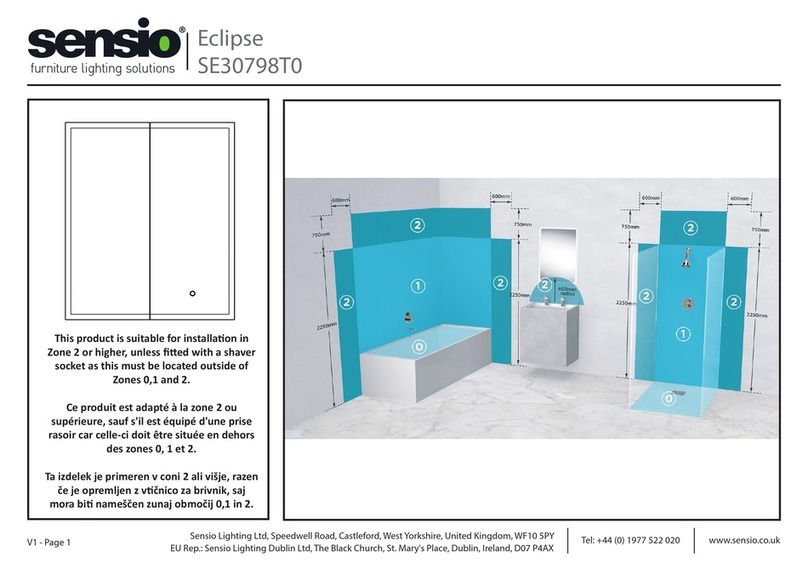
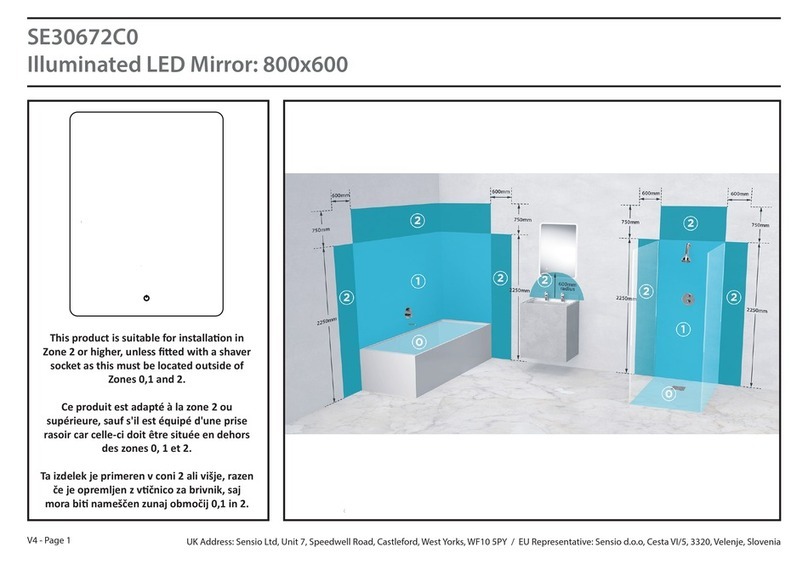
Note: Be careful to avoid any wiring or water pipes.
3
Carefully separate the back box from the glass mirror
and pierce the rubber grommet.
Note: The rubber grommet will isolate and trap any
steam to ensure the mirror remains protected.
2
Lay the mirror face down and remove the screws with a
Philips head screw driver.
Note: Be careful to lay the mirror on a padded surface,
that will not cause any scratches or abrasions.
1
Installa�on
Illuminated LED Mirror IP44
Cable Entry
Mirror Top
This product contains a light source of ener
The light sources in this product are not
Notes
Ligh�ng Technology
V3
