manuals.online logo
Brands
  1. Home
  2. •
  3. Brands
  4. •
  5. Serene
  6. •
  7. Indoor Furnishing
  8. •
  9. Serene Upholstered Divan Ottoman Base User manual

Serene Upholstered Divan Ottoman Base User manual

Upholstered Divan Ottoman Base
Assembly Instruction Guide
Carefully unpack your Divan Ottoman.
Do not use a knife to cut through packaging.
Assembly: 2 person
Required area: 2.5 x 2 meters
Required tools: Cross headed screwdriver, Flathead screwdriver, scissors
Important:
Please check that all the parts are present and read the instructions thoroughly before
commencing with assembly and retain them for future reference.
It is important to inspect all items BEFORE assembly, if for any reason you need to return this
item, you must return it in its original packaging. Assembled items CANNOT be returned.
Top tips, important safety information
and recommendations
Option 1: Side opening ottoman Option 3:
Half end opening ottoman
Option 2:
Full end opening ottoman
Tips before you start:
We recommend that all items are assembled close to the place they will be in use and on a
protective surface to avoid any unnecessary movement or contact that may damage the product.
For ease during assembly identify the parts required before commencing each step, taking care to
avoid over-tightening the ttings as this may damage the furniture.
The Ottoman bases are universal, therefore it is very important to ensure you have the divan
positioned correctly before tting the headboard (if applicable). Failing to ensure the divan is
correctly positioned/ oriented can result in the headboard being tted at the wrong end. This can
result in the fabric being pierced at the wrong end.
Safety:
Take extreme care when handling and lifting heavy products to avoid personal injury or damage
to the item. Keep children well away from the assembly area due to the heavy products as well as
choking hazard from small components.
Warning:
Please use this product for the specied purpose only, it is not to be stood on. If parts are missing,
broken, damaged or worn stop using the product until fully repaired.
Failure to follow safety and warning information could result in serious injury.
Recommendations:
Please periodically check all ttings and re-tighten if necessary.
To avoid re risks, warping and surface de-lamination keep away from strong heat sources and
never allow liquid to remain on your furniture. To clean, lightly dampen a soft cloth and wipe,
bu󰀩ng with a dry clean cloth.
Please check you have the correct ttings and read through before
commencing with assembly.
Supplied Fittings
C
C
33SR-16 2019-10-17
P
P
D
G
U Clips
90mm M8
Headboard Bolt
120 -180cm Bed x 8
90cm Bed x 4
120 -180cm Bed x 8
90cm x N/A
120 - 180cm x 2
90cm x N/A
120 - 180cm x 2
Glides
Glides 35mm Pozi
Bolt
35mm Pozi
Bolt
120 - 180cm x 2
90 - 150cm x 4
180cm x 8
E
Headboard
Spacer Block
90 - 150cm x 4
180cm x 8
F
F
F
50mm M8
Headboard Bolt
50mm M8
Headboard Bolt
50mm M8
Headboard Bolt
90cm x 150cm x4
180cm x 8
90cm x 4
120 - 180cm x 5
180cm x9
90cm x N/A
120 - 180cm x 5
End Lift Ottoman
C
90cm Bed x 4
120 -180cm Bed x 8
Glides
Side Lift Ottoman
Half End Lift Ottoman
Step 1
Turn both base units upside
down, insert glides (C) into
sockets. Use the heel of your
hand to push the glide into
the socket.
Do not hit with hammer!
Carefully turn your bed over
Note: this is a two person lift
Step 2
Using the heel of your hand
push 2x connector (D) into
position.
Note: Steps 2 & 3 only apply to Half End Opening Ottoman
Quick Tip: Position your ottoman base in your desired location.
Side Lift Ottoman: Ensure you have the opening on the correct side before carrying
on with the assembly.
Step 4
Flip bed sections over so
they are the correct way up,
then cut the straps at the
bottom of the base. (This is
a two man lift)
Do not pull o󰀨 as this
could damage the fabric
Step 3
To release drawers carefully
cut restraining straps and trim
the excess.
Carefully turn your bed over
Note: this is a two person lift
Important:
Pulling straps o󰀨
may tear the fabric.
Do not overload
the drawers.
MAX weight:
12.5KG
Using the screwdriver
connect bases into position
using 2x bolts (P ).
Step 6
Note: Steps 6 & 7 only apply to Side Opening Ottoman &
Full End Opening Ottoman
Step 5
Lift the tops up and attach the
gas struts by pushing onto
tting.
Quick tip:
Please note that gas pistons will not function without the mattress being positioned on the
base. The gas pistons require weight to be applied, before they will function. Do not try to pull
the ottoman lid down, without the mattress. The ottoman lid will not come down and you risk
damaging the bed.
Secure Headboard using
Bolts (G). Hand tighten.
Step 8
Note: Step 8 only applies to Side Opening Ottoman
Secure top using Bolt (F).
Step 7 only applies to End Lift & Side opening Ottoman
Manufactured by: Serene Beds & Furniture Limited
Unit 1A, The Hill Top Estate, Shaw Street, West Bromwich, B70 0TX, United Kingdom
Using a athead screwdriver,
push outer lever upwards and
pull the strut from the tting.
How to disconnect gas pistons:

Other Serene Indoor Furnishing manuals

Serene Dream Bed User manual

Serene

Serene Dream Bed User manual

Serene Tetras User manual

Serene

Serene Tetras User manual

Serene Mercury User manual

Serene

Serene Mercury User manual

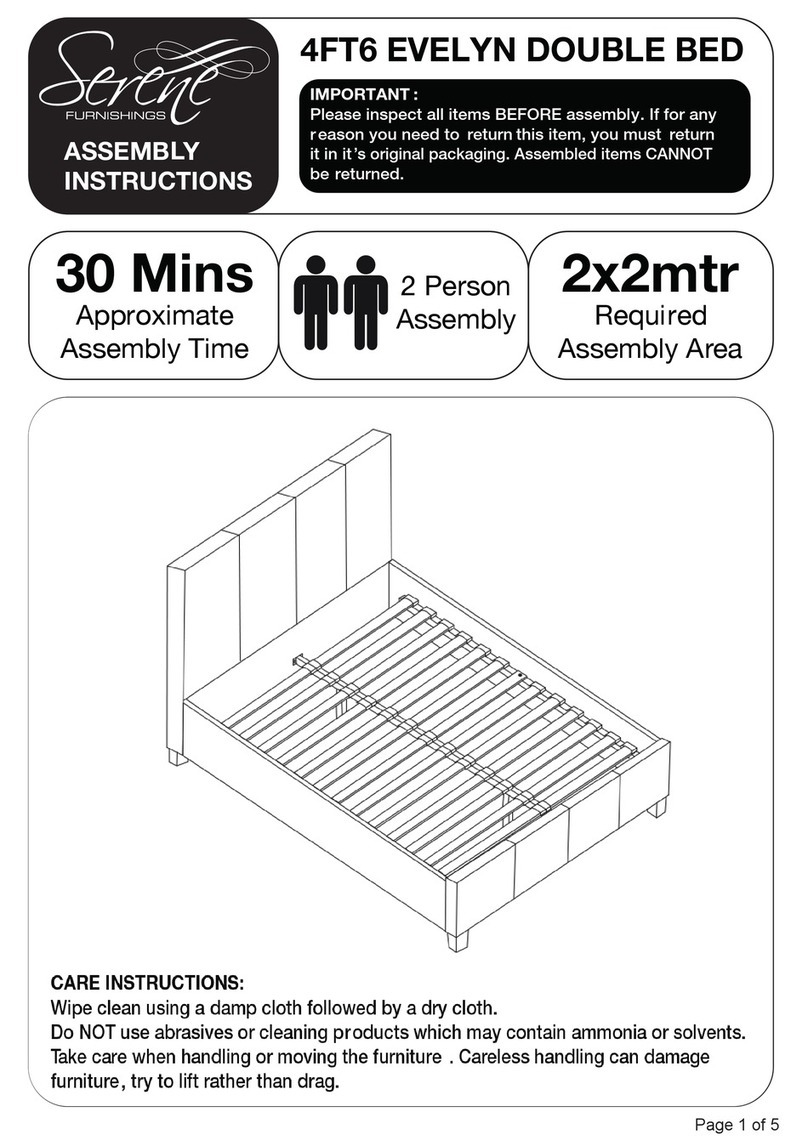
Serene 4FT6 EVELYN DOUBLE BED User manual

Serene

Serene 4FT6 EVELYN DOUBLE BED User manual

Serene 6FT Hazel Super King Bed User manual

Serene

Serene 6FT Hazel Super King Bed User manual

Serene Penny User manual

Serene

Serene Penny User manual

Serene Jemima User manual

Serene

Serene Jemima User manual

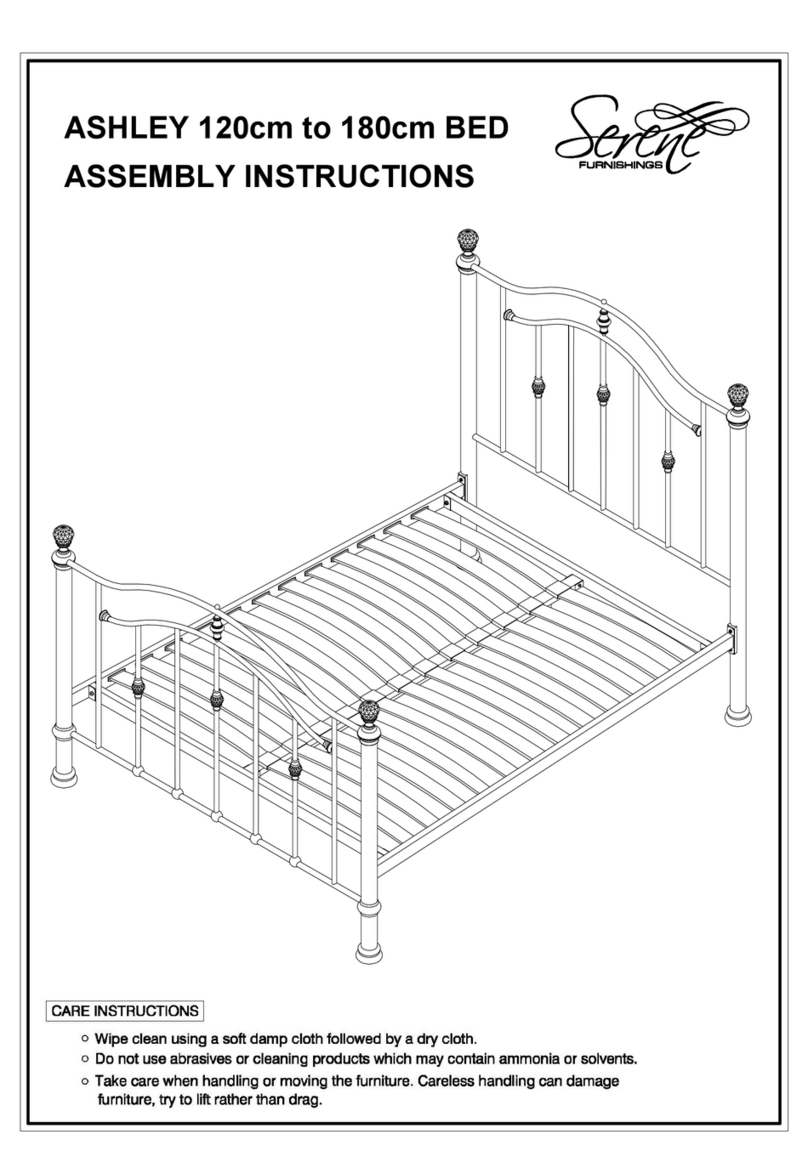
Serene Ashley User manual

Serene

Serene Ashley User manual
Serene JF-ASE-A18-WWM2-US-4TL6-U-SRB-107 User manual

Serene

Serene JF-ASE-A18-WWM2-US-4TL6-U-SRB-107 User manual

Popular Indoor Furnishing manuals by other brands

Coaster 2253K Assembly instructions

Coaster

Coaster 2253K Assembly instructions

Palace Imports 9201 Assembly guide

Palace Imports

Palace Imports 9201 Assembly guide

Knight Cubit Credenza Assembly instructions

Knight

Knight Cubit Credenza Assembly instructions

MotionOffice Arc 3 Assembly instructions

MotionOffice

MotionOffice Arc 3 Assembly instructions

Pro-Line II PRADO PRD3060 operating instructions

Pro-Line II

Pro-Line II PRADO PRD3060 operating instructions

BOPITA Corsica 16302711 instruction manual

BOPITA

BOPITA Corsica 16302711 instruction manual

Serta COPA Assembly instructions

Serta

Serta COPA Assembly instructions

Lippert Cosmo 2 Euro installation manual

Lippert

Lippert Cosmo 2 Euro installation manual

DHP 5499096 manual

DHP

DHP 5499096 manual

Earthlite Avalon XD Tilt Setup guide

Earthlite

Earthlite Avalon XD Tilt Setup guide

Global Industrial 493780BK user manual

Global Industrial

Global Industrial 493780BK user manual

GFA DALLAS user manual

GFA

GFA DALLAS user manual

WONLINE USBR4621 Assembly

WONLINE

WONLINE USBR4621 Assembly

WWBeds Face Assembled Alpha Murphy Assembly instructions

WWBeds

WWBeds Face Assembled Alpha Murphy Assembly instructions

Allen + Roth 2026VA-60-201-900-SR manual

Allen + Roth

Allen + Roth 2026VA-60-201-900-SR manual

WELLFOR GALAXY-W7MRL2028 Installation

WELLFOR

WELLFOR GALAXY-W7MRL2028 Installation

Whittier Wood Stayton 3460AFCAF manual

Whittier Wood

Whittier Wood Stayton 3460AFCAF manual

Ameriwood HOME 8948335COM Instruction booklet

Ameriwood HOME

Ameriwood HOME 8948335COM Instruction booklet

manuals.online logo
manuals.online logoBrands
  • About & Mission
  • Contact us
  • Privacy Policy
  • Terms and Conditions

Copyright 2025 Manuals.Online. All Rights Reserved.