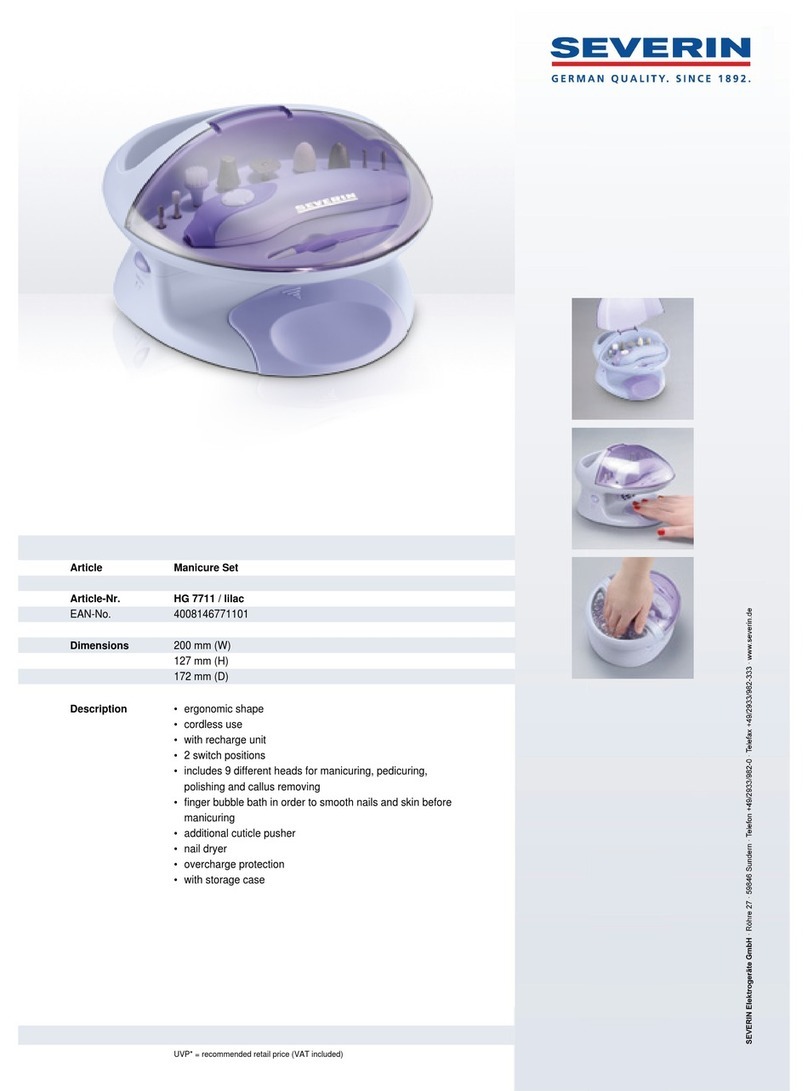
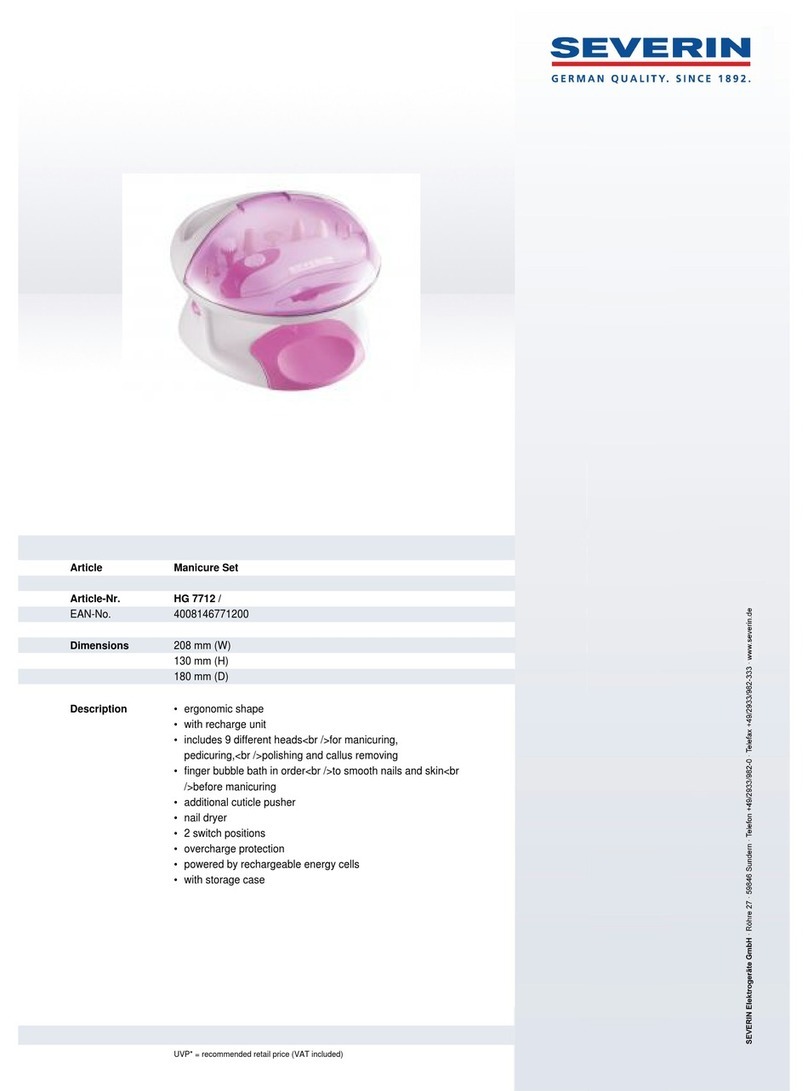
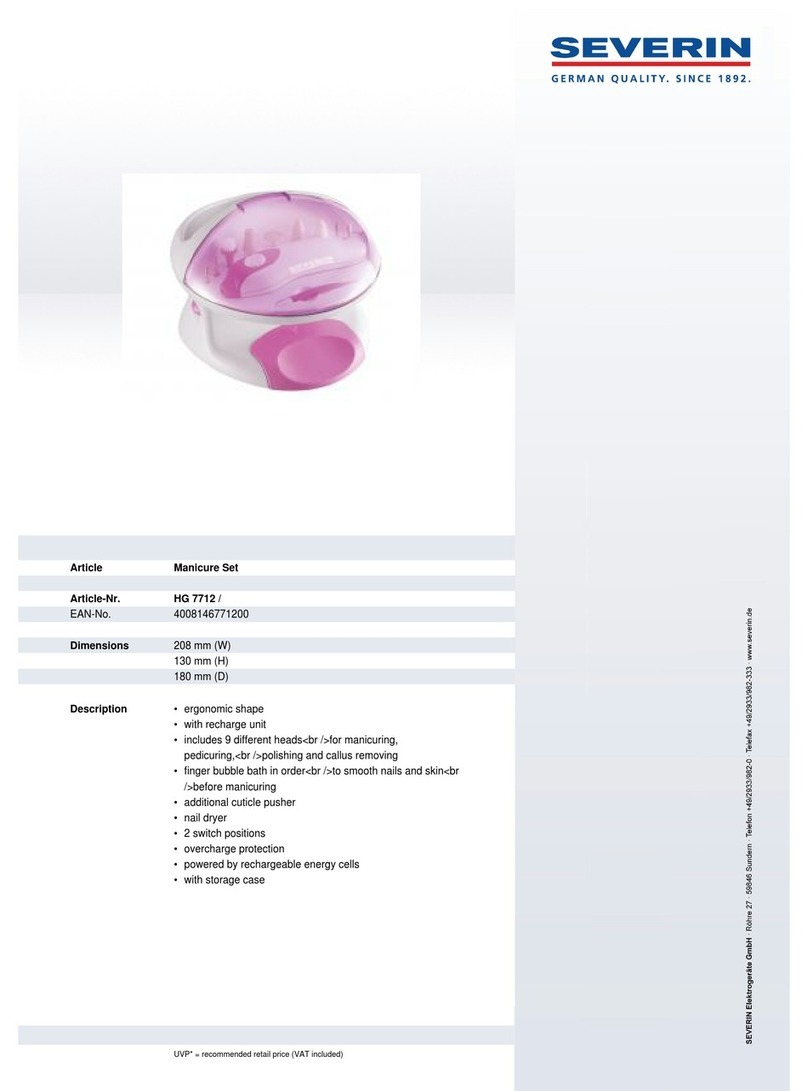
SEVERIN HG 7711 User manual

12
13
14
15
16
17
18
19
20
21
17
22
23
24
25
26
1
2
3
4
5
6
7
8
9
10
11

Dear Customer,
Before using the appliance, the user should
read the following instructions carefully.
Connection to the mains supply
Make sure that the supply voltage
corresponds with the voltage marked on the
rating label of the adaptor. This product
complies with all binding CE labelling
directives.
Familiarisation
1. Cover
2. Abrading cone, coarse
3. Cleaning brush
4. Filing cylinder
5. Abrading cylinder
6. Rotary control
7. Manicure/pedicure set
8. Manicure/pedicure set - Charging base
9. Finger bubble-bath
10. Main unit
11. Bubble-bath - On/Off switch
12. Shaping disc
13. Buffing cone
14. Abrading cone, fine
15. Abrading ball
16. Abrading point
17. Manicure/pedicure set - Direct power
connection
18. Charge indicator
19. Cuticle tool
20. Adaptor
21. Power cord with charging plug
22. Main unit - Charging/supply socket
23. Nail-polish dryer - On/Off switch
24. Nail-polish dryer
25. Aroma chamber
26. Drying pad
Important safety instructions
●Before the appliance is used, the main
body including the power cord and the
adaptor, as well as any attachment fitted,
should be checked thoroughly for any
defects. Should the appliance, for
instance, have been dropped onto a hard
surface, it must no longer be used: even
invisible damage may have adverse
effects on the operational safety of the
appliance.
●Caution: do not use the adaptor in the
vicinity of a bath, shower or swimming-
pool, over a washbasin filled with water
or any other receptacle containing water.
●Protect the manicure/pedicure set from
moisture and water splashes, and do not
operate it with wet hands.
●Should any malfunction occur during the
charging process, the adaptor must be
removed from the wall socket
immediately.
●Always switch the manicure/pedicure set
off before changing any attachments.
●This appliance should only be used with
the attachments provided by the
manufacturer.
●To prevent overheating, do not use the
appliance under a blanket or pillow.
●Do not use the appliance if you feel tired
or sleepy.
●Do not use the appliance if you have
eczema or open wounds on the hands or
feet.
●When removing the adaptor from the
wall socket, never pull on the power
cord; always grip the adaptor itself.
●Children are not aware of the dangers
that may occur when operating electrical
appliances. Therefore keep children
away from such appliances.
●No responsibility will be accepted if
damage results from improper use, or if
these instructions are not complied with.
●This appliance is only intended for
domestic use and not for commercial
applications.
●In order to comply with safety
regulations and to avoid hazards, repairs
of electrical appliances must be carried
out by qualified personnel. If repairs are
needed, please send the appliance to one
5
Manicure/Pedicure
Center

of our customer service departments.
The address can be found in the
appendix to this manual.
Charging
●It takes a minimum of 14 hours to charge
a new battery, or to recharge a battery
that has been completely discharged.
Before the appliance is used for the first
time, or after extended periods of non-
use, the batteries must be charged for
approximately this period.
-
Insert the adaptor into a suitable wall
outlet and the charging plug into the
charging/supply socket of the main unit,
then place the manicure/pedicure set in
the charging base. During charging, the
set must be switched off. Charging is
shown by the indicator light.
-
The appliance may also be used with a
discharged battery pack by connecting
the charging plug directly to the power
connection on the manicure/pedicure set.
If necessary, the battery pack may need
to be charged for 5 minutes before the
appliance can be operated through the
direct power connection.
Use
Finger bubble-bath
Before the manicure/pedicure set is used, we
recommend that you soak your
fingers/hands for approx. 2 minutes in the
bubble-bath; this will help to soften up the
skin and nails. The skin will absorb
additional moisture and thus look healthier.
In addition, hands and fingers will be treated
with a massage-like effect.
-
Insert the charging plug into the
charging/supply socket on the main unit
and the adaptor into a suitable wall
outlet.
-
Fill the bubble-bath with warm water
while observing the ‘Max’ mark. If
desired, any non-foaming bath gels may
be added; however, do not use any
foaming agents.
-
Press the bubble-bath On/Off switch to
turn the function on.
-
Dry the hand thoroughly with a towel
immediately after the bubble-bath
treatment.
-
After use, press the bubble-bath On/Off
switch again to switch off.
-
Before emptying the water from the
bubble-bath, remove the charging plug
from the charging/supply socket of the
main unit and then remove the adaptor
from the wall outlet.
Warning: never empty the water out of
the side with the charging base; always
use the opposite side.
●Ensure at all times that the adaptor is
kept well clear of the bubble-bath.
-
After each use, the bubble-bath should
be thoroughly dried with a cloth.
Nail-polish dryer with aroma function
-
Insert the charging plug into the
charging/supply socket of the main unit
and the adaptor into a suitable wall
outlet.
-
Press the nail-polish dryer On/Off switch
to switch the function on.
-
After applying the nail polish, place your
hand on the drying pad.
-
If you want to use the aroma function,
the drying pad needs to be removed from
the main unit; this is done by lightly
pressing down on the arrow symbol and
pulling the pad out from the front. Place
some flower fragrance or similar product
inside the aroma chamber and slide the
drying pad back into the main unit.
-
After use, switch off the dryer, empty the
aroma chamber and remove the charging
plug from the charging/supply socket of
the main unit.
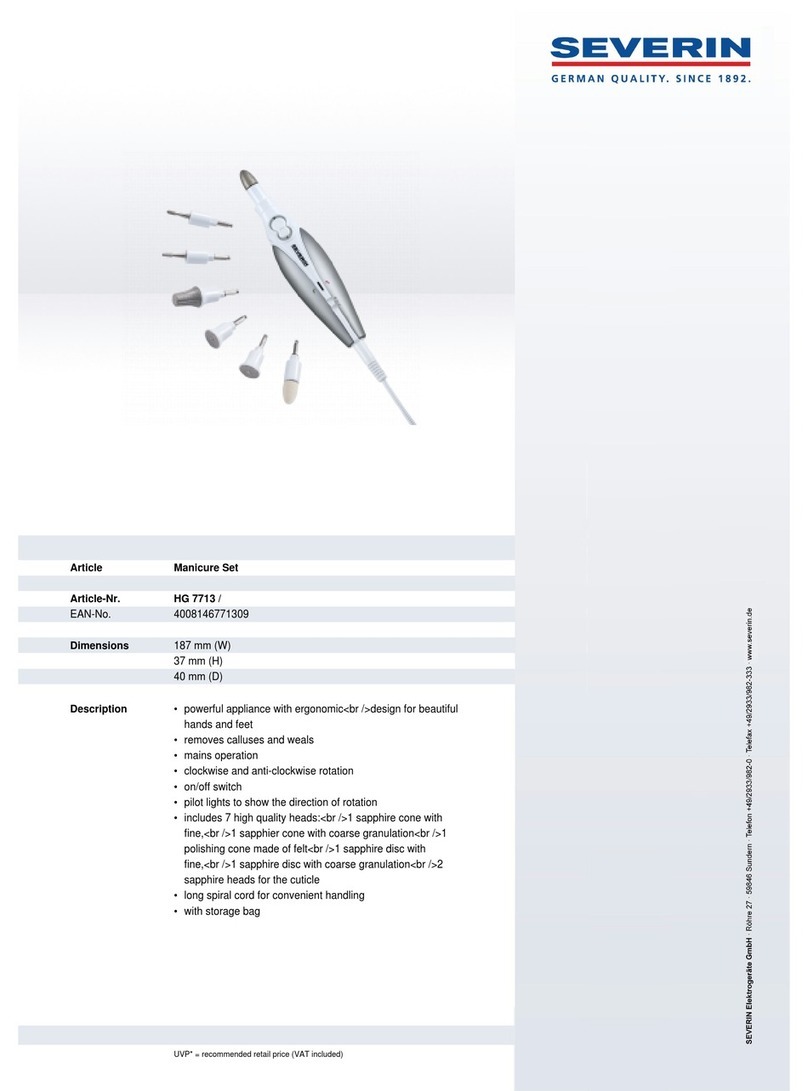
Manicure/pedicure set
With the appliance switched off, fit the
attachment required onto the front part of
the manicure/pedicure set and push it in as
far as it will go.
-
Buffing cone: for polishing finger and toe
6
nails.
-
Fine and coarse abrading cone: for
removing callous skin from hands and
feet.
-
Shaping disc: for shortening and shaping
finger and toe nails.
-
Abrading point: for treating the nail beds
on fingers and toes.
-
Cleaning brush: for cleaning the nails
after filing/abrading, and for removing
skin particles remaining after the
treatment. It is also useful for preparing
the nail surfaces for polishing.
-
Abrading cylinder and filing cylinder: for
filing/abrading and treatment of the nail
surfaces. For thicker nails, we
recommend using the abrading cylinder;
for thin nails, the file cylinder should be
used.
-
Abrading ball: used for filing/abrading
and treatment of the surfaces of thicker
nails, where access to grown-in sections is
needed.
The rotary control on the manicure/pedicure
set can be moved in two different directions,
each of them offering two different speeds.
The treatment of hands and feet should take
place immediately following a bath, when
the hard or calloused skin and the nails have
been softened up. However, the same effect
can be achieved on the hands by using the
bubble-bath function.
After treatment, use the rotary control on
the manicure/pedicure set to switch it off.
A noticeable decrease in operating speed
indicates low battery capacity. When this
occurs, switch off the set and recharge the
battery pack.
Cuticle tool
This tool is designed to lift and push back the
cuticles manually.
Cleaning and Care
●Always remove the charging plug from
the charging/supply socket of the main
unit before cleaning.
●To avoid the risk of electric shock, do not
clean the appliance or the adaptor with
water or any other liquid, and do not
immerse them.
●Do not use abrasives or harsh cleaning
solutions.
-
The exterior of the appliance may be
cleaned with a dry, lint-free cloth.
-
All attachments and accessories should
be wiped on a regular basis using
cleaning alcohol.
-
The finger bubble-bath assembly should
be thoroughly dried with a cloth after
each use.
Disposal of the battery pack
●The manicure/pedicure set contains a
battery-pack consisting of two nickel
metal-hydride batteries. The batteries
may be removed for disposal by first
taking off the rotary control, and then the
plastic cover around it in a forward
direction, using a suitable screw-driver to
push in the notched section under the
rotary control. Now loosen the screw on
the manicure/pedicure set and, again
using a suitable screw-driver, unlock the
notched sections on the two halves of the
housing. Lift out the batteries and cut the
terminal wires one by one.
Ni-MH
●Remember to protect our environment.
Never dispose of old batteries in your
domestic garbage.
The battery pack in the
manicure/pedicure set can be disposed of
7

through the Severin Service, or through
the local ‘special garbage collection
points’ in accordance with local
regulations.
●Please note that the manicure/pedicure
set may only be opened for disposal of
the battery pack; otherwise the guarantee
becomes invalid.
Disposal Do not dispose of old or defective
appliances in domestic garbage;
this should only be done through
public collection points.
Guarantee
This product is guaranteed against defects in
materials and workmanship for a period of
two years from the date of purchase. Under
this guarantee the manufacturer undertakes
to repair or replace any parts found to be
defective, providing the product is returned
to one of our authorised service centres. This
guarantee is only valid if the appliance has
been used in accordance with the
instructions, and provided that it has not
been modified, repaired or interfered with
by any unauthorised person, or damaged
through misuse.
This guarantee naturally does not cover
wear and tear, nor breakables such as glass
and ceramic items, bulbs etc. If the product
fails to operate and needs to be returned,
pack it carefully, enclosing your name and
address and the reason for return. If within
the guarantee period, please also provide the
guarantee card and proof of purchase.
8
Other SEVERIN Personal Care Product manuals

SEVERIN
SEVERIN HG 7712 User guide

SEVERIN
SEVERIN HG 7711 User guide

SEVERIN
SEVERIN MANIKÜRE-PEDIKÜRE-SET HG 7713 User manual

SEVERIN
SEVERIN HS 7741 User guide

SEVERIN
SEVERIN HS0781 User manual

SEVERIN
SEVERIN HG 7711 User manual

SEVERIN
SEVERIN HG 7713 User manual

SEVERIN
SEVERIN HG 7713 User manual

SEVERIN
SEVERIN MANICURE-CENTER HG 7712 User guide

SEVERIN
SEVERIN HS 7741 User manual