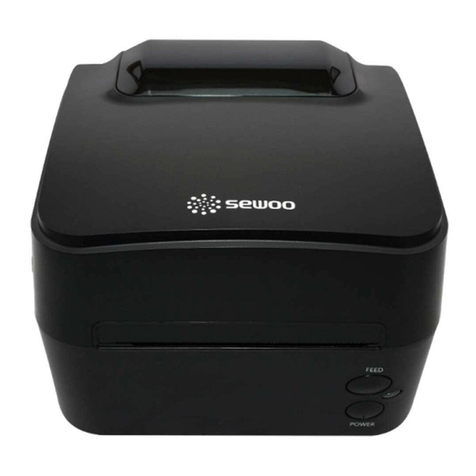
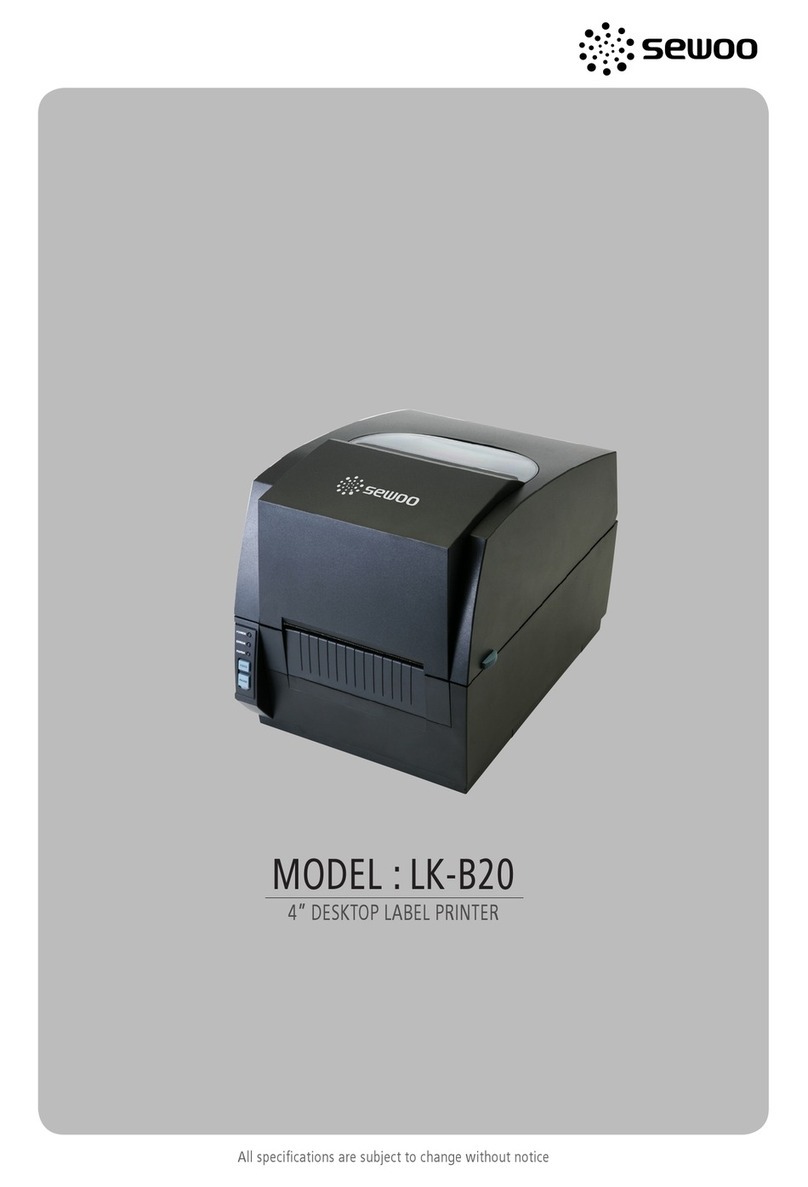
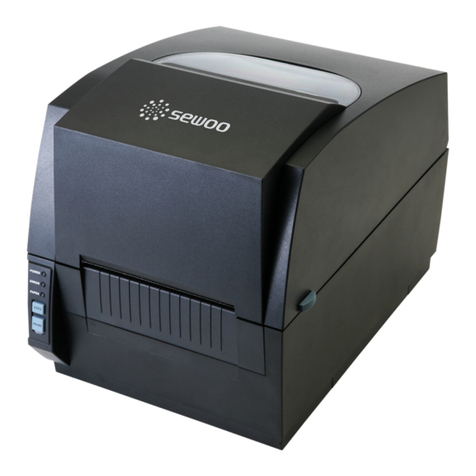
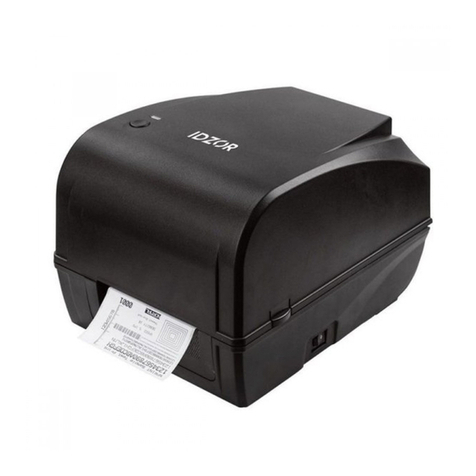
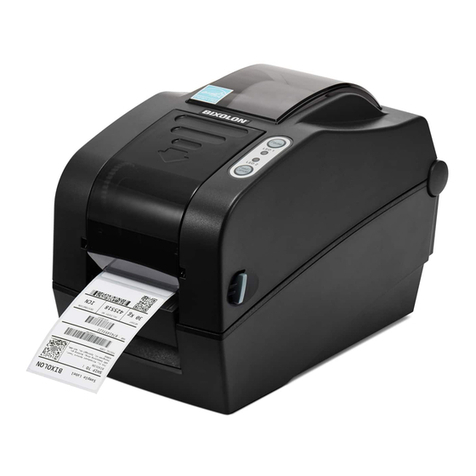
SEWOO LK-B425 User manual

28-6, Gajangsaneopdong-ro, Osan-si, Gyeonggi-do ,18103, Republic of Korea
TEL +82-31-8077-5000 / FAX +82-31-624-5310 / http://www.miniprinter.com
B425 / B425A ENG Rev. F 01/2021

All specications are subject to change without notice
4-inch Direct Thermal Label Printer

1) This device may not cause harmful interference, and
2) This device must accept any interference received, including
interference that may cause undesired operation.
20280 S. Vermont Ave. STE 200, Torrance, CA 90502 | USA
+310-561-8030
26188 Edewecht, Holljestr.9 | Germany
Paseo de la Reforma No. 265 Piso 2.Ocina SBC. Col.
Cuauhtémoc, C.P. 06500 Ciudad de Mexico | Mexico
Room 902, No. 7, Lane 118, Xiaojishan Road, Sheshan Town,
Songjiang District, Shanghai | China
This symbol on the product or on its packaging indicates that this product
shall not be treated as household waste. Instead it shall be handed
over to the applicable collection point for the recycling of electrical and
electronics equipment. For more detailed information about recycling of
this product, please contact your local city oce, your household waste
disposal service or the shop where you purchased the product.

Table of Contents
Safety Precautions 2
1. Unpacking 4
2. Printer identication 5
3. Connecting power supply 7
4. Interface cable connection 8
5. Opening the Printer 9
6. Loading the paper 10
6-1. Fanfold Label Type 10
6-2. Roll Label type and setting up the paper Supply
(option) 12
7. Density adjustment 14
8. Setting up the sensors 15
9. Sensor Calibration 17
10. Pause function 18
11. Self test 19
12. Printer cleaning 20
13. Cutter cleaning (option) 21
14. Paper Jam error 22
15. Peripherals Connection (option) 23
16. Interface 24
17. Standard roll media specication 26
18. Standard label specication 28
19. Label specication with Through-hole 24
20. Label with Black Mark 29
21. Continuous stock specication 30
22. Specications 31
23. Command List 33
24. Utilities 36
25. S/W 37

2
Safety Precautions
For better safety and reliability, adhere to the following precautionary
measures.
Read and follow the instructions carefully before operation of the product.
Indication
Prohibition Must follow
Do not disassemble
Unplug the power from the
outlet
Grounding to prevent
electric shock
Do not handle the product
with wet hands
Failure to follow these instructions could result in re, electric
shock, other injuries, or property damage.
Do not pull or
touch the power
plug with wet
hands.
Potential risk of
electric shock or
re
Do not bend the
wire and do not
allow the wire
to be pinched or
crushed by heavy
objects.
Potential risk of
electric shock or
re
Do not overload
an electrical
outlet.
Potential risk of
electric shock or
re
If a power plug is
broken or a plug
is cut or worn, do
not use it.
Potential risk of
electric shock or
re

3
Failure to follow these instructions could result in re, electric
shock, other injuries, or property damage.
Do not unplug
the power cable
to turn o the
product.
Turn o the power
using the power
button
Do not
disassemble,
repair or modify
the product.
Potential risk of
malfunction, electric
shock, or re. When
the product needs to
be repaired, please
contact your reseller
Failure to follow these instructions could result in re, electric shock,
other injuries, or property damage.
Do not install
the product on
an unstable or
inclined surface.
May cause
damage or injury
If the product needs
to be repaired,
please contact your
reseller.
Potential risk of re
or unit malfunction
Keep product
away from
the water and
other material.
Potential risk of re
or unit malfunction
Avoid excessive
shock or drops.
Potential risk of
re or property
damage

4
1. Unpacking
Printer
(LK-B425 or B425A) Power Cord Power supply
Interface cable (USB) CD
(Manual and Software) Quick Manual
Paper supply Auto Cutter

5
2. Printer identication
Interface Power
FEED Button
Upper Cover Lever
Jog Dial
POWER Button
Black Mark Sensor
Printer Head
Gap Sensor
Paper width Guide

6
FEED Button
Upper Cover Lever
Jog Dial
POWER Button
Black Mark Sensor
Printer Head
Gap Sensor
Paper width Guide
Printer Head
Interface Power

7
3. Connecting power supply
Power Connectors
Please check the specication of the
AC power cord if it is correct with
your power system.
Turn o the power of the printer and
connect the power supply to the
printer as shown above.
Connect the AC power cord to the
power supply.
Insert a plug into the electrical
outlet.
1 2
3 4

8
ETHERNET
LK-B425 LK-B425A
USB
SERIAL
4. Interface cable connection

9
Make sure to be careful of
the HOT head after using
long time.
PULL
LK-B425A
LK-B425
Open the upper cover by pulling the
knob in the direction of the arrow.
If the cover is not shut down completely, the printer may not work properly.
-Please make sure you hear the closing sound of the upper cover.
1 2
3
5. Opening the Printer

10
6. Loading the paper
PULL
Open the upper cover by pulling the
knob in the direction of the arrow.
Widen the paper guide gap.
Adjust the paper width guide to
meet the paper width.
Please make sure you hear the
closing sound of the upper cover.
1 2
3 4

11
PULL
Open the upper cover by pulling the
knob in the direction of the arrow.
Widen the paper guide gap.
Adjust the paper width guide to
meet the paper width.
Please make sure you hear the
closing sound of the upper cover.
1 2
3 4

12
Install the paper supply by tightening up 2 screws on the printer.
Install the paper supply by
tightening up 2 screws on the
printer.
Put the paper spindle vertically
down into the paper supply. Insert
the paper roll into the printer.
See the ‘7-1. Fanfold label type’
manual.
1 2
3

13
Install the paper supply by tightening up 2 screws on the printer.
Install the paper supply by
tightening up 2 screws on the
printer.
Put the paper spindle vertically
down into the paper supply. Insert
the paper roll into the printer.
See the ‘7-1. Fanfold label type’
manual.
1 2
3

14
7. Density adjustment
You can easily control the printing density with a jog dial.
After turning the printer power on, adjust the density by rotating the lever.
HIGH MIDDLE LOW DISABLE
HIGH
HIGH - MIDDLE
MIDDLE
MIDDLE - LOW
LOW
DISABLE
NOTE
01
If you change the density during a printing job, the new density setting will be
applied from the next printing page.
02
Please do not change the density too much during a printing job, it may cause
problems.
03
If you set ‘Disable’ mode, you can change the density only on the PC driver.
04
A printing density can be slightly dierent depending on paper types.

15
8. Setting up the sensors
Set Black Mark Sensor right to the size of roll paper.

16

17
9. Sensor Calibration
NOTE
- Press The Power Button Once
-Press The POWER Button For 2~3 Seconds
Sensor Calibration should be proceeded by pressing button POWER and
FEED for 2~3 seconds at the same time regardless power status (Power On or
O).
The printer will be stopped after a graph is printed. Then, you can use the
printer.
If the calibration result is abnormal, set it up in "SEWOO Label Printer
Conguration Tool" and then try again. This utility is on the CD and can be
downloaded from the homepage.
3
4
Other manuals for LK-B425
1
This manual suits for next models
1
Table of contents
Other SEWOO Label Maker manuals

