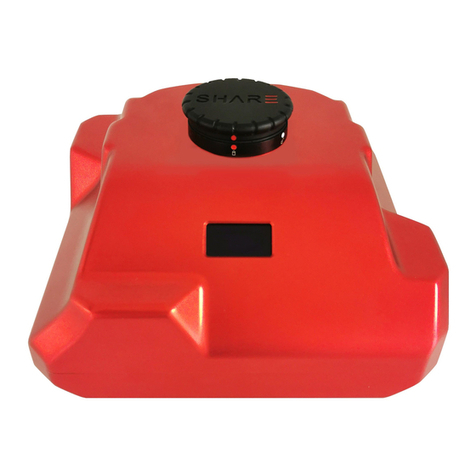
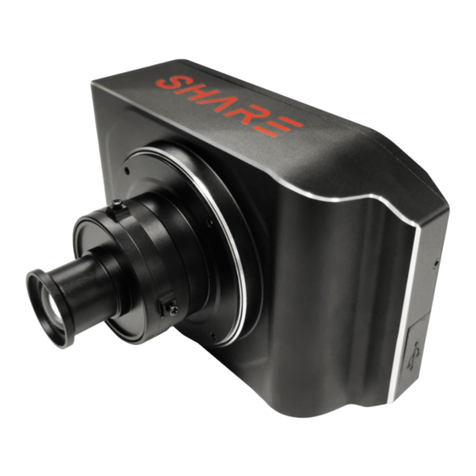
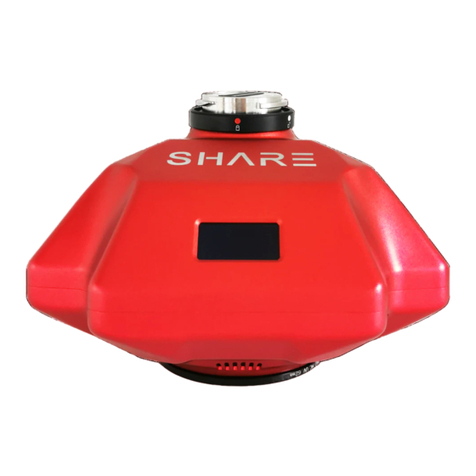
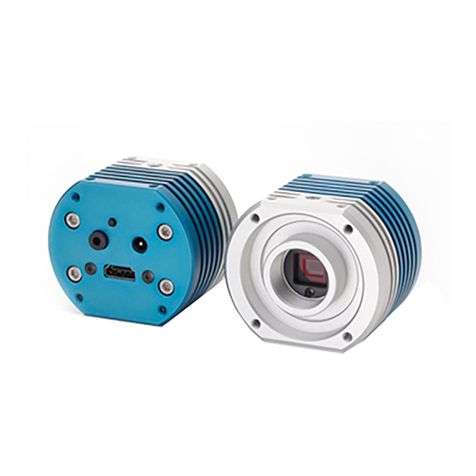
SHARE 6100 Pro User manual

SHARE 6100 Pro
User Manual V1.2
2021.01
SHENZHEN SHARE UAV TECHNOLOGY Co., Ltd.

Disclaimer and Warning
Please read this entire document carefully to ensure proper configuration before use.
The copyright of this document and all other collateral documents belong to
SHENZHEN SHARE UAV TECHNOLOGY CO., LTD. (abbreviated as “SHARE UAV”).
SHARE UAV has the final interpretation right of this document and all other collateral
documents.
SHARE UAV has right to update, modify or terminate the content of this document
without prior notice. For update information, visit website www.SHAREuav.cn and click
on the product page for this product.
Do not allow people under the age of 18 to use the SHARE 6100 Pro.
Do not modify or disassemble the SHARE 6100 Pro . SHARE UAV accepts no liability
for damage, injury or any legal responsibility incurred directly or indirectly from the use
of this product. The user shall observe safe and lawful practices including, but not
limited to, those set forth in this manual.
By using SHARE UAV products, you hereby signify that you have read this disclaimer
and warning carefully and that you understand and agree to abide by the terms and
condition herein.
You agree that you are solely responsible for your own conduct while using this
product, and for any consequences thereof. You agree to use this product only for
purposes that are proper and in accordance with all applicable laws, rules, and
regulations.

Contents
1. Product Overview ........................................................................................................................ 1
1.1 SHARE 6100 Pro Introduction ................................................................................................... 1
1.2 Features ...................................................................................................................................... 1
1.3 In the box .................................................................................................................................... 2
1.4 Camera Parameters ..................................................................................................................3
2. Installation .....................................................................................................................................3
2.1 Camera Introduction ................................................................................................................. 3
2.2 Camera Installation ................................................................................................................... 4
3. Camera Operation ....................................................................................................................... 7
3.1 Power On .................................................................................................................................... 7
3.2 Take Photo ..................................................................................................................................8
3.3 Camera Setting .......................................................................................................................... 9
3.4 Camera Repair .........................................................................................................................12
4. SHARE Data Manager ..............................................................................................................13
4.1 Introduction ...............................................................................................................................13
4.2 Operation Environment .......................................................................................................... 13
4.3 Operation Process .................................................................................................................. 13
4.4 Software Installation ................................................................................................................14
4.5 Software Function .......................................................................................................................15
4.6 Functions .................................................................................................................................. 16
4.6.1 Copy Flights .......................................................................................................................... 16
4.6.2 Clean Flights ......................................................................................................................... 19
4.6.3 Firmware Upgrade ............................................................................................................... 20
4.6.4 Camera Information .............................................................................................................21
5.Camera Maintenance .................................................................................................................21
6. After sales ................................................................................................................................... 22
6.1 Delivery ..................................................................................................................................... 22
6.2 After-sales Service .................................................................................................................. 23

1
1. Product Overview
SHARE 6100 Pro camera with gimble is a surveying and mapping product equipped
with 61 million pixel sensor and professional-grade surveying and mapping lens, with
vertical angle as the main direction of image acquisition. At the same time, the use of the
mainstream UAV platform carrying cameras for terrain and building mapping and
automatic modeling system can bring revolutionary efficiency improvement to the
mapping field.
1.1 SHARE 6100 Pro Introduction
Manufacturer:
SHARE UAV
Camera Type:
Single lens Camera
Model No.:
SHARE 6100 Pro
Material:
Aluminium alloy
Size:
130 x76 x 103 mm
N.W.:
≈360 g
Supply Method:
SkyPort / connector
Exposure
Interval:
≥1.3s
Sensor Size:
35.7*23.8mm
Storage:
256GB
SHARE 6100 Pro camera adopts the leading uni-body molding structure in the
industry, and creates a more professional mapping camera through excellent shape
structure design and advanced manufacturing technology.The camera is made of
industrial grade aluminum alloy with high structural strength and only 360g weight.The
camera can work normally in the environment of -10~40℃. Thanks to special
manufacturing materials and excellent design structure, the camera has the most
excellent performance in electromagnetic interference resistance, heat resistance, water
resistance, fall resistance, ultraviolet resistance and dust-proof. The design of the plug-in
card can read the data without power supply of the camera, and users can use the
SHARE Data Manager for sortie-parsing and data preprocessing.
1.2 Features
* Mounting via DJI SkyPort, highly compatible with DJI M300 RTK drones
* No need for modifying DJI drones.
* Double interface design, highly compatible with DJI and other UAV brands in the market,
one device with multi-purpose
* Support DJI Terra, to realize high-precision without setting ground control points
* Camera firmware will automatically upgraded online when connect to Data Manager

2
* SHARE Data Manger management flight intelligently
* Real-time image transmission display, the data can display on the ground station
synchronously.
* Adjust the parameter via DJI Pilot app (or buttons)
* Pluggable and removable card design, equipped with USB 3.0 card reader for data
reading, more convenient and fast
* Professional mapping lens, high mapping working rate
1.3 In the box
Name
Camera
Interface
Case
Protection
Case
Data
Cable
Wipe
Cloth
J30J-15
Cable
User
Manual
Quantity
1 pc
1 pc
1 pc
1 pc
2pcs
1 pc
1 pc

3
1.4 Camera Parameters
SHARE 6100 Pro Parameters
Camera
Parameters
Lens Qty
1 pc
On/Off
Auto On/Off
Power Supply
DC 13.6-48V SkyPort/Connector
Time of
Endurance
External Power supply by drone
Data Copy
Storage card, R/W via USB 3.0 card reader
Pixels
61MP
Sensor Size
Full frame(35.7mm × 23.8 mm)
Pixels Size
3.7 um
Resolution
9504×6336
Storage
256 GB
Exposure Mode
Autopilot trigger
Exposure Time
≥1.3 S
Focal Length
40 mm(can change to 56 mm)
Working
Environment
Working
Temperature
-10 ℃~ 40 ℃
Humidity
≤ 95%
Measurement
Size
130×76×103 mm
Weight
≈360 g
2. Installation
2.1 Camera Introduction
SHARE 6100 Pro Camera housing radium carved with the "SHARE" direction is
defined as the front, installation with the aircraft nose in the same direction. Photo drive

4
(SD card ) should be named "3 Down View", POS information drive (TF card) should
be named "GPS" to be compatible with SHARE Data Manager.
The camera is equipped with a interface, which is highly compatible with DJI M300 RTK
and M210 RTK V2. It can realize integrating power supply, data transmission, RTK signal,
image transmission, loading and other functions through connecting to the Skyport
interface.
The J30J- 15 connector can connect to other UAVs which integrates power supply,
trigger, hot shoe, serial port, picture transmission and other functions.
Four threaded holes are arranged at the bottom of the camera to connect other
UAVs.
2.2 Camera Installation
2.2.1 SkyPort installation
Installation steps:
(1)Remove SkyPort cover of the drone, press and hold the release button;
(2)Remove SkyPort cover of the camera, align the white point of the camera with the red
point of the drone, and embed it in the installation position;
(3)Rotate the camera to the lock position, align the red dots, and the camera is installed;
(4)Uninstall camera,press and hold the release button, rotate the camera in the
opposite direction until the red point is aligned with the white point, then remove the
camera;
(5)Put on SkyPort covers and lens cover.
Pic 1 Camera Installation

5
2.2.2 J30J-15 Interface
Pic 2 J30J-15
J30J-15 Connector Definition:
Name
J30J-15
Power Pin
XT30
PPS Pin
C/A2547H-4
P
Shutter and Hot
Shoe Pin
D/A2510HM-3P-
R
TTL Pin
E/A2547H-5
P
Pic
Function
Connect to
Camera
Power Line
1-DC
13.6-48V
2-GND
PIN1:PPS
PIN4:GND
PIN1: Shutter
PIN2: Hot shoe
signal +
PIN3: Hot shoe
signal -
PIN1&2:NC
PIN3:GND
PIN4:TXD
PIN5:RXD
Connect one end of the J30J-15 cable to the J30J-15 port of the camera. The XT30
power pin is used to supply power to the camera; The three-pin signal plug (male
connector) is the shutter hot shoe cable of camera. The serial cable and PP S signal cable
are used for camera and aircraft communication. They need to be developed and tested
separately. After the signal cable is connected, secure it with adhesive tape.
The camera is powered on by the external power supply of the camera and the
control system. The device is compatible with 12-48V DC power supply. When the camera
is working, the instantaneous power of power supply must reach 15W to ensure the
normal operation of the device. When reading data, the card reader is connected to the
computer for reading, and the camera does not need to be powered on .
2.2.3 Fix the Camera

6
Pic 3 Mounting Holes at the Bottom of the Camera
(1) Four M3 threaded holes are arranged at the bottom of the camera, with a depth of
3.5mm and distributed in the rectangular corners of 70×58 mm.
(2) Four threaded holes can be used for installing and fixing rubber damping ball, also
can be designed according to the different structure of the flight platform installation
structure. The installation methods are flexible and diversified.
2.2.3 Camera Interface Description
Pic 4 Camera Interface

7
3. Camera Operation
3.1 Power On
3.1.1 Power by DJI SkyPort, turn on automatically when drone is on.
steps of power on:
(1)Mount the 6100 Pro on the drone, and make sure the installation is firm;
(2)Turn on the drone, the camera will start automatically and enter the self-test. The
total startup duration of the camera will be 40 S, during startup, the blue indicator blinks
quickly. After startup, the camera beeps and the blue indicator blinks slowly;
(3)During startup, the real-time data window on the Pilot screen displays "Unable to take
photos", and "Available to take photos" after startup.
Pic 5 Pilot Real-Time Screen
Pilot Real-time Data Display:
Display
Meaning
Remark
1
Photo
Camera is turned on, it
can capture normally
2
RTK
RTK status
0 -- no solution,
16 -- single point solution
34 -- floating point solution
50 -- fixed solution
3
Receive trigger
times
The trigger times that
camera received
The camera should execute
shutter times
4
D
Actually shutter times of
the camera
5
RTK Flag, SD
/
/
(4)During the startup of the camera, a time setting or camera setting interface will
appear on the photo transmission interface. At this time, the camera initialization will
automatically switch this interface. After the startup is complete, the photo transmission
image display will enter the photo taking interface.
3.1.2 Power by J30J-15

8
The camera will be turned on automatically when drone is on when powered by J30J-15.
It is recommended that the power supply voltage be 13-48 v DC. When the camera is
working, the instantaneous power of the power supply must be more than 15W to ensure
the normal operation of the device.
Steps:
(1)Mount the 6100 Pro on the drone, and make sure the installation is firm;
(2)Turn on the drone, the camera will start automatically and enter the self-test. The
total startup duration of the camera will be 40 S, during startup, the blue indicator blinks
quickly. After startup, the camera beeps and the blue indicator blinks slowly;
(3)After startup, camera can take photos now;
(4)Do not turn off drone till 15 seconds after last photo was taken;
(5)It is recommended that you connect the camera power after UAV startup is
completed, to avoid frequent camera restart caused by frequent on-off of the UAV.
3.2 Take Photo
DJI Pilot App of DJI M300 RTK
Pic 6 DJI M300 RTK Pilot Screen
Take working with DJI M300RTK as an example, camera is on, the left bottom
window shows the real-time image. As the indoor light is insufficient and the image is
black. User can press the ‘photo’ button on controller to test the photo function.

9
3.3 Camera Setting
Take working with DJI M300 RTK as an example, using DJI Pilot for route
planning and setting flight parameters.
Pic 7 Pilot App
(1)Camera setting on DJI Pilot
Open DJI Pilot – Mission Flight -- Create a Route -- Mapping -- Create a mapping area –
Custom Camera – Add Camera – Camera Setting -- Overlap setting
(2)SHARE 6100 Pro parameter:
SHARE 6100 Pro
Photo resolution (W)
Sensor size (W)
Focal length
9504px
35.7mm
40.0 mm
Photo resolution (H)
Sensor size (H)
Minimum interval
6336px
23.8mm
1.3s
As shown in Pic 8, click Finish and save after completing the custom camera Settings

10
Pic 8 Create Customize Camera

11
(3)Payload setting
Pic 9 Payload Setting
Click the three points in the upper right corner of the screen and select Payload.
Functions:
Key
Function
Real-time data(On/Off)
Real-time data window display/hide
Mode
Camera mode switch (A,S,M), default is M
Shutter
Shutter speed(1/640,1/800,1/1000,1/1250)
On/Off
Camera On/Off (default Off)
OK
Confirm button
Menu
Menu button
Up
Up button
Down
Down button
Left
Left button
Right
Right button
Play
Play button
Delete
Delete button
(4)Mechanical button setting

12
Pic10 Buttons
You can also change the basic parameters (Settings) of the camera through the
external button of the camera, as shown in Pic 10.
3.4 Camera Repair
(1) Common problems in camera use
①Image database file error
②Writing into the memory card error
③Can not find Image database file
(2) There are two repair methods:
①Automatic repair: the user can restart the camera power, the camera will automatically
perform an initial repair; If the problem cannot be fixed automatically, you can format the
camera memory card and restart the camera power again.
②Manual repair: Click the "Confirm" button in the Payload Settings or the "OK" button of
the mechanical button and confirm the operation as prompted.

13
4. SHARE Data Manager
4.1 Introduction
SHARE Data Manager is a data processing auxiliary software which is designed for
surveying and mapping cameras to improve internal efficiency, simplify data
pre-processing operations. The main function of the SHARE Data Manager include flight
management, copying/cleaning photo data, writing geographic location information into
photos, generating engineering files, upgrading camera firmware, etc. It can help users
to conveniently manage aerial camera information and maintain camera firmware.
4.2 Operation Environment
Recommended Minimum Configuration:
Items
Specs
CPU
Intel Core i7
RAM
8GB
Hard Drive Space
512GB
Operation System
Windows 7/10
4.3 Operation Process
The main operation of SHARE Data Manager is to copy photo data from the camera
and write shooting information and geographic information into photos. The operation
process of copying photos is as follows:

14
4.4 Software Installation
(1) If you receive an installation package, open the package and click “Next” to complete
the installation. You can use the default settings for all installation settings.
(2) Once the installation is completed, SHARE DATA Manager creates two shortcuts
on the desktop: "SHARE Data Manager" and "SHARE Tool Box".
(3) Please log in to the website below to view the latest online tutorial of SHARE Data
Manager:
http://bbs.SHAREuavtec.com/upload/software/SHAREElfInstaller.exe

15
4.5 Software Function
Open the SHARE Data Manager on the desktop, select the camera model as
SHARE 6100 Pro, select the UAV model as the actual flying model, and click OK to
enter the interface to wait for connecting device. Insert the SD card and TF card of
the camera into the card reader then connect the card reader to the USB 3.0 port of
the computer. The drive letter driver may need to be installed when connecting to
the PC for the first time. Please be patient. After the drive letter is identified, the
software interface will be automatically switched to the device details interface.
The device details interface consists of three parts. The first is the function list
which is displayed on the left. The second is the connection status and capacity of
memory, which is displayed on the upper part on the right . Click the status bar of
each drive letter to open the corresponding folder. The third one is the flight sorties
which is showed on the bottom half on the right. When the mouse is placed over the
sorties it shows the number of POS and photos contained in the sorties.
There is also a "Disconnect" button in the lower left corner. If you do not need to
use the camera, click this button to pop up the drive letter, and then unplug the card
reader.

16
As shown in the image above, sorties are sorted by aerial shooting time and
displayed on the SHARE Data Manager. We can see the name (corresponding to the
POS file on the GPS disk) and the shooting time of each flight.
There is a “detail” button for each sortie. Click to go to the individual sortie details
interface.
Click the name of the sortie to pop up the window of sortie details which shows
numbers of POS the number and name of photos from different perspectives for users to
check whether the sortie data is correct. Click on a row of photo data to see a thumbnail
and detailed data of the photo on the right.
The photos and POS data are stored separately in the camera. The photos can be
associated with the corresponding POS , the POS can be written into the photos when
copying data through the SHARE Data Manager.
4.6 Functions
4.6.1 Copy Flights
Copying flight is the copying of POS data and photo data from one or more flights
from the camera to the computer and pre-processing for modeling. The process for
copying flights is as follows:
(1)Select flights to be copied, for example, 100_0039;
(2)Click the copy button to enter the copy setting interface

17
(3)Copy Settings complete, click Start Copy to enter the copy process interface. The
current copy progress and remaining time are displayed on the page.
Table of contents
Other SHARE Digital Camera manuals
